58 simple steps to build your roadster
This update covers 58 simple steps. First, use it as a living build checklist.
Related notes live on the Factory Five Cobra build hub.
58 simple steps: Plan the car first

I found this on ffcars.com in their FAQ. First, it is pretty popular. Also, it helps people like me who are planning how to build this car. Then I added commentary to match my plans. Ultimately I hope to keep this as a living post. Therefore, as I get updates and ideas, I will circle back to this one!
Build Check Sheet (in 58-130’ish steps)
[thanks mcedward!]
- Plan car – I’ll be doing the 25th Anniversary MKIV complete kit
- Hint: First, go to your local DMV (or whatever your state calls it). Then get printed information on what is required to title and register the car. Also see the CA DMV process here.
The build check sheet
- Next, get actual copies from the state’s books. Therefore you can refer to them during the build and make sure everything is right. Also, take them to the DMV and the inspection. As a result, you know what they are doing is correct. Otherwise some people do not know, do not care, or are just plain wrong.
- Besides that, do not be shy. Ask some friends who have done this before!
- Buy donor parts – or in my case, figure out the new parts going into the build!
- Buy kit (ouch!) https://cobradreams.com/parts-n-pieces/
- Prep donor parts – or, prep the new stuff (ongoing as parts arrive)
Hint: First, save all bolts and nuts. Also, some may be re-used on the build.
Inventory all parts. Then reconcile them to the shipping bill of lading.
Body off, buck, and paint planning
- Remove the body. Notes: https://cobradreams.com/2020/02/25/the-body-has-been-removed-and-ready-for-work/ Then put it on a buck.
- First, make cardboard buck shapes for better fit.
- Optional tip for truck bed liner undercoating. First, complete the under-liner before painting the body. However, I did it the opposite way. Then I taped off all openings so the shiny part would stay shiny. Still, the underside of these bodies is real porous. As a result, the bed liner soaks in like a sponge. Likewise, any pinholes or thin spots bled up through the shiny side. For example, mine were around the wheel openings and headlight openings. Therefore, apply the underside first. Then the body prep on the top layer covers the black. Ultimately my fix used a small detail spray gun, and it was a pain in the butt! For more undercoating discussion see “Anybody Undercoat Body?”
- Also, get the body painted before Step 50.
- As a paint-shop post-mortem, I made a mistake. First, I did not pre-fit the rollbar and windshield side-post bezels from Finishline. Then the painter and I only fitted the bare windshield and bare roll bar. As a result, I am now having some problems with both. Even as thin as the windshield pieces are, they throw off the windshield and leave a gap. However, if we had tested the bezels, we would have seen the issue. The rear hole, pre-cut by FFR, was bigger than the bezel. Therefore my painter could have easily filled in part of the hole. Ultimately I cannot do that now. Please learn from my mistakes.
Sheet metal prep tips
- Remove sheet metal
- Before step 7, mark all of the alum panels. For example, use masking tape for easy removal. Also note position and orientation next to adjacent panels.
- Then wipe off black letters with rubbing alcohol or acetone. Still, retain your position marks if desired.
- Install F-Panel (optional here, maybe Step 20)
- Hint: Optional, consider welding options on the frame prior to sheet metal addition. Weld-on Options
Front suspension, steering, and pedals
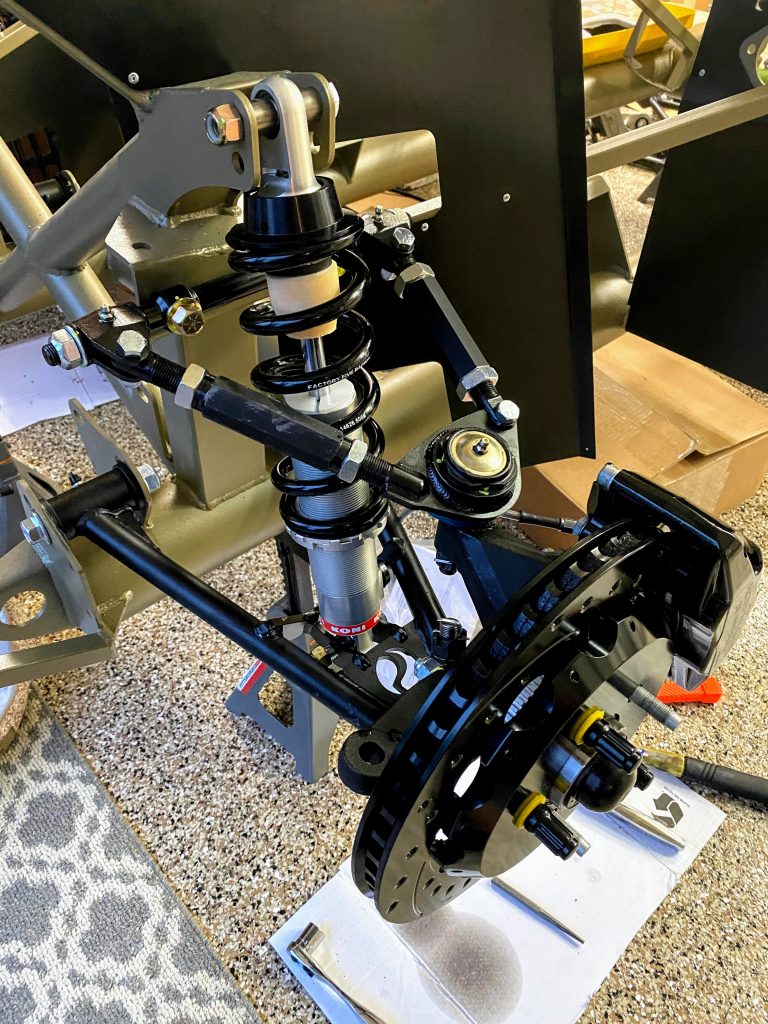
- Mount the IFS
- Hint: with FFR LCA, the coil-over shock mounts “threads up”
- Next, fit the front brakes
- Then add the steering rack
- Hint: The ears on the frame need to be widened. Therefore use threaded rod, nuts, and washers to expand.
- After that, trial-fit the steering column
- Hint: The 29″ DD tube in kit replaces the Mustang one. Also, there is no welding with the Mark II kit.
- Install the pedal box
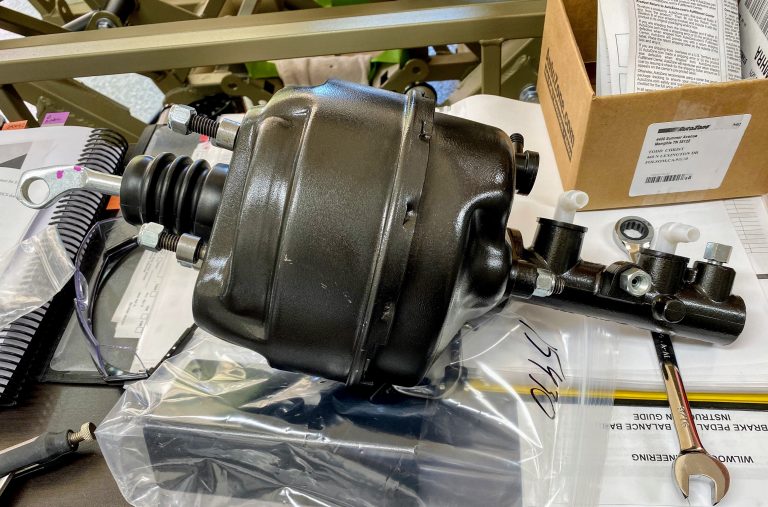
- Hint: I did not cut the brake pedal or change the pivot point. Instead, I installed power brakes. However, my foot brushed the right side of the brake pedal on the way to the accelerator. Therefore I put a 1″ dogleg in both the brake pedal and the clutch pedal. Meanwhile, some posts show people used a persuader to do this. Still, good luck on the brake pedal. It is very tough, as it should be. Ultimately I went to a shop with a little hydraulic press. As a result, both pedals were done in 5 minutes.
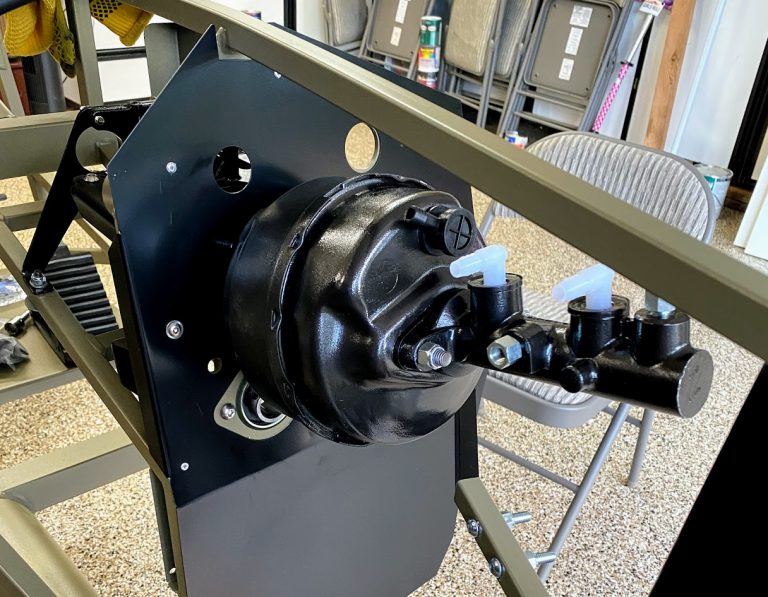
- Then trial-fit the MC
- Hint: The MC tilts a little. Still, this is ok.
- Hint: First, run over to the NAPA store. Then order part number 10-1896 (1984 Jeep Cherokee). The current price is $28.19 + $13 core for a total of $41.19. Also, the one I purchased this past week was the aluminum one. Ultimately it is very light weight.
- Install rear end (first on IRS, without axles attached)
- Next, install rear suspension (first on solid rear)
- Hint: on IRS, the ears on the frame need to be widened. Therefore use threaded rod, nuts, and washers to expand.
Mid-build mechanicals
- Then fit the rear brakes
- After that, trial-fit the wheels (rims with tires)
- Finally, test that all wheels rotate without interference
Aluminum panels and brake lines
- Install alum panels
- Start with the Driver’s Side (DS) alum floor panel (Ron Story)
Hint: Because it is a longer reach, get a small box of 3 mm long 1/8″ diameter alum rivets. Then use them for attaching floor panels to the big round 4″ frame tubes.
- Next, fit the DS Foot Box (FB) floor
Hint: Optional, use 2-sided 3M thin tape instead of silicone. For example, choose 3/4″ wide and very thin. Also, it is really solid adhesive. As a result, it eliminates Cleco temp rivets.
Hint: Optional, apply a bead of silicone to aluminum panels before riveting to the frame. Therefore it helps prevent water leaks. Also, it helps prevent squeaks and rattles.
- Then add the inside firewall above the tranny, cockpit side
- Also mount the firewall on the engine side
- After that, install DS FB vertical, engine side
- Then fit the DS FB outer vertical
- Next, add the DS MC panel
Hint: Leave loose the DS FB top 2 pieces as per the manual. Therefore you can still work on the clutch quadrant, MC rod, throttle cable, etc.
- Finally, complete the MC final fit
- Install brake lines front & rear
- Then re-install the steering column for final fit
- Also install the F-Panels
- Next, install Passenger Side (PS) Panels. Likewise, repeat Steps 16.0-16.6.
Tank, engine, and exhaust
- Install the gas tank
- Hint: To prevent the frame from attacking the tank, use the little plastic blocks in the kit. For example, use the under-frame 1×1 downers that go against the tank. Therefore install these guys before the tank.
- Then install the engine-tranny combo without the shifter
- Hint: The trans. shift and cover may not be a perfect line up. First, make sure engine mounts are in the right holes all the way down. Also, make sure the tranny mount is all the way in the right slot. Otherwise you may need to adjust the opening for the shifter per John Hudson Shifter Hole Fix. Meanwhile, my Mark II was perfect.
- Hint: “We installed our 4 into 4’s right after installing the engine.”
- Install the exhaust system
- First, attach j-pipes to side pipes
- Then attach the pipe assembly to the engine header
- Next, adjust J-Pipes to fit between engine headers & sidepipes
- Optional: ceramic coat the J-pipes
Fuel, shifter, and interior sheet metal
- Install Fuel Pump (carb.), Filter & Gas lines
- Hint: On EFI cars, the fuel pump is in the gas tank
- Hint: Optional Nylon Fuel lines ease this task considerably
- Install the shifter
- Then fit the shortened driveshaft
- Also install the Emergency Brake Handle & Cable
- Next, install the rest of the interior & trunk sheet metal. However, skip under door panels that require the body for best fit.
- Hint: A lot of people think you cannot install the aluminum under the doors before the body goes on. However, I did it twice. First, when you put the body on for test fitting, test fit and trim these pieces. Then mark their location at this time. Therefore, once the body is back off, you can put them in, carpet, and finish the interior. Likewise, it is a lot easier with the body off. Also, I found in both instances the aluminum was too tall. As a result, untrimmed pieces would hold the body up from sitting down as far as it should. Ultimately it is nice to finish the interior and then drop the newly painted body on without fighting carpet work.
- Hint: Align IRS before trunk alum panels. Therefore it is easier to see and reach bolts & shims for adjustment.
- Install the battery location without the battery
Interior, wiring, and finish
- Then route the battery cable
- Next, fit the solenoid for the starter
- Also install the wiring, including the EEC module
- After that, mount the gauges in the dashboard
- Then install and connect gauge wiring
- Finally, complete the battery final fit
- Install Radiator & Fan
- Next, install the cable for throttle and connect the gas pedal
- Hint: While driving around in primer with no interior, all was fine. However, with carpet and insulation in place, the pedal will not depress all the way. Therefore this is a warning more than a question. Likewise, plan for carpet and insulation thickness. Otherwise you may get cruise control at WOT by accident.
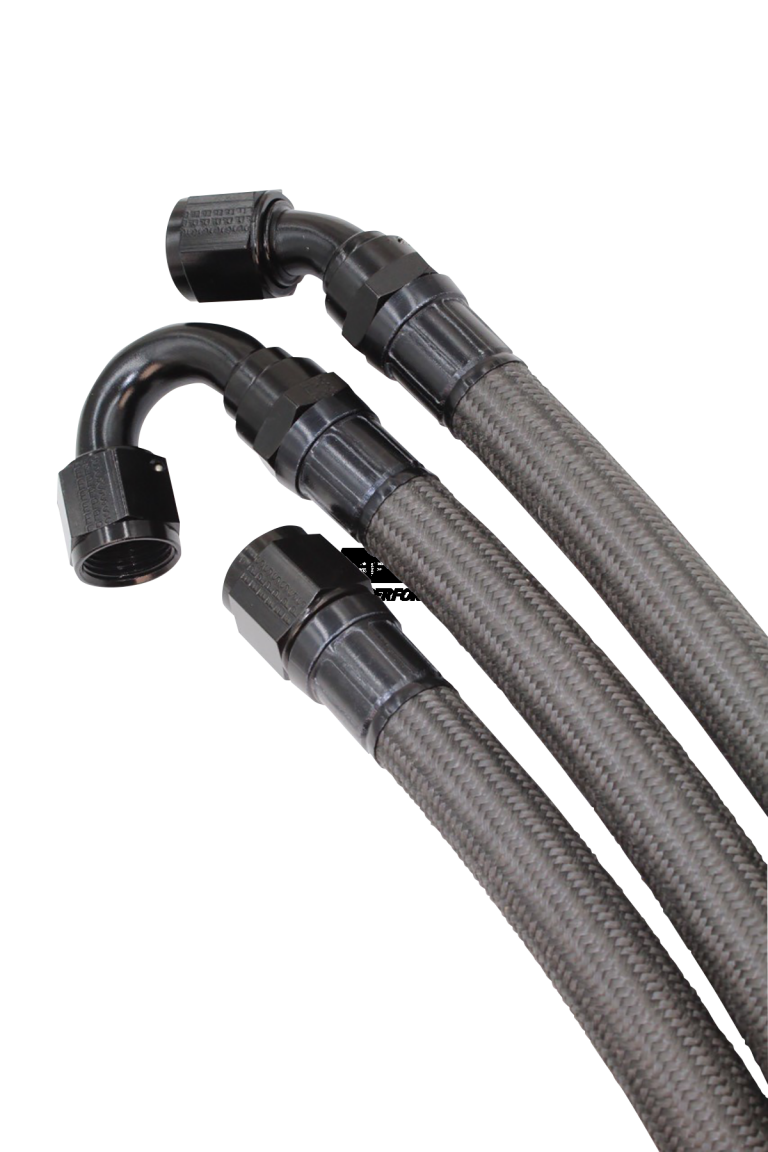
- Then install hoses to the engine and radiator
- Also add fluids: water, oil, tranny fluid, rear end, and brake fluid. After that, bleed the brakes.
Systems testing before first fire
- Testing
- First, test the brakes
- Next, check the wiring
- Then verify the shifter
- Also test the clutch
- After that, check the steering
- Meanwhile, test the lights
- Likewise, test the fan on the radiator
- Then confirm the throttle cable moves to WOT
- Also test the fire extinguisher
- Do a preliminary wheel alignment
- Block wheels front and rear. Also, I reversed 43 and 44. Therefore it is probably better to chock the wheels before you start the engine.
- Then test-start the engine
- First, make sure oil pressure is there
- Next, confirm no fluids leak
- Also make sure the fan works (manual override switch?)
- Then verify the clutch works
- Meanwhile, make sure the engine does not overheat
- After that, test tranny and clutch with the engine running
- If brakes are good, then drive a few inches or feet.
- Once testing is done, finish wiring and final fit.
- Install the dashboard for final fit
- Once the clutch, gas pedal, and brake pedal are done, then install sheet metal on top of the DS Footbox.
- Next, install the rest of the sheet metal. However, skip under door panels for now.
- Hint: Optional tip if you plan to upholster the trunk interior. Also, skip this if you buy a pre-cut carpet kit. First, BEFORE you install the aluminum trunk floor pieces, take 5 minutes and make a template of them. Likewise, include all the holes for roll bar and belt mounts. Ultimately those five minutes save an hour or two. Otherwise you cut little bits of poster board around all the obstructions.
- Optional: Use flat-head screws to install the transmission cover instead of rivets. Therefore you can remove the cover later if needed.
- Optional: Rivet the tranny cover without adhesive. As a result, you can remove it easily by drilling out the rivets.
Carpet, seats, and body-on
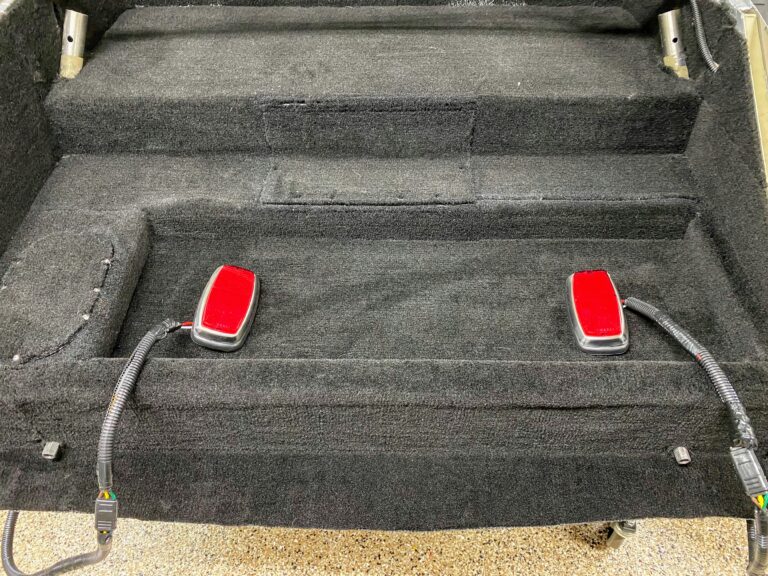
- Install the carpet
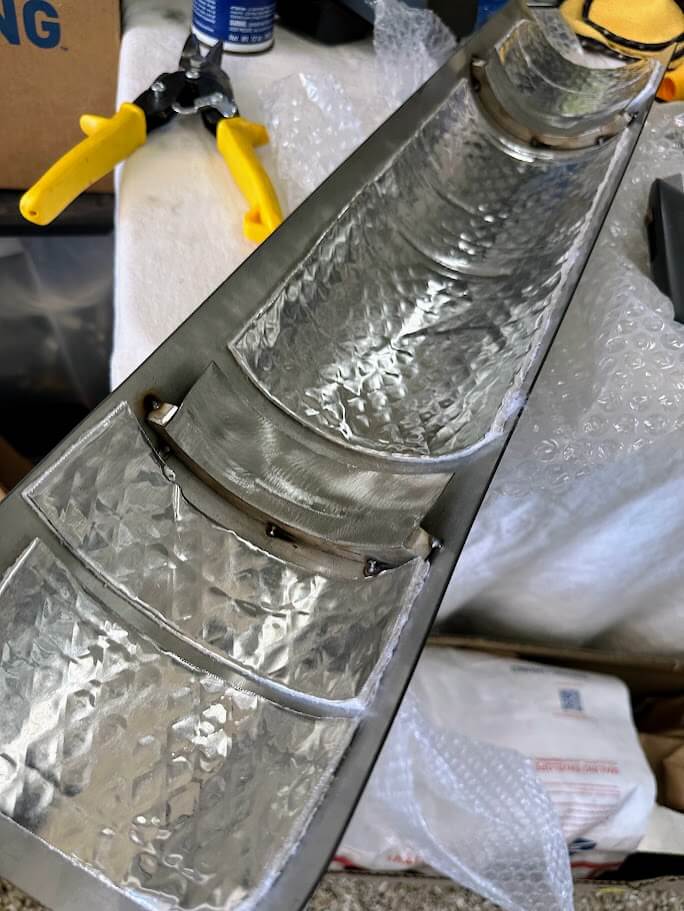
- Optional: To protect from engine heat, install foil-backed insulation on aluminum panels. Then install carpet after that.
- Next, install seats if they are low back. However, if they are highback, wait until the body is on.
- Also install the tail lights in the body
- Then mount the body
- Hint: Make sure all your foam tape and rubber seals on your alum. are in place.
- Hint: Before final mounting of the body, trial-fit the body before paint. Then open up any cutouts if necessary. For example, check the roll bar, exhaust, and windscreen trial mount.
- Install doors, trunk, & hood
- Next, fit the sheet metal under the doors
- Then add the body accessories
- Also install lights front & rear
- After that, mount bumpers (or equal)
- Next, install Roll Bar(s)
- Then fit the wipers
- Also mount the Fire Extinguisher
- Finally, test all safety equipment
Registration and first drives
- Take the car to State Inspection for registration
- Then install the plates
- Next, do a test drive
- Also adjust the clutch cable, headlight angle, brakes, etc.
- Ultimately complete final alignment of the front end, and the rear end on IRS.