Drivetrain alignment and Metco safety loop installation
This update covers the Metco safety loop. Related notes live on the Factory Five Cobra build hub.
Metco safety loop: Aligning the Tremec to the IRS
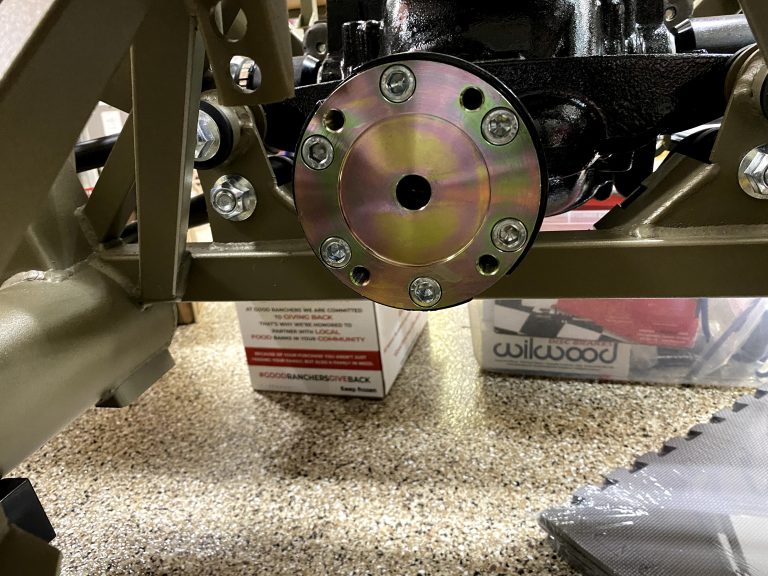
After the engine and transmission install, level the car next. Then align the driveshaft to the IRS differential. One nice thing about the IRS is the pumpkin stays put. In other words, it does not shift like a live axle.
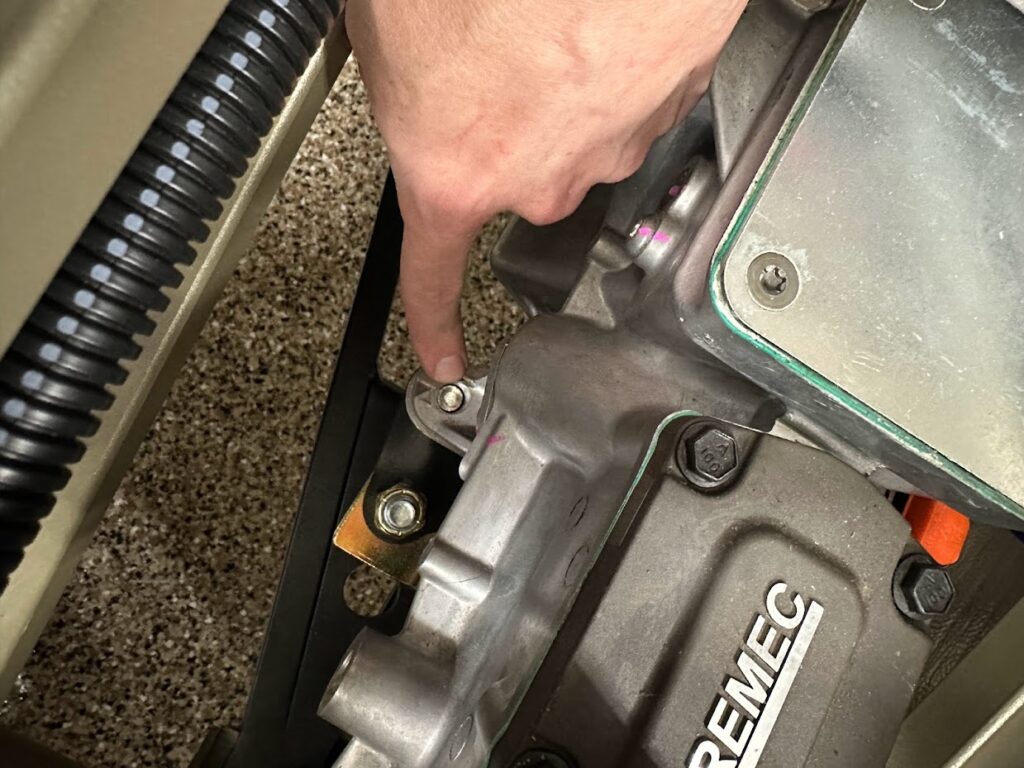
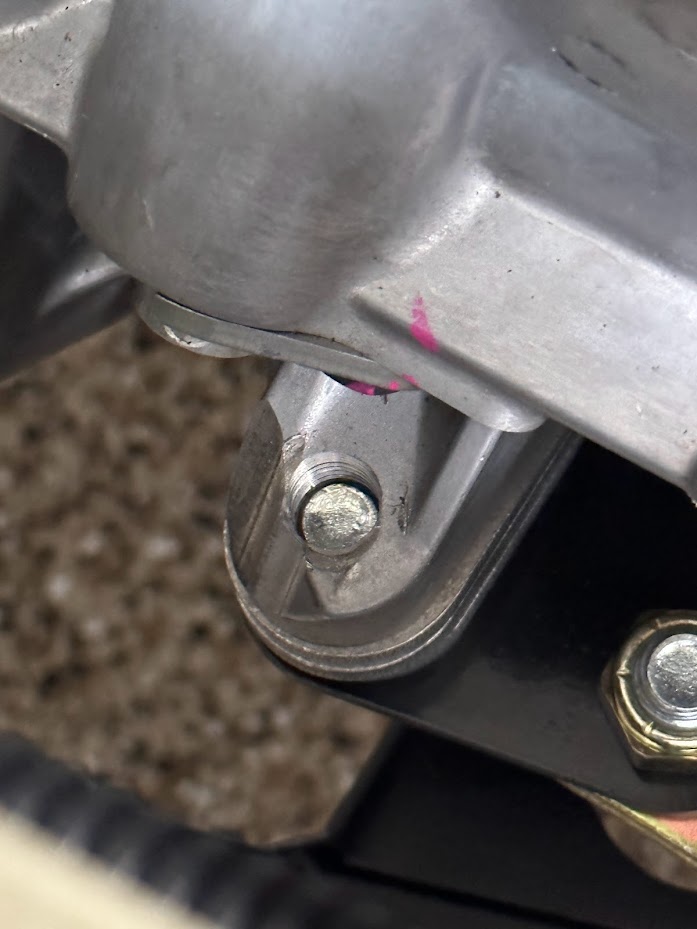
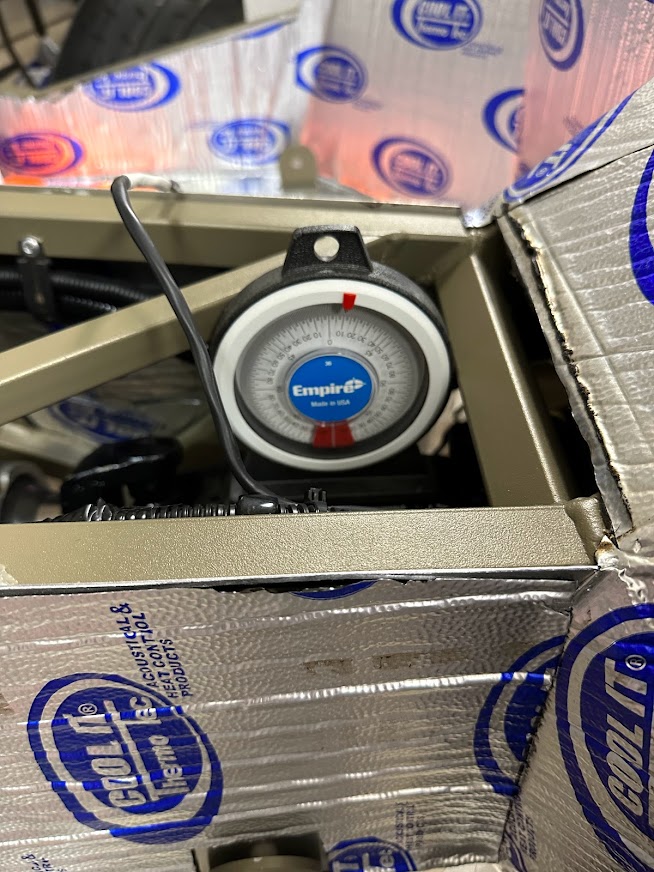
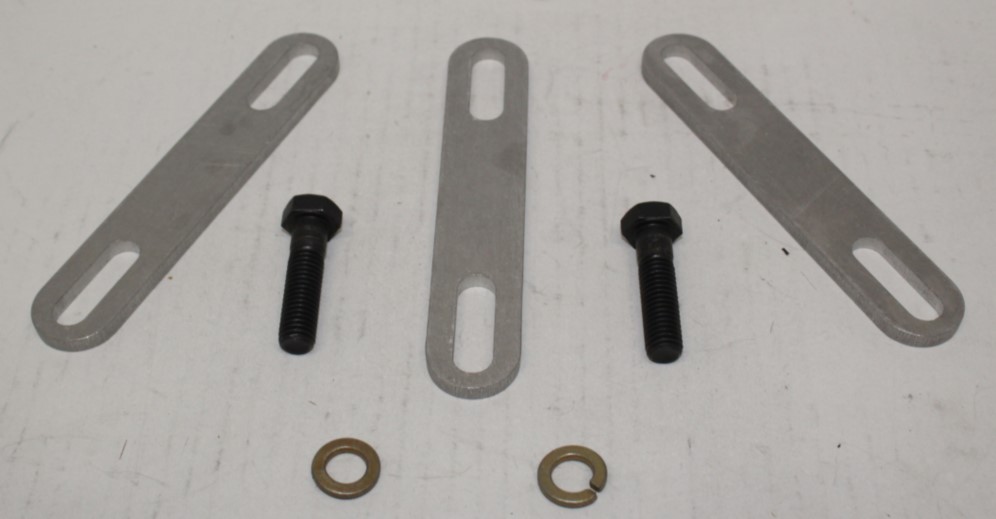
I needed three spacers to raise the Tremec TKX tail shaft. So I got them from Mike Forte. He sells a Transmission Spacer Kit. As a result, the tail shaft lines up with the IRS rear-end.
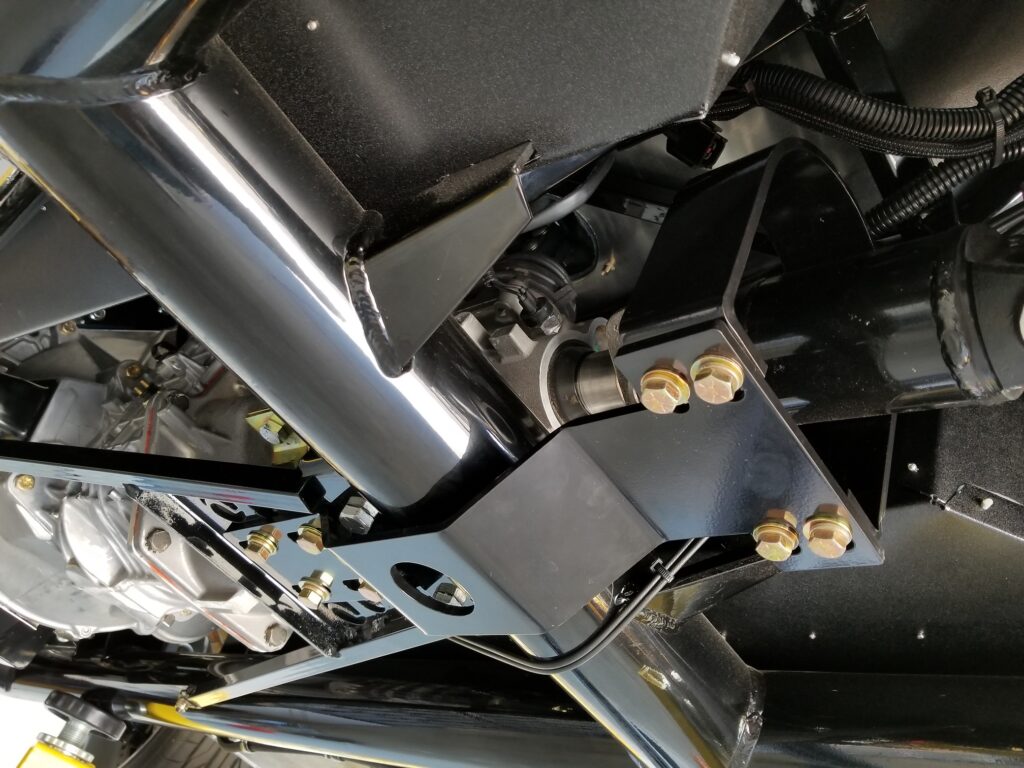
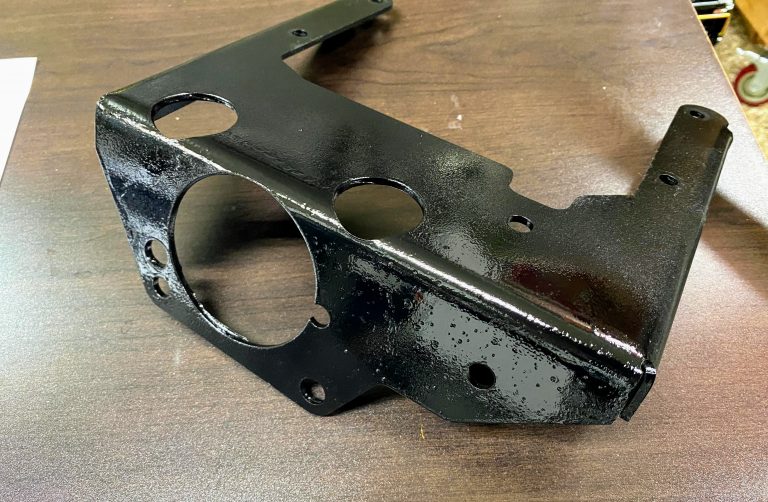
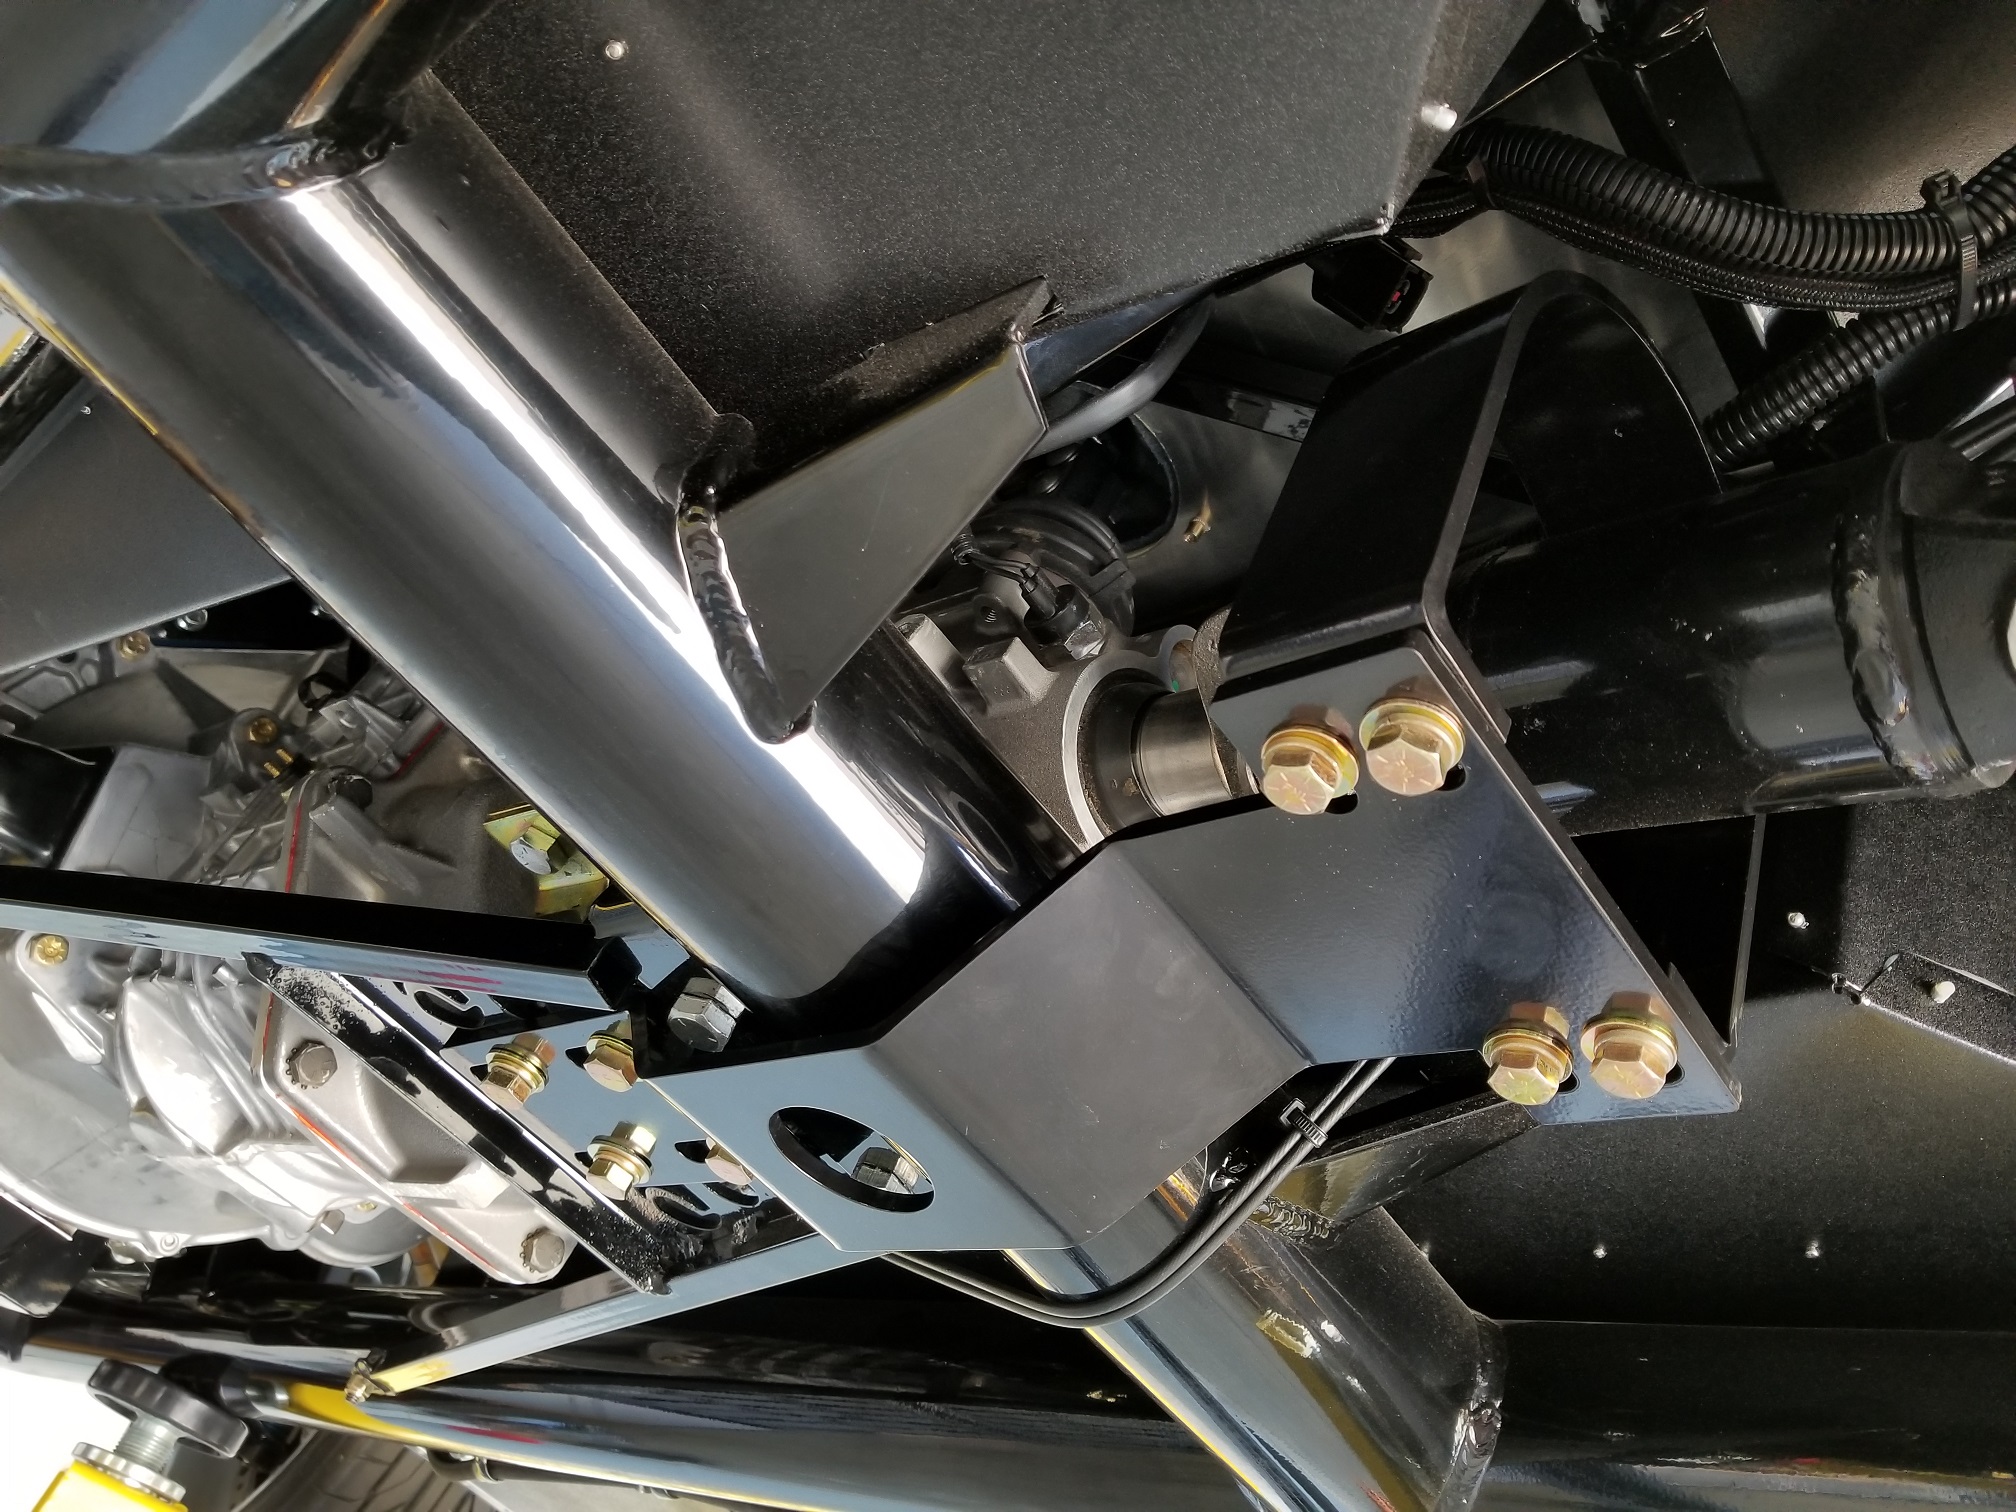
Another common part is a driveshaft safety loop. Therefore I bought a Metco safety loop in a forum group buy. Here is the Driveshaft Safety Loop, Factory Five Mk III & Mk IV Roadster. It is a stout piece. It installs under the transmission and around the driveshaft. Likewise, it helps if a driveshaft or U-joint fails. The shaft sits near the driver and passenger hips. For $150, that is cheap insurance versus a hip replacement.
Installing the Metco loop
Custom parts add complexity. First, the transmission mount uses a default bolt depth. Then the Metco safety loop adds thickness. After that the spacers make the stack even deeper. Mike provides longer bolts. However those bolts do not account for the Metco loop thickness too.
Finding the right Grade 8 bolts
After six trips to Lowes, Home Depot, and Ace Hardware, we found the bolts. We needed Grade 8 7/16-14 1″ bolts. Those mount the Metco frame to the transmission. The 1.25″ Metco bolts were too long and bottomed out. Meanwhile the 0.75″ FFR bolts were too short and did not bite. Also, we put red Loctite on the driveshaft-to-yoke adapter bolts.
It is hard to take after photos while you are on your back under the car. Still, here is a clear photo borrowed from the forums: