Installing the headers on the engine
This update covers installing the headers. Related notes live on the Factory Five Cobra build hub.
installing the headers: Coating the FFR headers
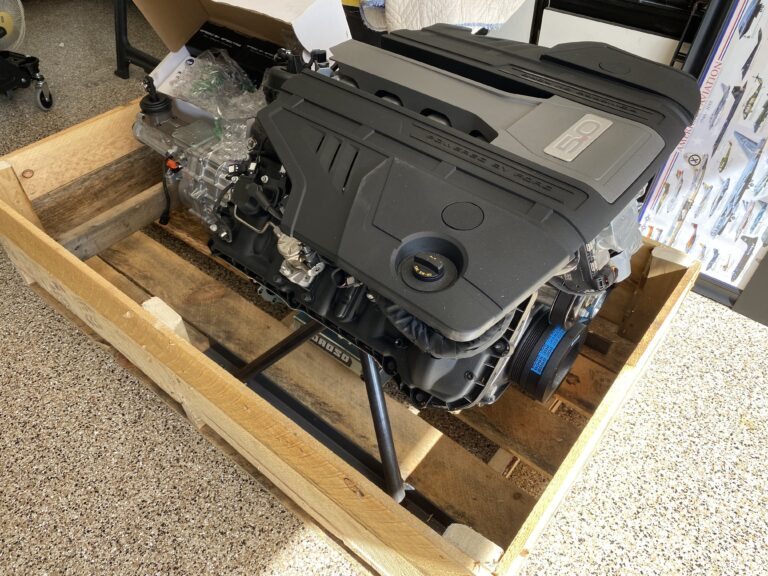
It has been a while since the last update. Still, do not worry. You will see a slew of posts coming. This came after the engine mount bolt break. After tightening the whole driveline, installing the headers was next.
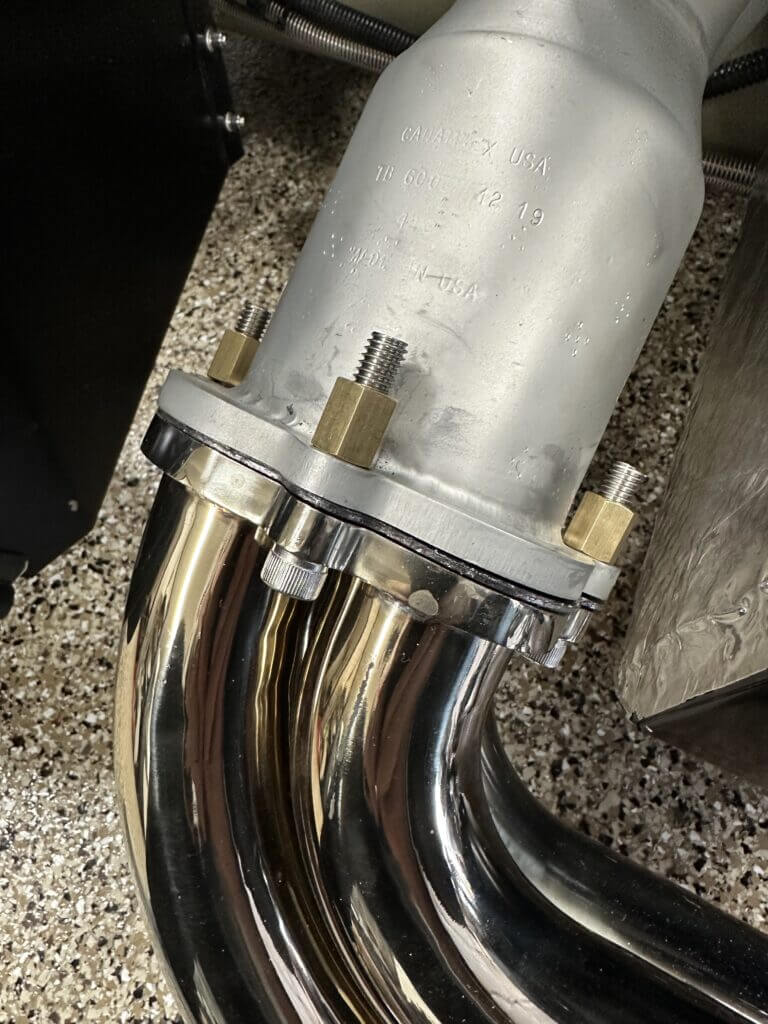
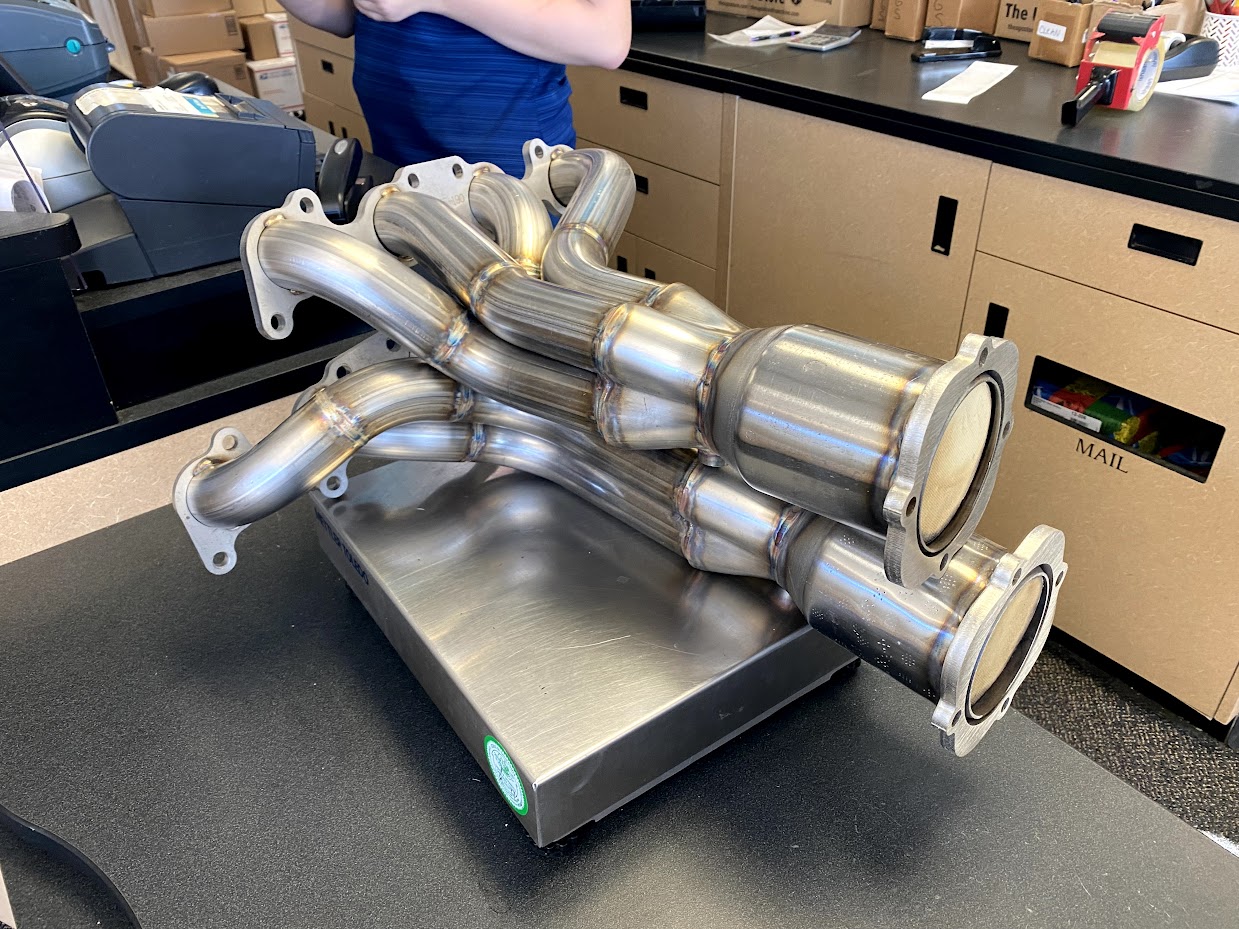
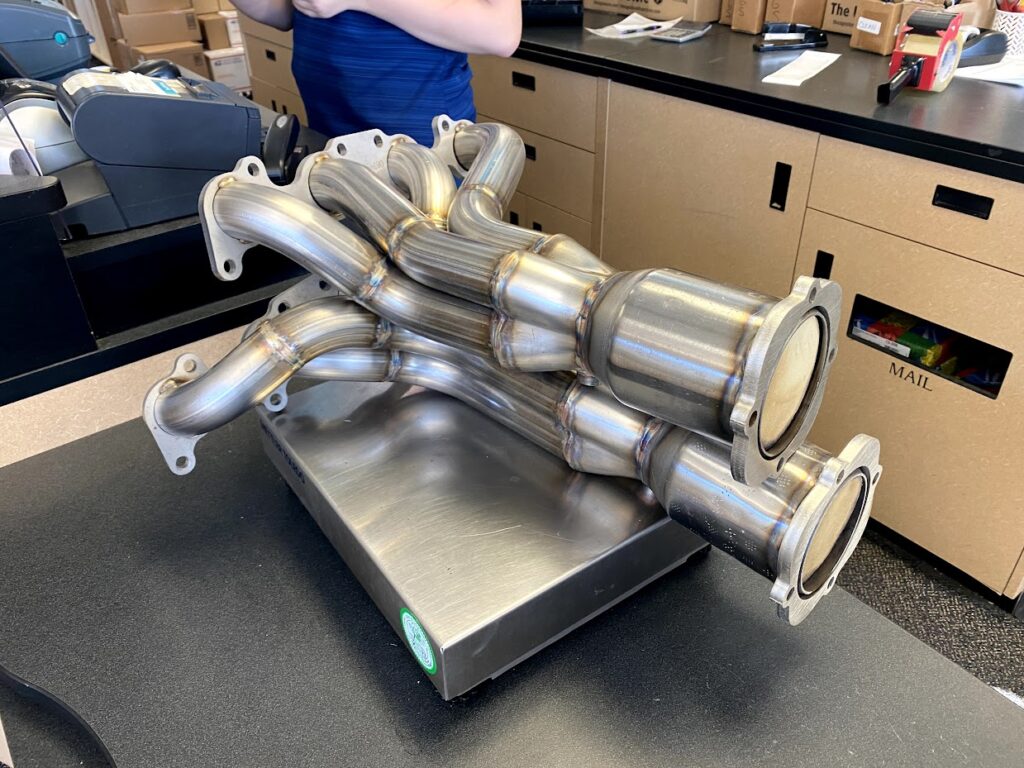
The Factory Five headers have catalytic converters at the collector. Here is a photo before I shipped them to Jet-Hot for coating. They are well built with nice welds. Therefore coating them almost felt like a shame. However I wanted to keep engine bay heat to a minimum.
Passenger-side fitment snag
After replacing the engine mount, we chose the easier side first. So we started with the passenger side. If something can go wrong, it will!
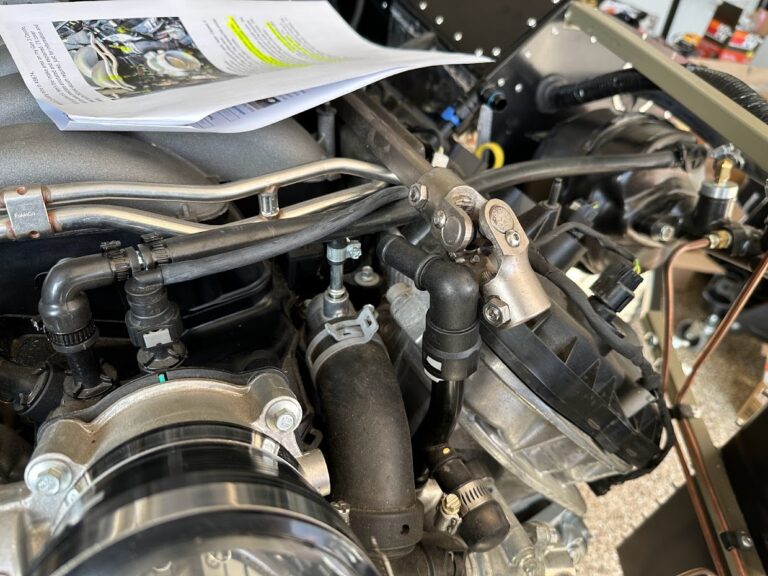
First I fastened two bolts just to hold things in place. I did not torque them yet. Next I started five more bolts without full torque. Then the last bolt, the rear upper, started fine. Visibility is poor there. So I put a socket on it and began tightening. However that last bolt sat slightly crooked and started cross-threading. As a result, I pulled everything back out. The local Sacramento Factory Five clan agreed. Ultimately it was time to tap the hole.
Bolting the headers on
Tapping the Coyote head safely
My son and I had never tapped a hole before. Likewise, we had never tapped a brand-new aluminum Coyote head. Therefore we practiced on scrap 1/4″ aluminum first. Once the practice hole looked perfect, he repeated the process on the engine. Also, we used cutting oil to ease the cut and clear debris. Then we used a beer tap plug from a beer tap to clean the debris. It worked great!
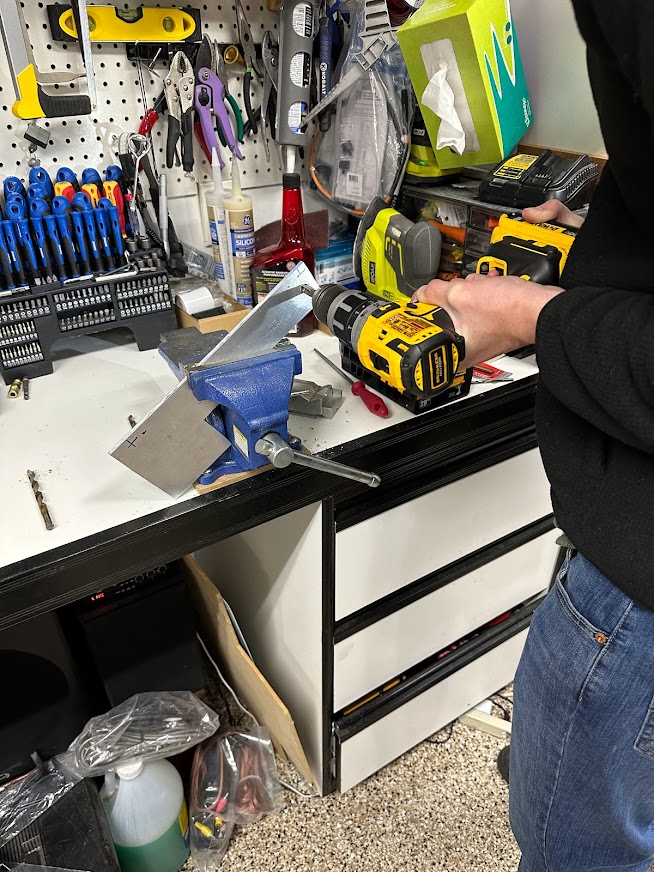
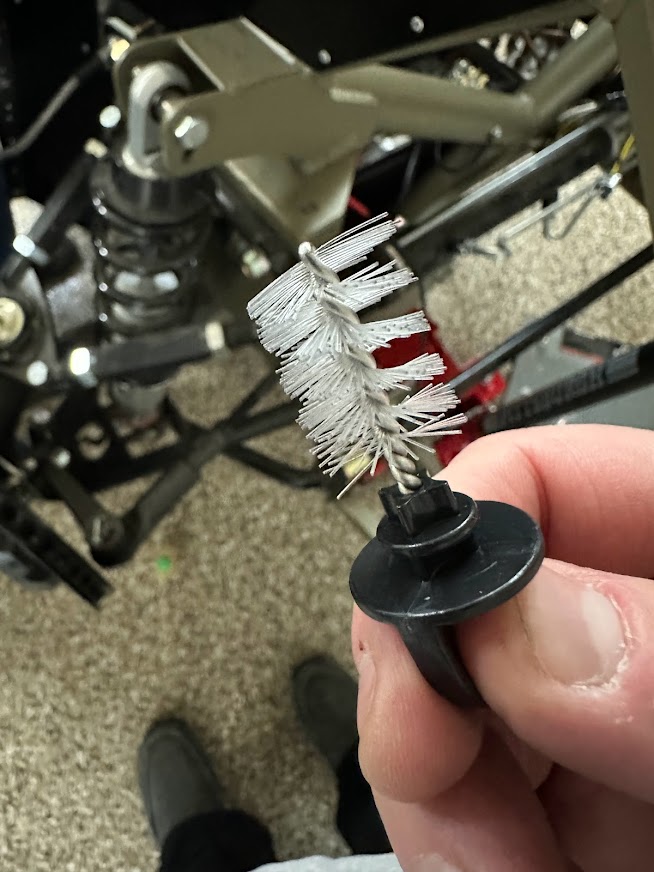
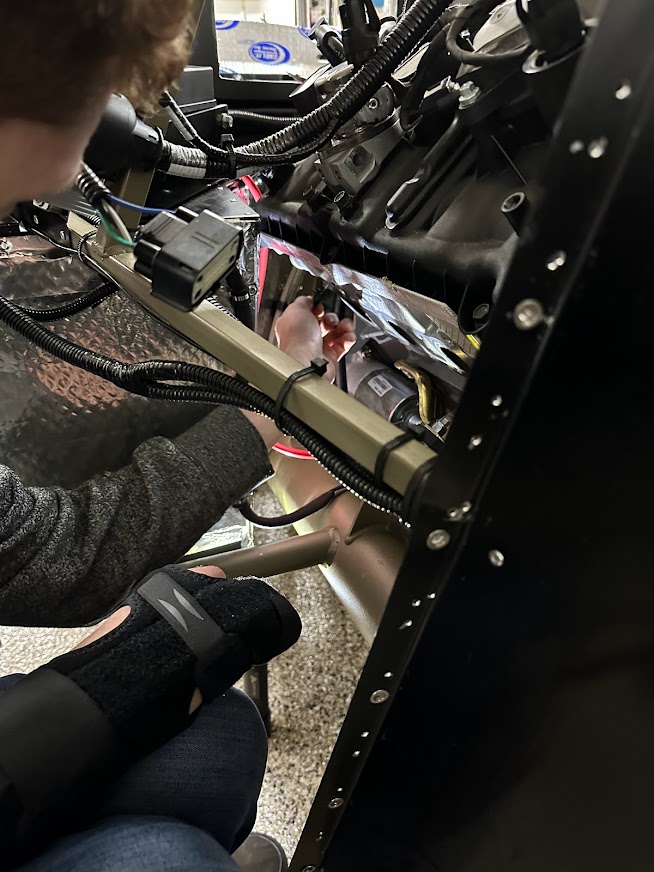
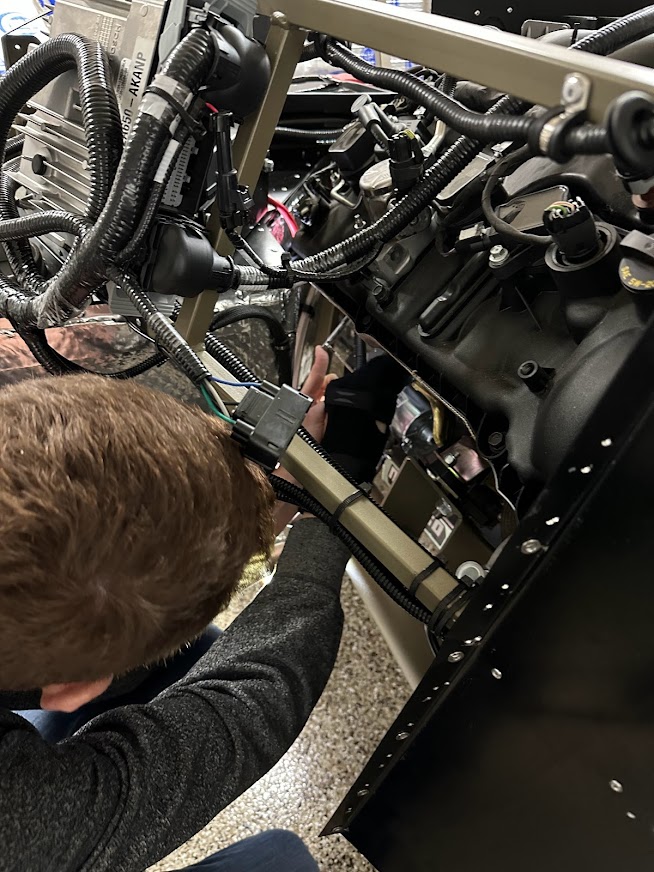
We used a 10mm x 1.25 Metric Tap Left Hand Thread M10 x 1.25mm Pitch to re-cut the threads. After the threads were clean, we carefully reinstalled the header. Whew!
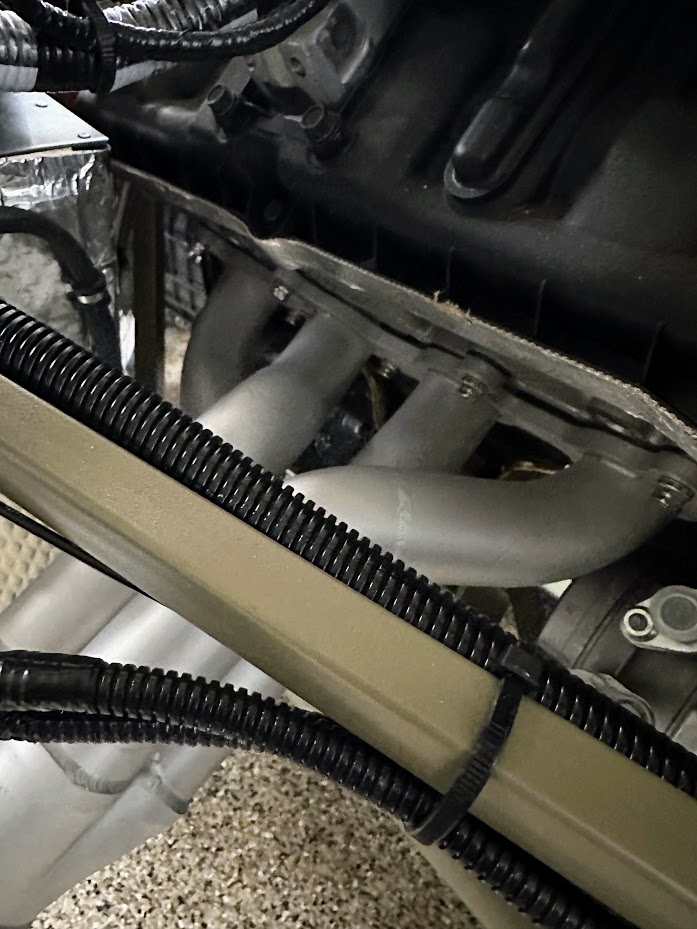
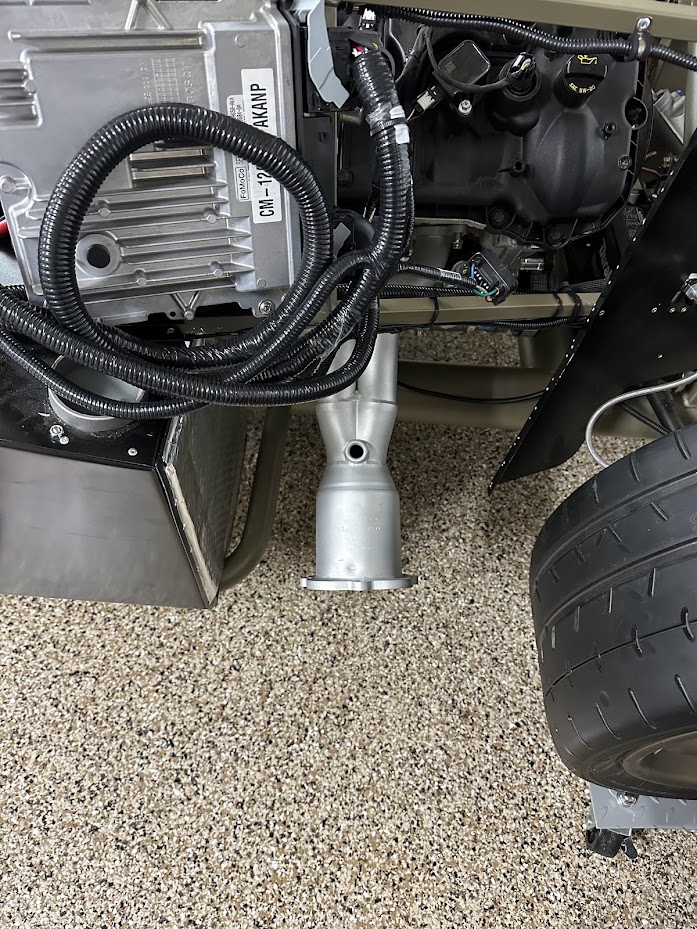
It has been a grind. Still, we finished installing the headers on one side!