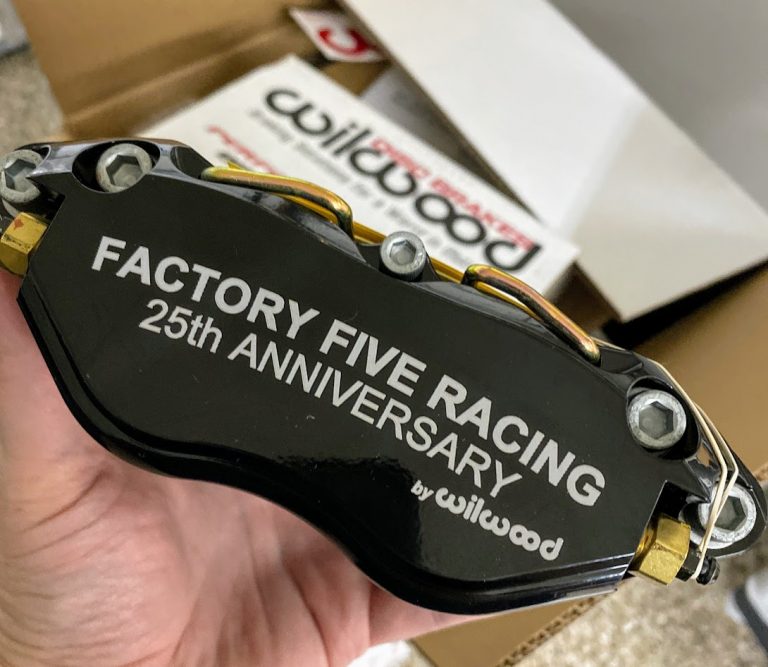
Got electrical work? We do!
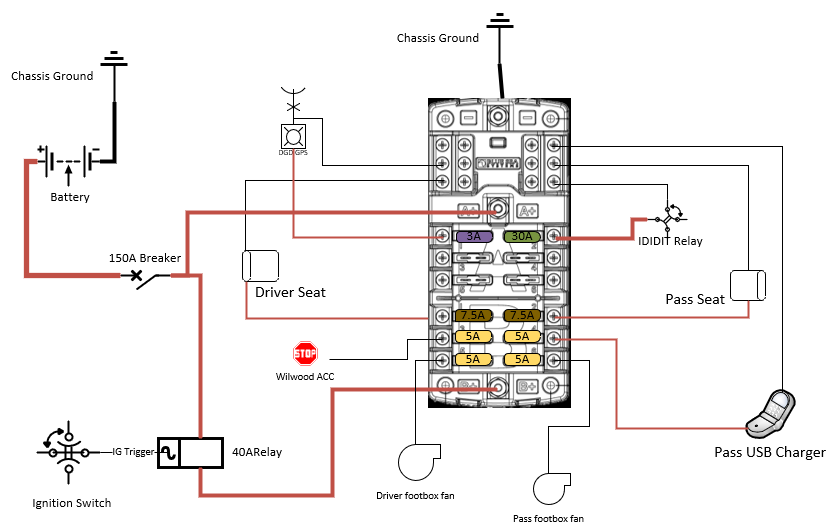
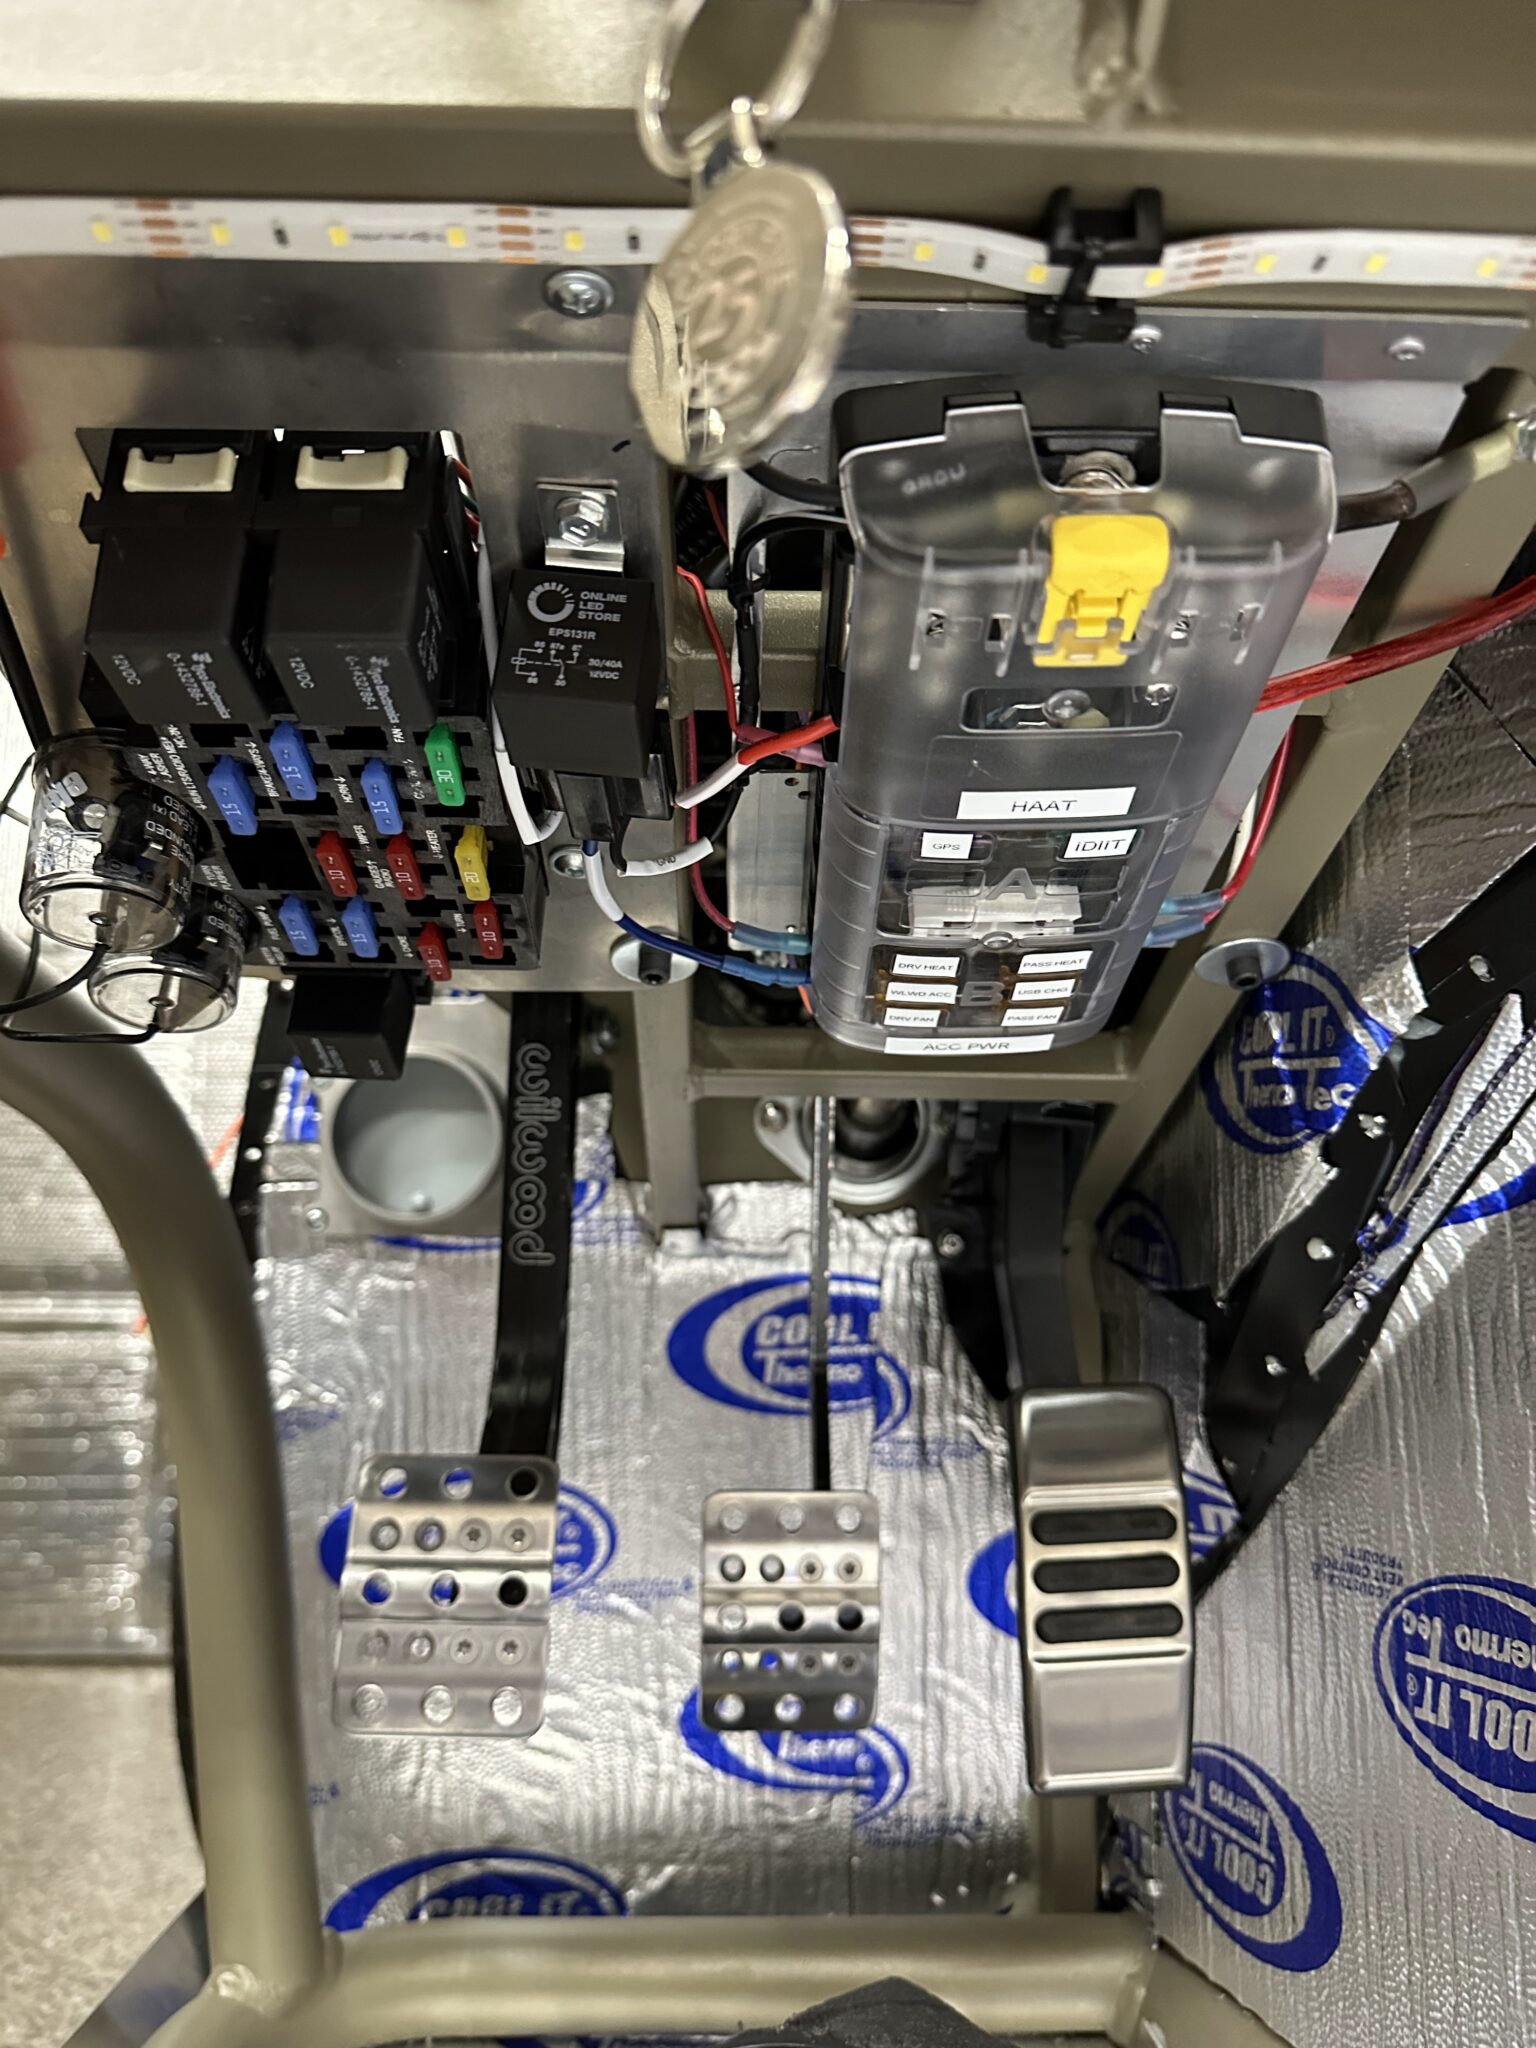
This weekend my son and I tackled a lot of electrical work. Honestly, when you step back the car looks similar. Still, we put in about 15 hours of wiring. Below you will see the new fuse panel schematic. Also, you will see where we mounted that panel. It keeps the electrical work in one spot.
Related notes live on the Factory Five Cobra build hub.
electrical work: Fuse panel and key-on relay
Our key-on power is about 30A. Therefore we added a relay on the ignition wire. Then that relay powers the lower bank of fuses. Once the engine is running, we can turn on seat heaters. Likewise we can power the Wilwood ACC wire, footbox fans, and a phone charger. In reality we will probably pull about 11.6A total. Here is the breakdown:
- seat heaters ~ 4.9A (for both)
- cellphone charger ~1.2A
- Wilwood ACC line is factory rated at 5A, so probably ~3A
- footbox blower fans 2.5A ea.
Soldering, tinning, and labeling wires
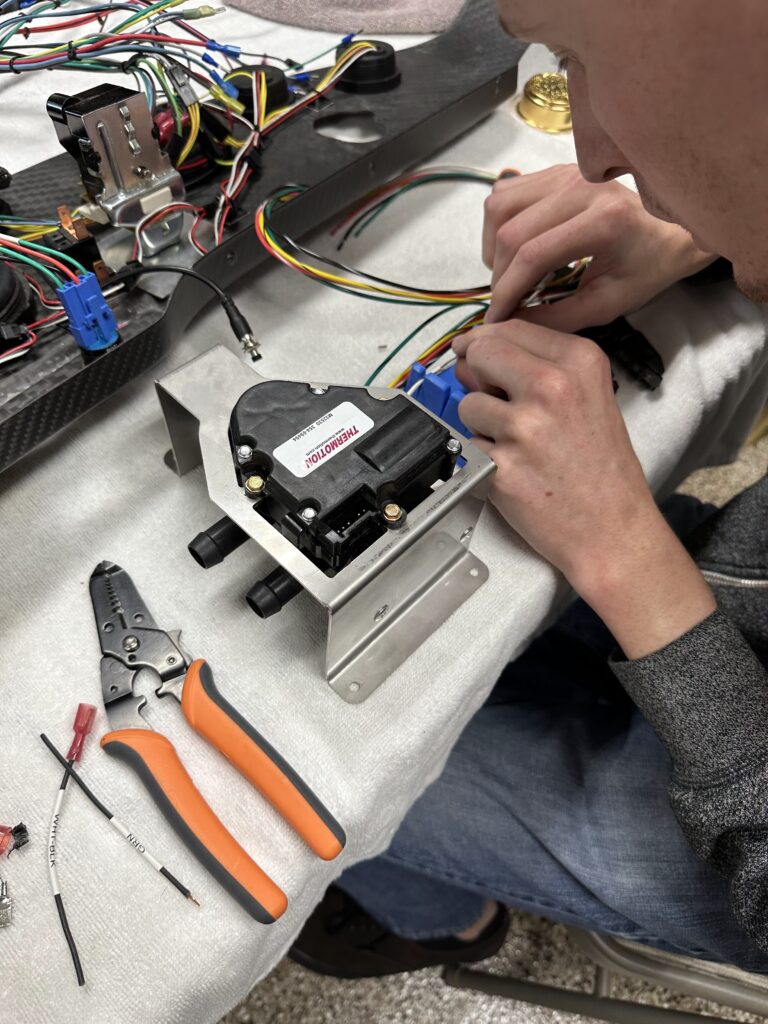
My son loves soldering. He has probably done over 200 solder joints in the car so far. Also, he tins many leads on the smaller crimps. That gives the crimp more bite. The small 18-22ga wires barely hold on. Therefore adding solder helps a lot.
The lower center console is nearly done. Next we added one more 1-inch grommet to the under-dash tray for tidy wiring. Meanwhile we label almost everything with the DYMO Rhino 5000. I love it! The 1/4″ heat shrink labels work up to about 10ga wire.
Lower dash buttons and connectors
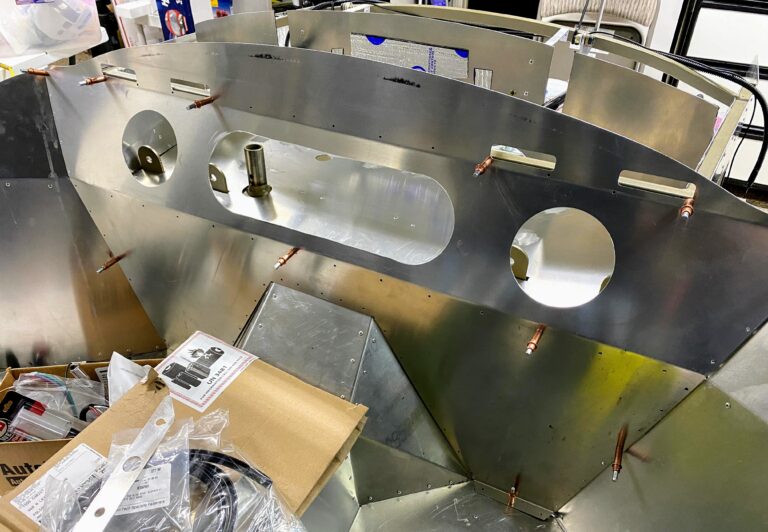
Next we will wire the billet button lights to the car lights. Then the pushbutton will activate each component. For example, that covers the footbox fan and fog lights. Here is the lower dash so far without the front plate. Also, we are making everything unpluggable for future service. The Glarks connectors come in various pin-outs. They take time. Still, they are great for packing multiple connections into one plug.
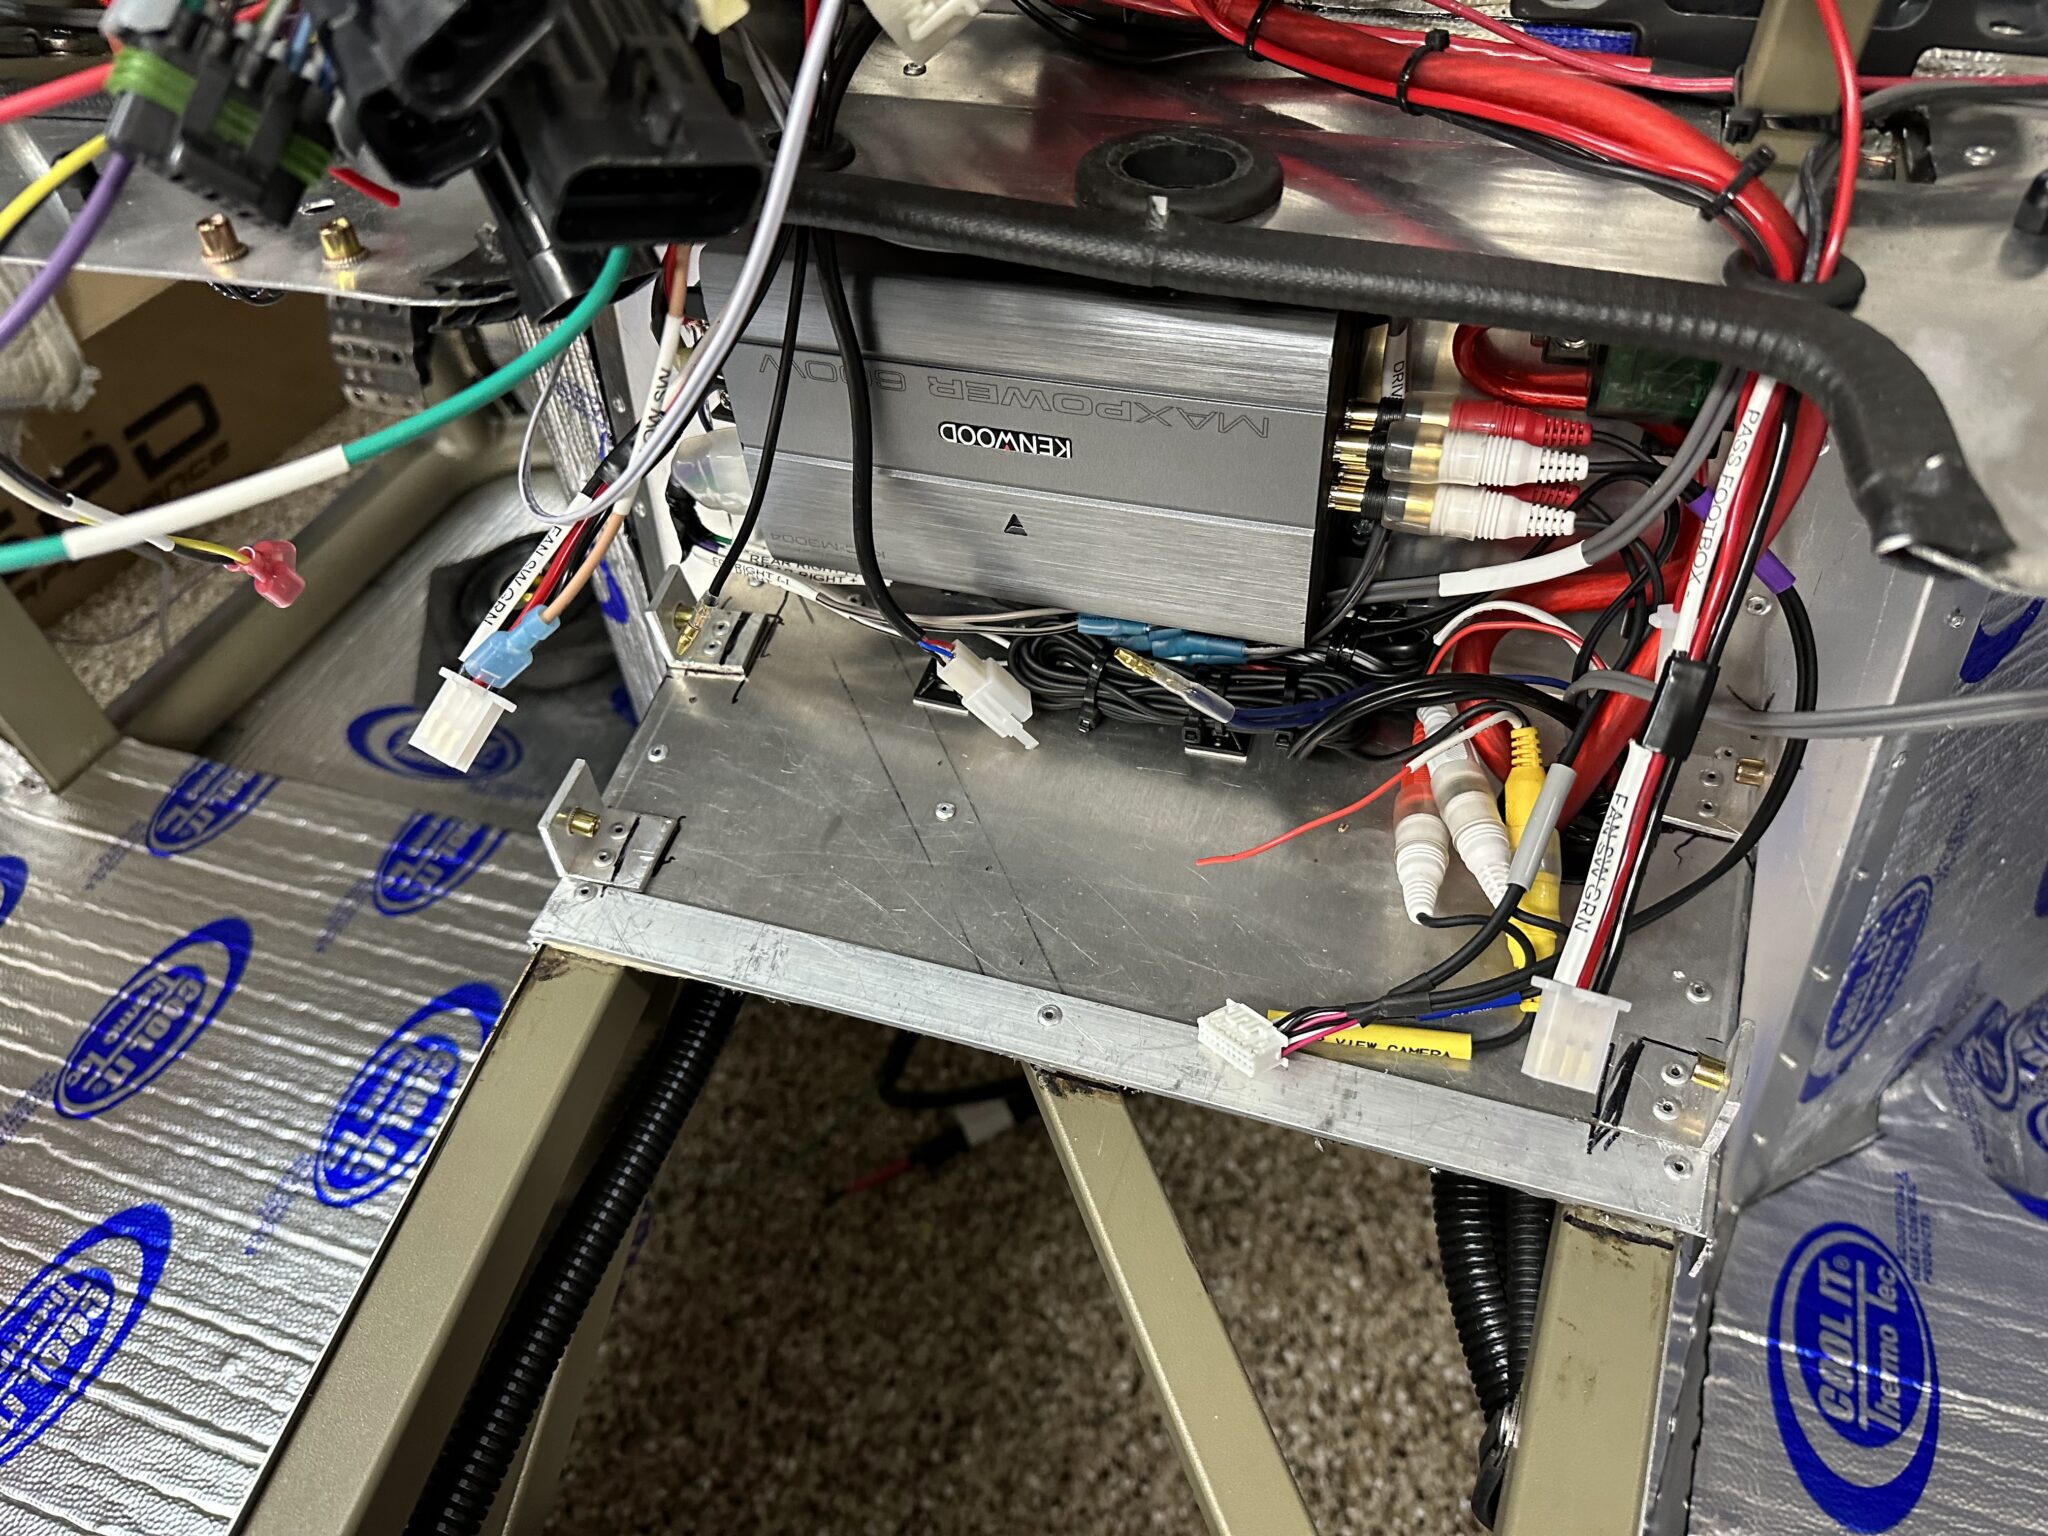
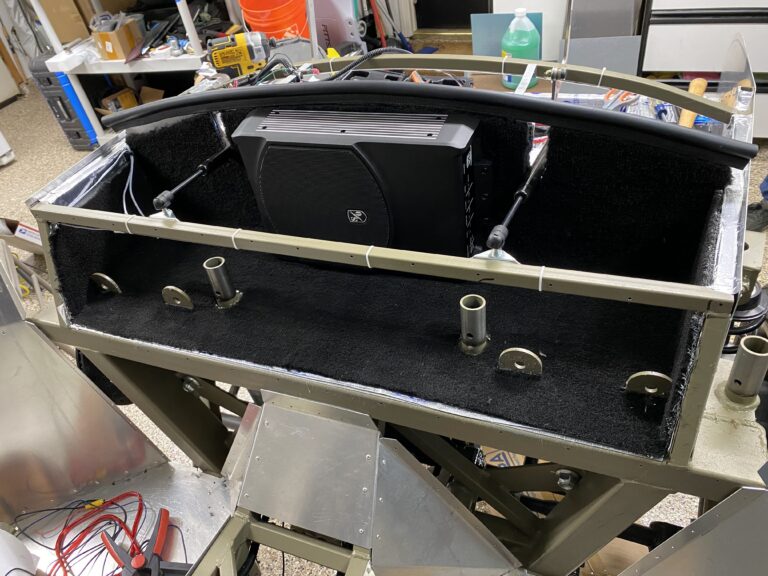
To finish the lower dash, we need the seat heater harnesses next. Also, we need to finalize the Wilwood EPB switch. Before that we prep the seat boxes with Thermo-Tec. That reduces NVH, meaning noise, vibration, and harshness. In other words, the body sounds less tinny. Then we set up the seat mounts direct to metal. After that we trimmed the bottom and outer sides of the seat boxes.
What we wired this weekend
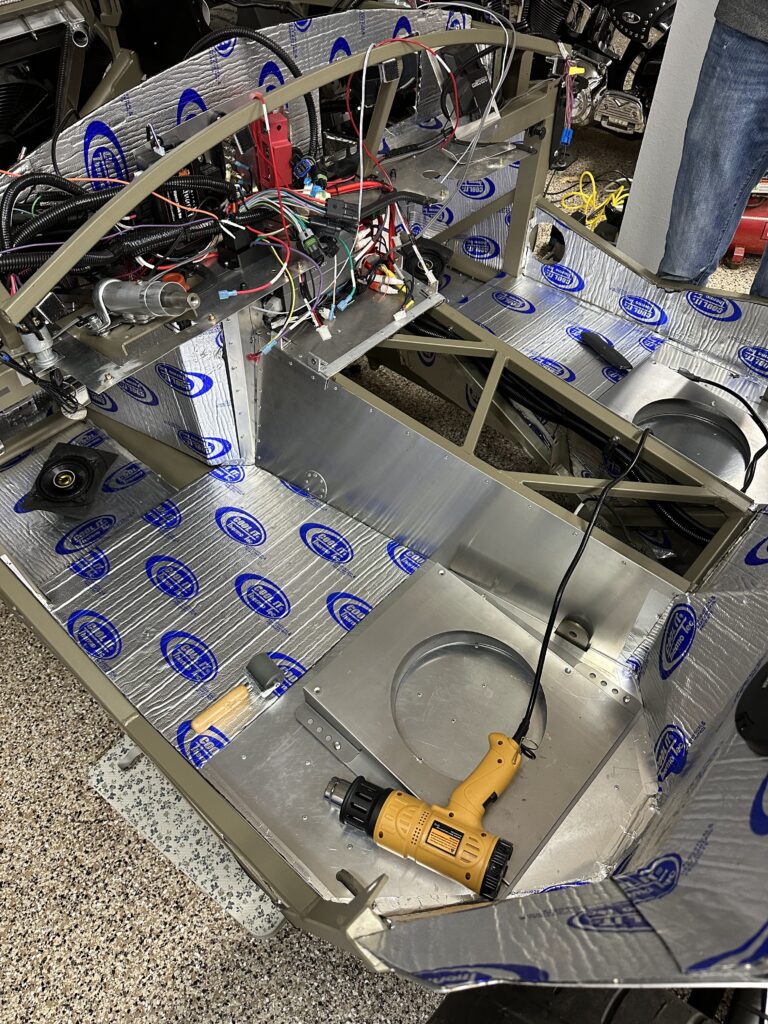
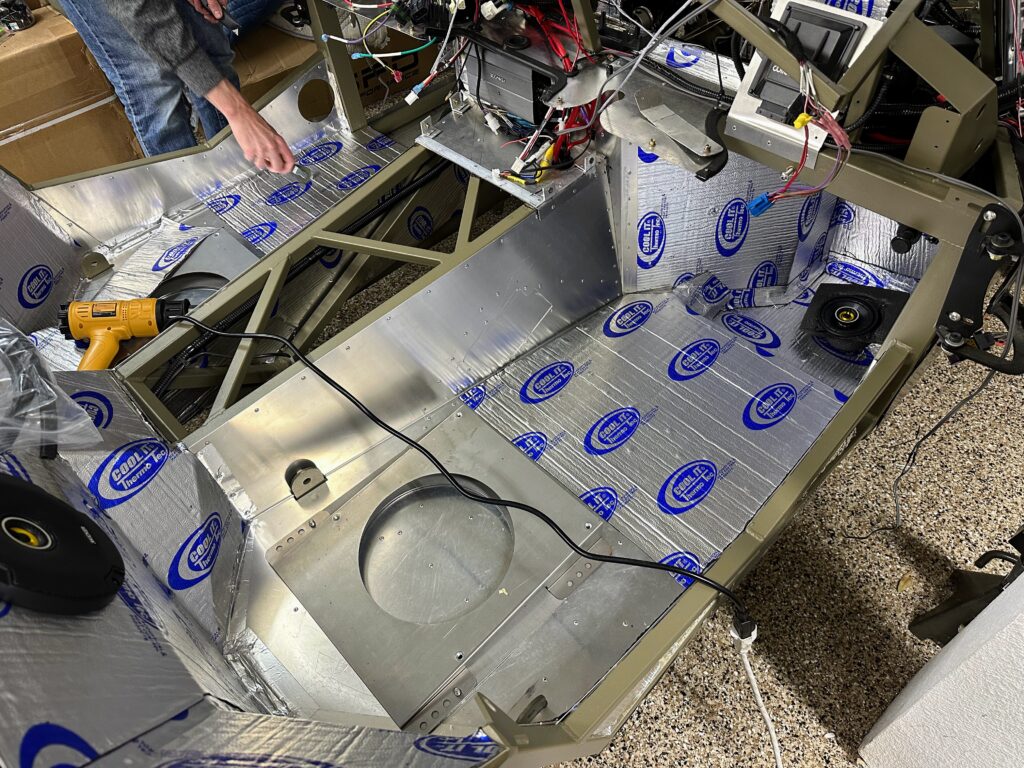
Next up is applying Thermo-Tec to the transmission tunnel sides. Then we will run the seat heater lines inside the seat boxes. Also, we will tidy the Wilwood switch in the lower dash. Meanwhile one more line needs checking for the reverse switch and rear camera. Yes, a rear camera. Ultimately the lower dash box will be done after that electrical work.