A little more planning and customizing!
This update covers more planning and customizing while we wait on parts.
Related notes live on the Factory Five Cobra build hub.
planning and customizing: Waiting on the ECU
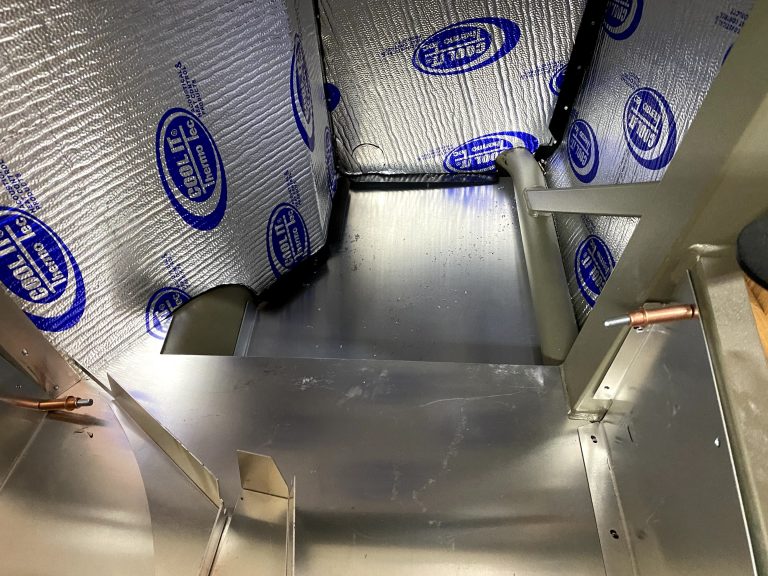
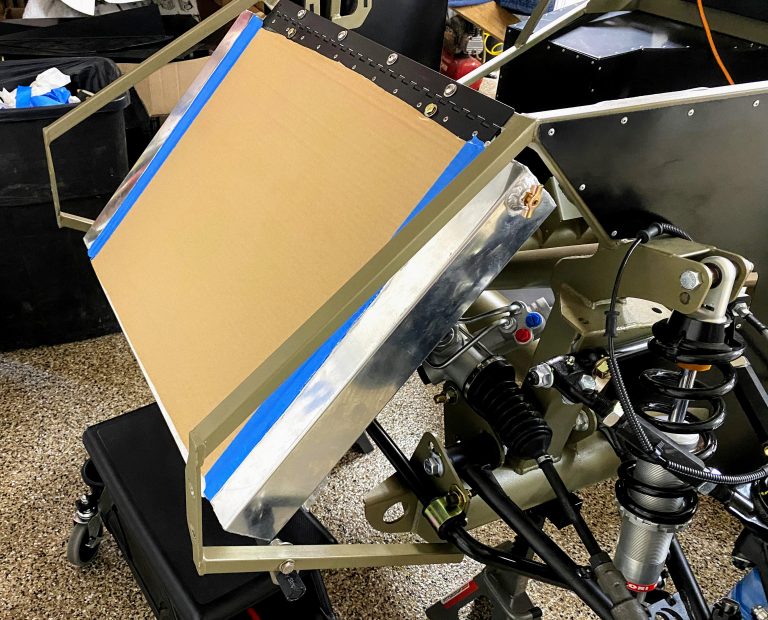
Rear cockpit wall prep
First, waiting for the ECU to arrive has been a patience test.
Ultimately, it still needs to get shipped!
Meanwhile, we still need to finalize the rear wiring.
So this required a little more planning and customizing.
Also, it created a whole lot of mess!
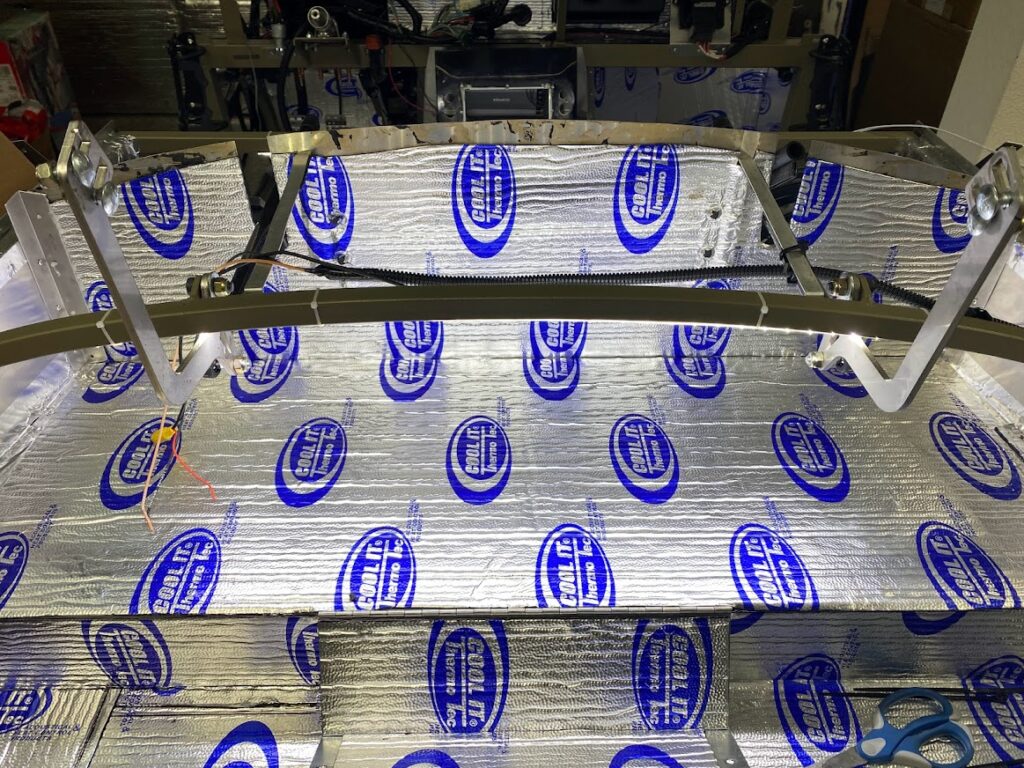
Next, mounting the rear cockpit wall needs trunk and cubby lighting ready.
Therefore, we finalized power for those circuits first.
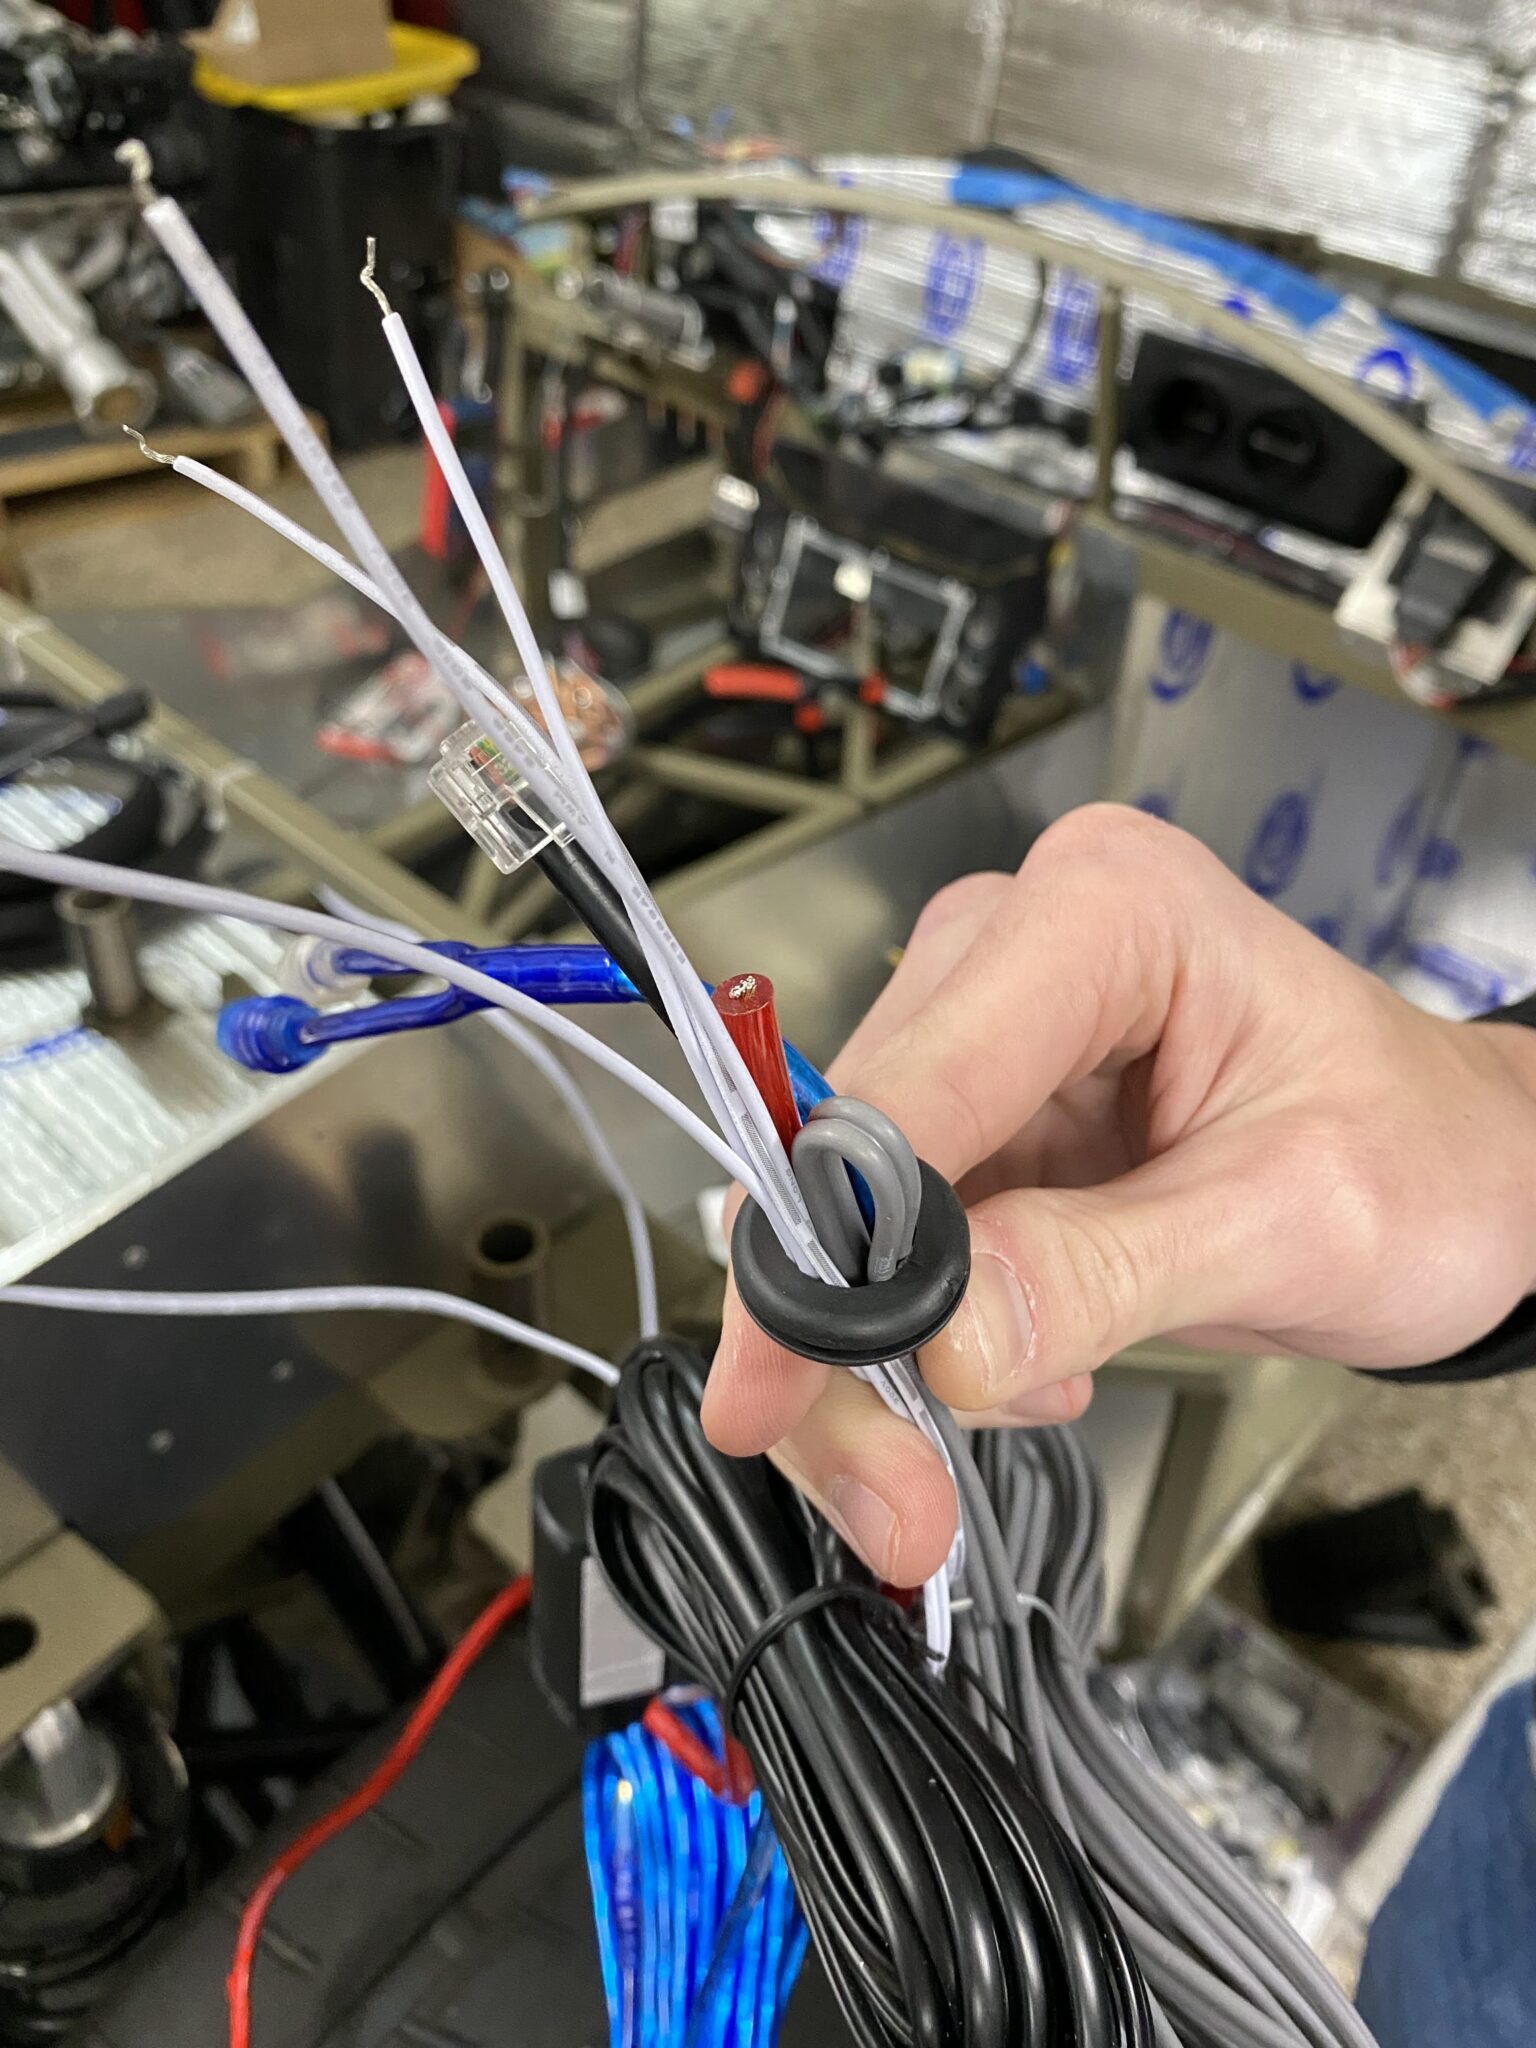
Then we had to determine the grommet size for the cubby wiring.
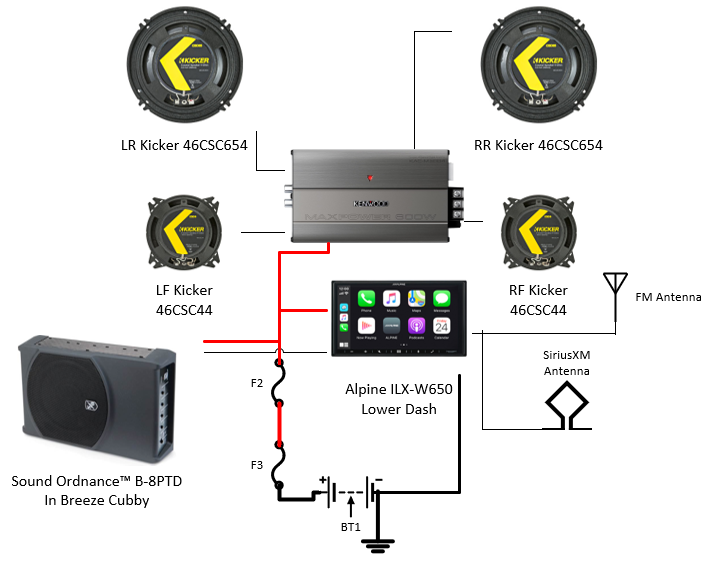
- (1) wire for LED lighting
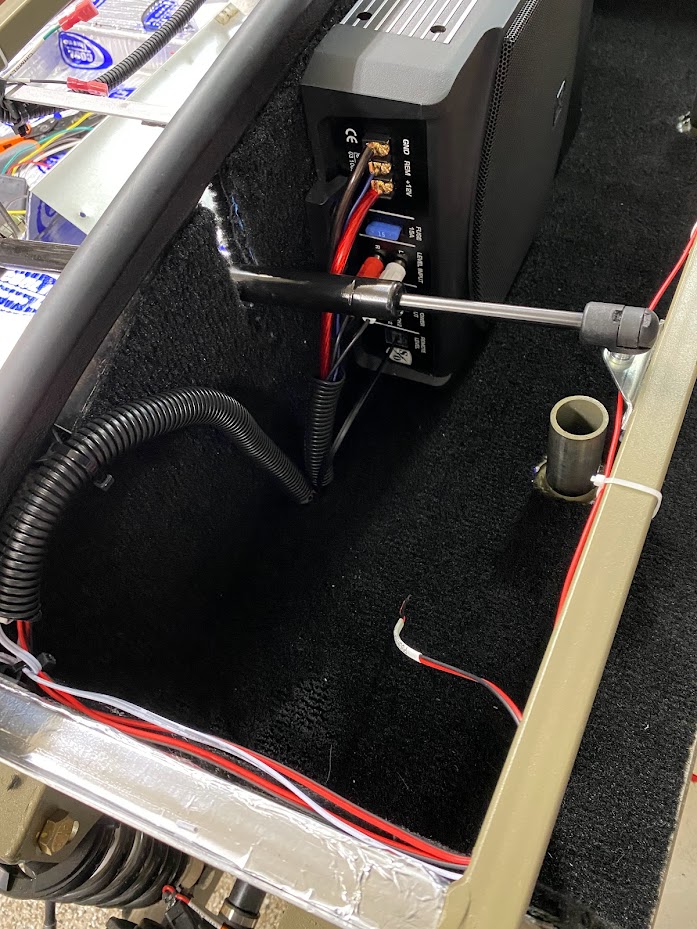
- (1) 8GA power wire for the subwoofer
- 2 sets of speaker wire
- (1) remote wire to turn on the sub
- A set of RCA cables for the audio path for the subwoofer
- (1) remote knob wire for the subwoofer gain
Grommet, LEDs, and CHMSL
A 3/4″ grommet fits the bill nicely here.
Next, we placed the hole in the trunk floor on the passenger side of the cubby.
As a result, the cables keep flexibility.
Also, that leaves enough storage space inside the cubby.
Meanwhile, I really like the LED strips that I found on Amazon.
For example, I have one in the trunk, one in the cubby, and one in each footwell.
Ultimately, these LEDs provide plenty of light!
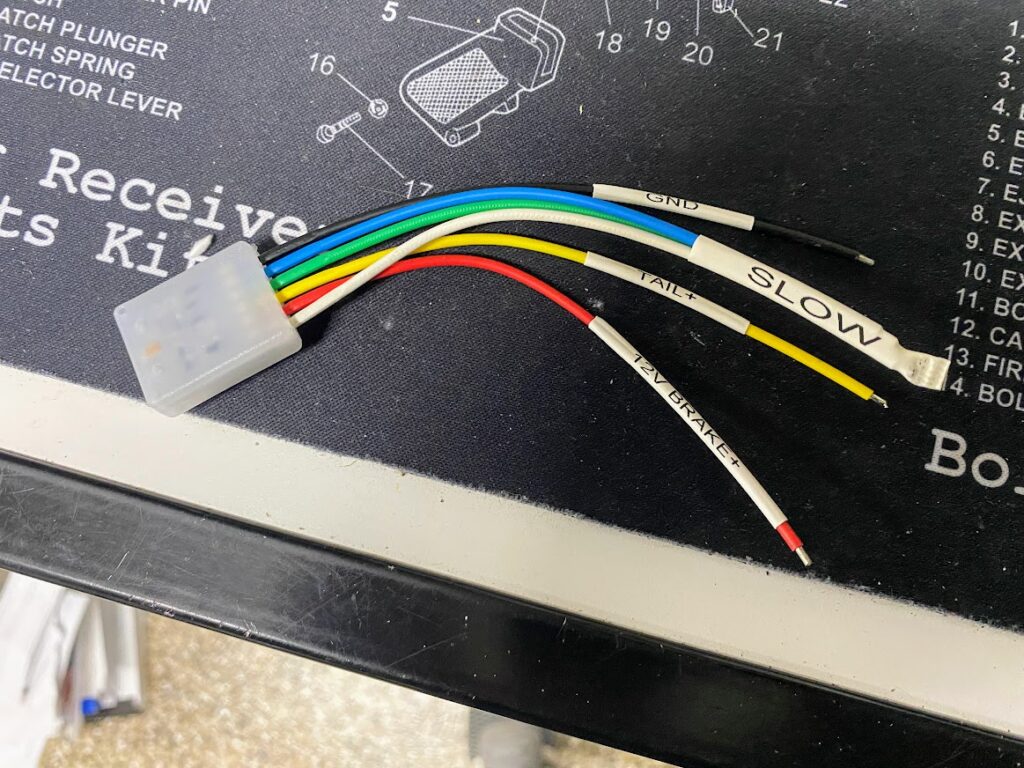
Besides that, I added a 3rd brake light flasher.
Therefore, the CHMSL gets a little more safety.
Trunk and cubby wiring
Carpet trim and adhesive
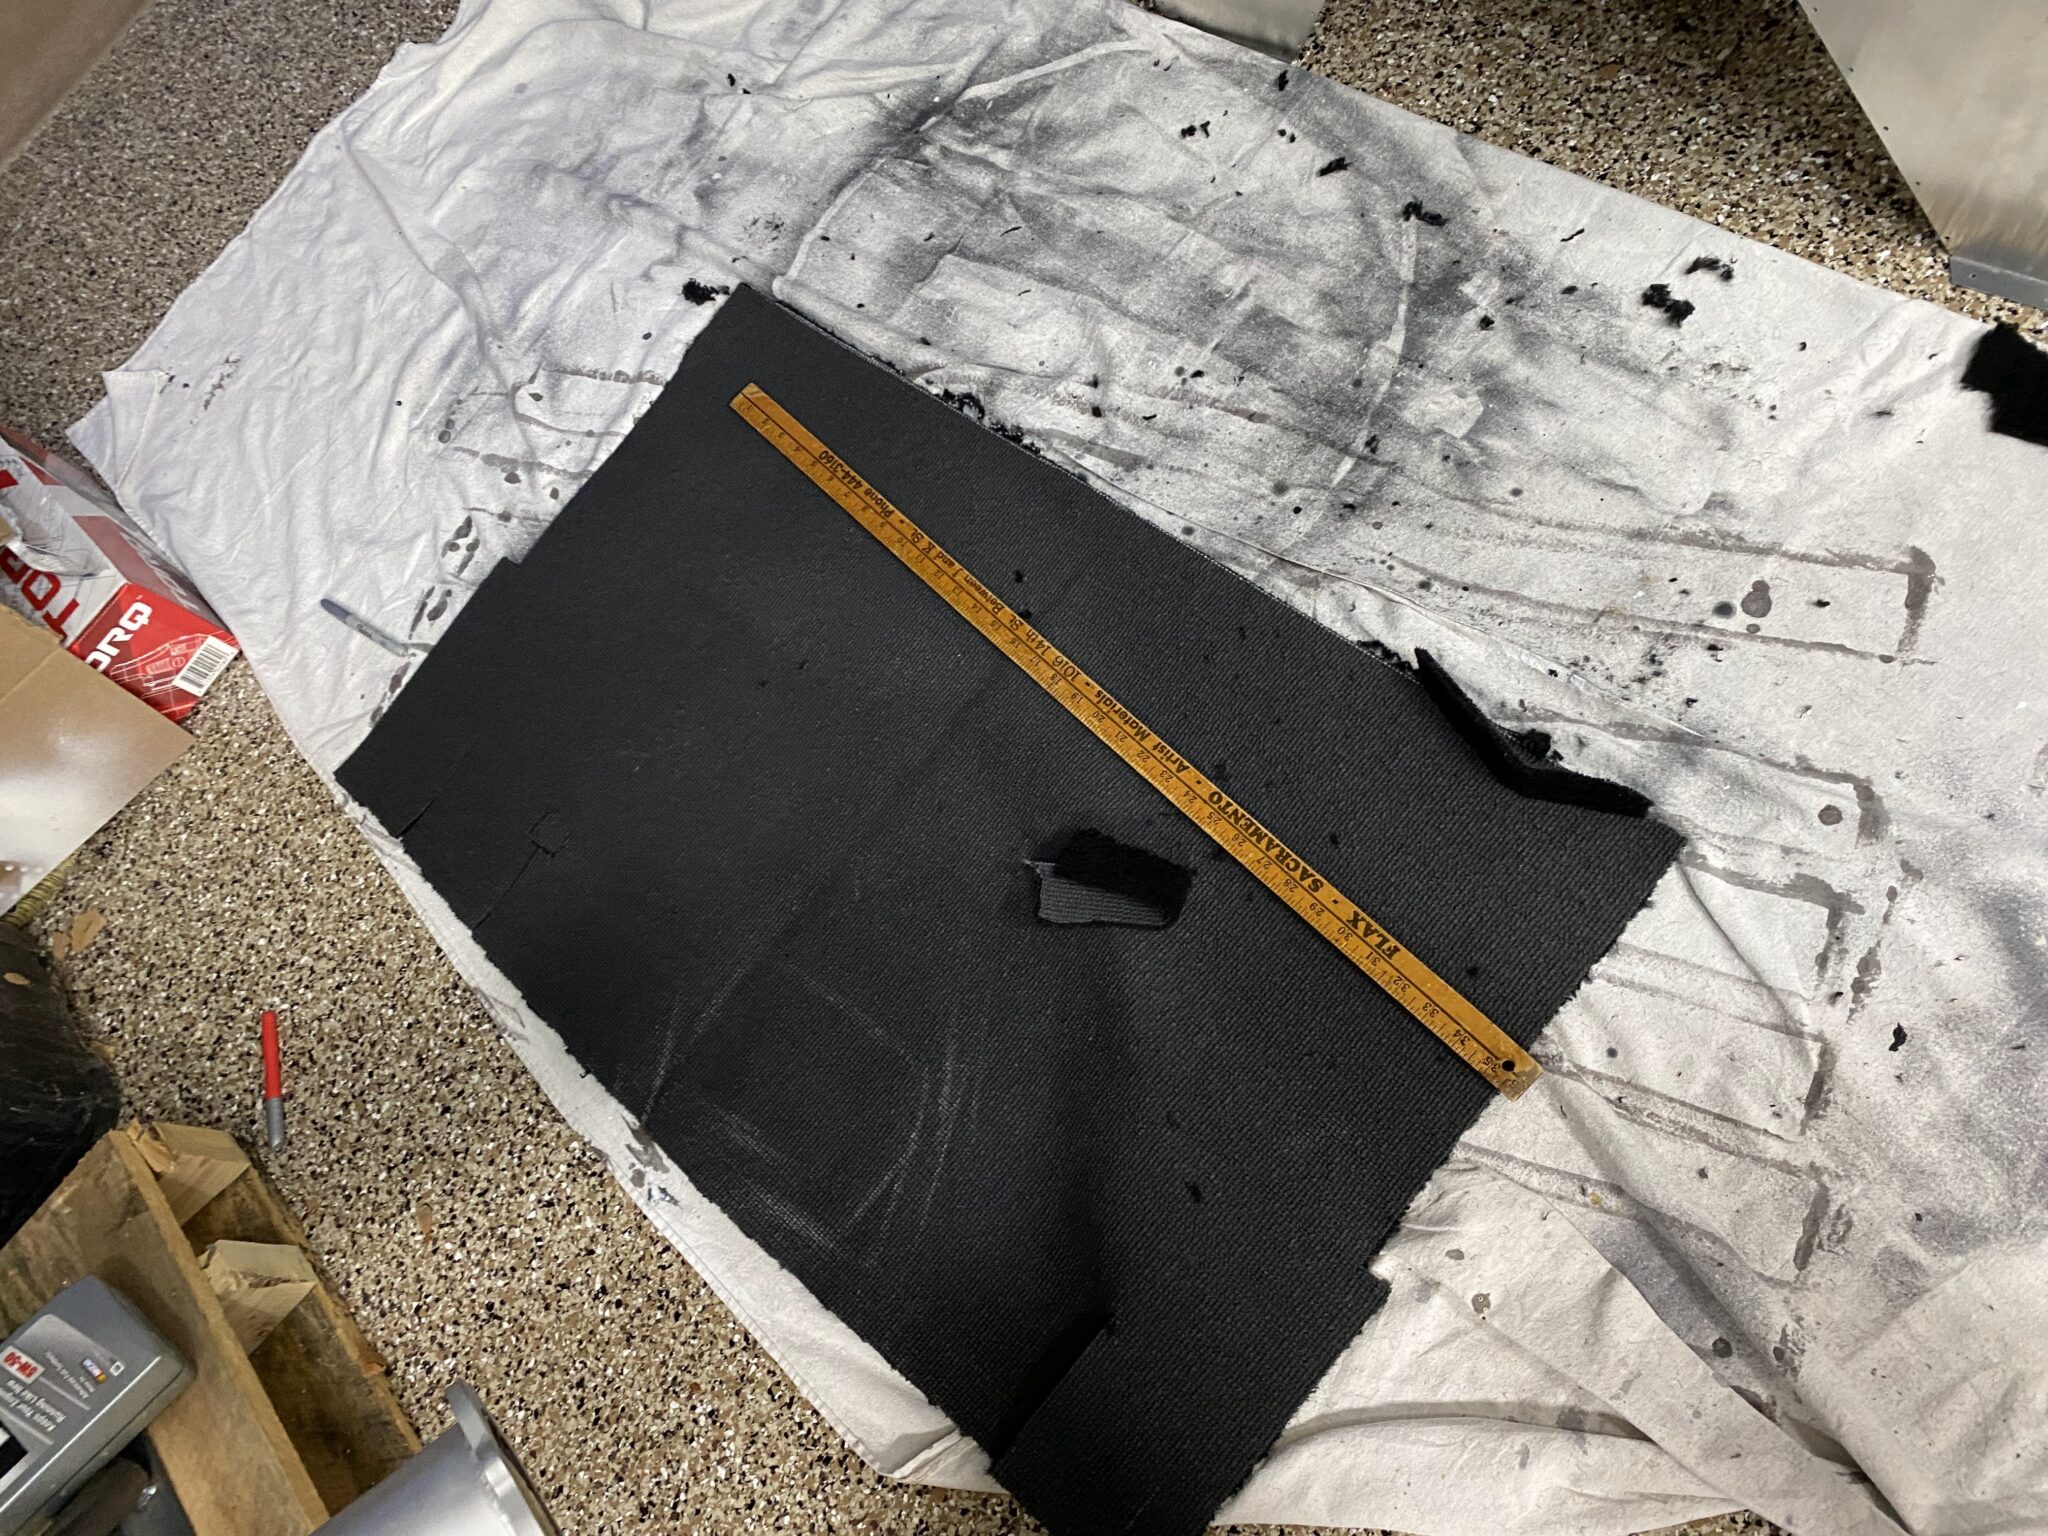
However, trimming the carpet is a messy situation.
Because the carpet frays quite a bit, bits get everywhere.
So I am definitely getting a nice set of carpet scissors.
In other words, that will make future cuts easier.
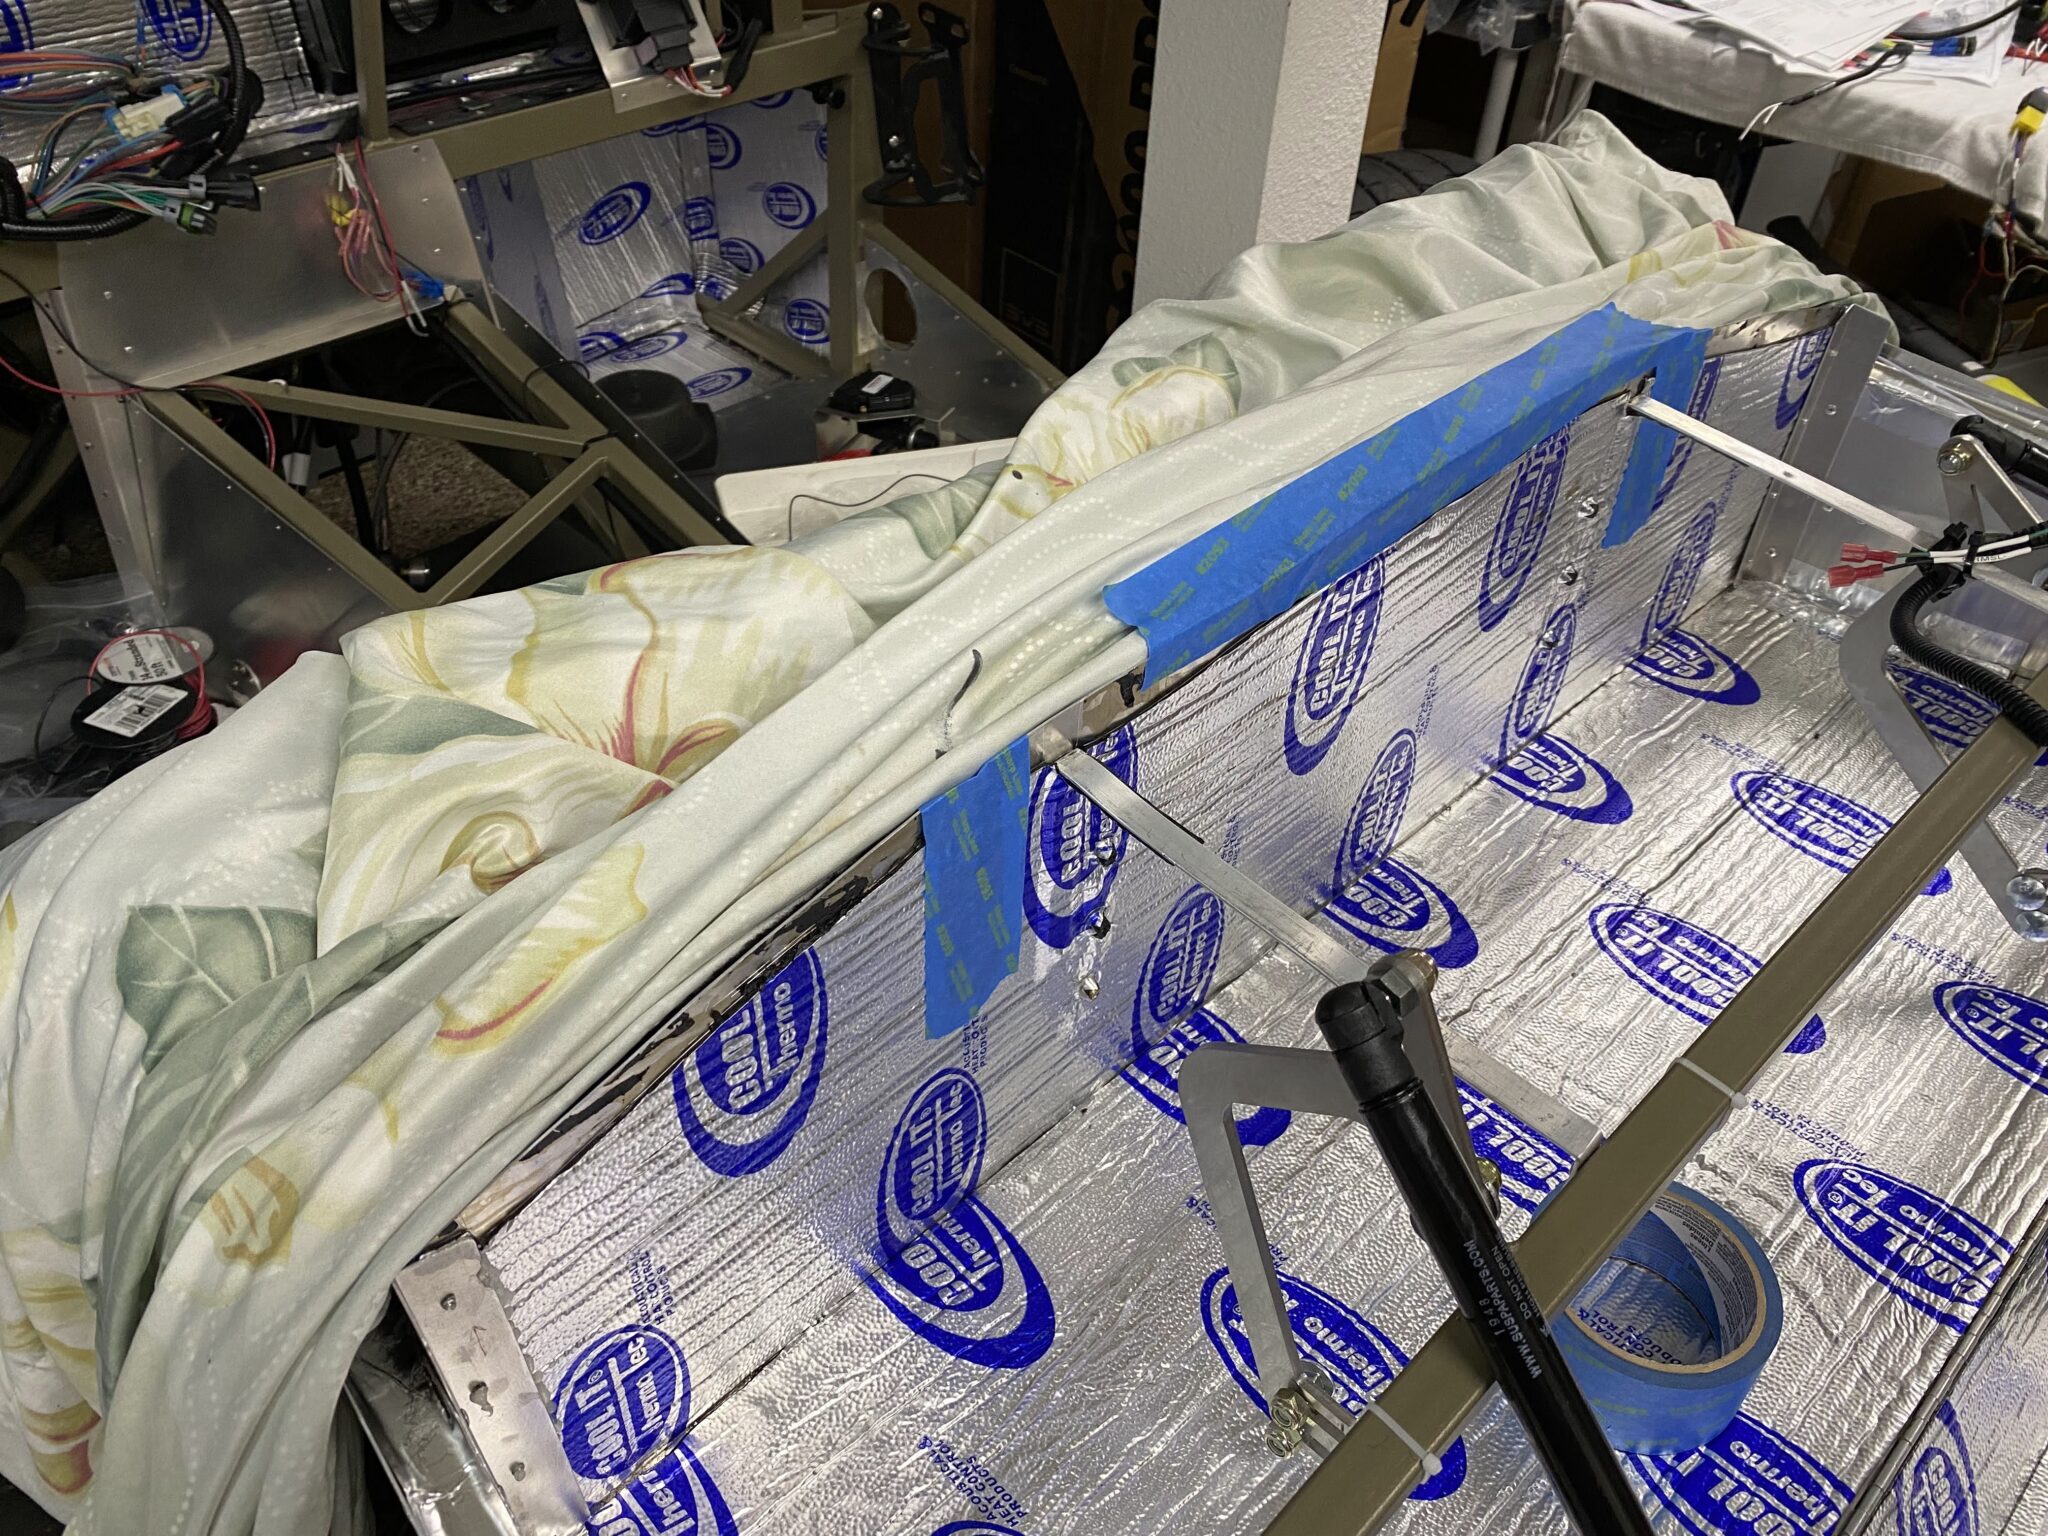
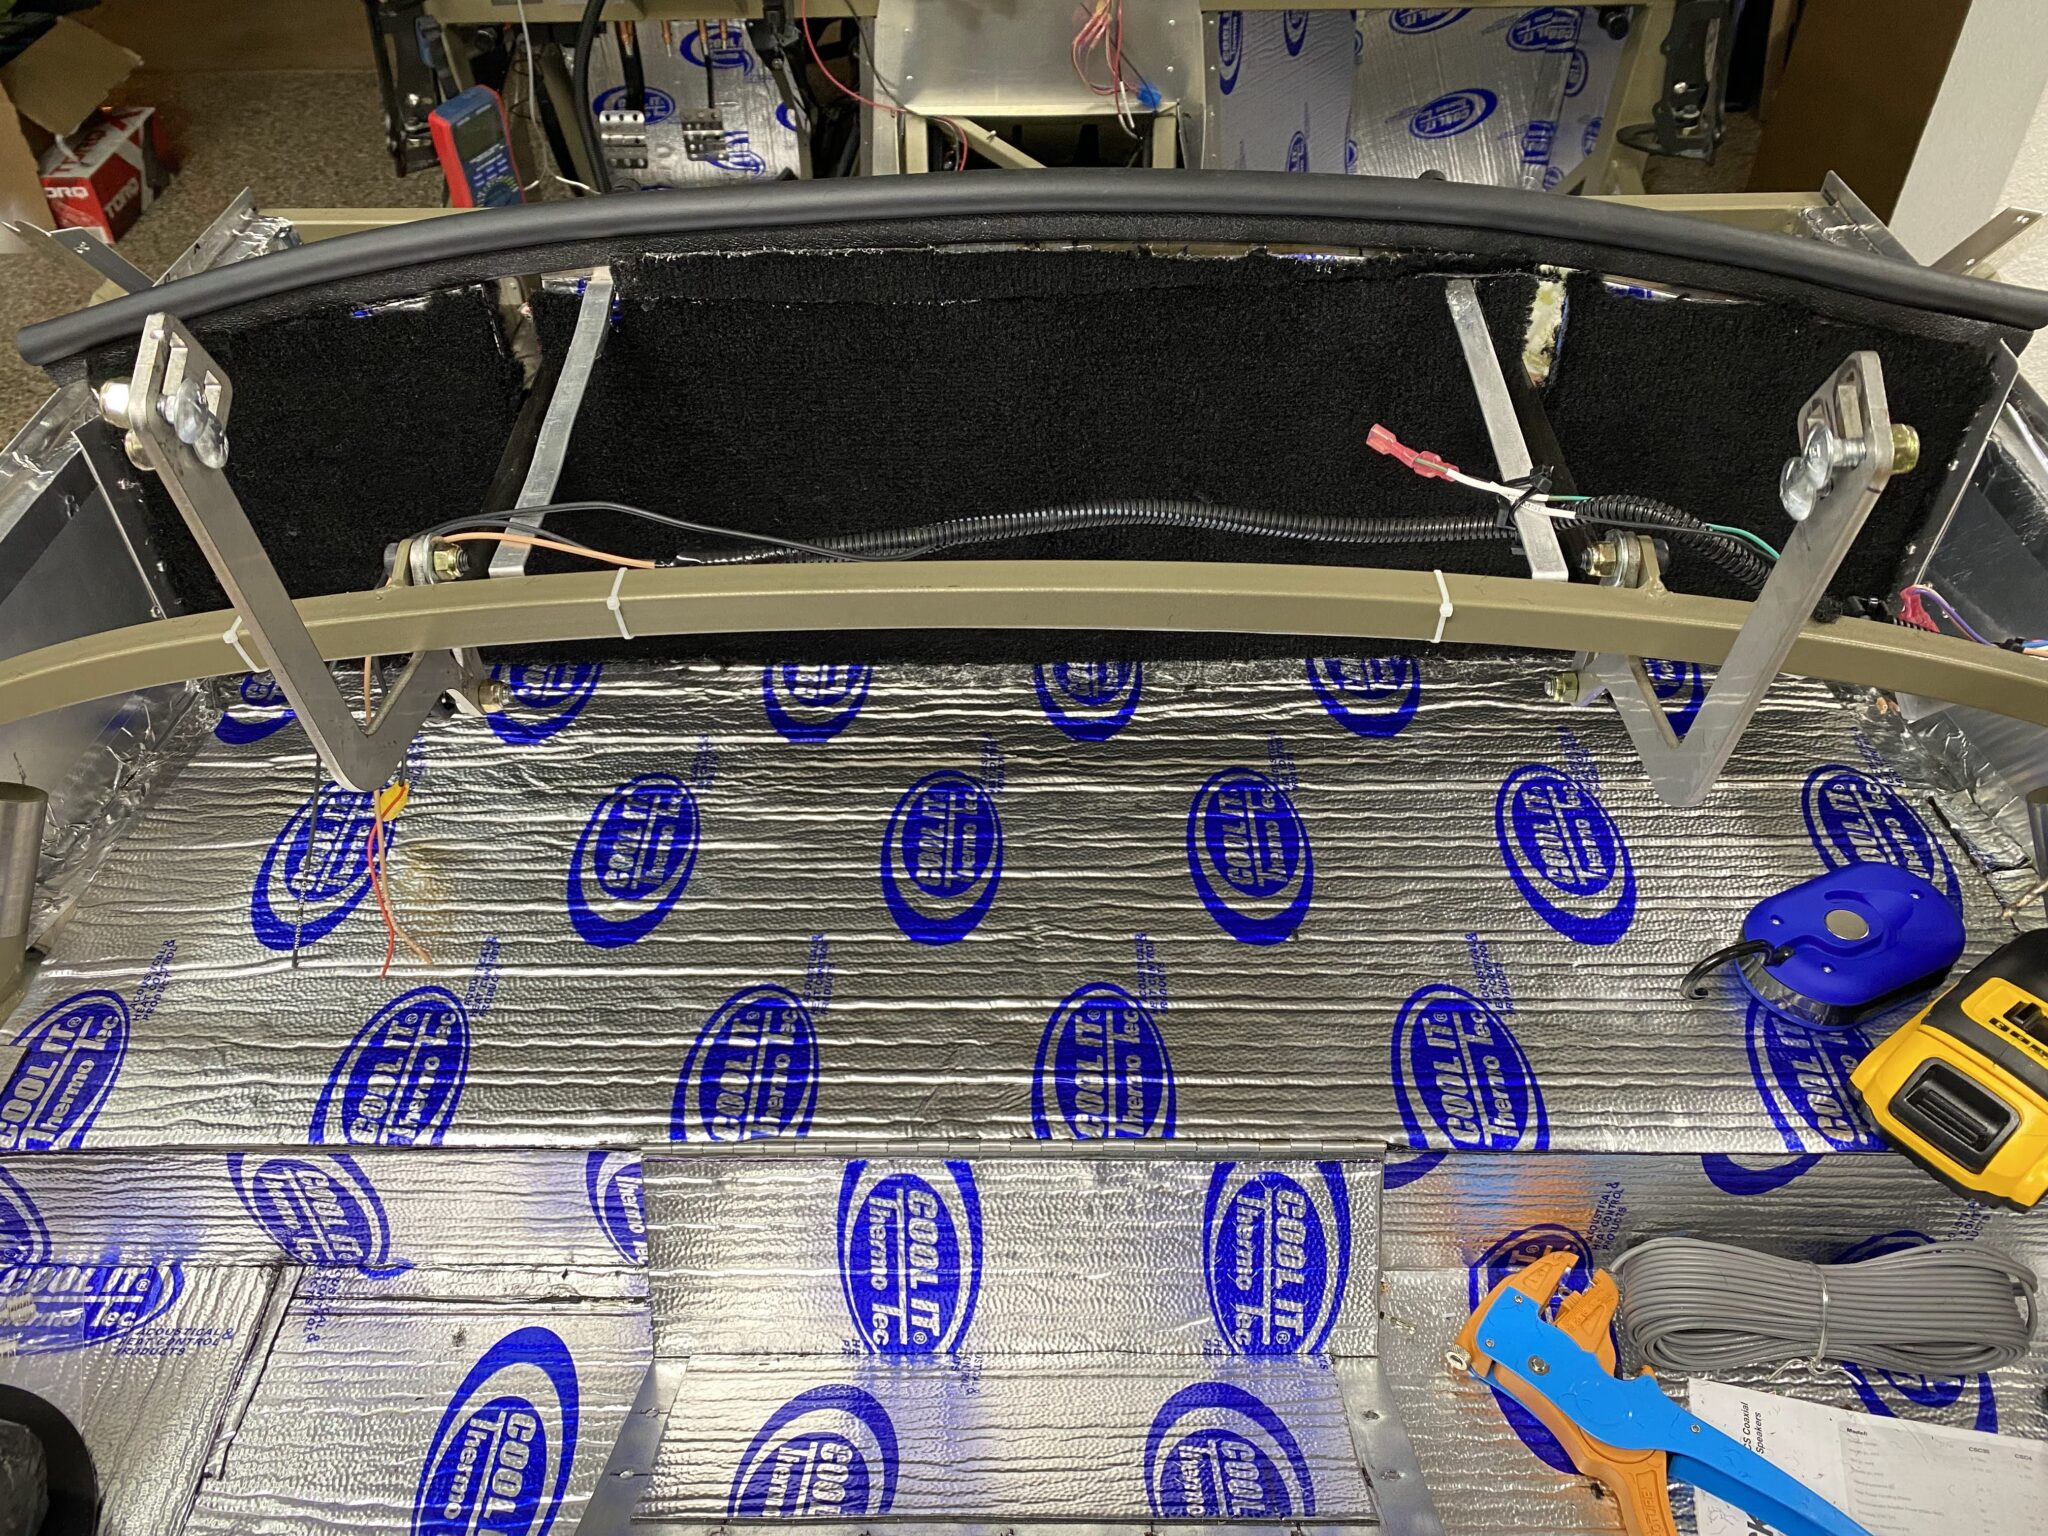
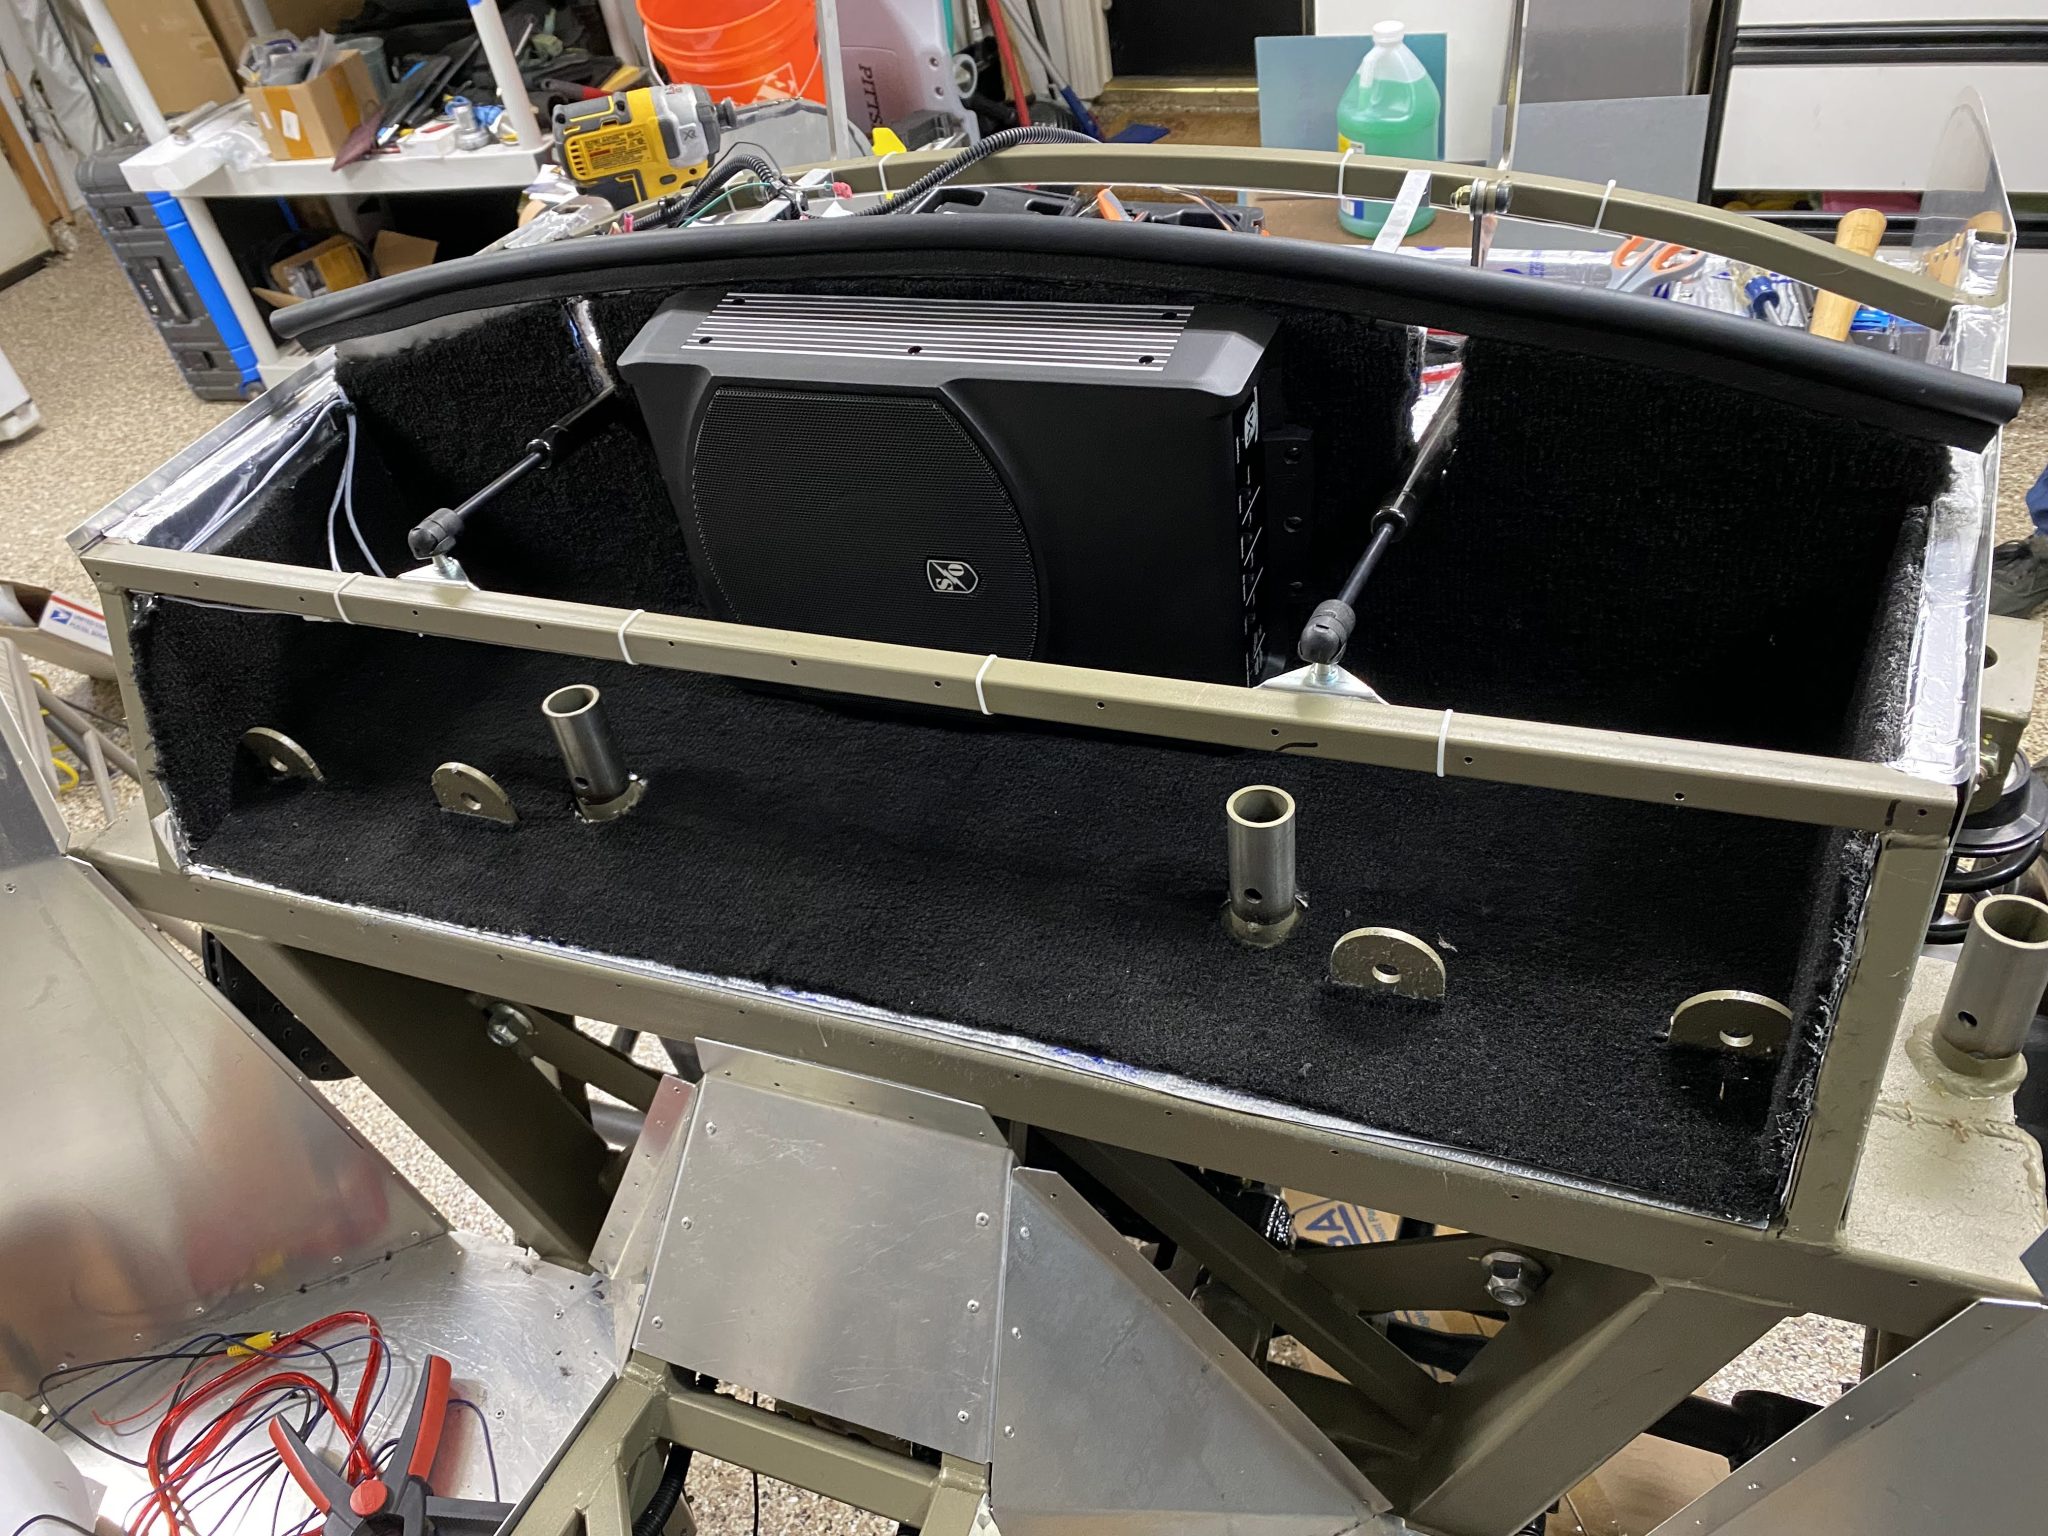
Next, installation is simple enough.
First, spray 3M Hi-Strength Spray Adhesive 90 on the carpet.
Also, spray onto the surface.
Then let it get tacky and put the carpet in place.
Still, use gloves and a well ventilated area!
Loom chase and tidy-up
More split loom arrives today.
Then I hope to chase all the wiring from rear to front.
Once we finish that chase, we can install the cockpit wall.
After that, we can move onto the next phase!
Edit: I added the wiring in the last pic!
Meanwhile, I am trying to get everything tidied up and labelled.
Therefore, future troubleshooting should be easier.
Still, fingers crossed it will all work as tested!