Some electrical tips, tricks and tools!
This update covers electrical tips tools.
Related notes live on the Factory Five Cobra build hub.
electrical tips tools: What finally worked for our wiring
My son and I went bonkers on wiring. First we tried all kinds of connectors and heat shrink. Then we finally landed on a few solid options. This is nothing new for veterans. However, this is the biggest wiring project I have ever done. Therefore I wanted to share with the crew. Also, these electrical tips tools saved us hours.
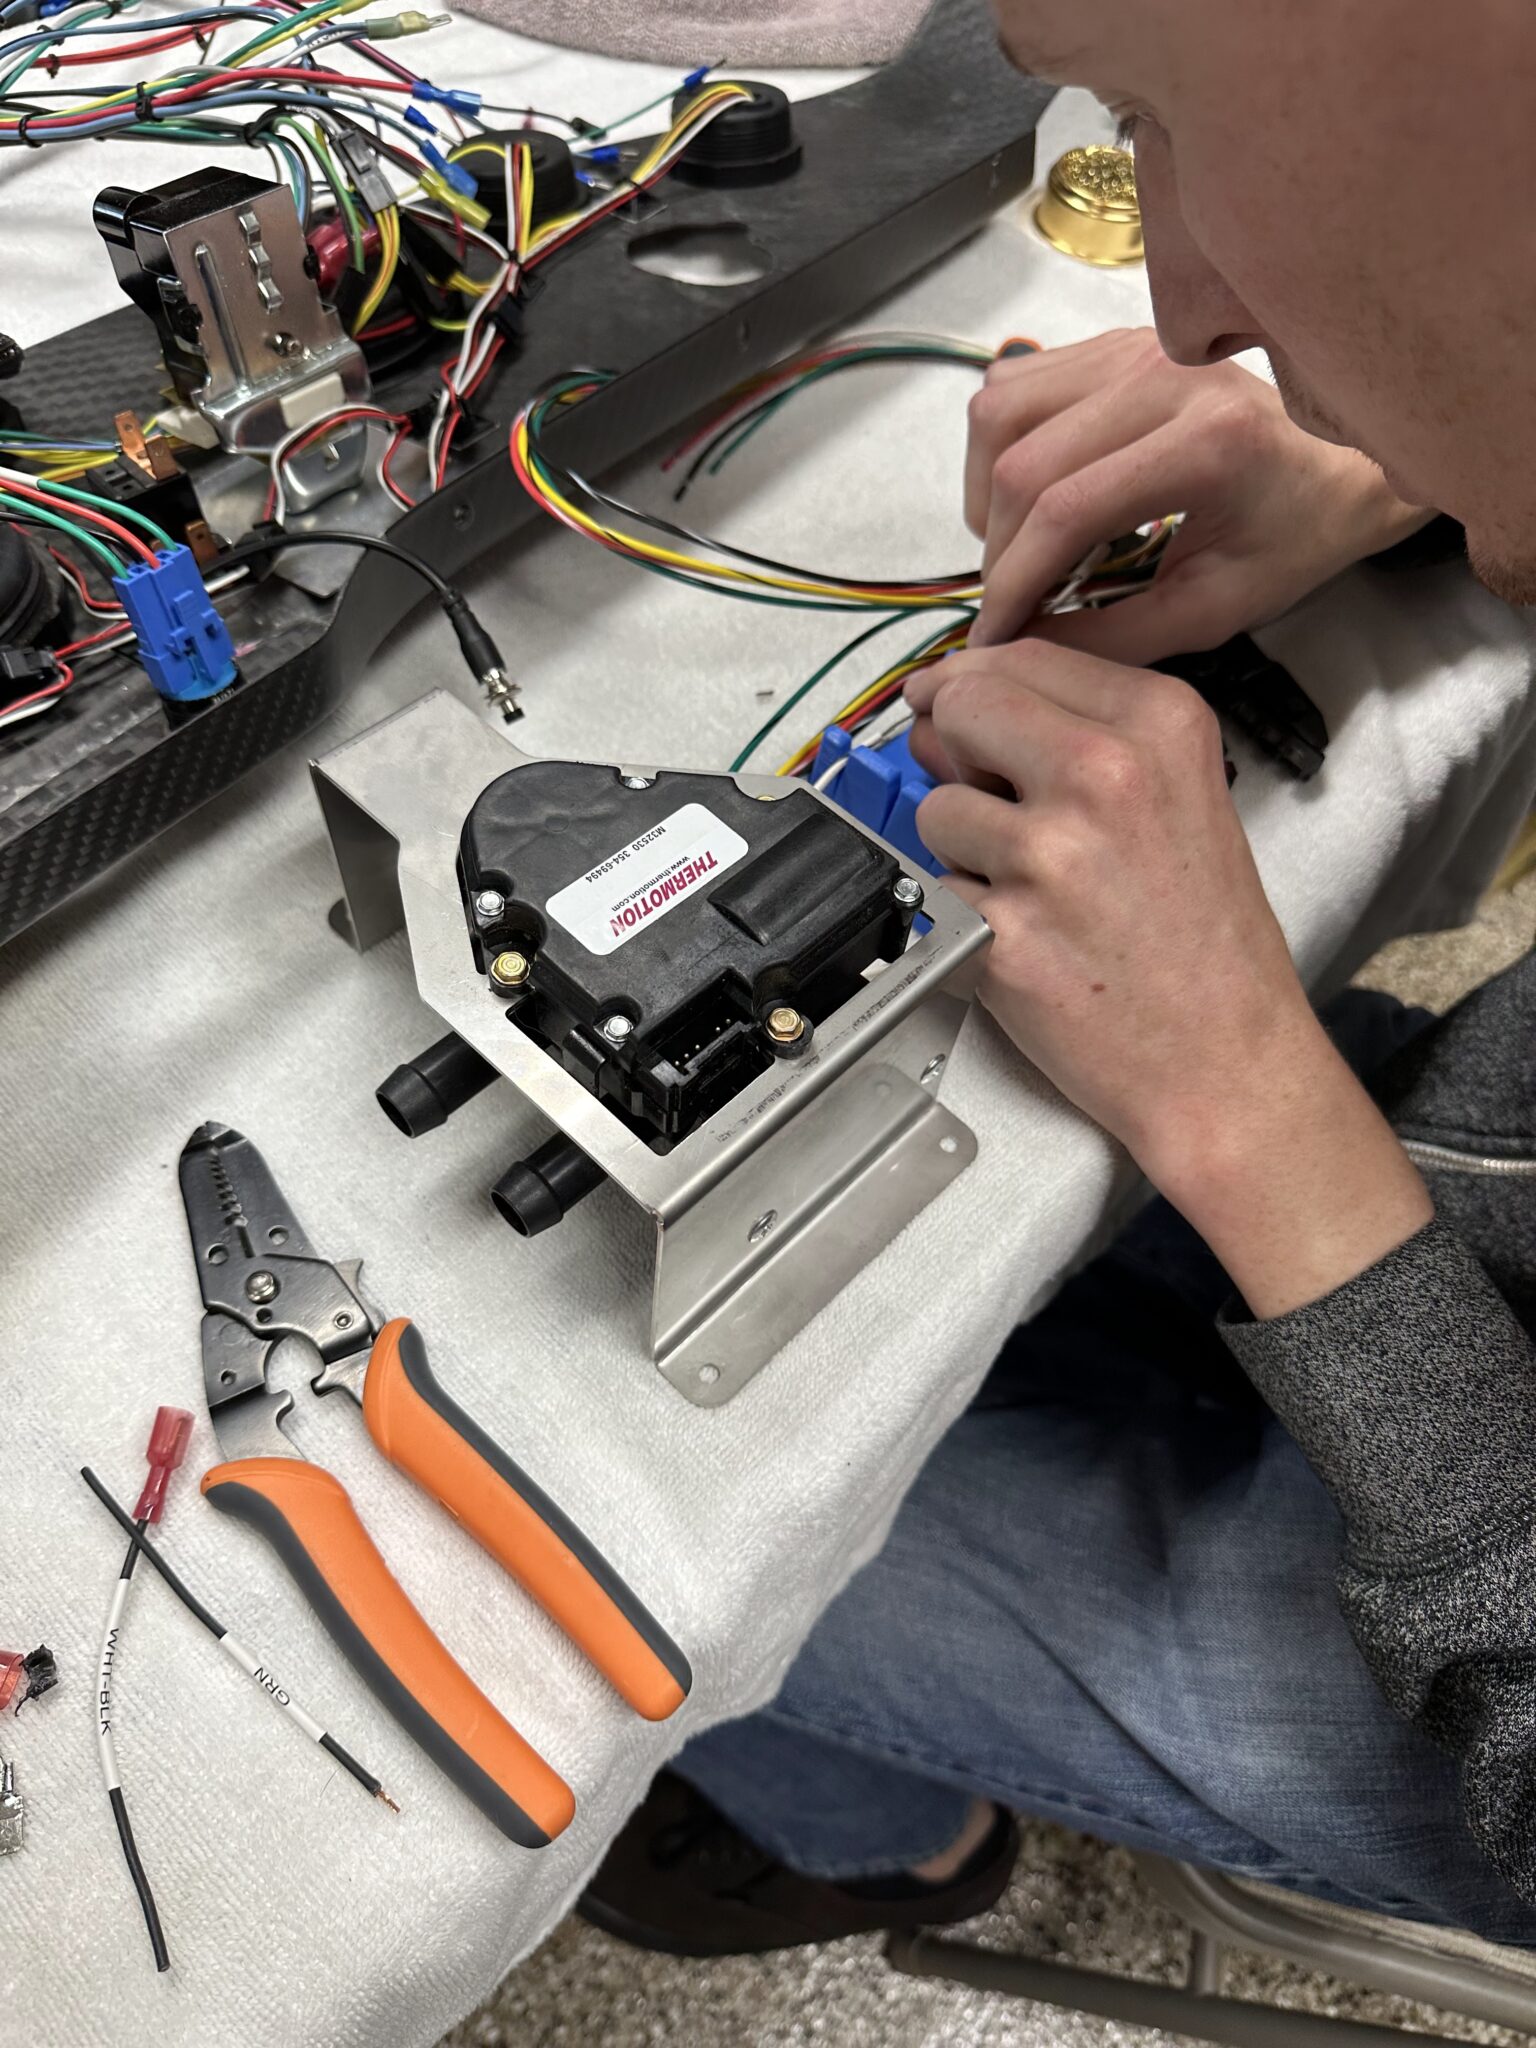
Our goal is simple. First, solder where the joint is permanent. Also, keep disconnects behind the dash. Besides that, the RF harness Nylon connectors failed us about 70% of the time when we crimped them. So we switched. The RF team must use a different tool. In other words, they probably use a specialized electrical crimp tool.
Here is a quick reference to the tools and products we use. First, they have been critical for us. Then, hopefully they help you too. We get a small portion from these links. Therefore please use them to feed the need for more tools! <3
Solder setup that travels the garage
TS100 station and heat shrink
Solder setup – we used this because of the programmability options.
It heats up very quickly. Also, it stays fully portable anywhere in the garage. Ultimately all of that costs about $140.
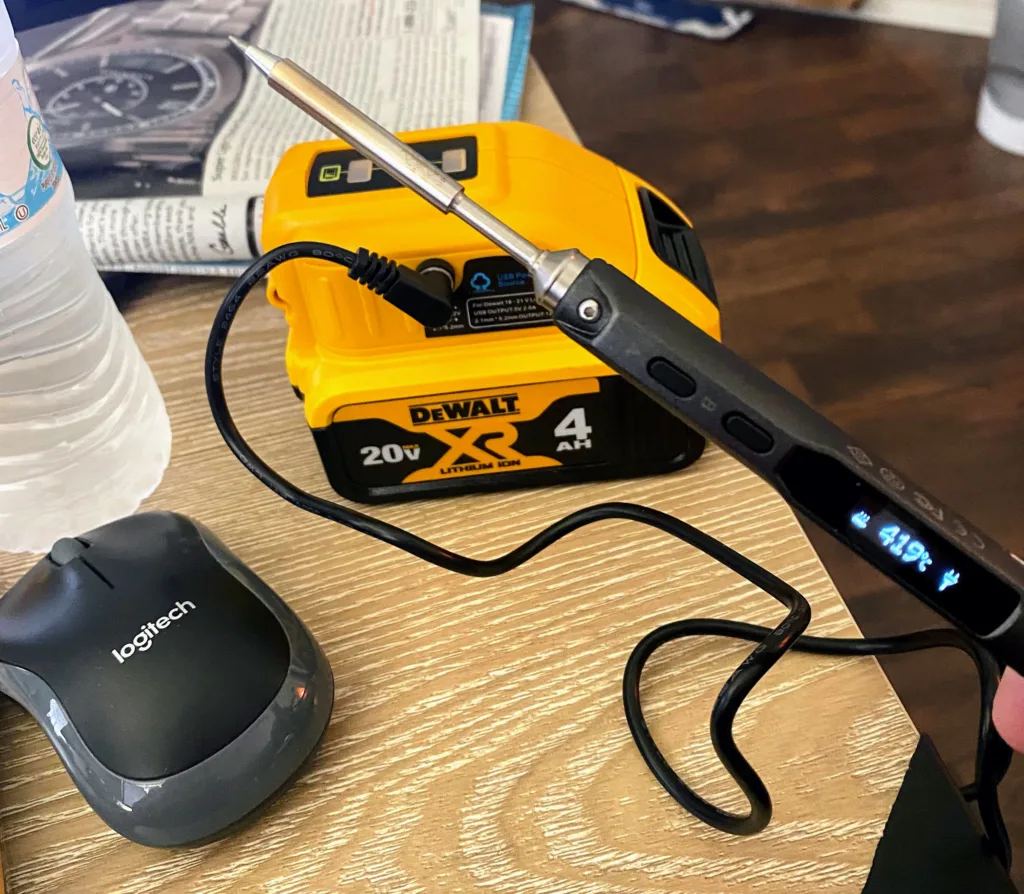
TS100 Digital OLED Programmable Soldering Iron Station $68.
DeWalt 18V/20V Lithium Ion Battery,TS100 Soldering Iron, USB Charger $20.
Kester Pocket Pack Solder 60/40 0.031 $17.
Soldering Ion Tip Cleaning Wire and Holder Coiled Brass Sponge Tip Cleaner $14.
Also, I just recently got Helping Hands Soldering Station $22.
Next, get a Wirefy Heat Shrink Tubing Kit – 3:1 Ratio Adhesive Lined, Marine Grade Shrink Wrap. It costs about $14. As a result, you get a watertight seal!
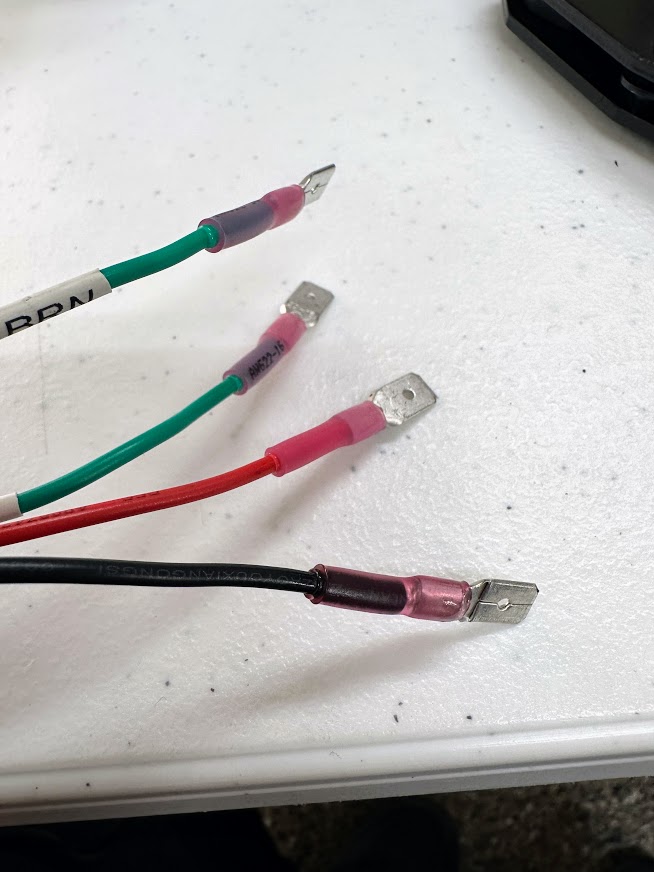
Solder seal connectors and Breeze pigtails
I also played with these Solder Seal Wire Connectors ~$22. For example, they include their own heat shrink and solder in the joint.
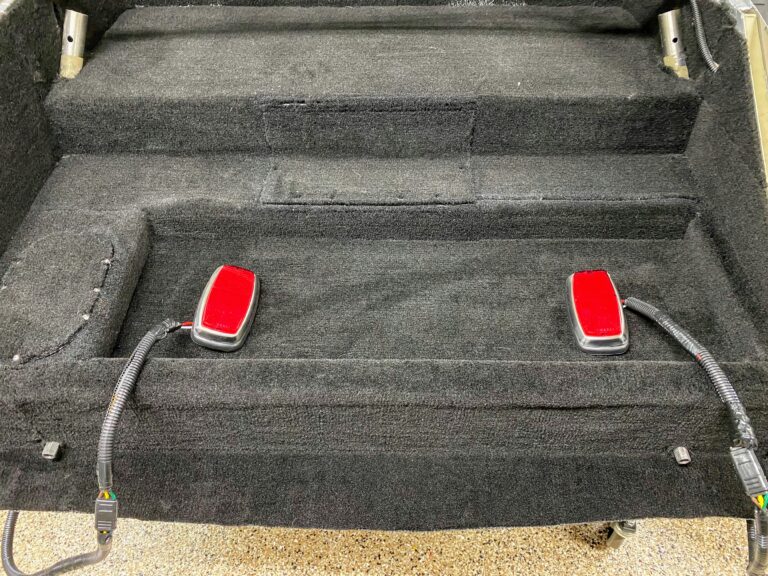
They work really well once you learn the technique. However, be careful with a heat gun in closed spaces. Otherwise you can melt nearby trim. I melted some carpet by accident :). Also, the pic shows one section of the Head and Tail Light Wiring Kit, Quick Disconnect from Breeze Automotive. That brings me to connectors!
Connectors for exterior, interior, and big cable
Exterior weather-pack style
Connectors:
There are so many 12V connector types it can feel overwhelming. Preference matters. Still, amperage requirements matter more. Here is a good ampacity chart.
Next, we used three connector types: Exterior, Interior, and Copper Lug.
Exterior (for example, could get wet) connectors – tried and true Weather Pack parts are excellent. Likewise, the pigtail setup in the Breeze kit works great.
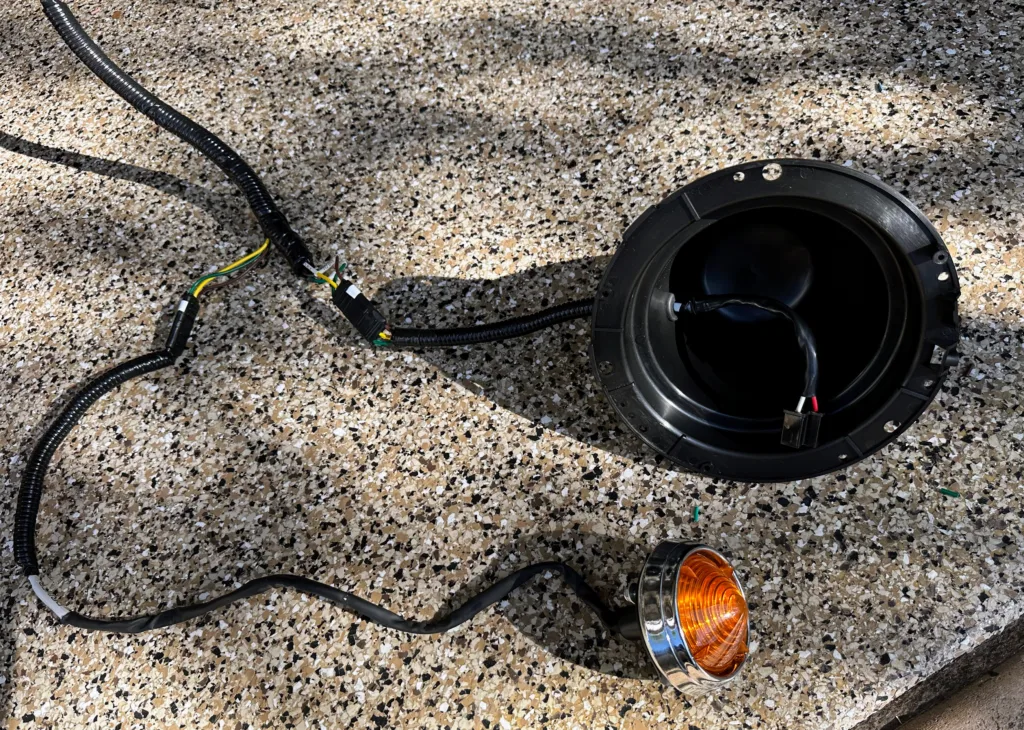
2 Pin Connector for 20-14 AWG Wire Connectors 2.5mm Series Waterproof Connector Electrical Sockets.
So that set is $10.
You can use the IWISS Ratcheting Crimping Tool Set 8 PCS – Quick Exchange Jaw for Heat Shrink, Non-Insulated, Open Barrel, Insulated and Non-Insulated Ferrules AWG 20-2.
Also, that tool set is $45.
Interior spade tips and Wirefy kits
Interior – spade and/or ring connectors. Meanwhile these have advanced quite a bit over time.
Pro tip especially for thinner wires: First tin, then crimp, then heat.
- Add some solder to the wires, this is called tinning. This process helps to give more surface for a better mechanical crimp
- Slip the heat shrink glue infused connector, if tinned, it should feel like a solid wire fitting into the connector perfectly
- Lastly, using a heat gun, you shrink the connector, and hold it for a few more moments. The glue melts and covers the joint
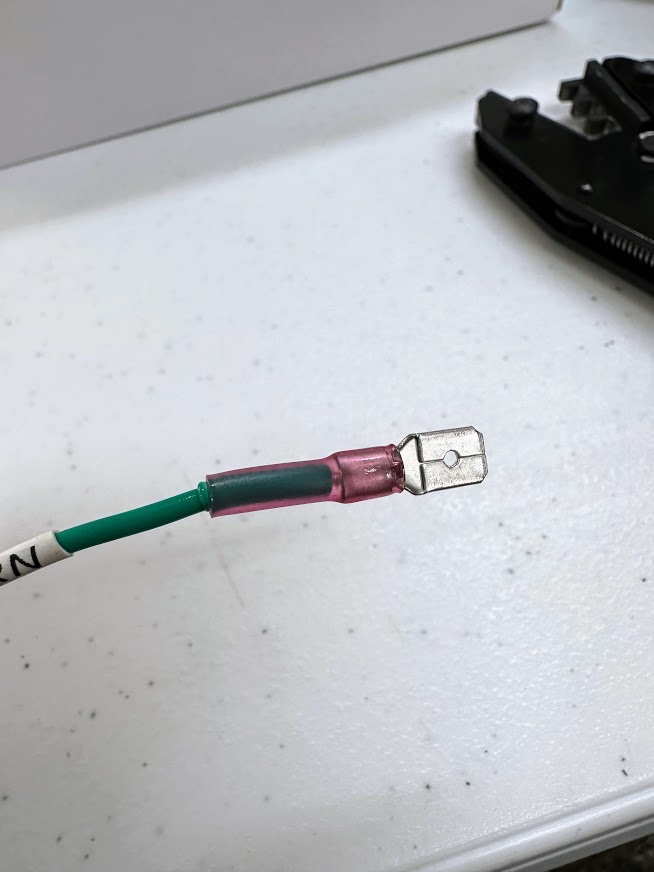
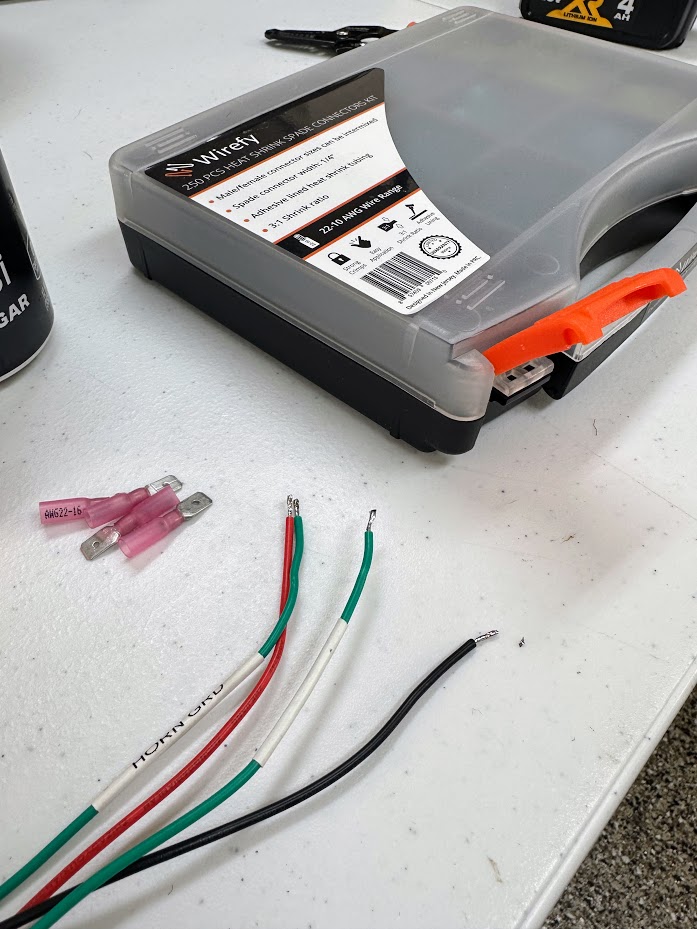
You can see a little glue bulb at the connector base. Then those joints are solid. The only way to separate them is to cut or destroy the connector. Ultimately that is perfect!
The Wirefy brand has not failed me in the pics above. Therefore I highly suggest it, or a close variant.
So it is $28 and comes with a nice case!
Likewise, that kit is $55.
2.8mm 2 3 4 6 9 Pin Plug Housing Pin Header Crimp Electrical Wire Terminals Connector.
Also, it is $17. Great for quick disconnects behind the dash.
Likewise, you can use the same IWISS Ratcheting Crimping Tool for these connectors as well!
Copper lugs and wire labels
Copper Lug/Large Gauge Connectors – anything larger than 10 gauge. Think engine bay or high-power transfer.
Copper Wire Terminal Connectors, AWG 2 4 6 8 10 12 Ring Lug Kit with Heat Shrink $15.
For this setup you need a Hydraulic Crimping Tool and Cable Cutter Hydraulic Cable Lug Crimper 8 US TON 12 AWG to 00 (2/0) Electrical Terminal Cable Wire Tool Kit with 9 Die.
Then that tool kit is $49.
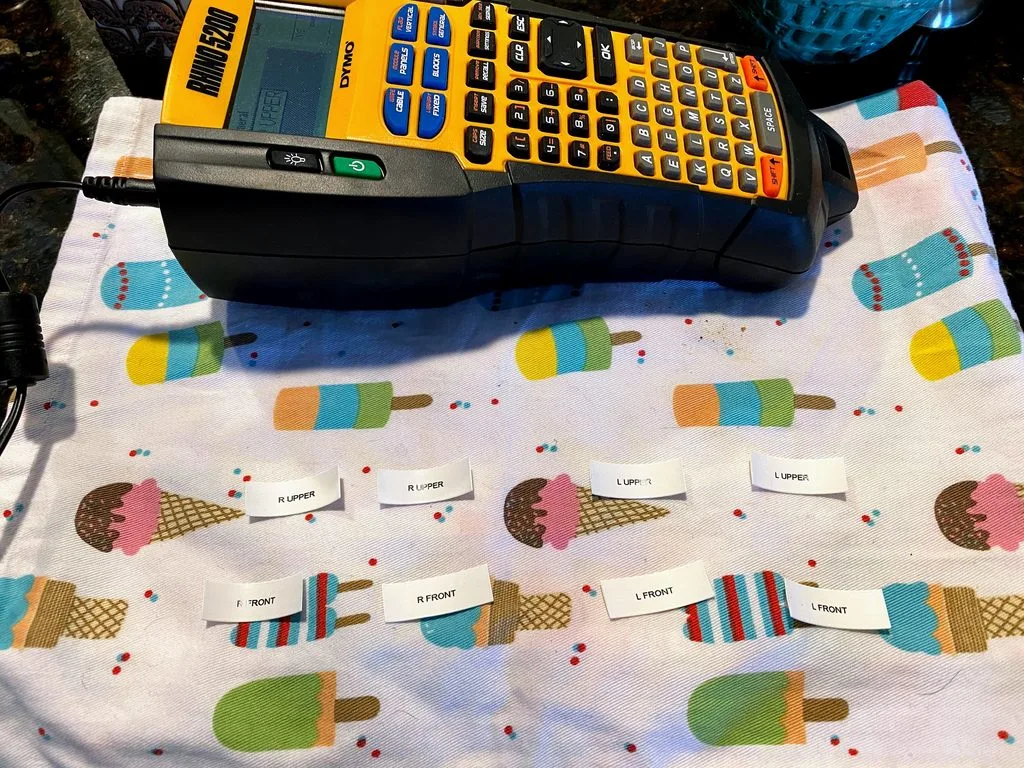
Lastly, we label almost every wire we touch.
This is probably one of my favorite tools in the build. First, the RHINO 5200 Label Printer Kit is pricey ~$167. However, it does a great job! As a result, our own wiring looks as good as the RF kit!
Hopefully this is helpful. Also, I would love feedback from the forum. I am still a novice electrical guy. Still, I wanted to share what is working well!