More wiring, engine bay work, and new fuse panel
This update covers even more wiring.
Related notes live on the Factory Five Cobra build hub.
even more wiring: Coyote harness diet and reuse
I put about seven hours in yesterday. Still, it feels like we are miles away! First I reached out to the forums for Coyote wiring answers. Thanks guys! Steps below.

Fuel pump, fog lights, and start wire
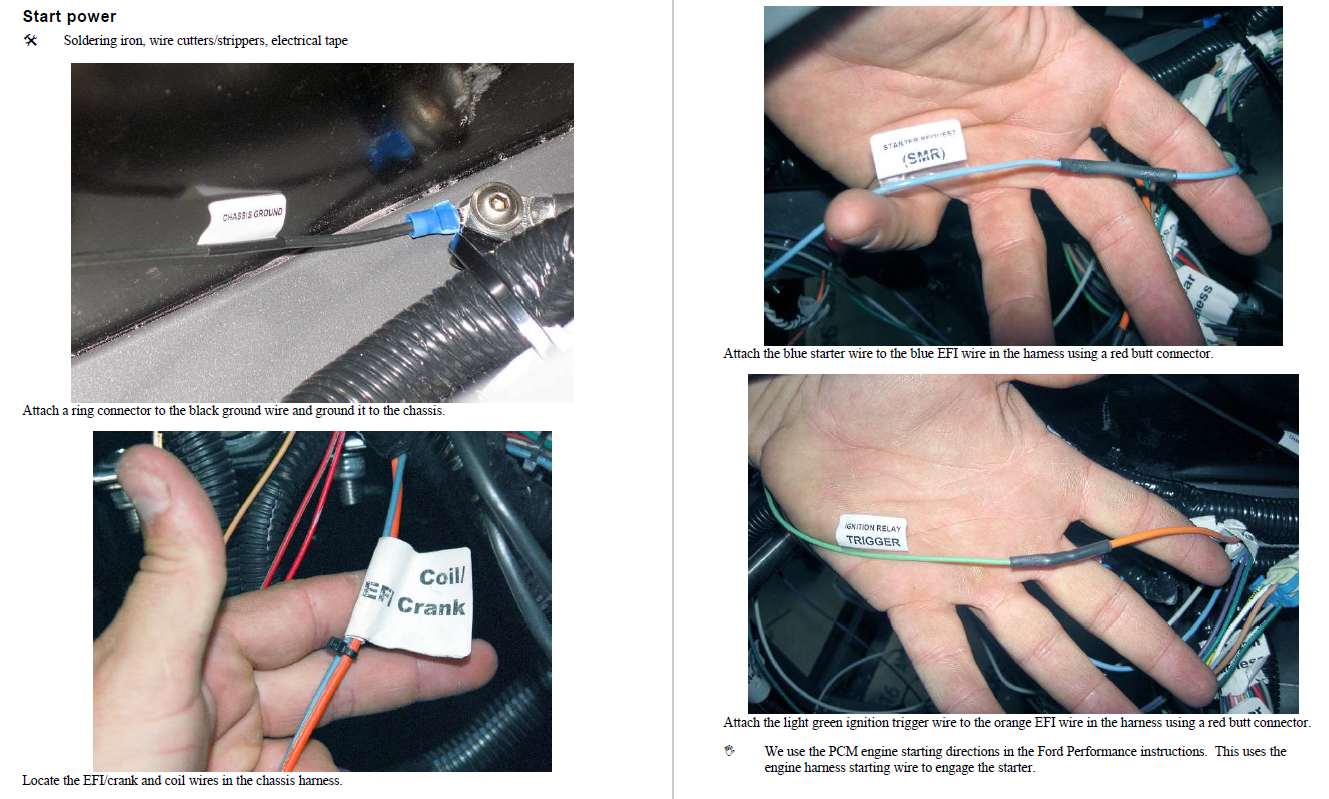
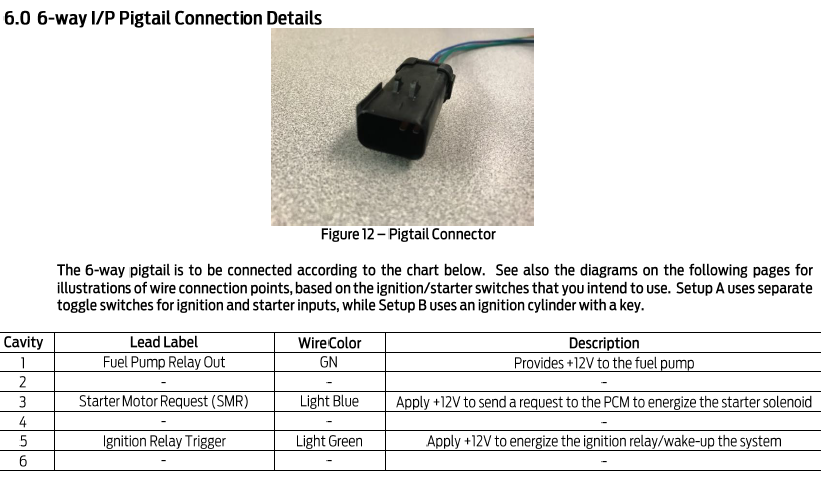
In the directions, I already cut the fuel pump wire between the fuse and the relay. Next we reuse the EFI/COIL orange wire for fog/driving lights. As a result, we keep a 15A circuit. Then we used the electric choke wire for Coyote 12V+ ignition power. Our kit labels it “toggle.” The directions call it “trigger.” Either way, it feeds 12V power. Also, the blue start wire from the RF harness goes to the Coyote “SMR” wire. After that we dieted several harness segments. We measured, verified, tested, measured again, then cut and soldered with labels and heat shrink. Ultimately it is easy to lose seven hours on even more wiring!
Digital Guard Dawg keyless start
PBS-I kit and Ford pushbutton
We also finished Digital Guard Dawg keyless start with GPS wiring. Several folks on the forums use this setup. The PBS-I kit is not cheap. However, it is a solid keyless start setup! I opted for the Ford pushbutton as well. Likewise, I got a vinyl overlay so it stands out in the center console.
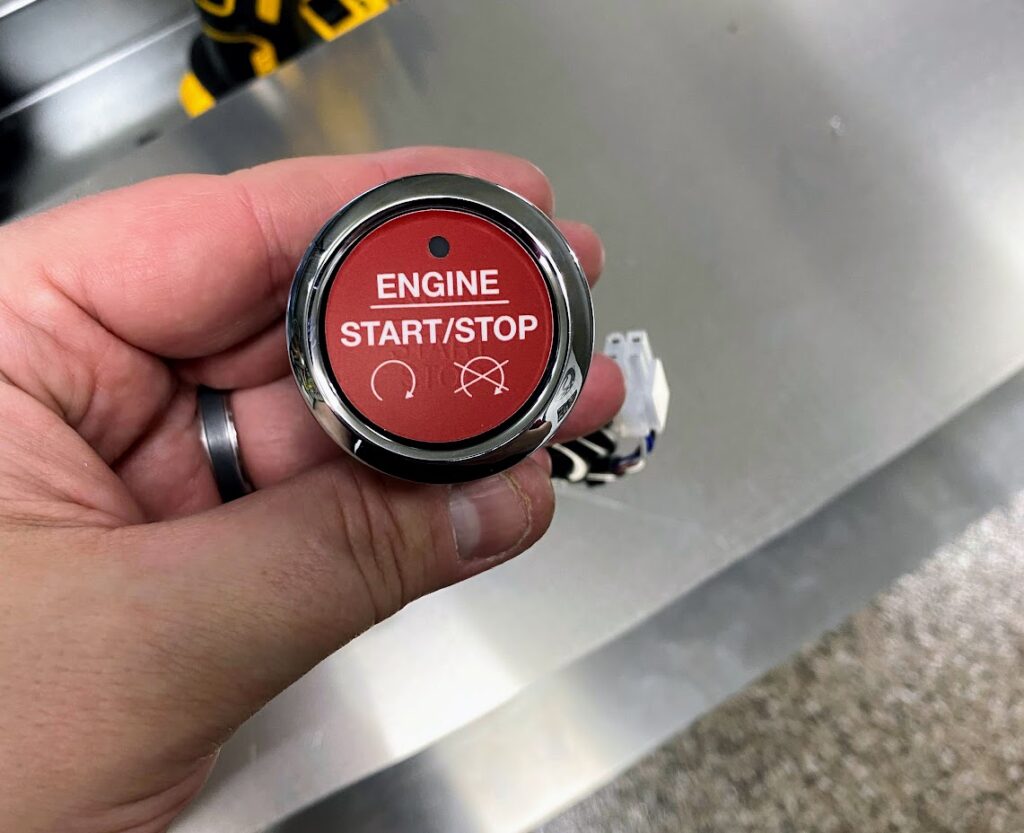
We installed the main unit a few weeks back. Still, we needed to finalize the GPS unit and the theft relay.
Behind-dash mount and bus bars
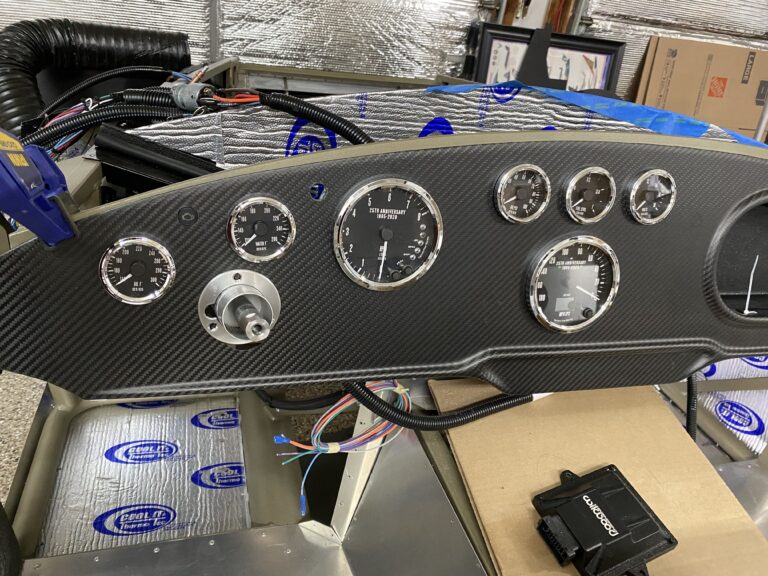
Here is a behind-the-dash pic of the mount we created. Then we placed the DGD main unit, the DGD relay, and the ground and 12V bus bars on that panel. Meanwhile it is getting cramped back there!
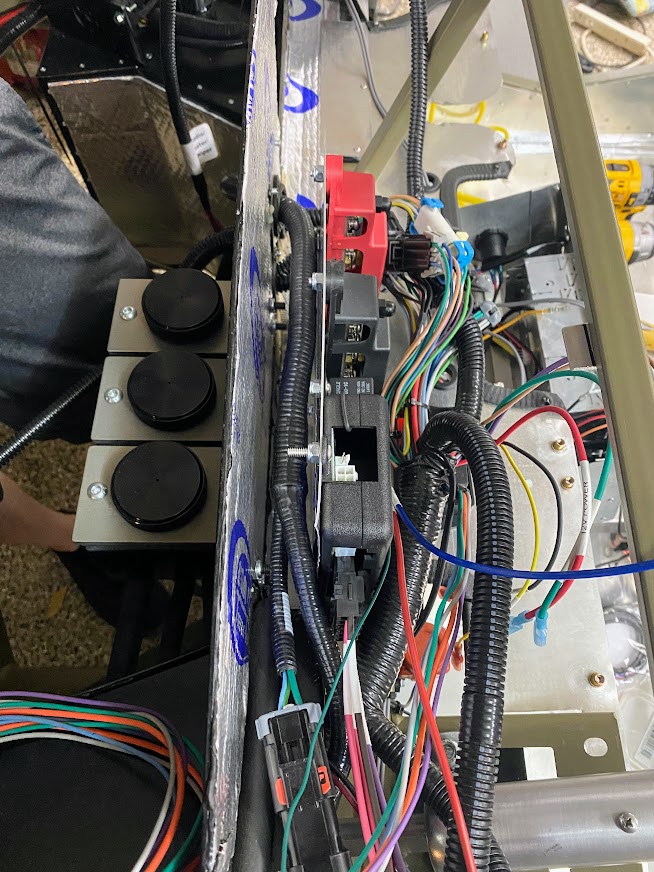

My son did a great job making the pushbutton removable. We did this for all nine items in the lower console box. First we used crimp connectors. Then we turned hard-mounted parts into pluggable components. Because of that, we can service things later!
Heat shield tape in the engine bay
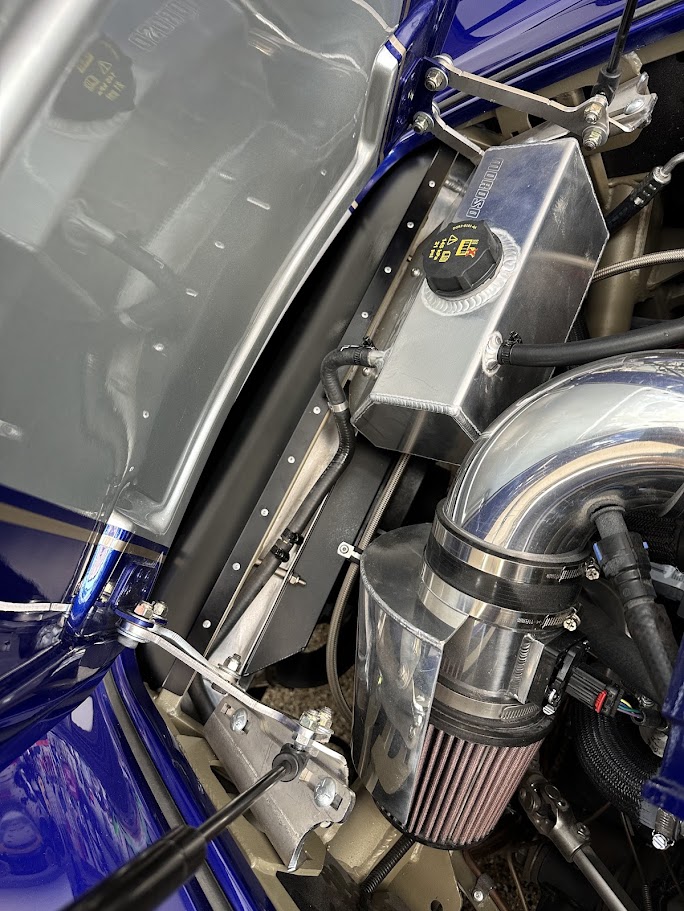
While he soldered, I moved to the engine bay. Then I used aluminum tape to seal the Zero Clearance heat shield. As a result, the edges stay protected. Also, the bay gets a more industrial look.