FFR Radiator installation
This update covers FFR radiator installation.
Related notes live on the Factory Five Cobra build hub.
FFR radiator installation: Frame prep and powdercoat
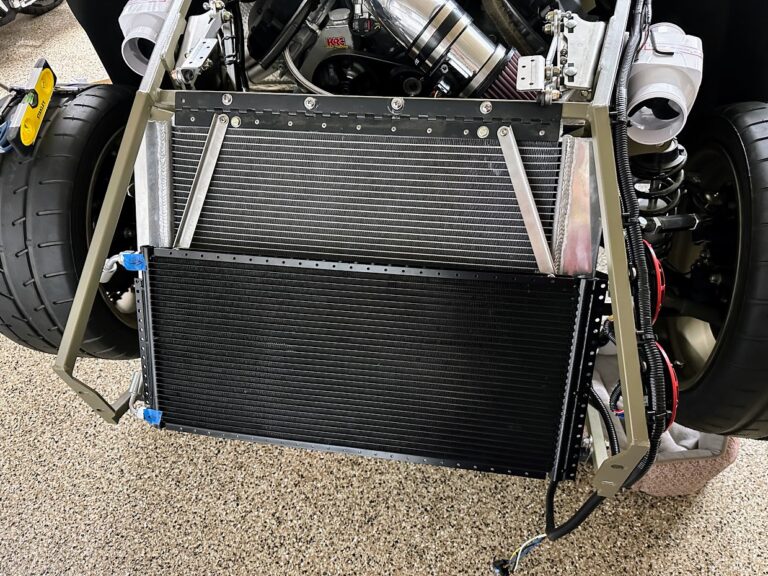
It has been a slow couple of weeks. Still, I aligned and installed the radiator onto the chassis. First, I chose the Breeze Automotive Heavy Duty Hinged Radiator/Shroud Mounting Kit. Also, I got the lower radiator support kit. Then I added the radiator fan shroud. Ultimately, these are high quality parts!
Powdercoat and nutserts
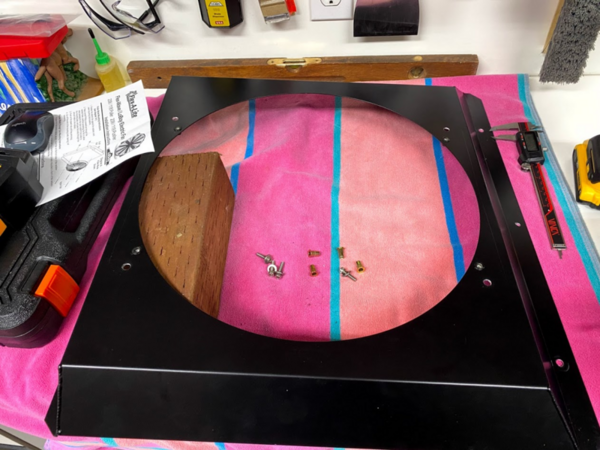
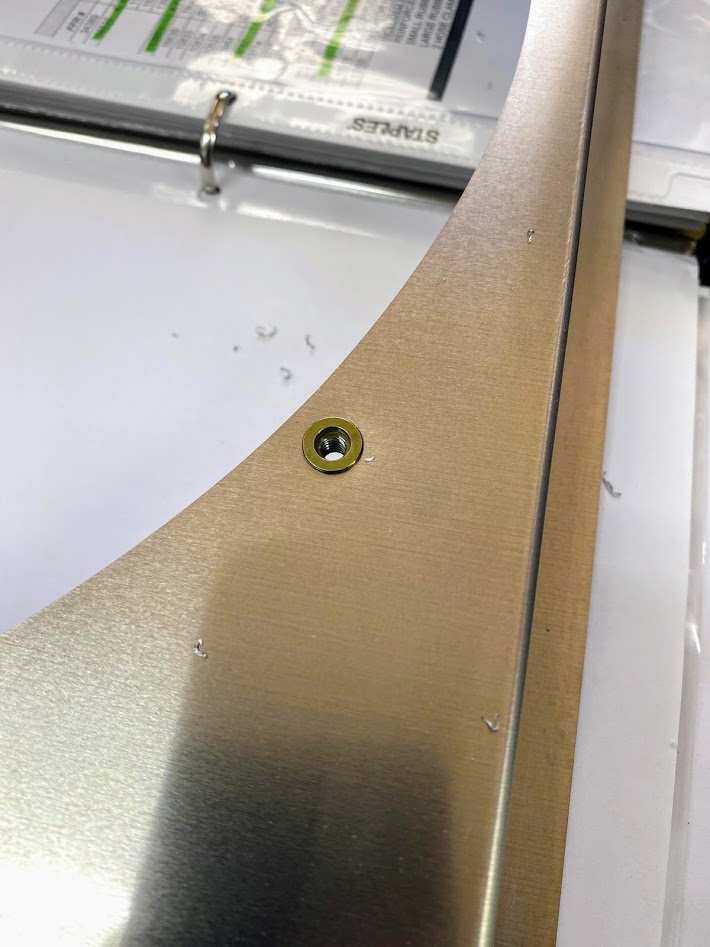
First, I had to prep the parts and get them powdercoated. Then I used nutserts to mount the radiator fan. As a result, I no longer need the FFR nut/bolt setup. Therefore, servicing the radiator should be easier.

Frame drilling and hinge prep
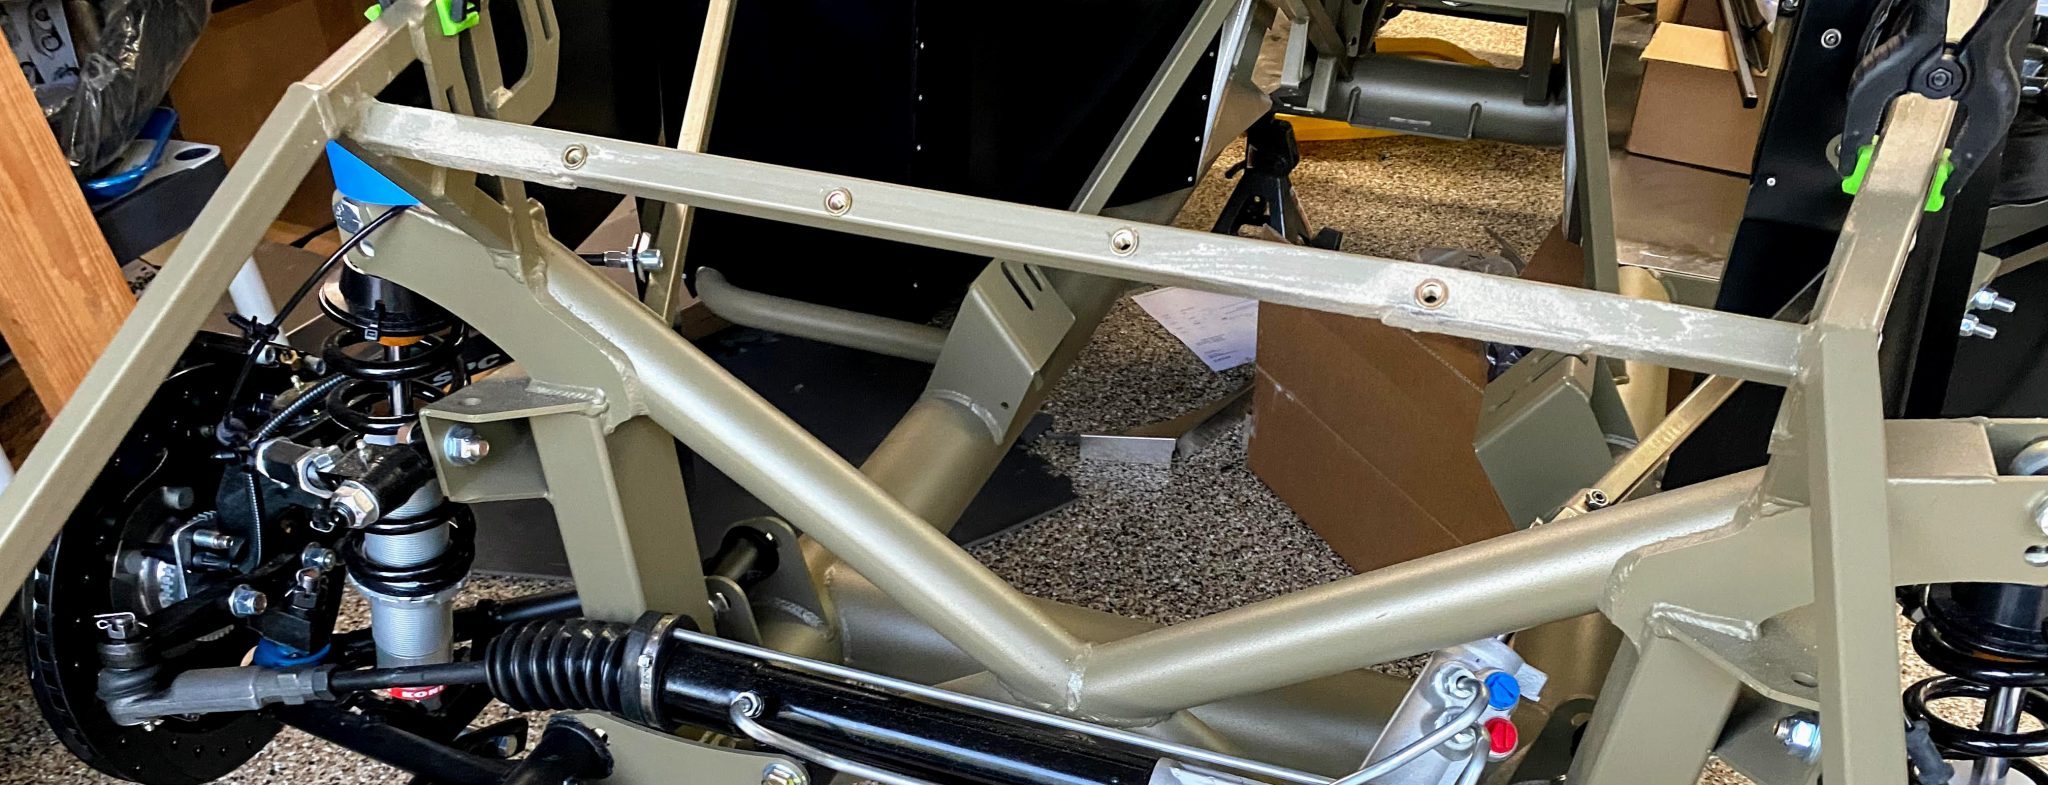
After I sent parts off to powdercoat, the next step was frame prep. First, I marked the mounting points. Then I drilled a bunch of holes! Also, the 3/4″ tabs on the top rail need to come off. After that, I painted them for protection. Meanwhile, I installed nutserts in the top rail. Because of that, radiator removal stays easier later. Next, I used the template. So I drilled the top radiator tab and PC piano hinge for rivets.


Test fit and lower mount
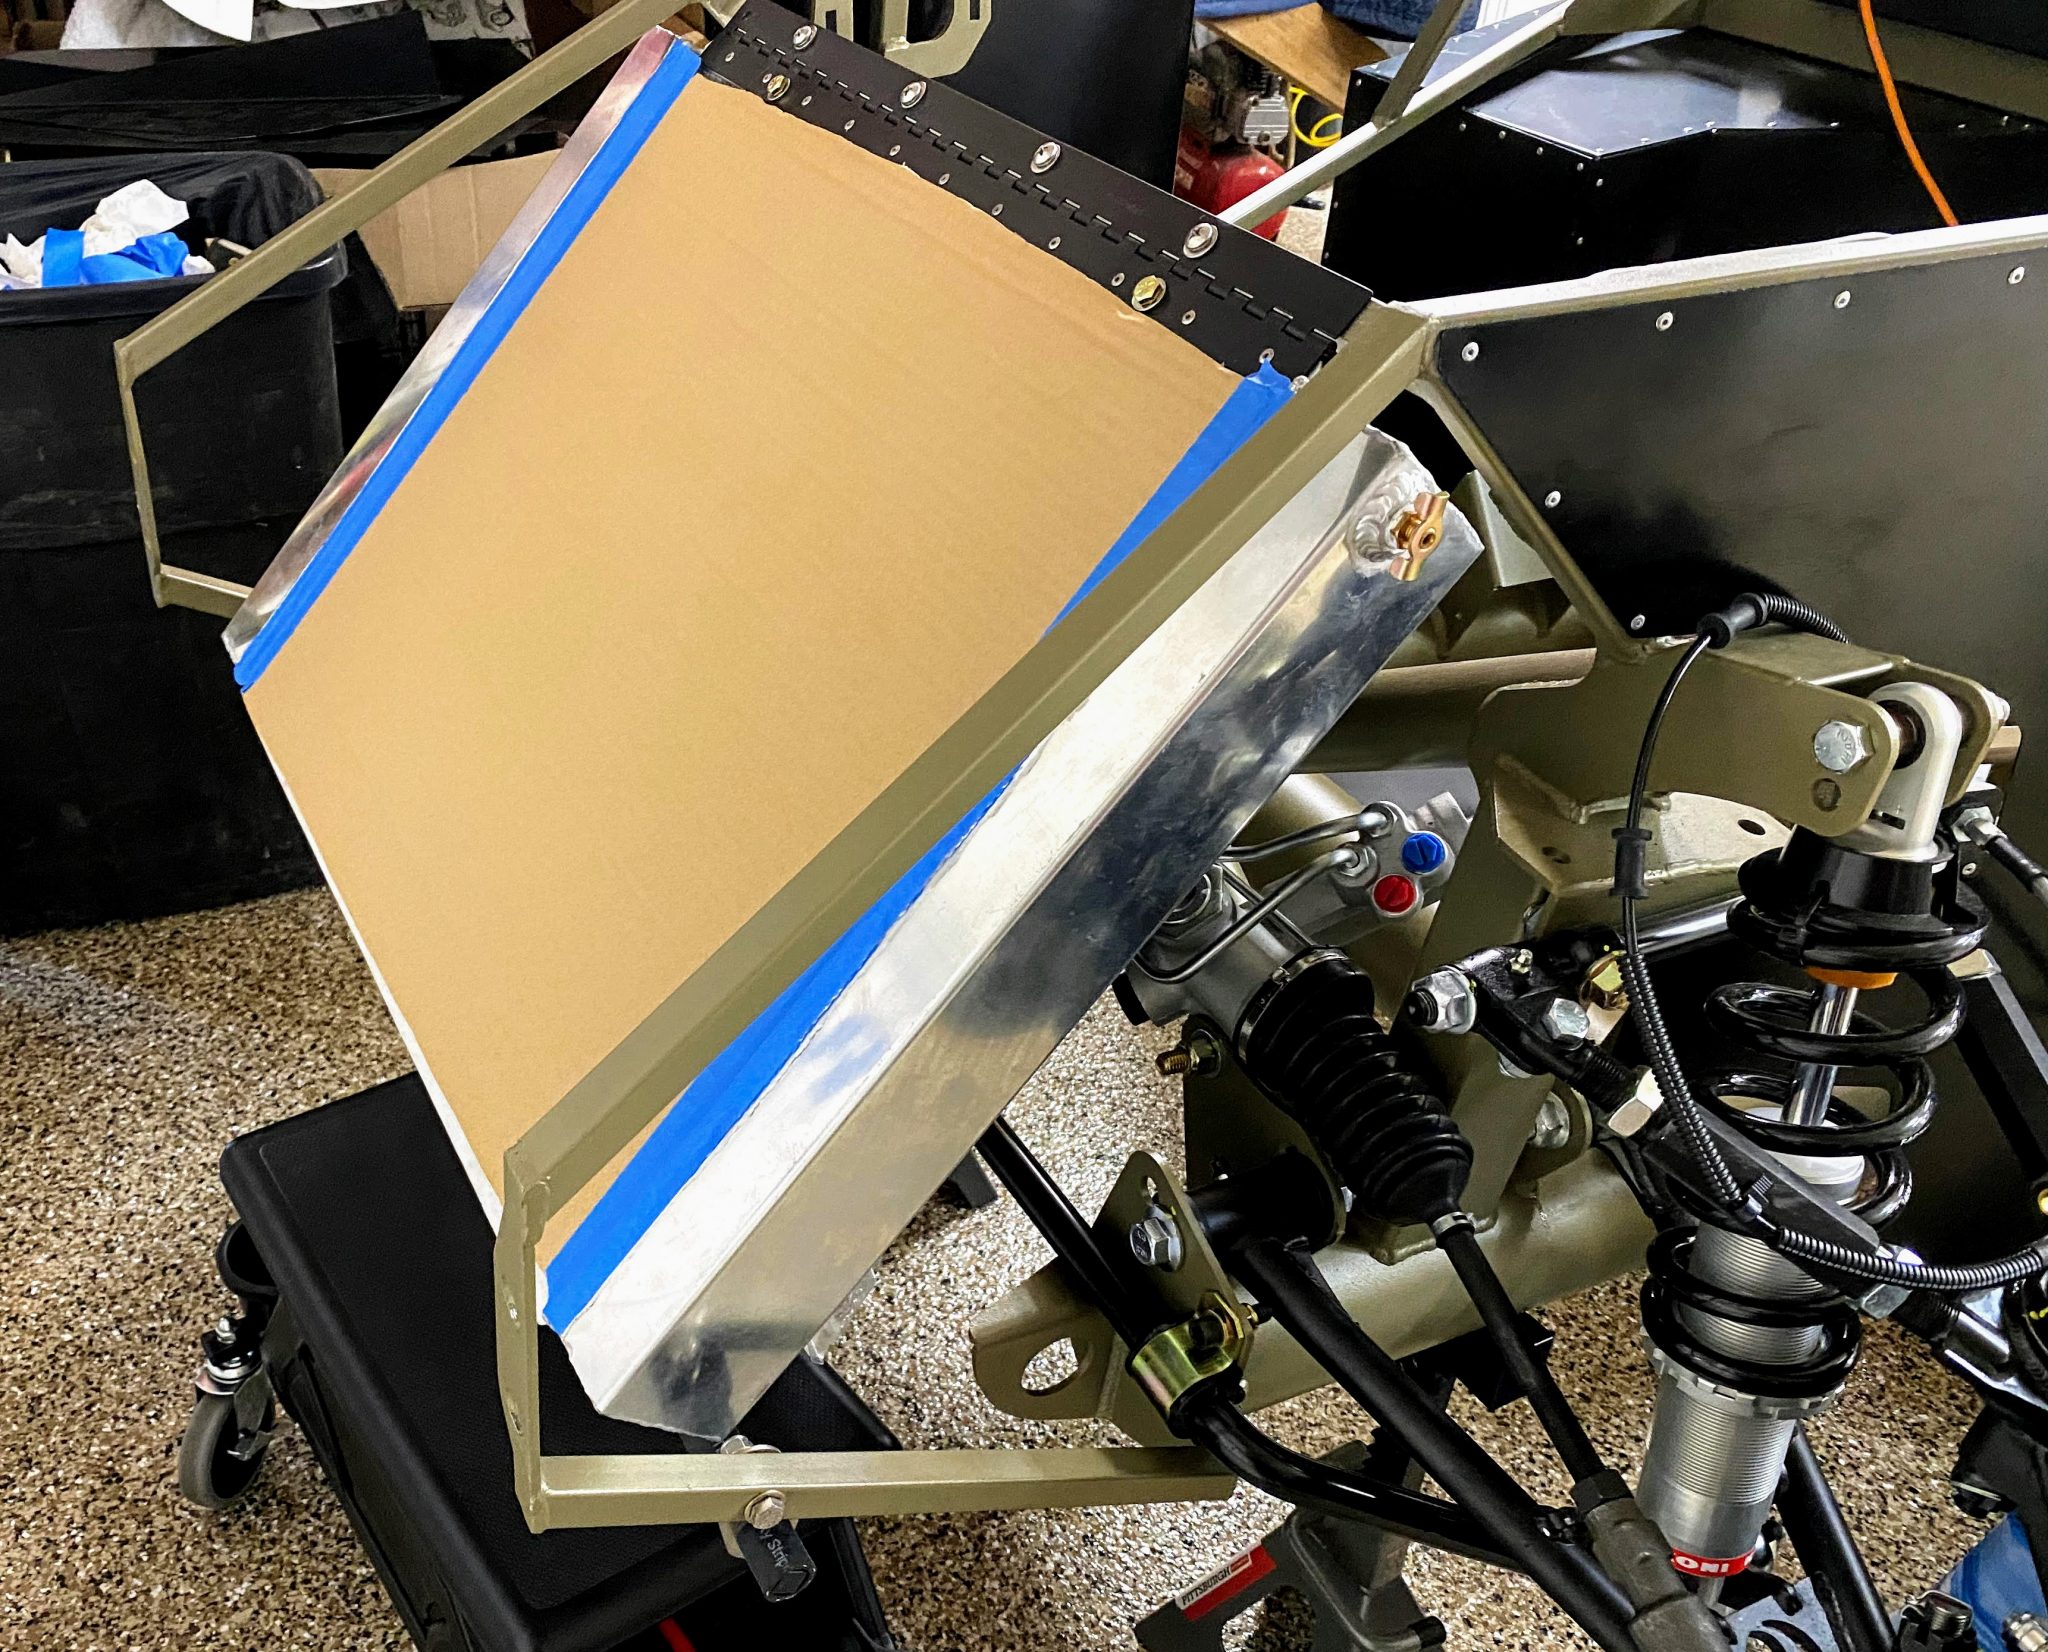
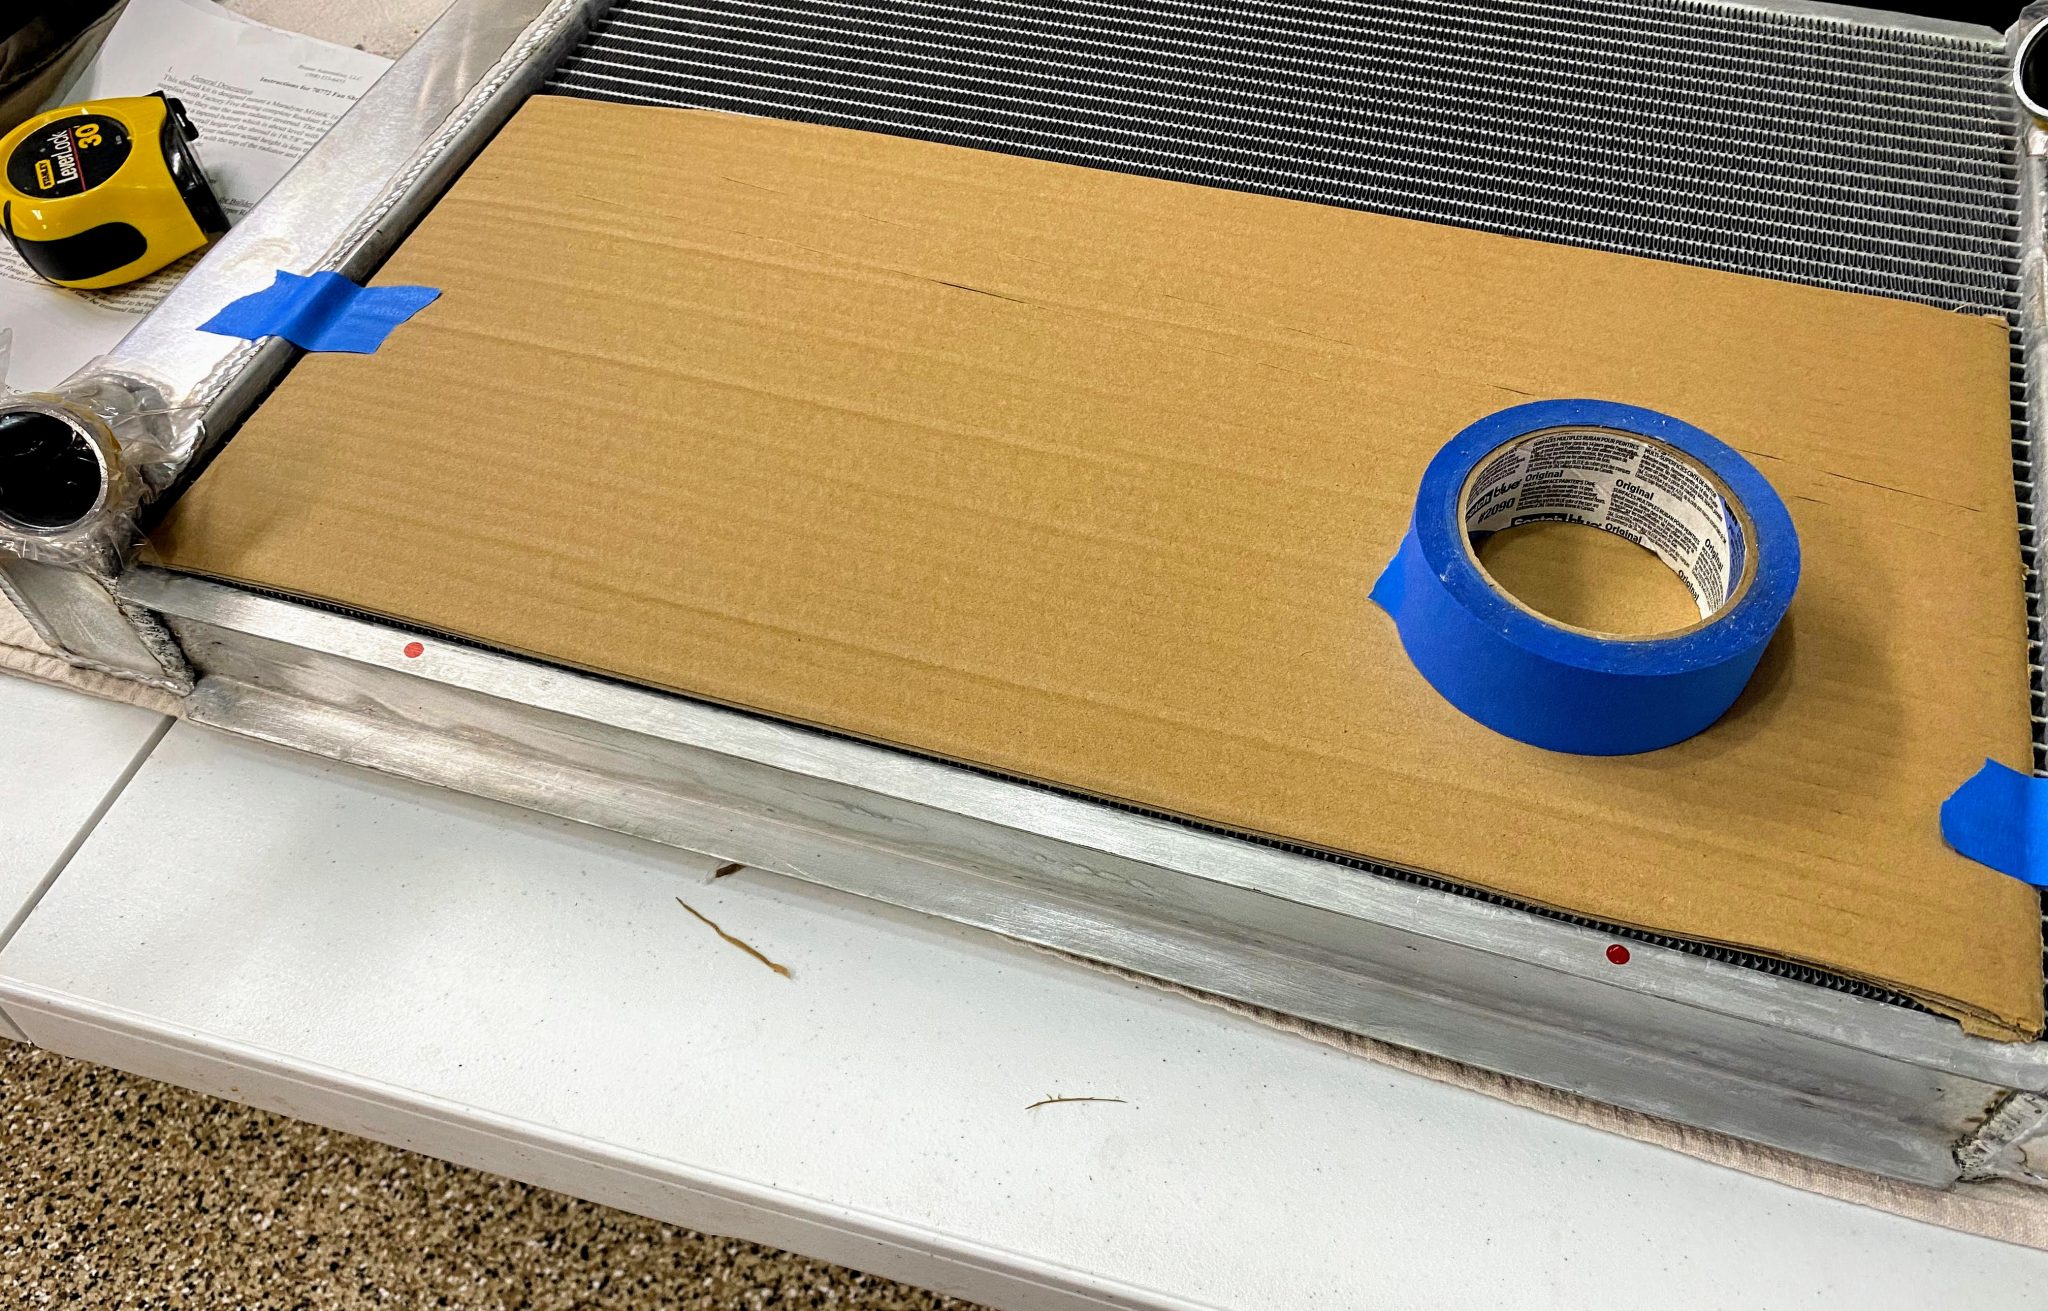
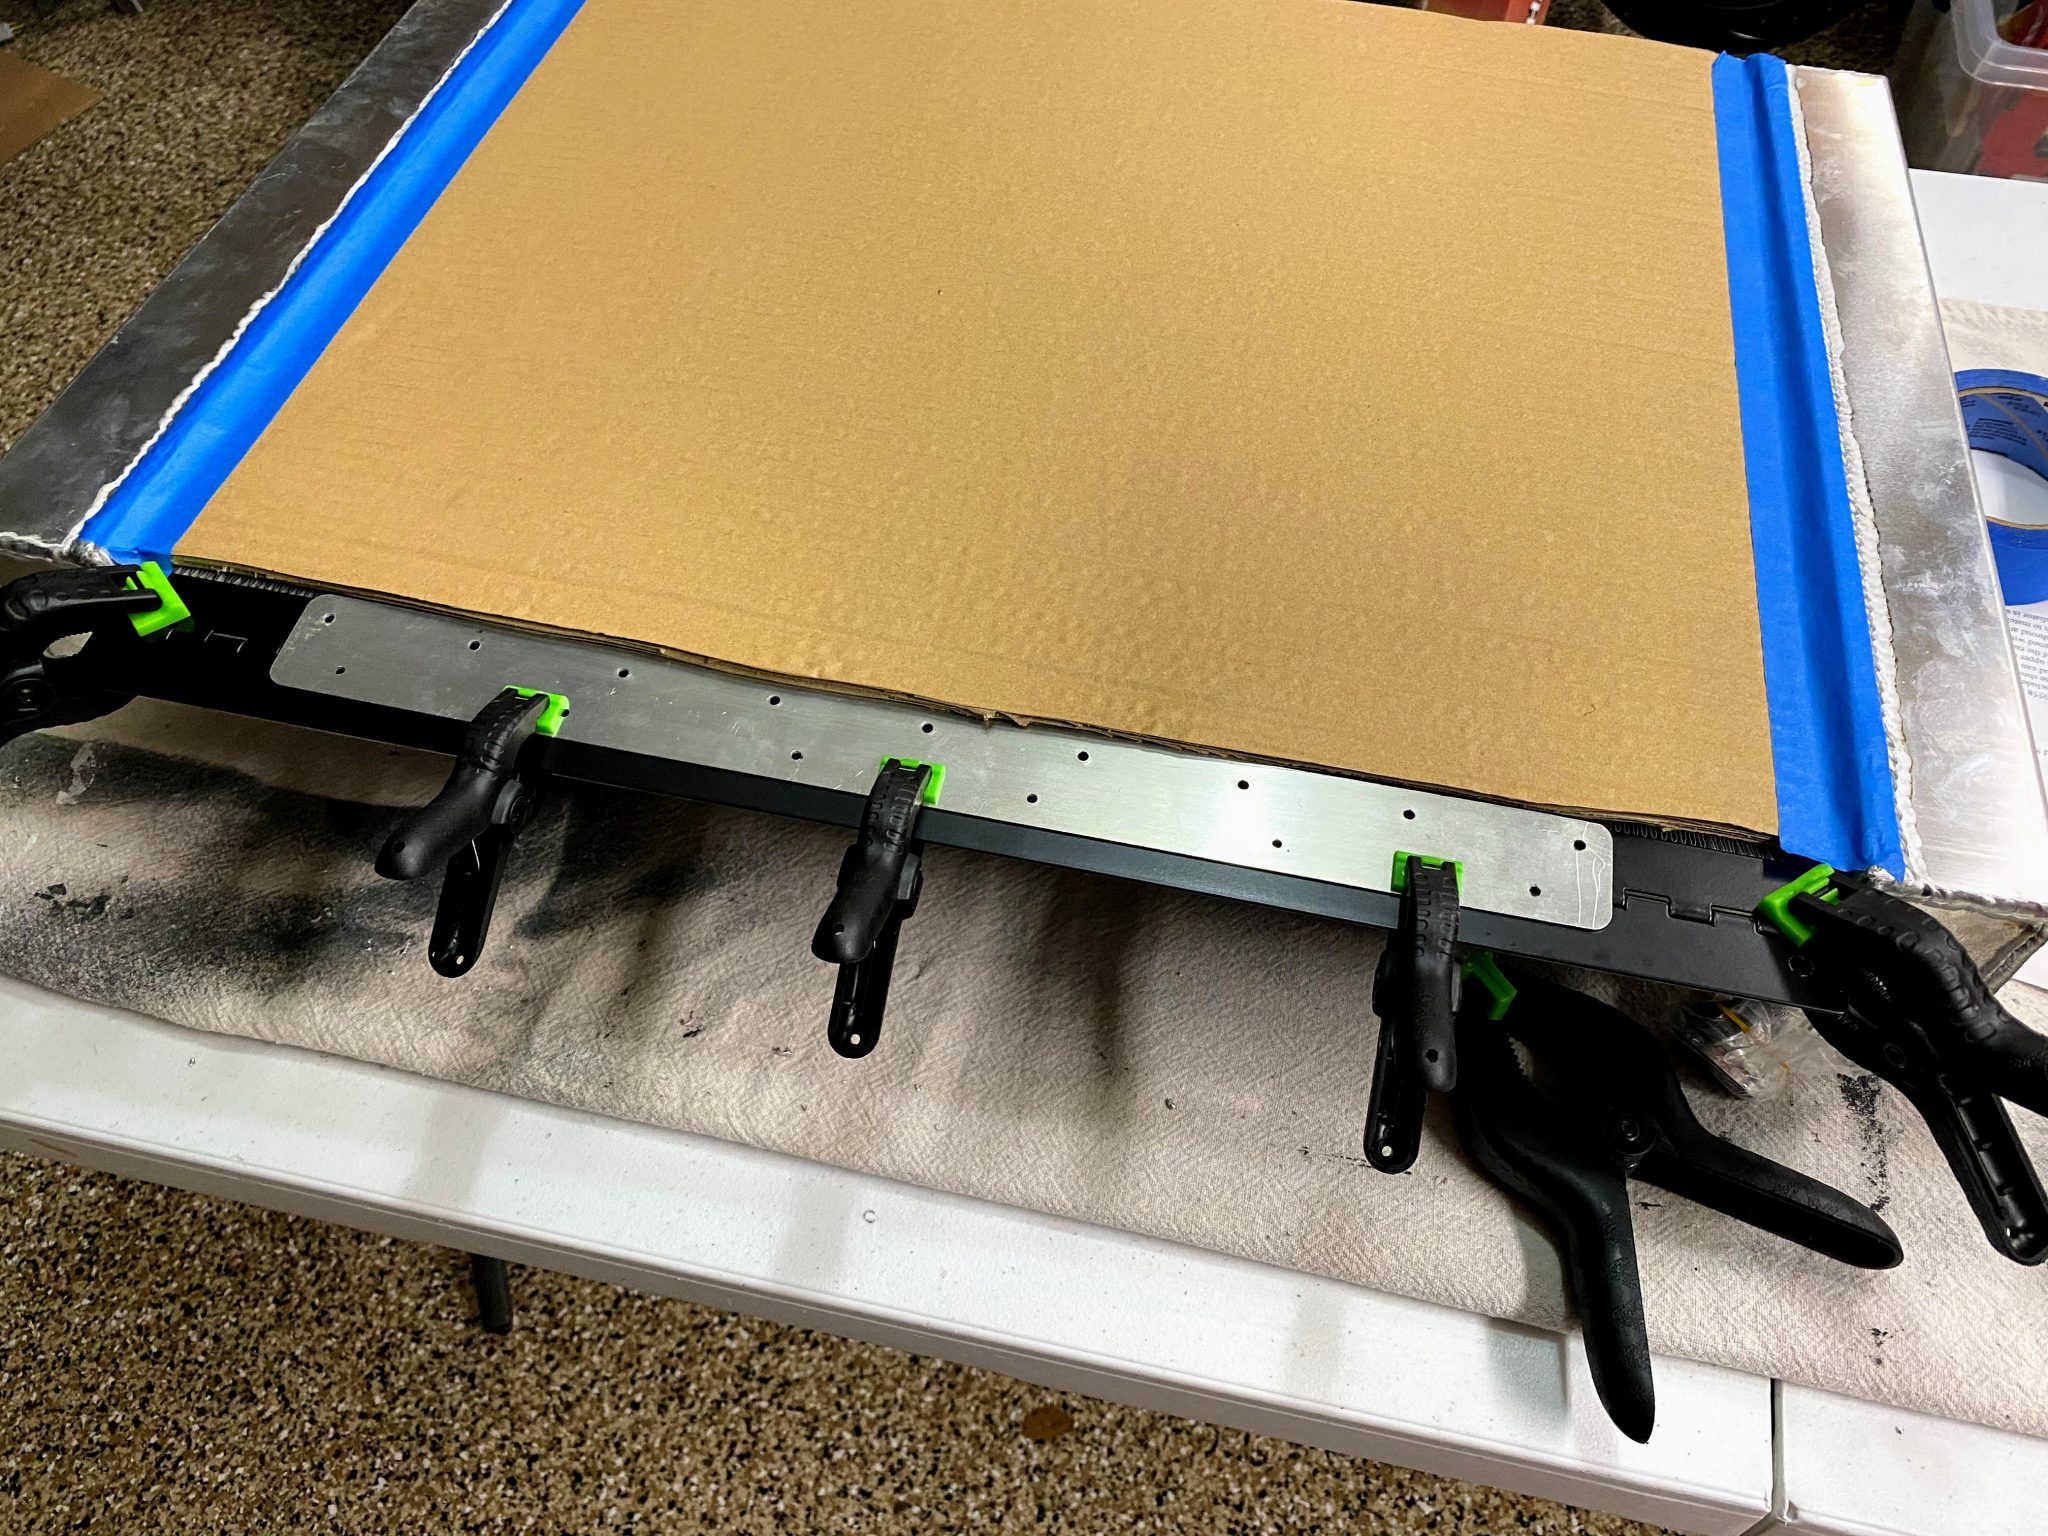
Next up was a radiator test fit. Then I finished the top hinge. Also, I had to figure out the angle near 51 degrees. So I mocked up the radiator panels for a rough estimate. After that, I could install the lower Breeze mount.

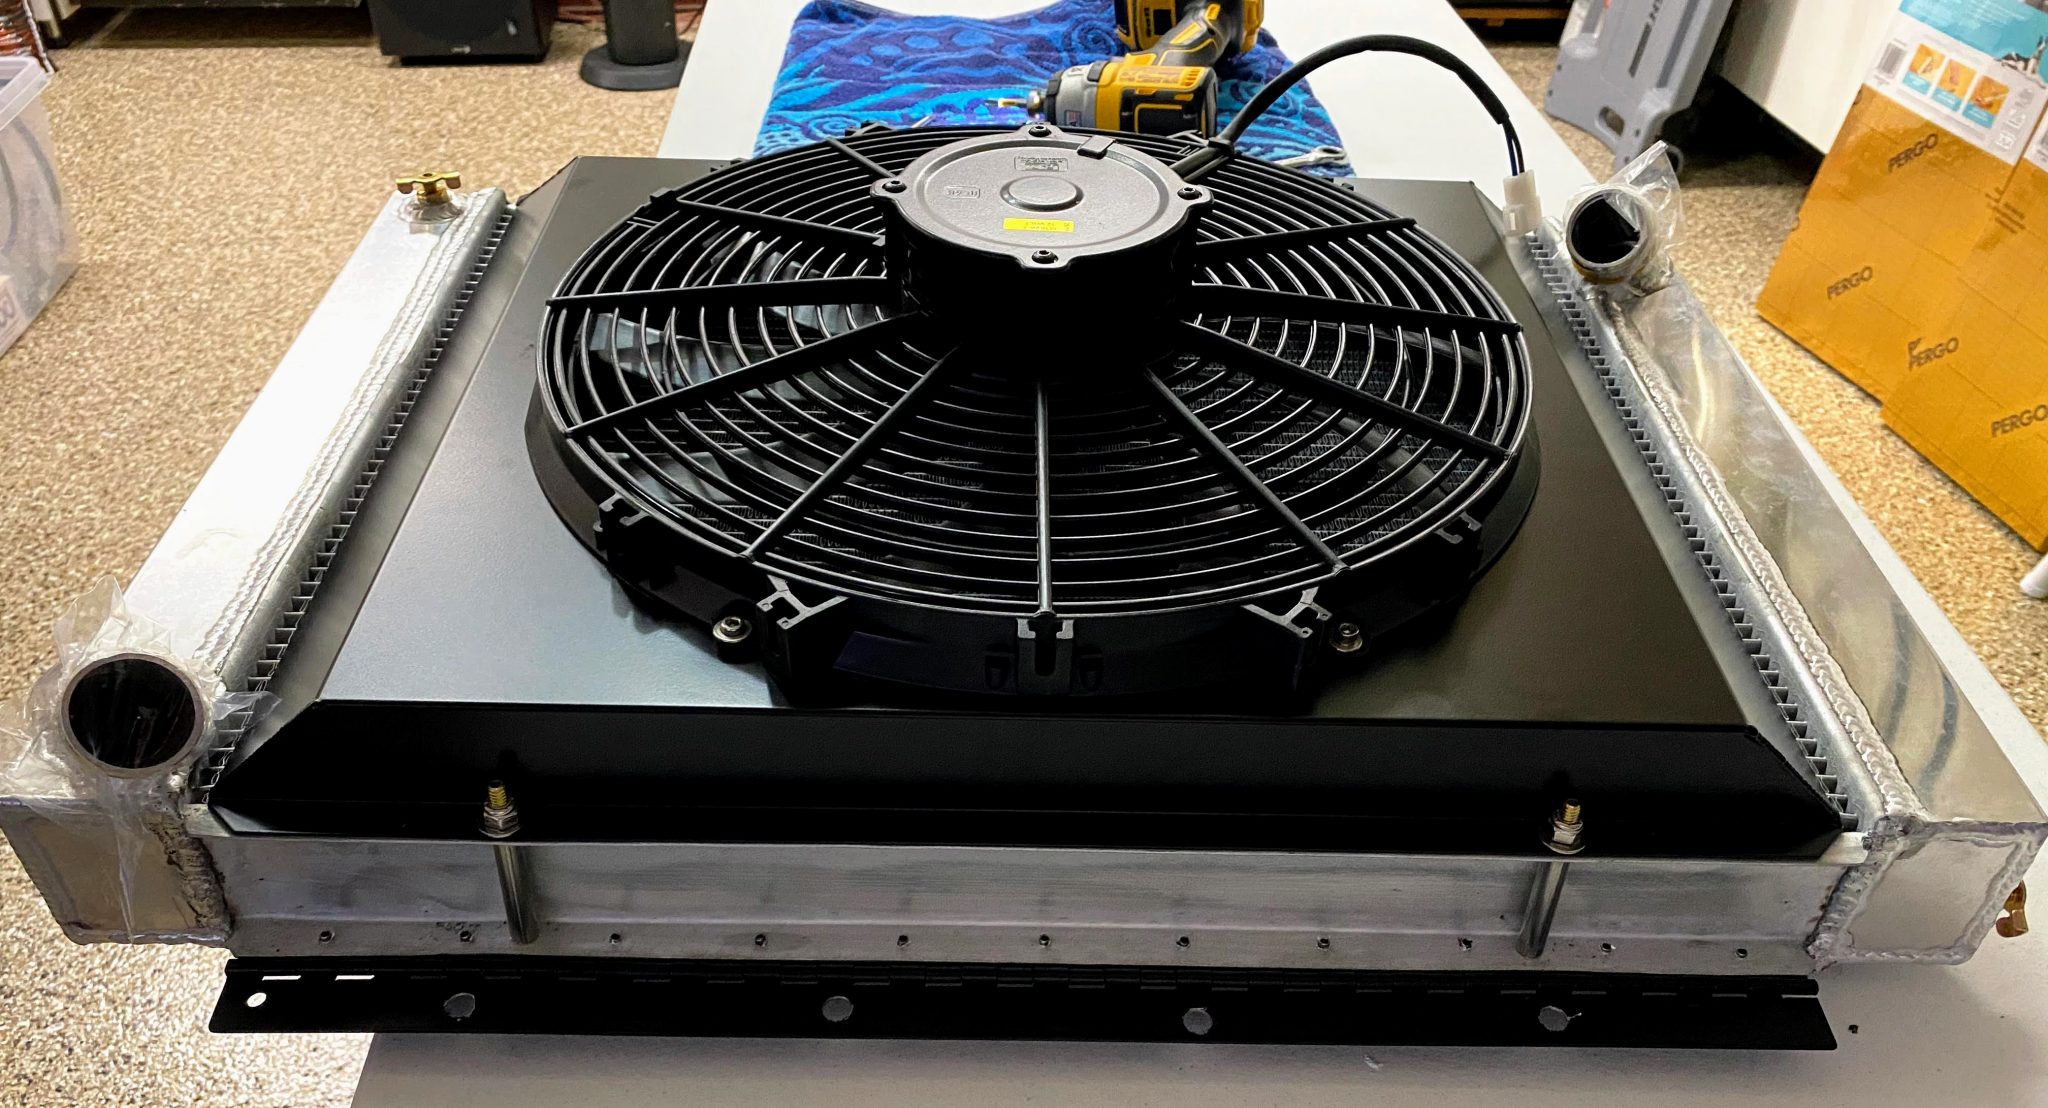
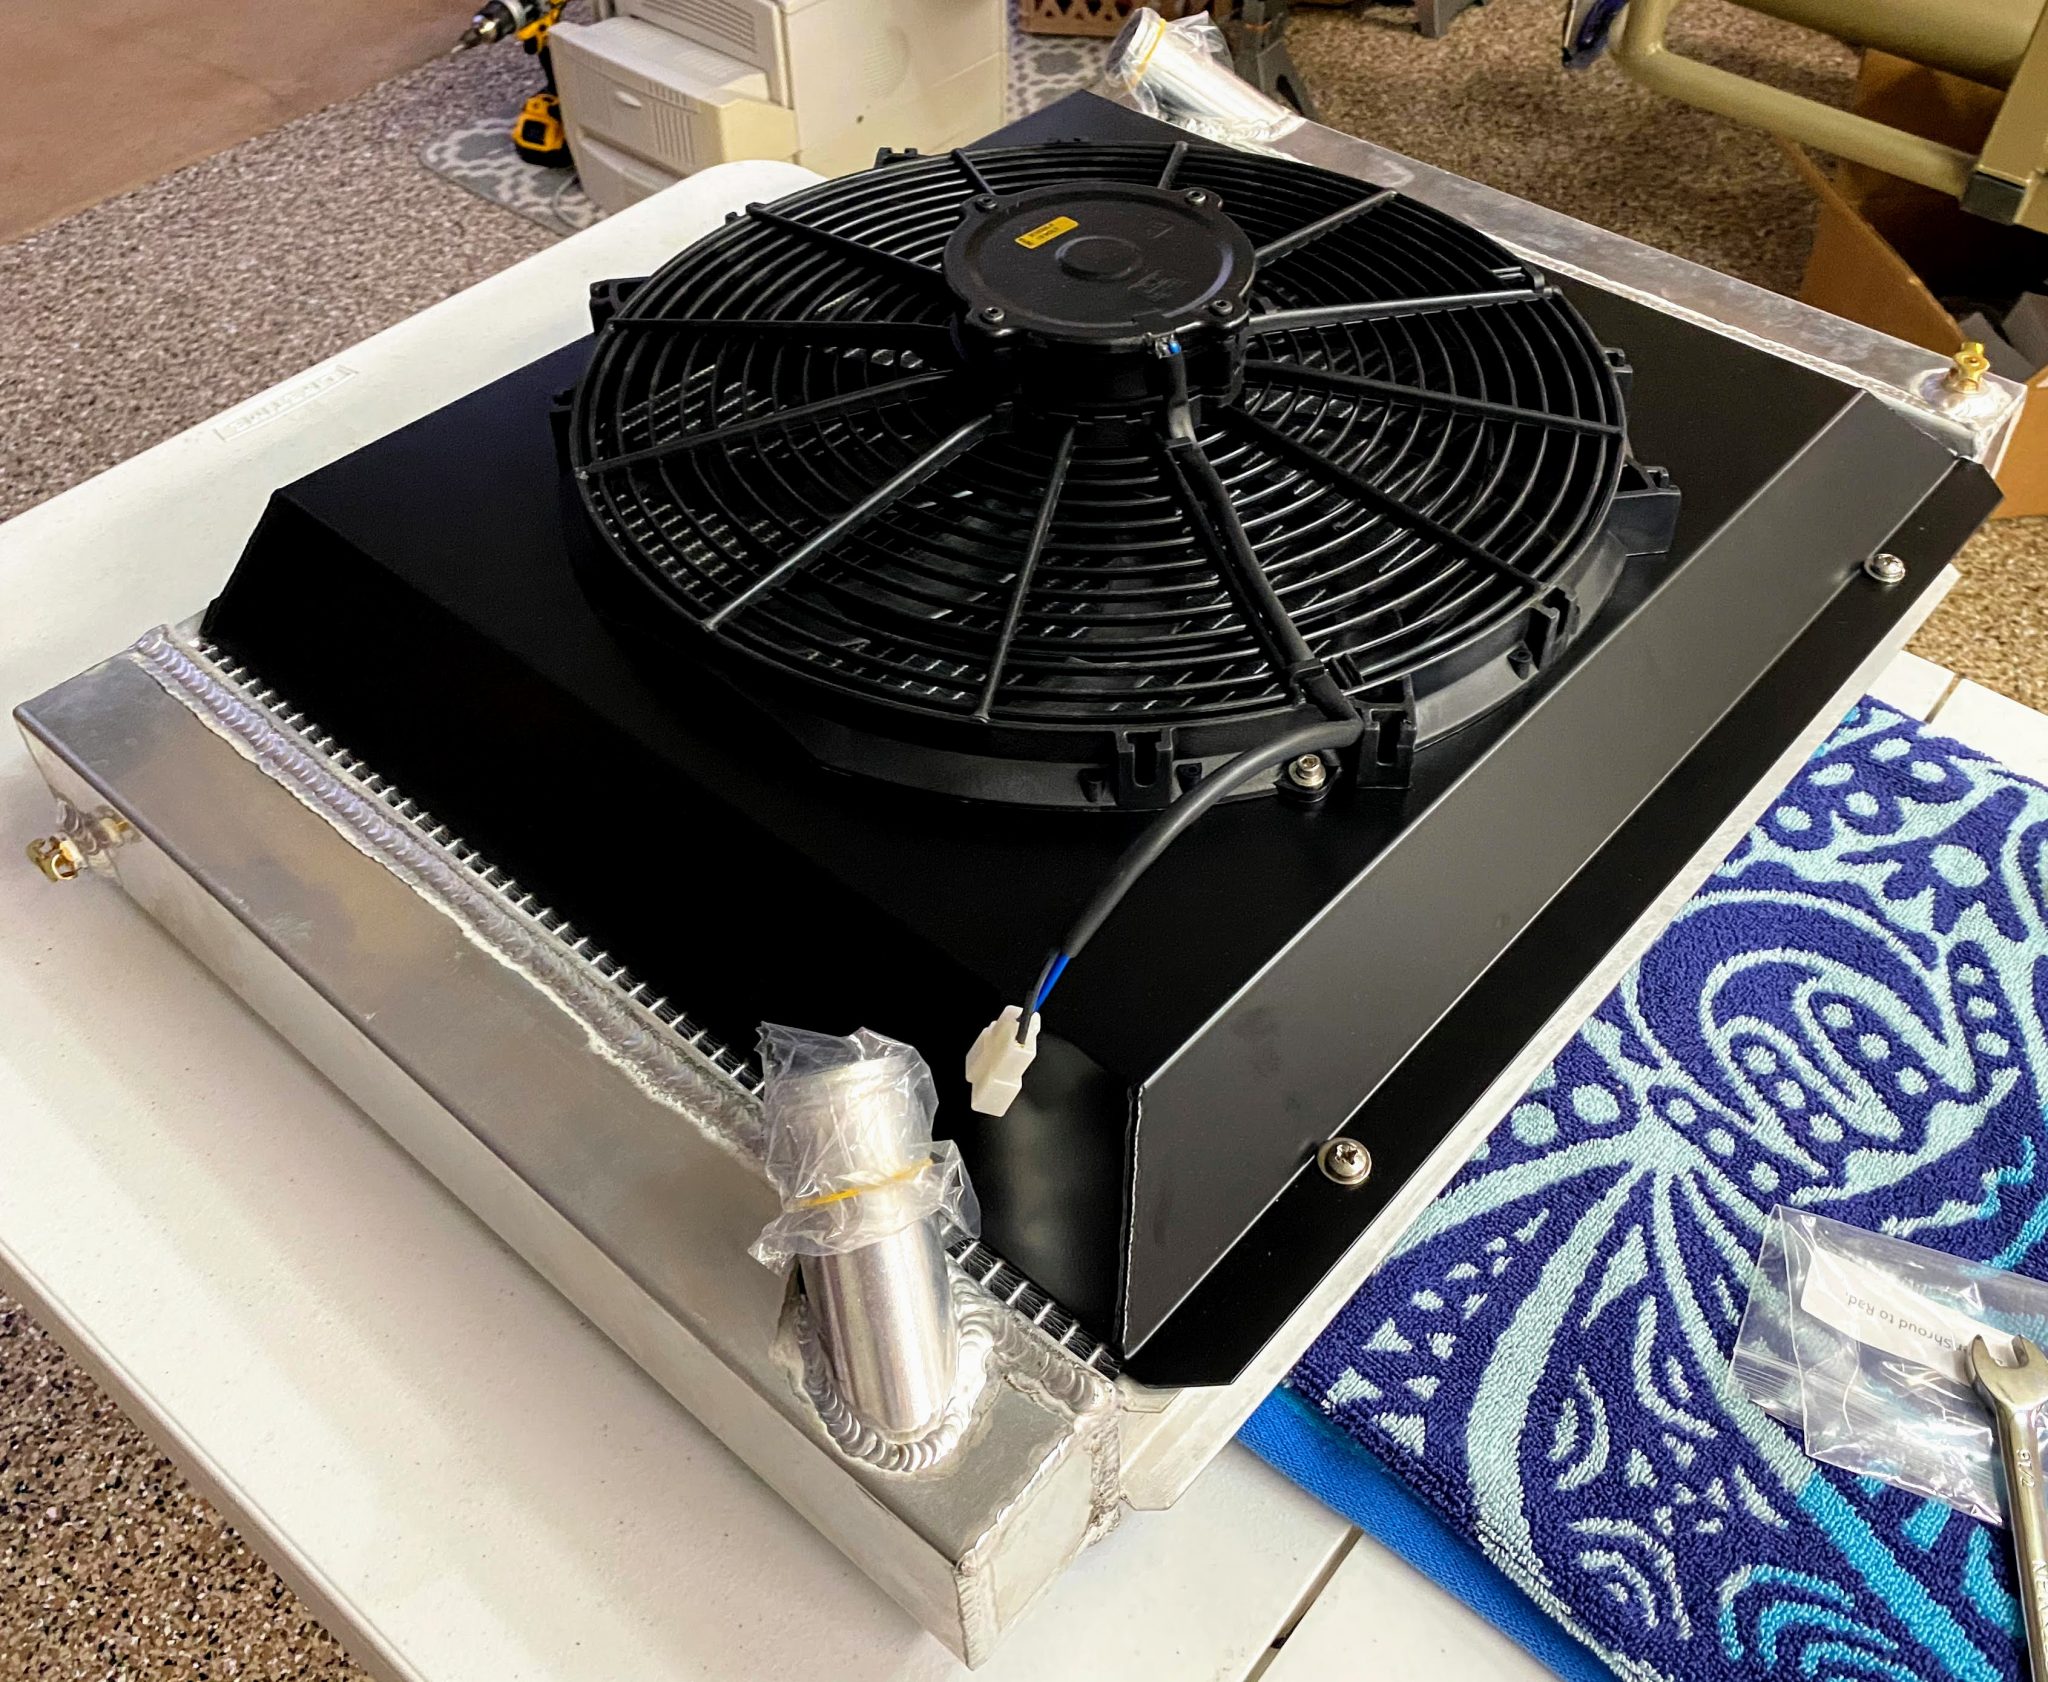
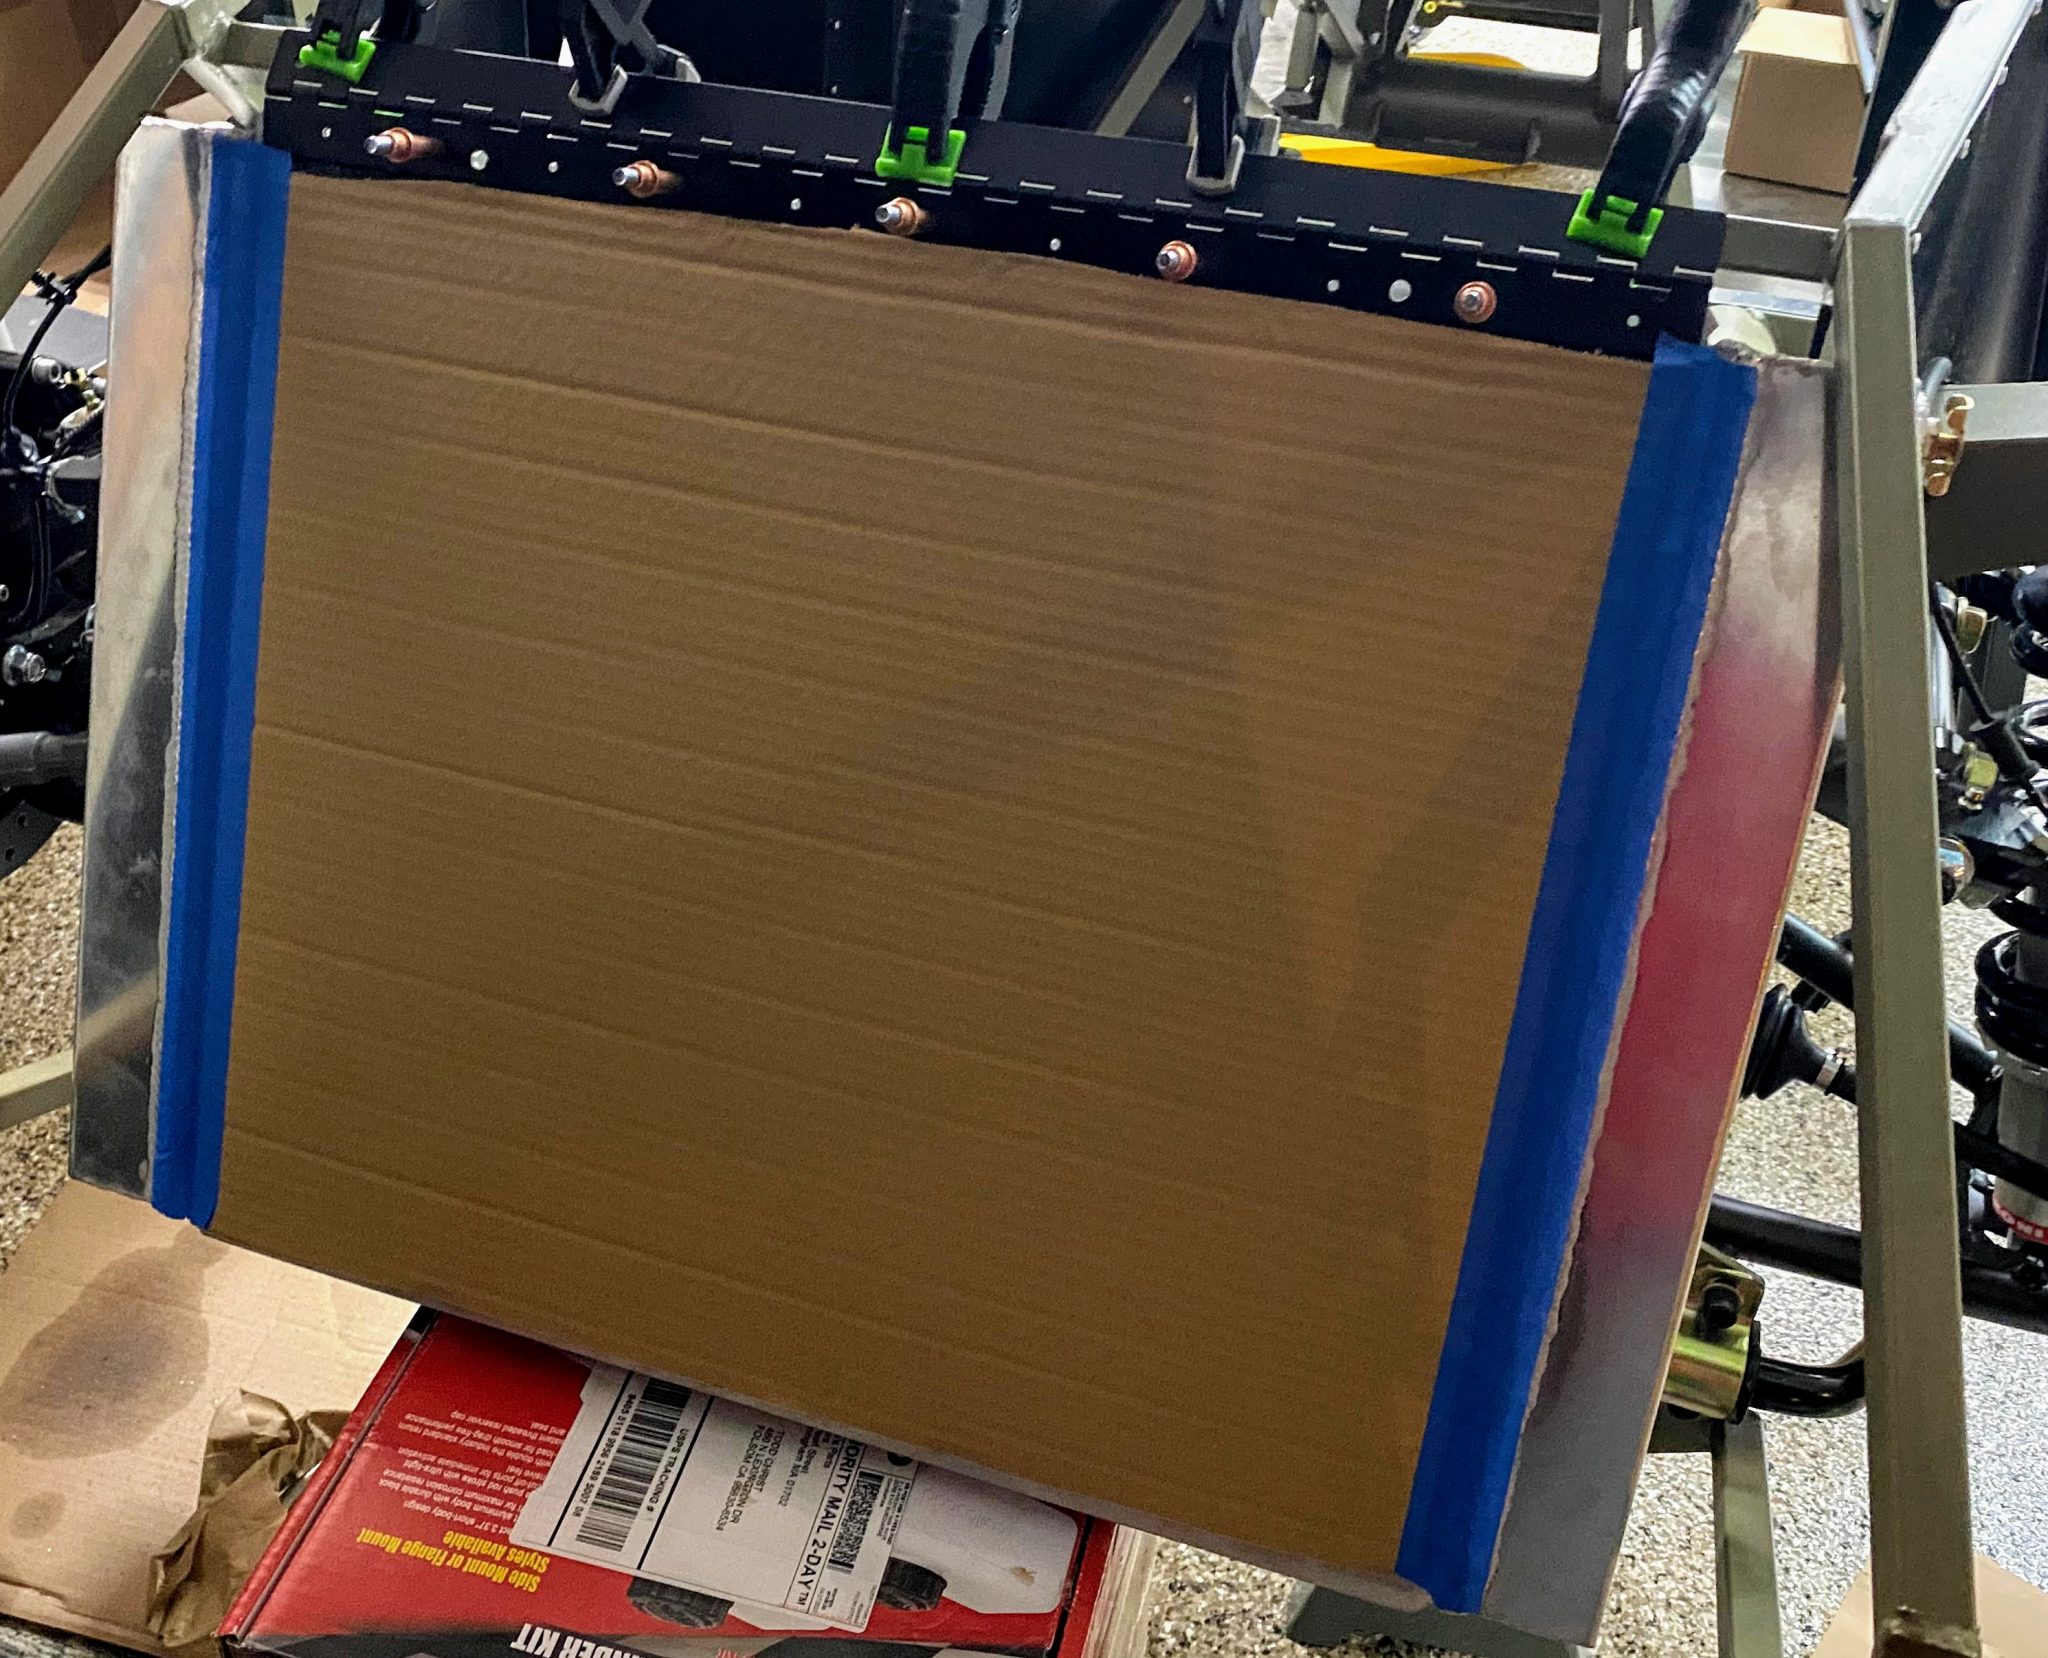
Once I aligned the lower mount holes, the next step was simple. Then I used a step-bit on the lower mount braces. After that, I could mount the lower rail.
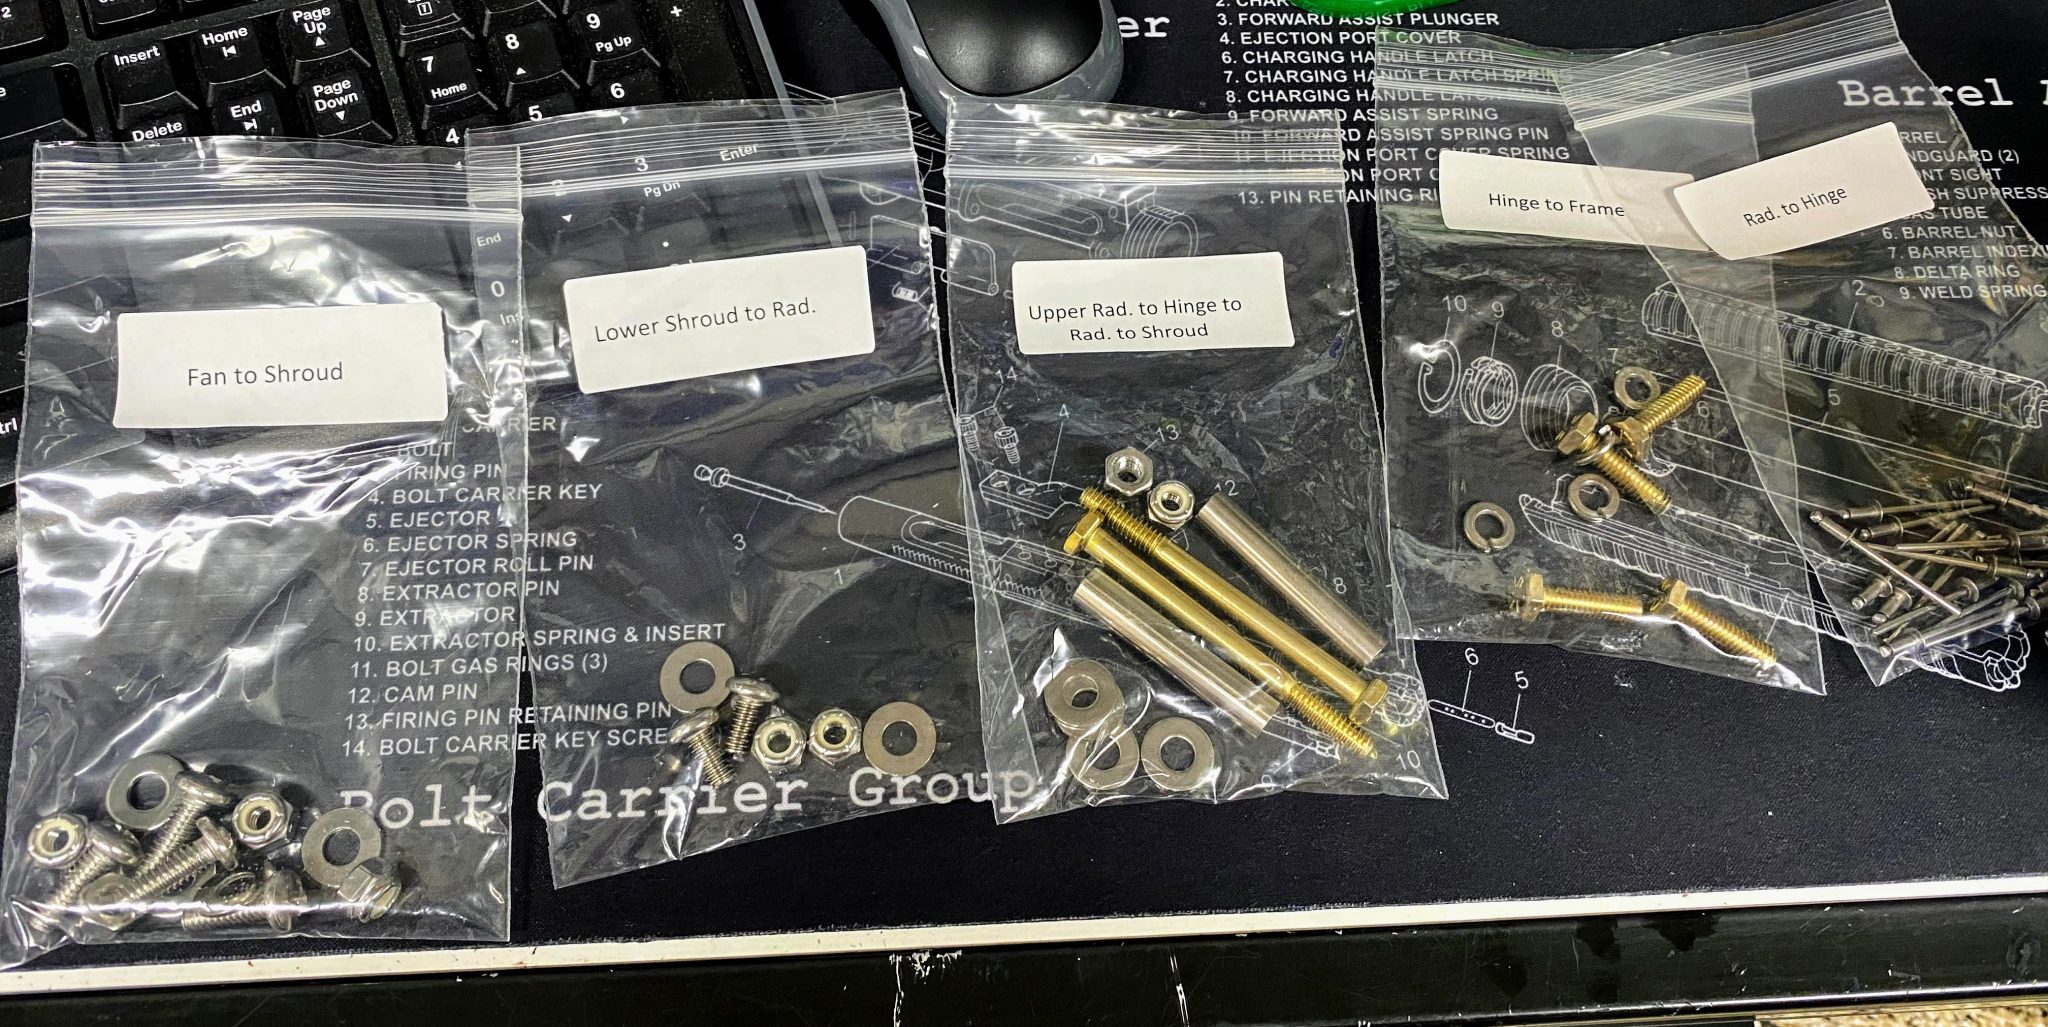
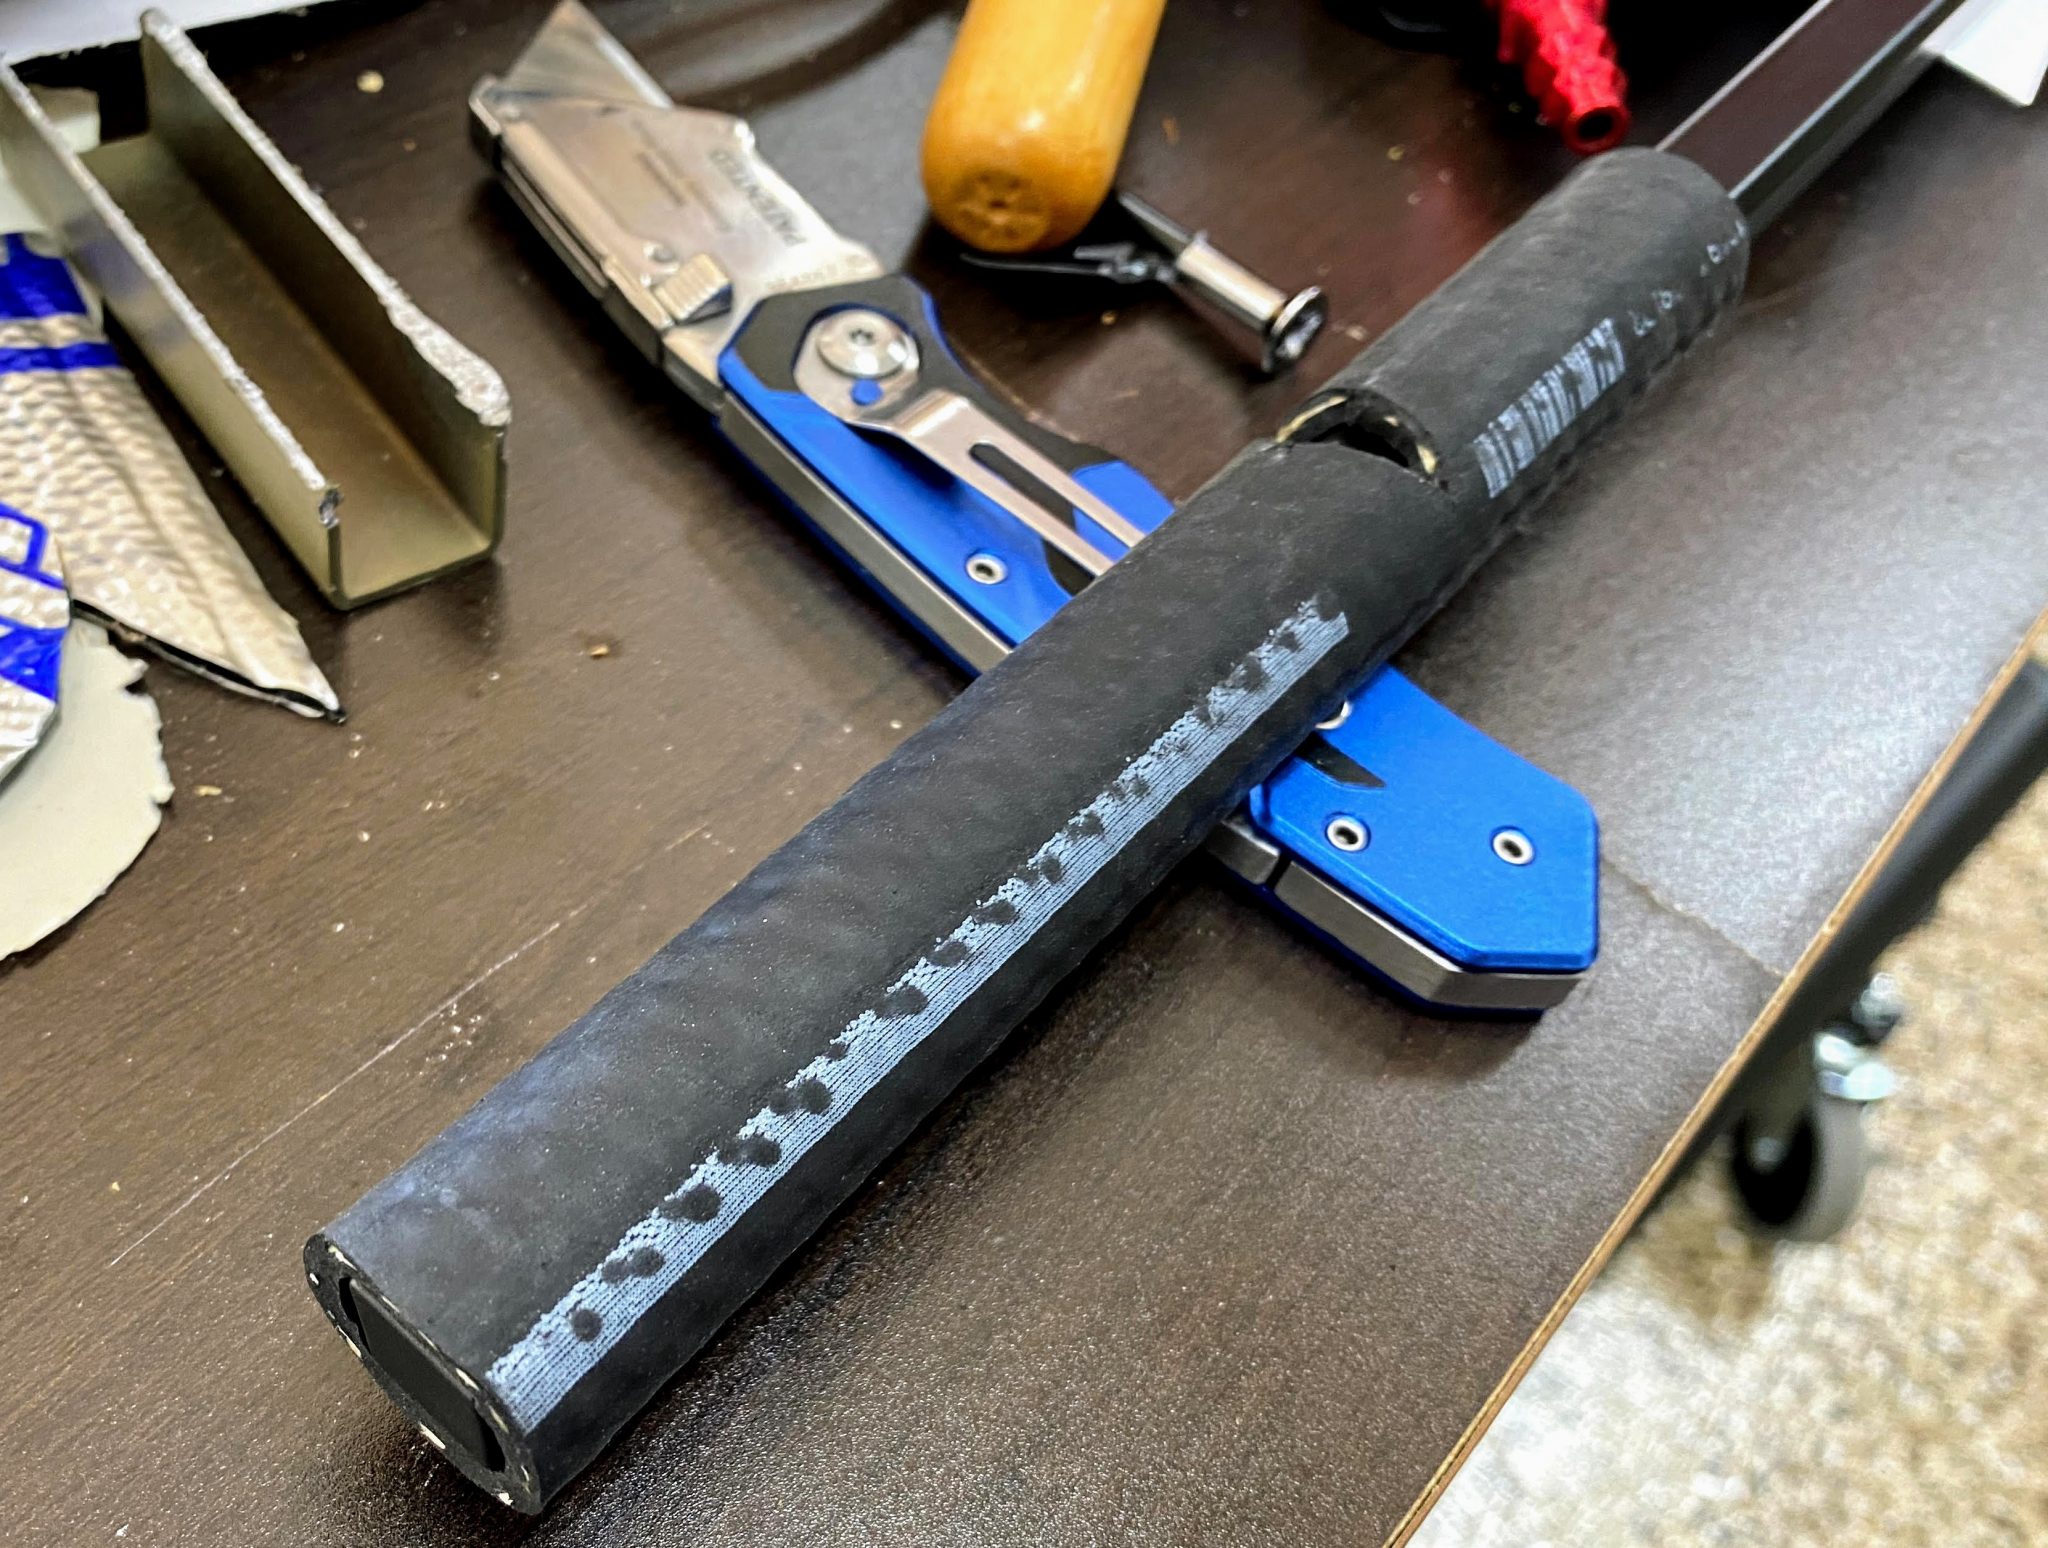
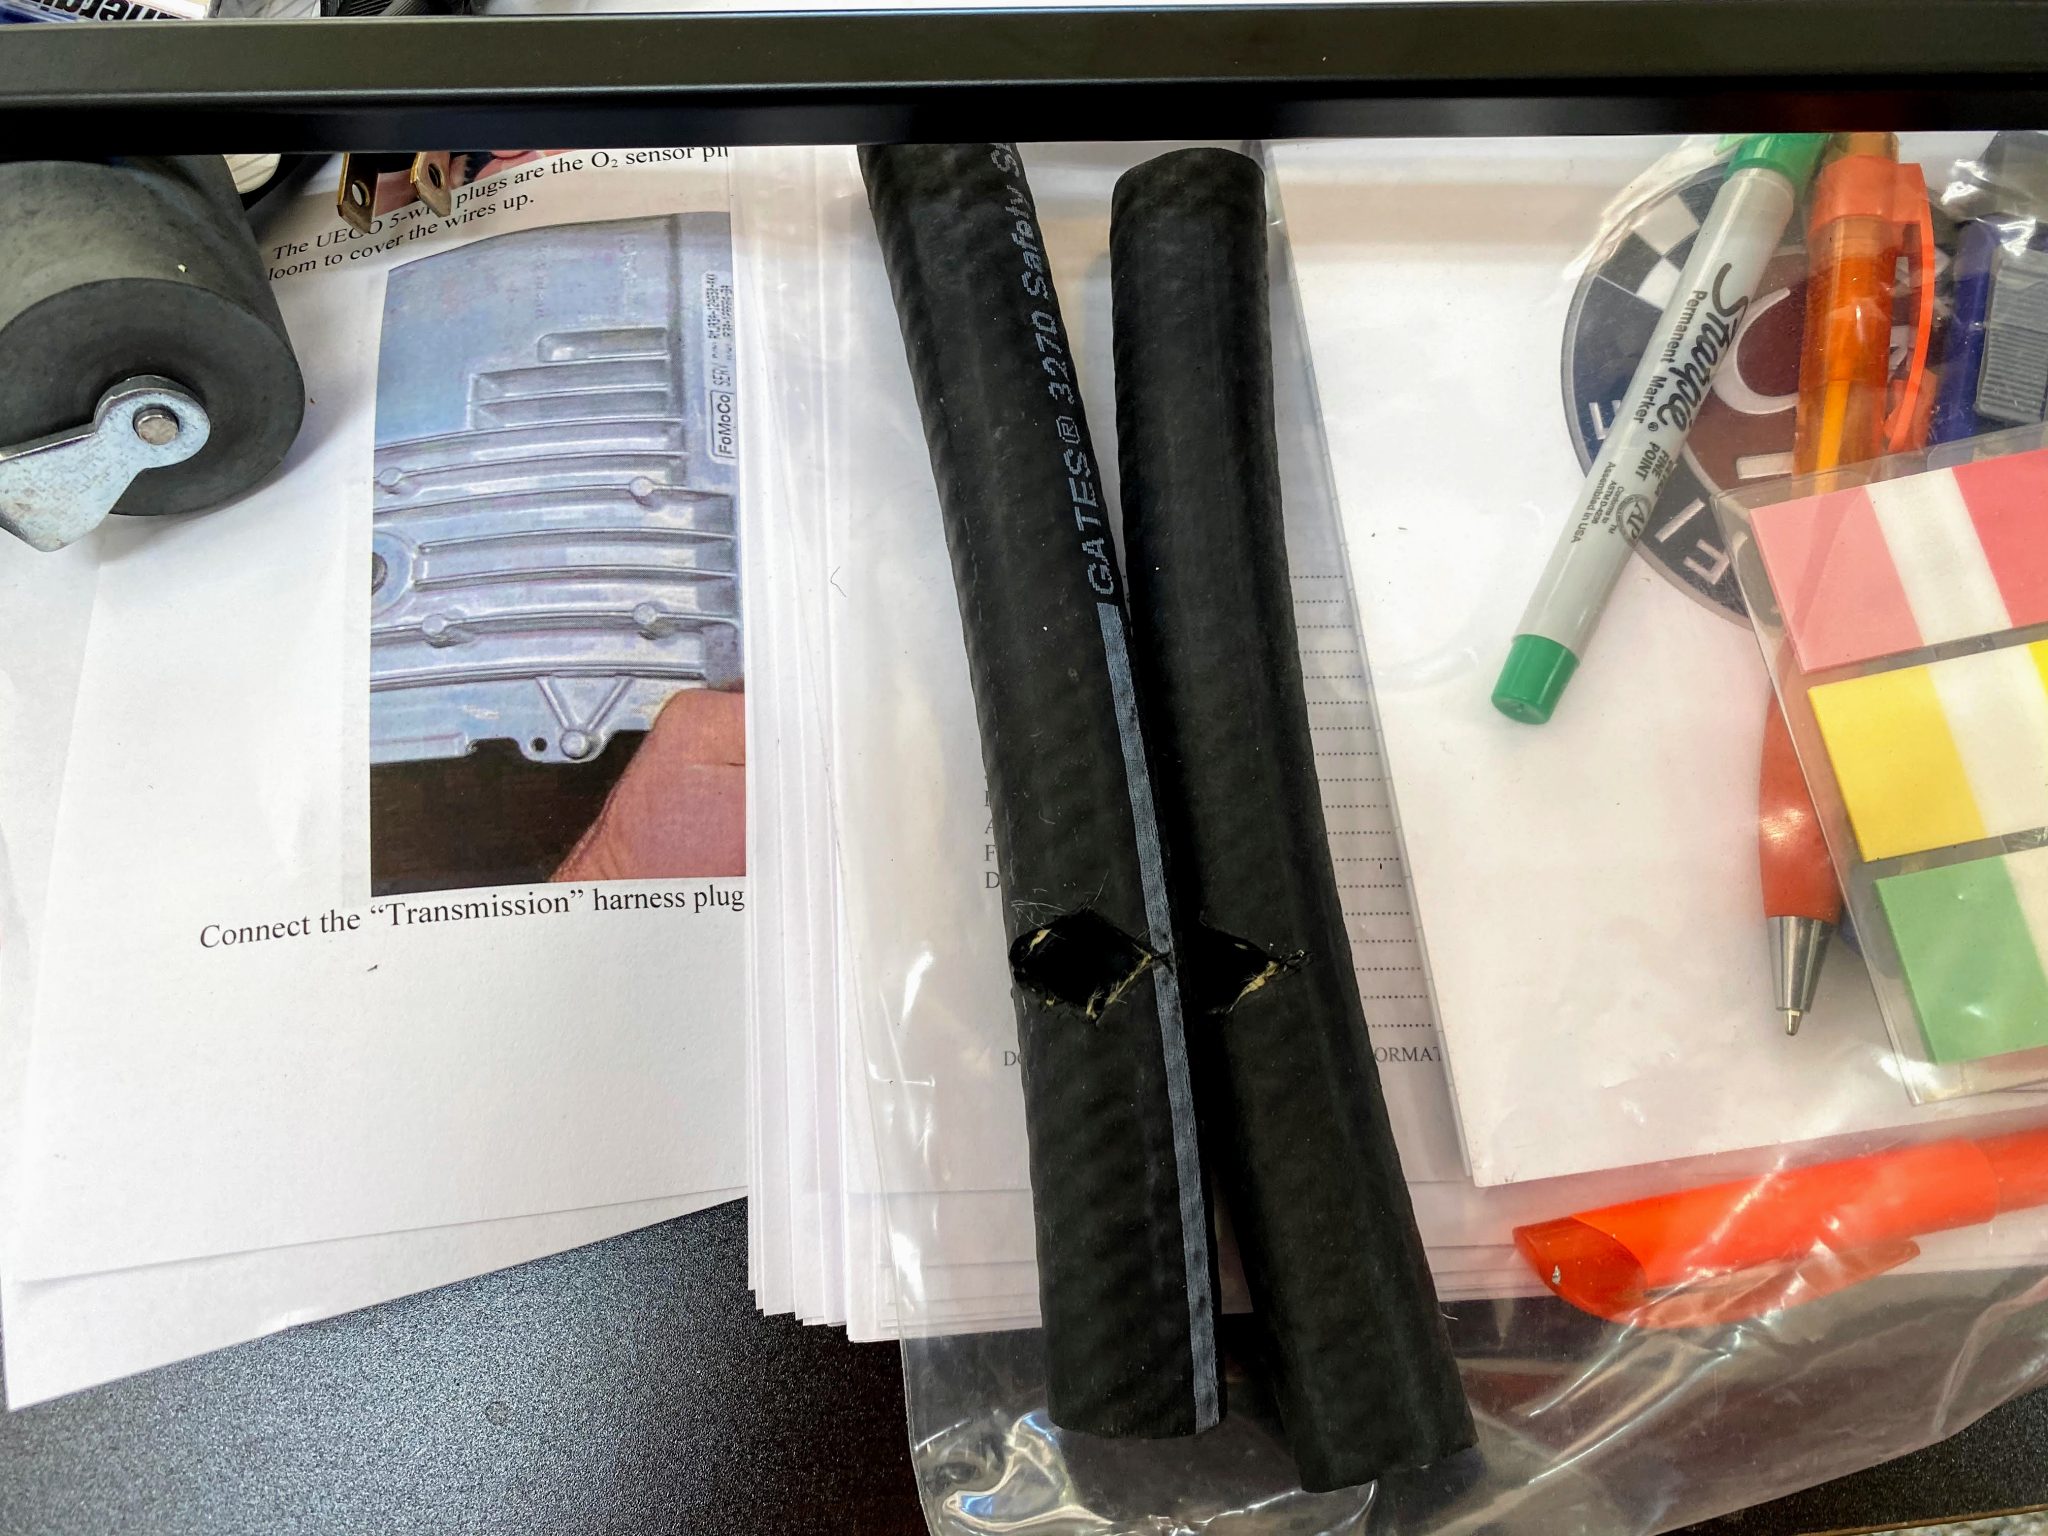
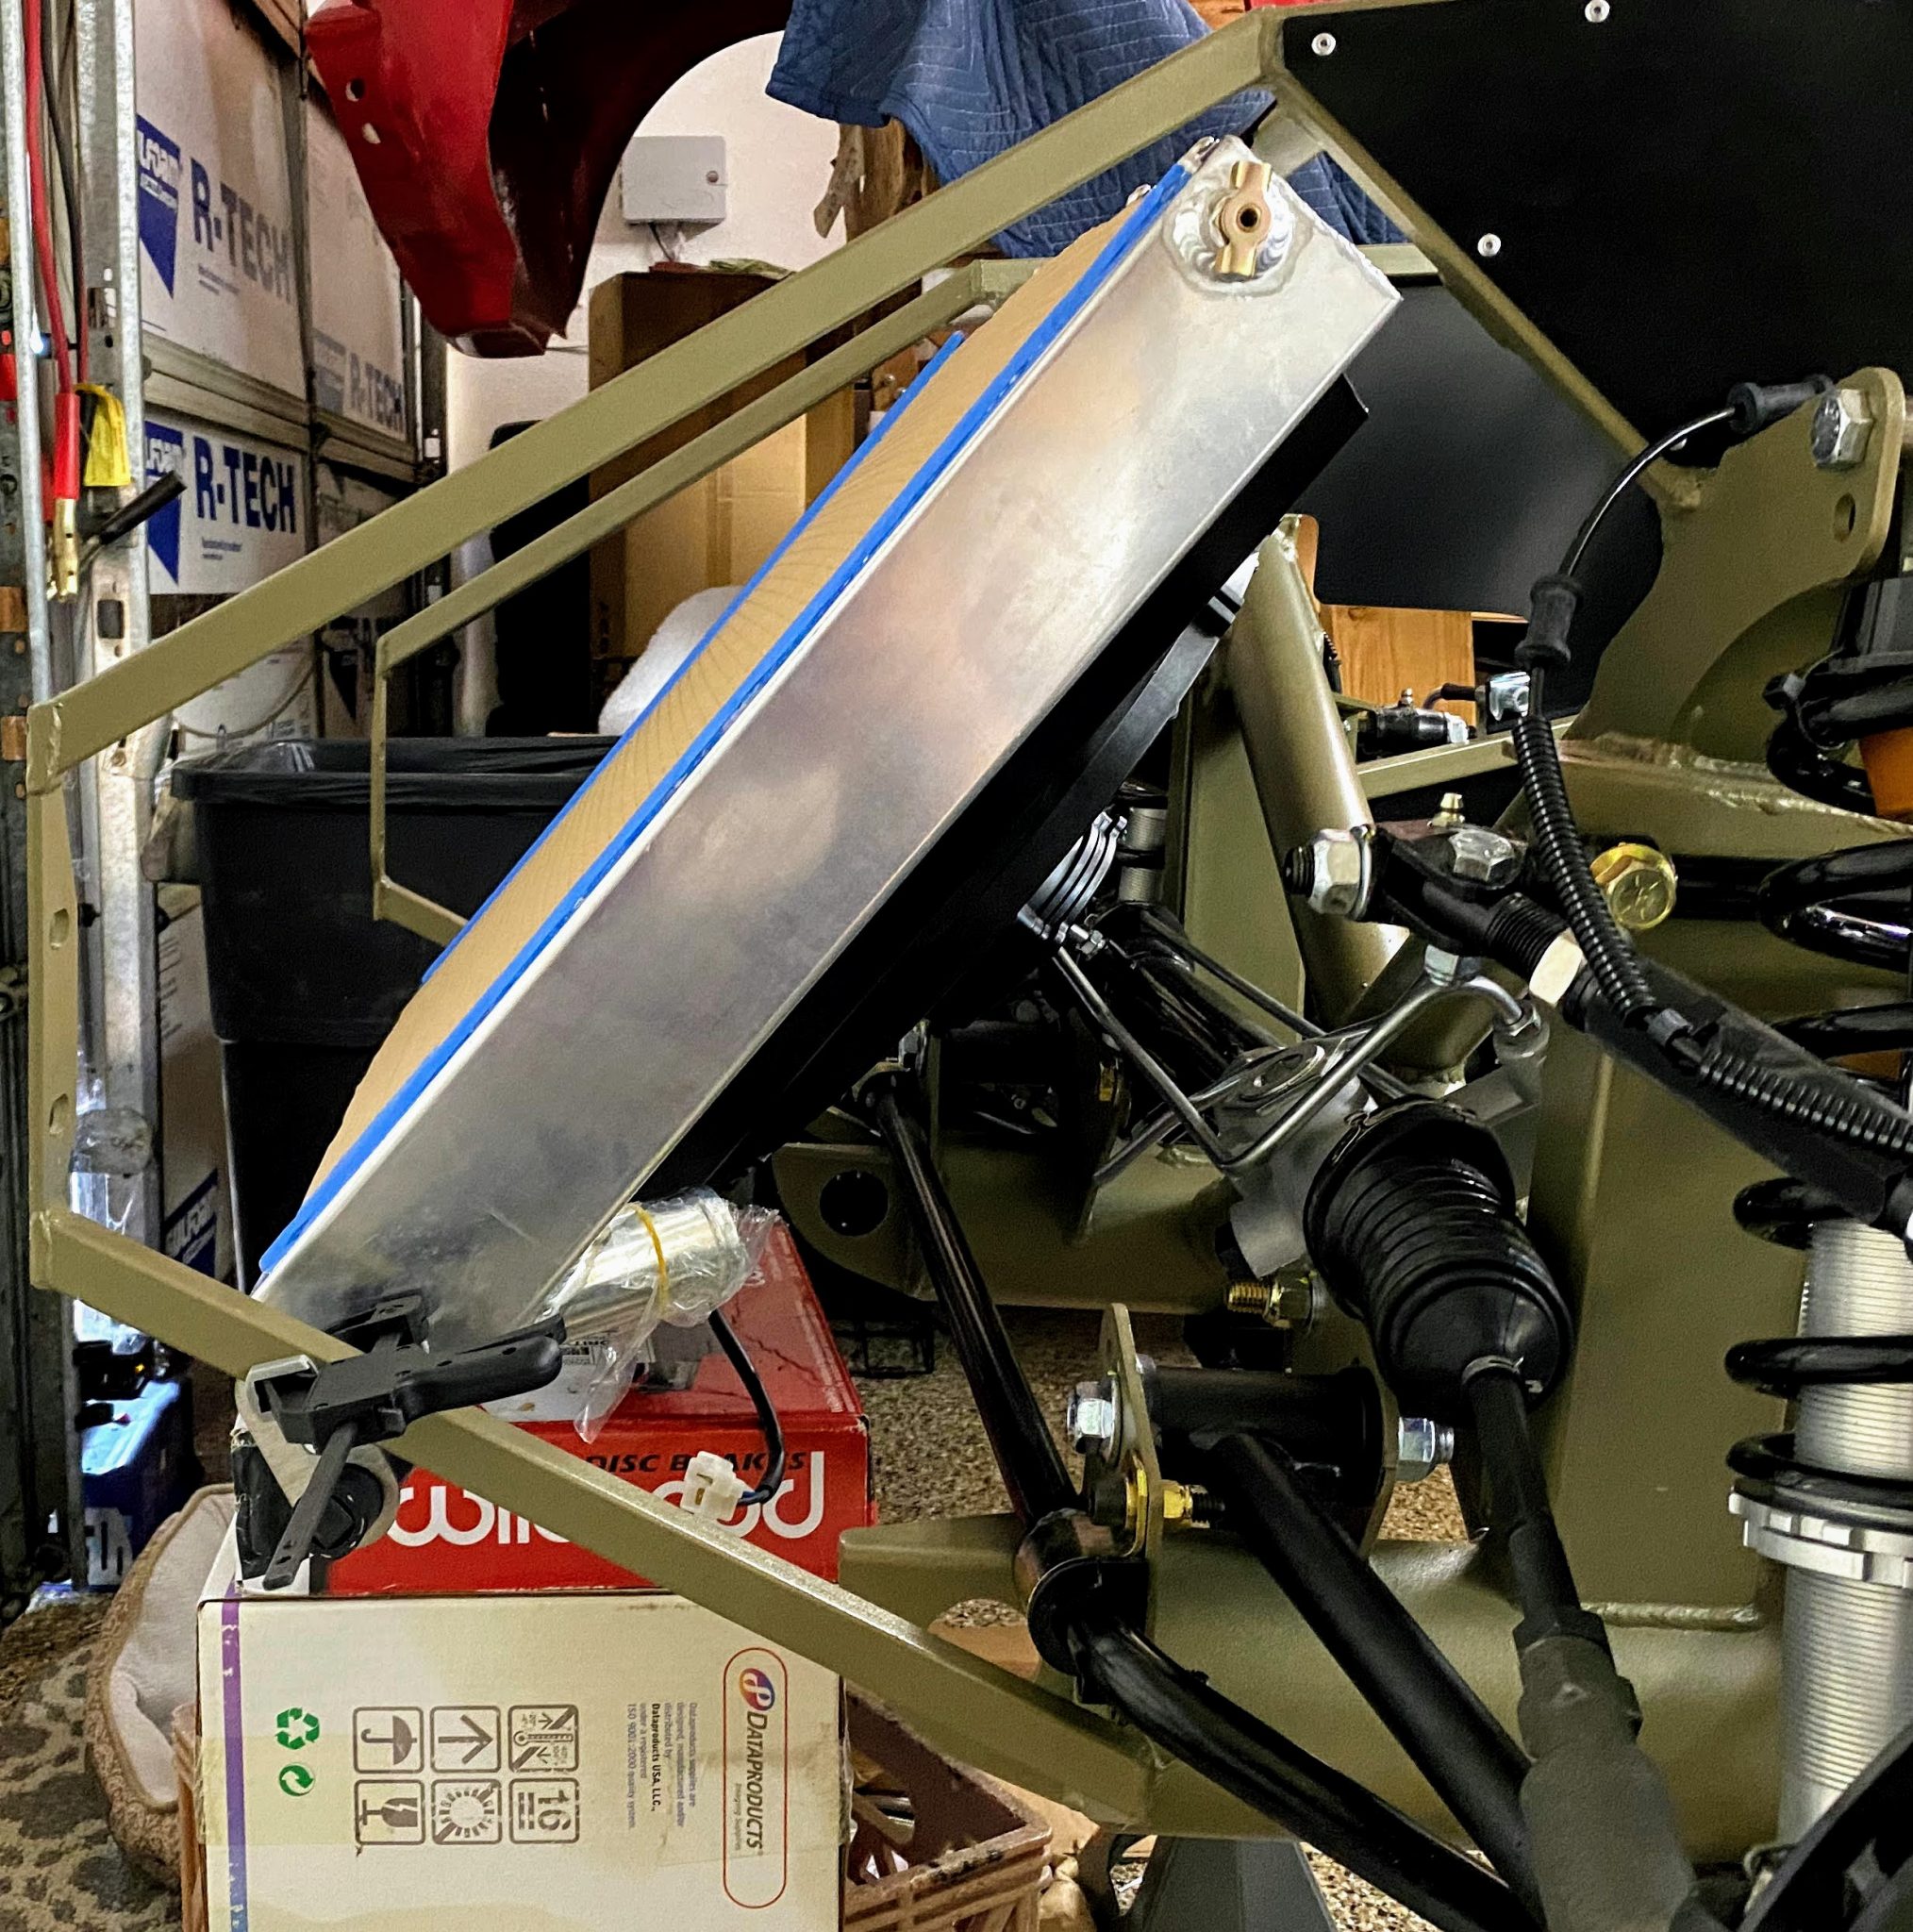
Finally, I tightened the lower mount. So that wraps it up for now!
Hanging the radiator
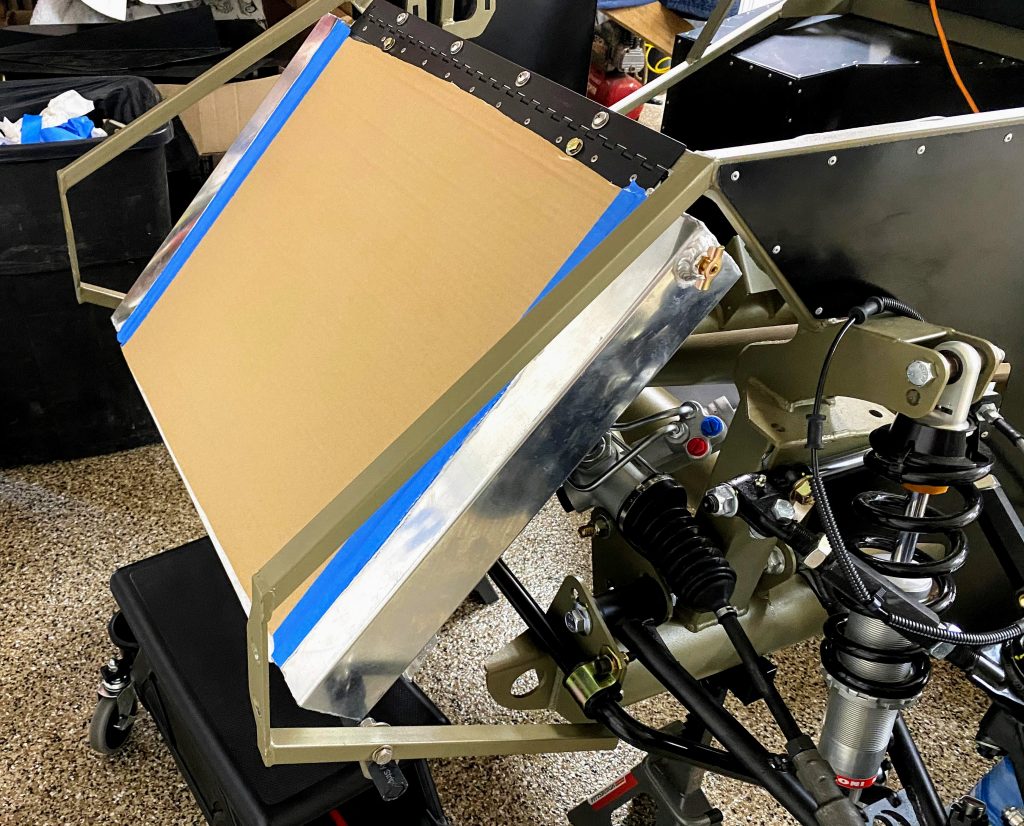
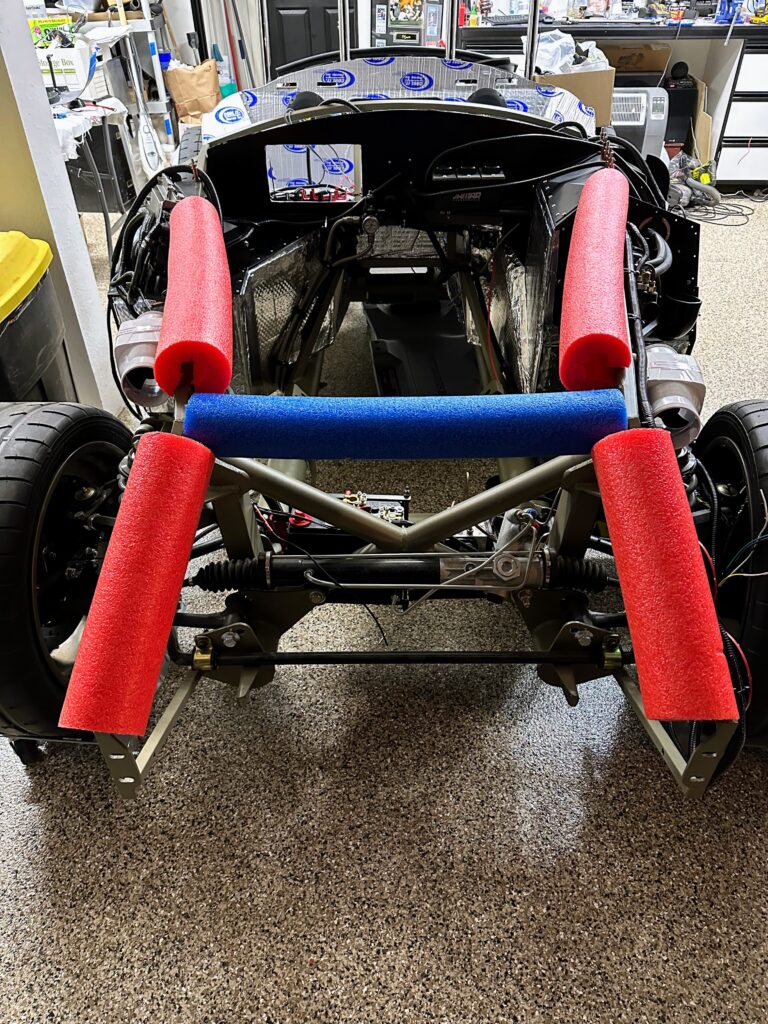
I still have lots to do. Next, I will probably drill out a ton of sheet metal panels. Then I will start using clecos to mount them. Also, I have to run the brake and fuel lines. Ultimately, the chassis is getting close to sitting on the wheels!
Flex-a-lite fan upgrade
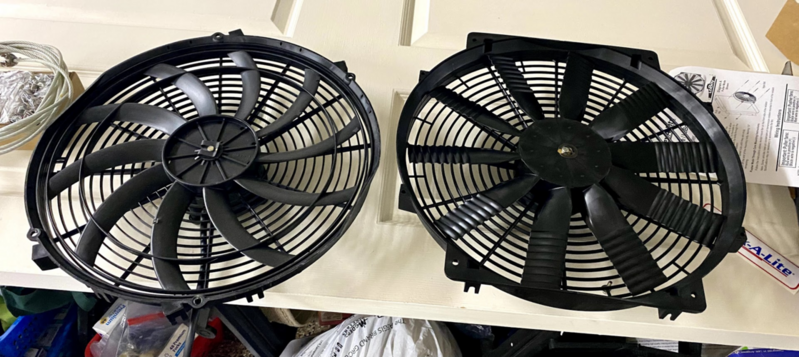
Update! I upgraded the FFR fan to a similar sized 16″ Flex-a-lite Flex-Wave LoBoy Electric Fan (Puller). First, the blade design cuts noise. Also, it moves more airflow at 3,000cfm. Meanwhile, it draws a little less amperage.
I figured this is good cooling insurance. Also, it is much easier now than after the body goes on. However, removing the old fan was still a PITA. First, I had to disassemble the shroud, mounts, and front mesh. Then I removed the fan. After that, I re-drilled holes for new rivnuts. Because the spacing is a bit different. Ultimately, I reassembled everything!
FFR fan is on the left. Meanwhile, the new Flex fan sits on the right. So, see that blade design?