How I installed a Stereo, Speakers, and Subwoofer in a Factory Five Cobra: A Step-by-Step Guide
This update covers stereo install guide.
Related notes live on the Factory Five Cobra build hub.
stereo install guide: Why put a stereo in a Factory Five Cobra?
Installing a stereo with speakers and a subwoofer in a Factory Five Cobra sparks debate. Can you hear it? Is it worth it? Why do it? It is not original. However, I could not build my roadster without one. Why? I am used to having one. Also, I wanted a screen for navigation.
This stereo install guide walks through each step. Therefore you can build a setup that fits a Cobra interior. Hopefully you enjoy it. Many folks have asked for this. Yes, it can be done. Does it add complexity? It sure can! Is it worth it? IMHO, yes!
Layout, parts, and power plan
Speaker placement in a roadster
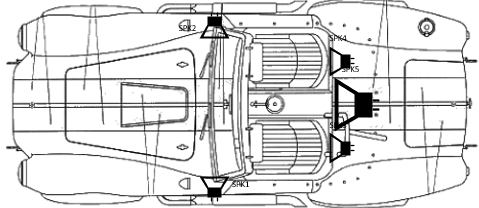
First, start with the layout. Most modern cars use a head unit and at least four speakers. Two sit front left and right. Two sit rear left and right. As a result, you get stereo sound you can tune. Also, modern music benefits from a subwoofer for low bass. Besides that, a loud open car needs more oomph. So I added a powered subwoofer. Placement is not perfect in a Cobra. Still, you do the best you can without blowing the budget. See the crude speaker layout below.
Here is a diagram of the setup, and a list of the parts.
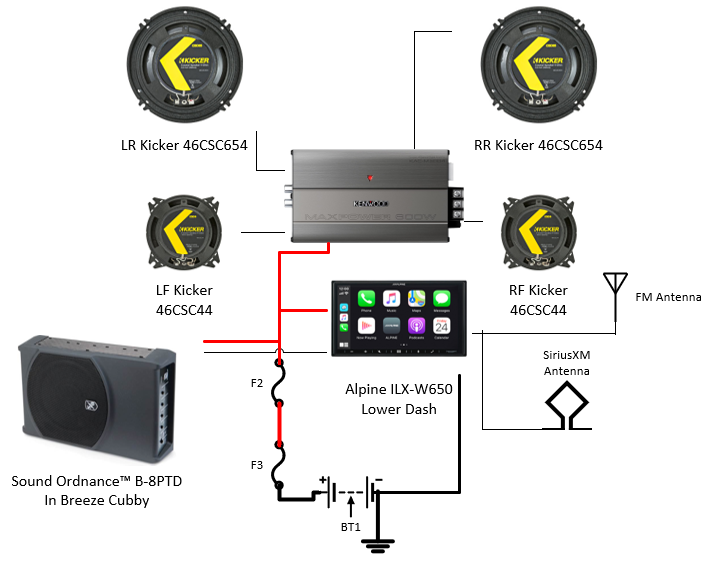
- Alpine iLX-W650, 7″ Double Din Digital Media Receiver, CarPlay/Android Auto in lower dash
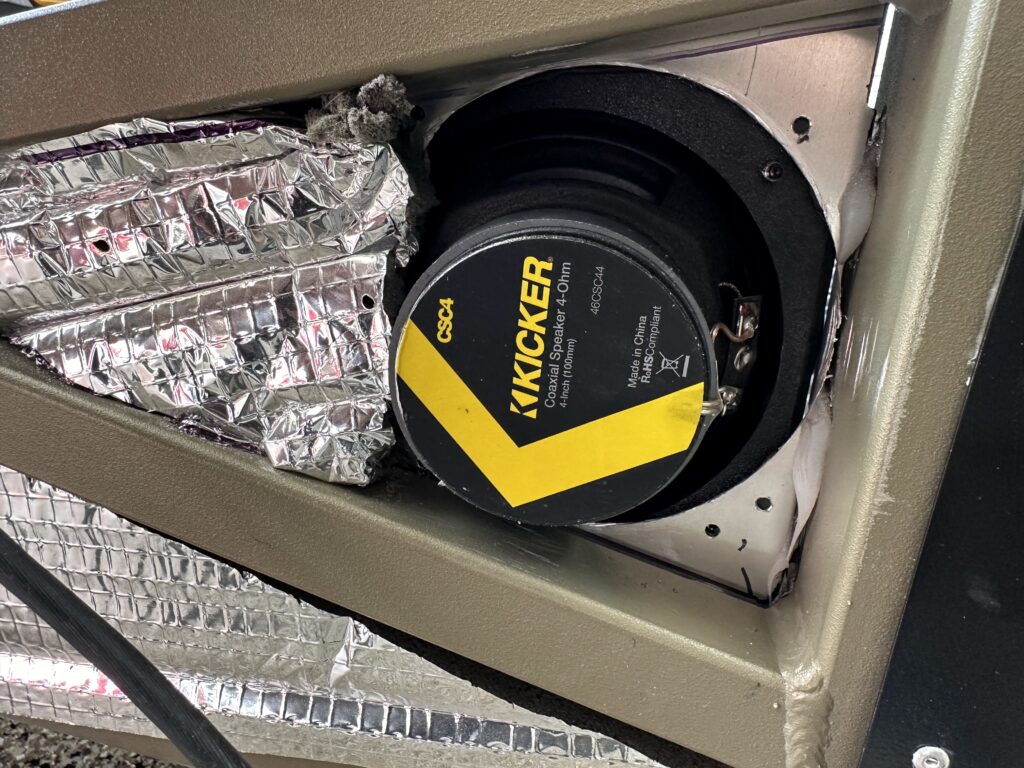
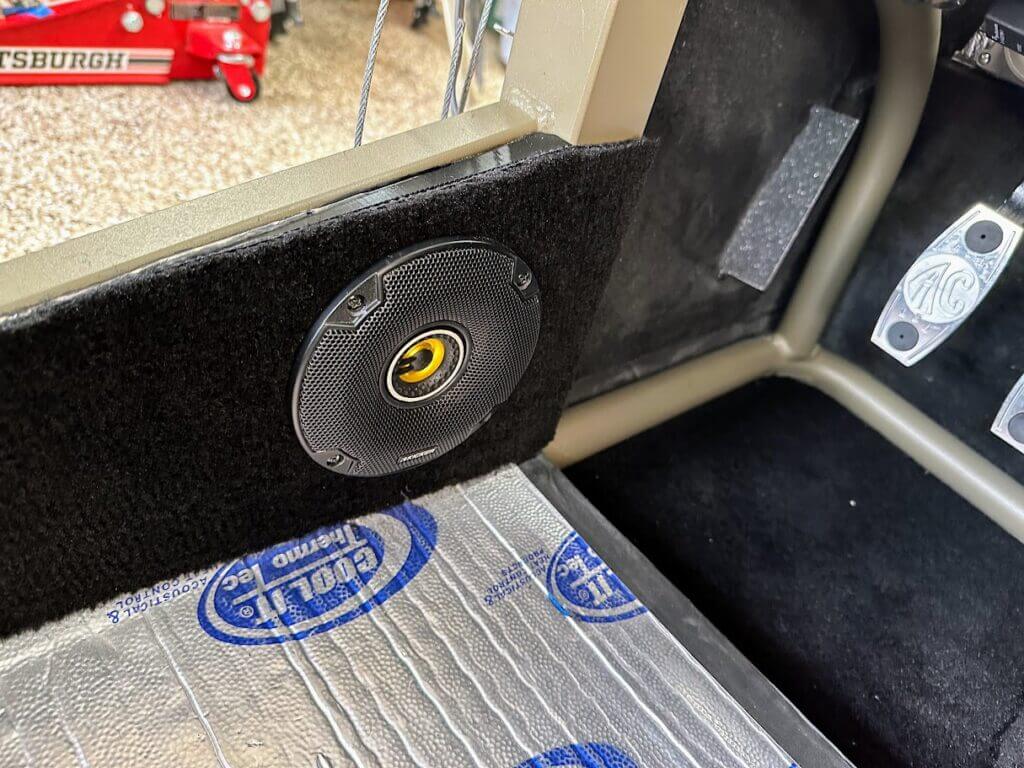
- KICKER 46CSC44 CSC44 4″ Speakers – front footbox speakers
- Kicker 46CSC654 CSC65 6.5″ Speakers – rear speakers behind the seats
- Kenwood KAC-M3004, 600W 4-Channel Amplifier – delivers 50W x 4 to the speakers
- Sound Ordinance B-8PTD 8″ Powered Subwoofer – in the Breeze Cubby
- 4 Gauge Wire (4 AWG) – main power wire to fuse and fuse block
- 8 Gauge Clear Red Power Wire (8 AWG) – power wire for subwoofer from fuse block (below)
- 16 Gauge Wire (16 AWG) – speaker wires
- 60A Fuse for 4-10 Gauge AWG Wire – safety fuse
- PDM482A Maxi Fuse Distribution Block – from safety fuse to receiver and power for the subwoofer
- Copper Battery Terminal Connectors, AWG 2 4 6 8 10 12 Cable Ends Wire Lugs Assortment Kit, 70pcs Ring Terminal with 80pcs Heat Shrink Tubing – for solid power connections
- Heat Shrink Spade Connector Kit – excellent for solid solutions in wiring connections
- Hydraulic Crimping Tool – for crimping the connectors above – works great!
- iCrimp Ratcheting Crimping Tool – for basic low power wiring, e.g. speakers
Yes, that seems like a lot for a receiver and speakers. However, that is what we used. Also, we bought much of it over time. With four kids driving over the past decade, they all upgraded car stereos. Therefore this project stayed fun!
Custom lower dash and speaker mounts
Lower dash as the wiring hub
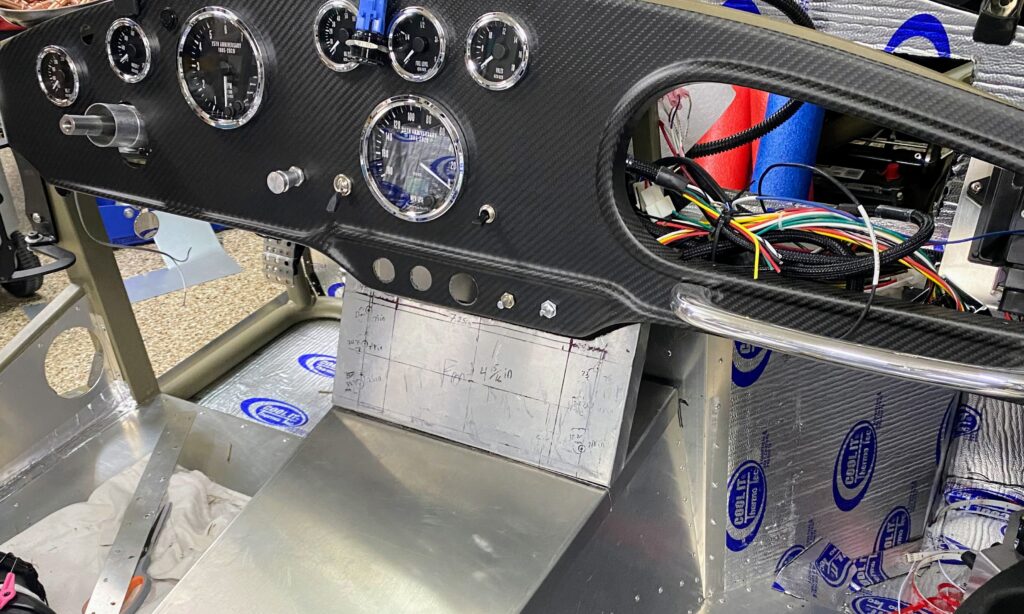
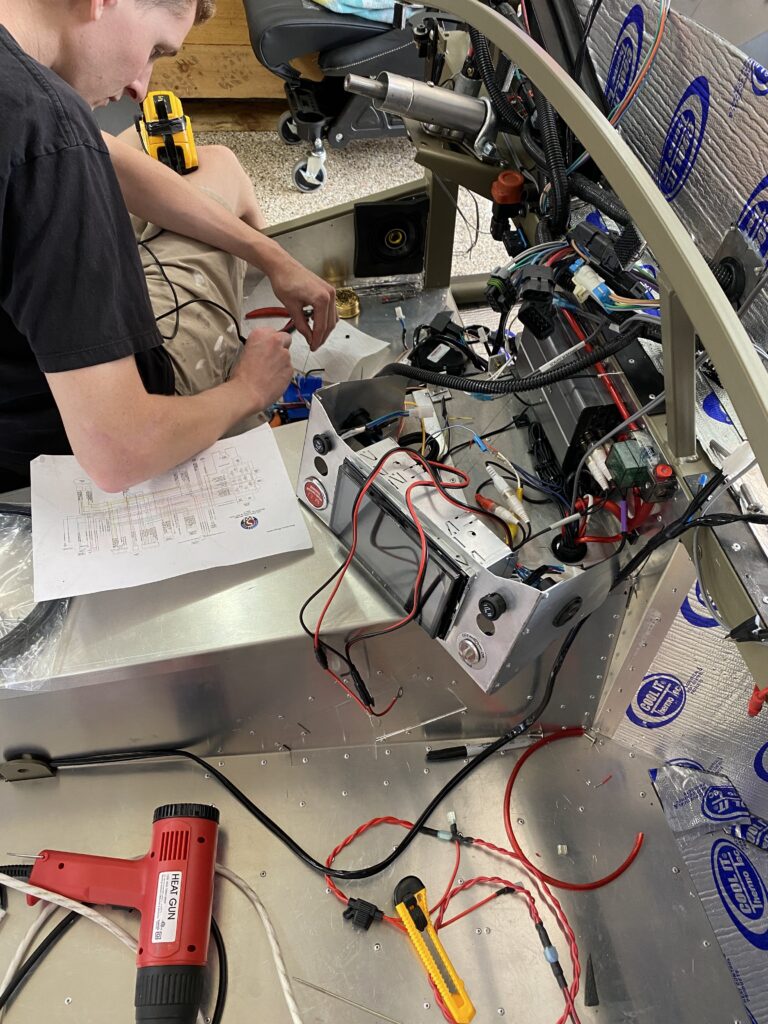
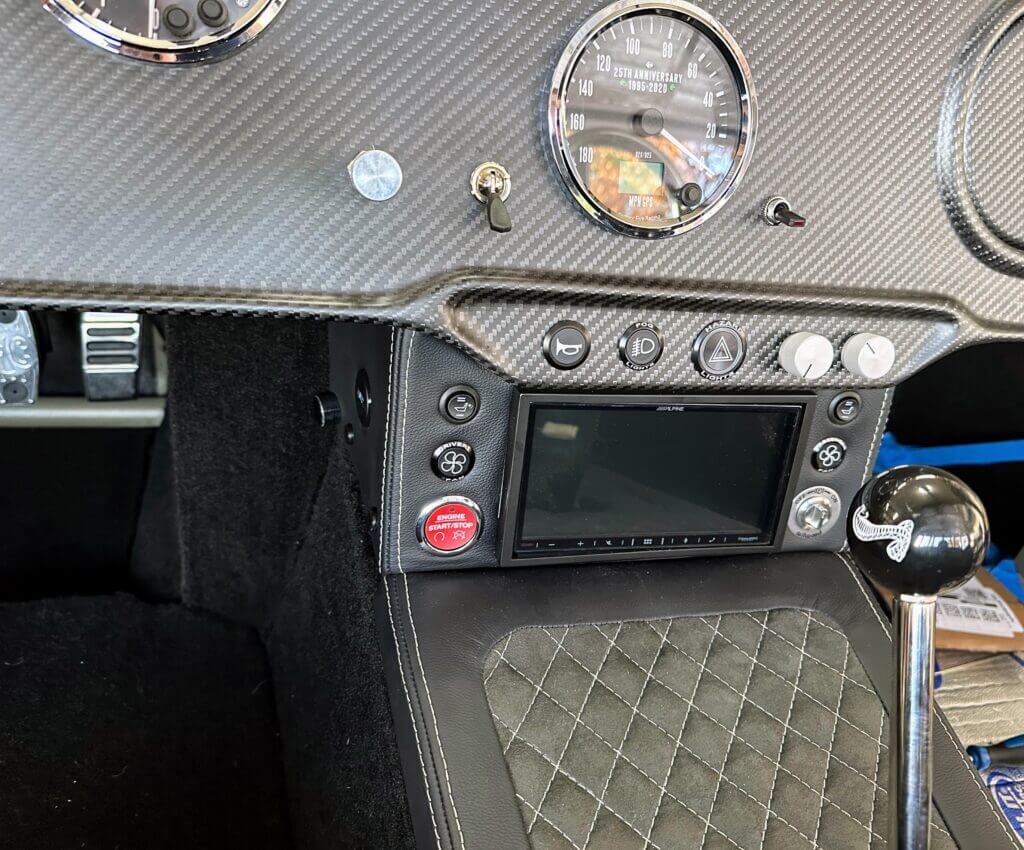
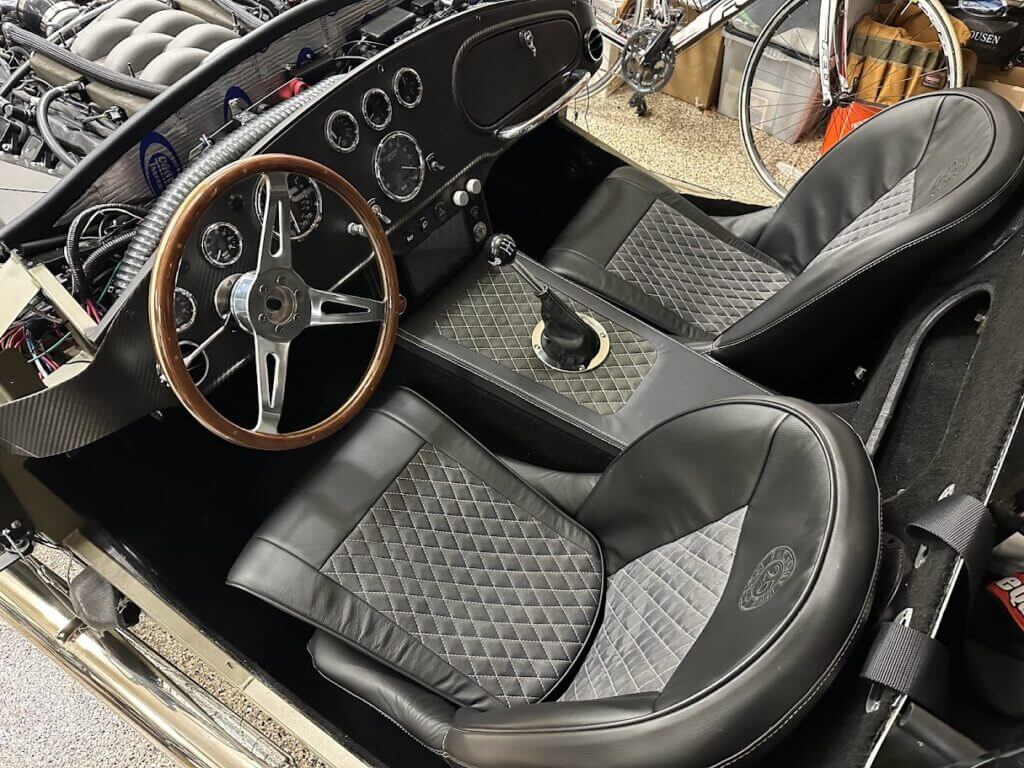
First, talk about the lower dash. This piece was totally custom. Then my son took crazy measurements and we built it ourselves. Six functions sit around the receiver. Also, the fuse block sits behind it. As a result, this is where all the wiring meets.
Front, rear, and subwoofer installs
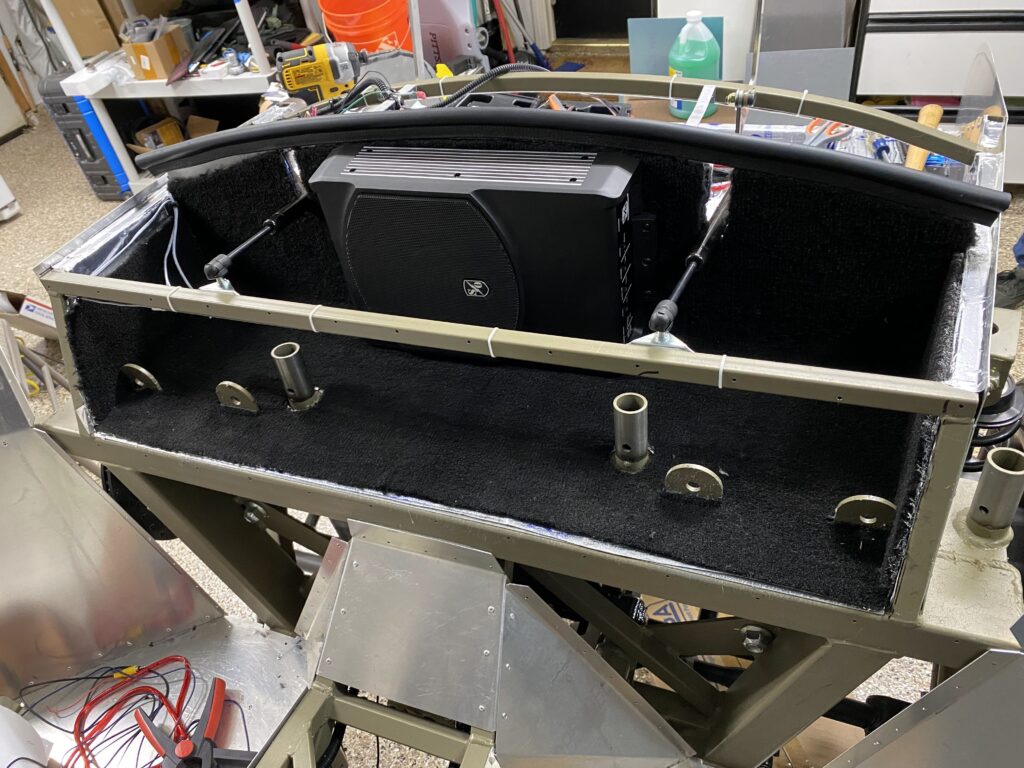
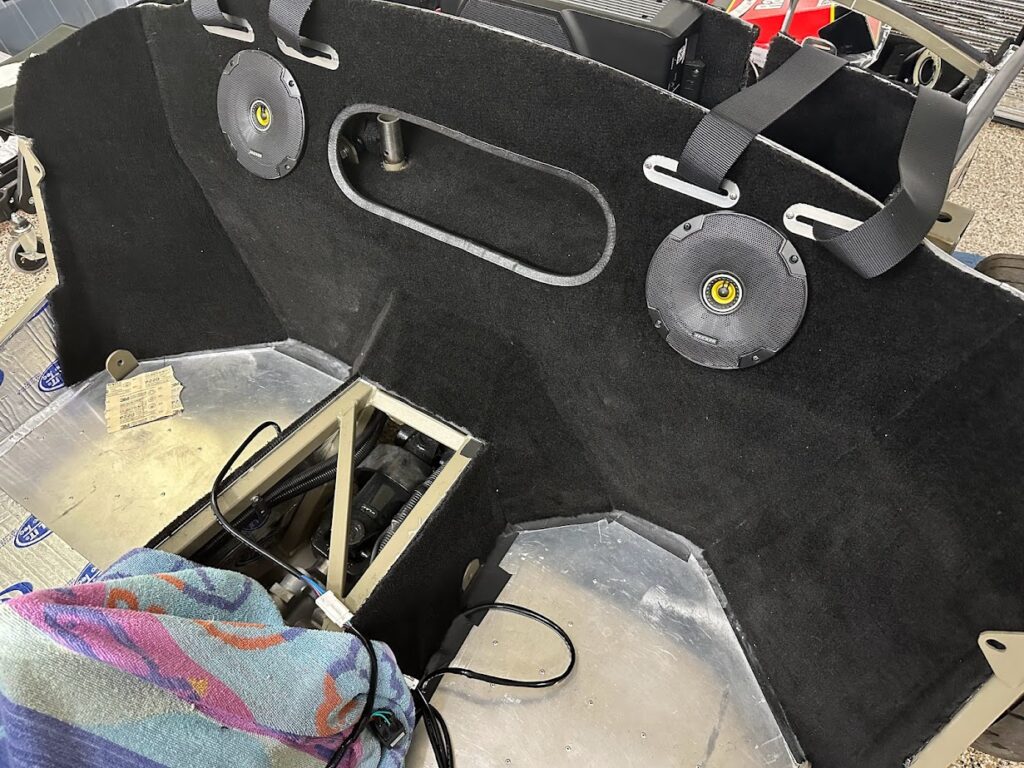
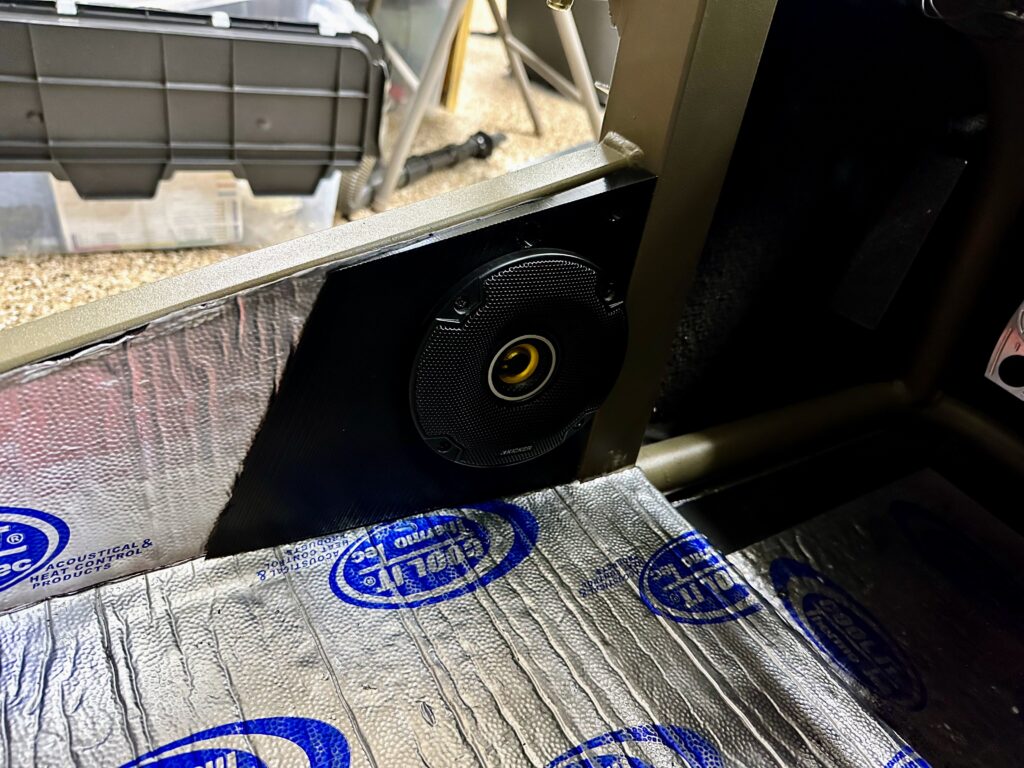
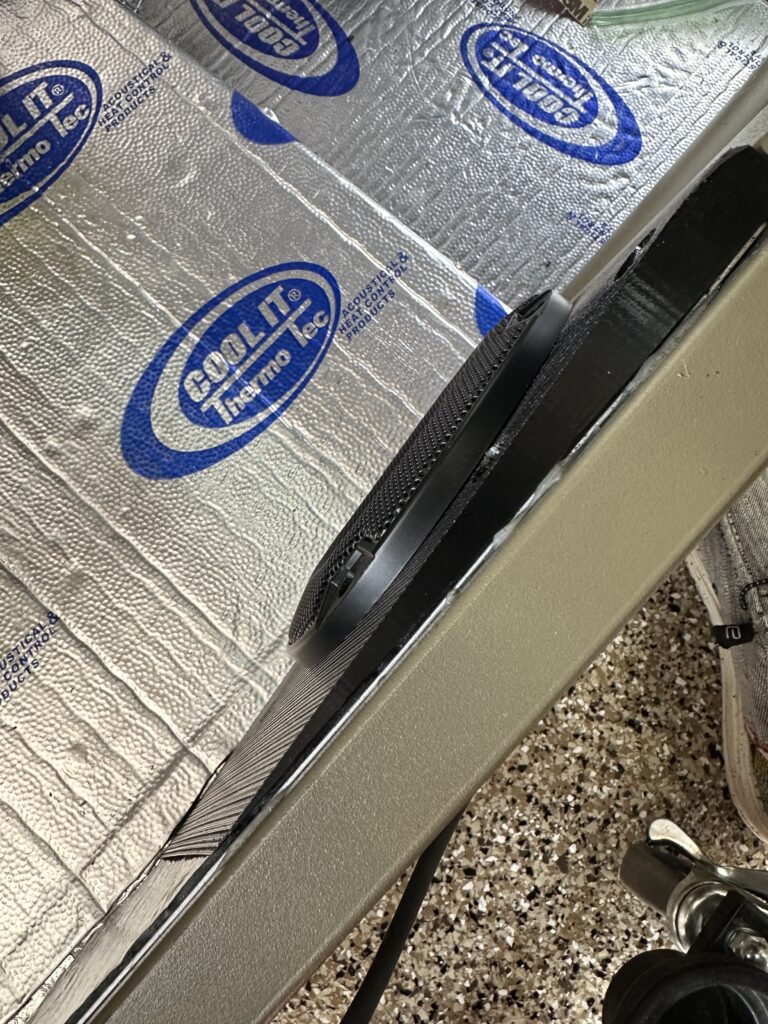
Installing the speakers was fun. The rear speakers were relatively simple. First drill holes. Then mount them up. However, the front 4-inch speakers were a bit bigger than expected. Therefore my son 3D printed mounts that pull them out from the footbox. That gave space behind each speaker. Likewise, the rear powered subwoofer is one unit. Ultimately we mounted it on the cubby wall in the mid-trunk.
Quick sound check video
Here is a quick video of the receiver setup. Obviously this clip is older. Still, you get an idea of the sound.