Installing the Coyote coolant expansion tank
This update covers Coyote coolant expansion tank.
Related notes live on the Factory Five Cobra build hub.
Coyote coolant expansion tank: Why a Mustang-style expansion tank?
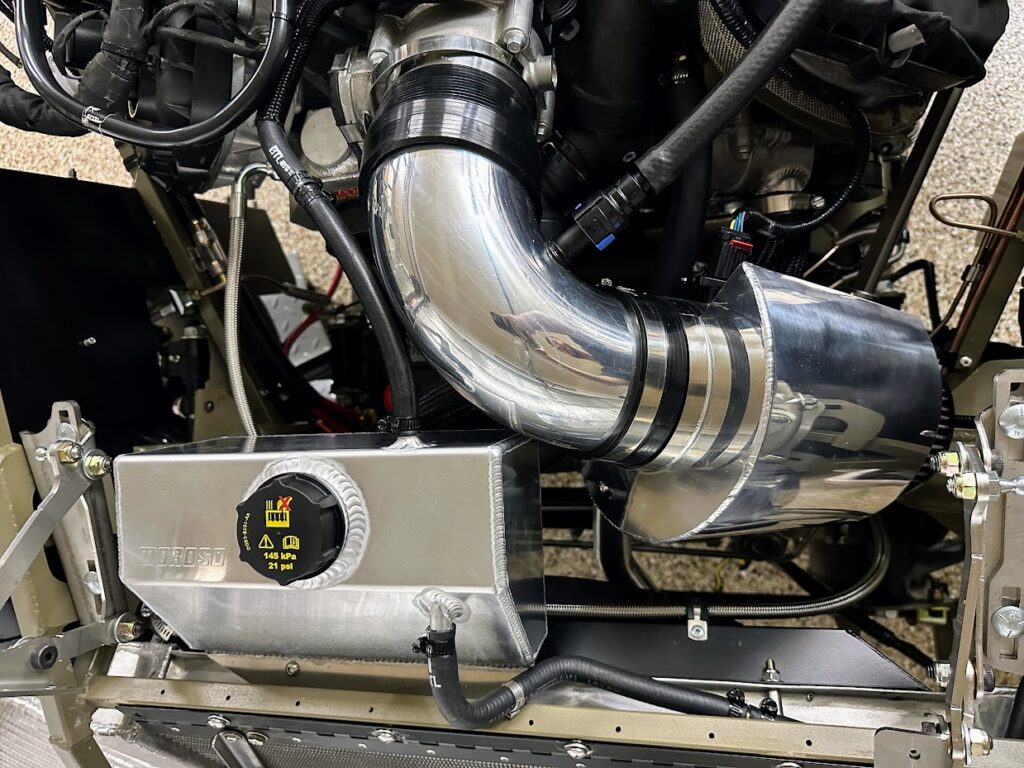
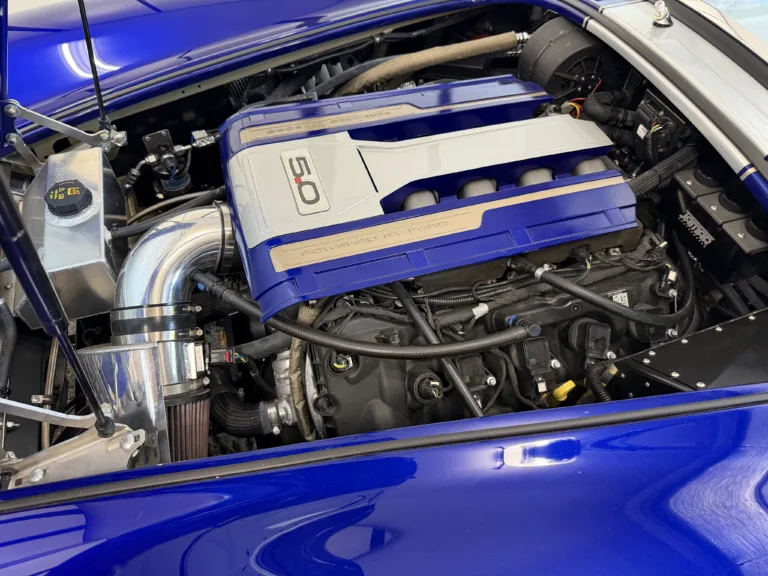
Cooling is critical for any engine. Of course we did not stick to the book. Instead we chose a Mustang-like expansion tank. It looks nicer IMHO. Also, it works much like an OEM Coyote. Several forum members already run this setup. Therefore it works great. So we spent a little more and made it functional!
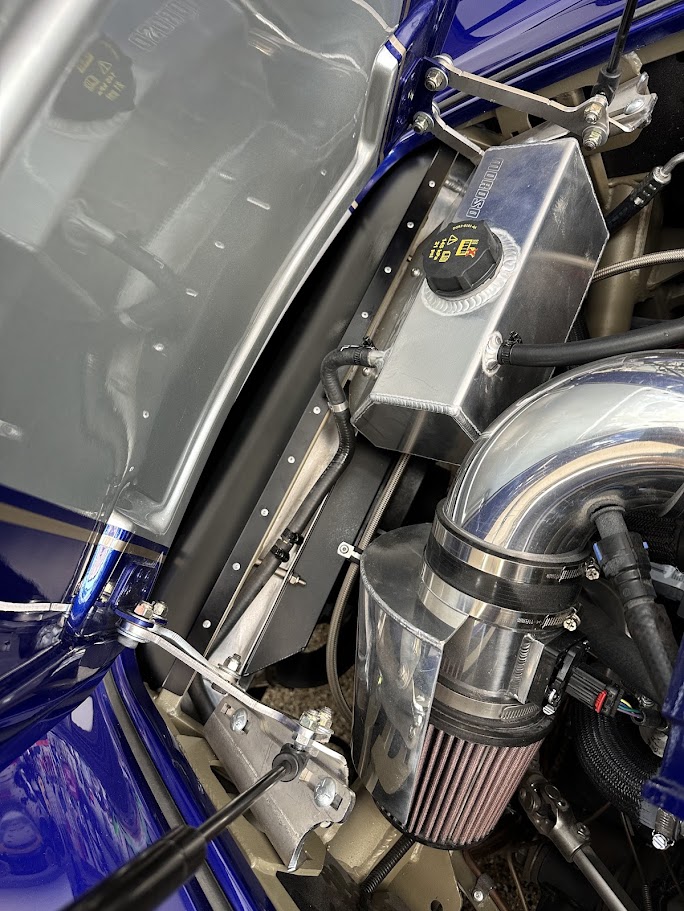
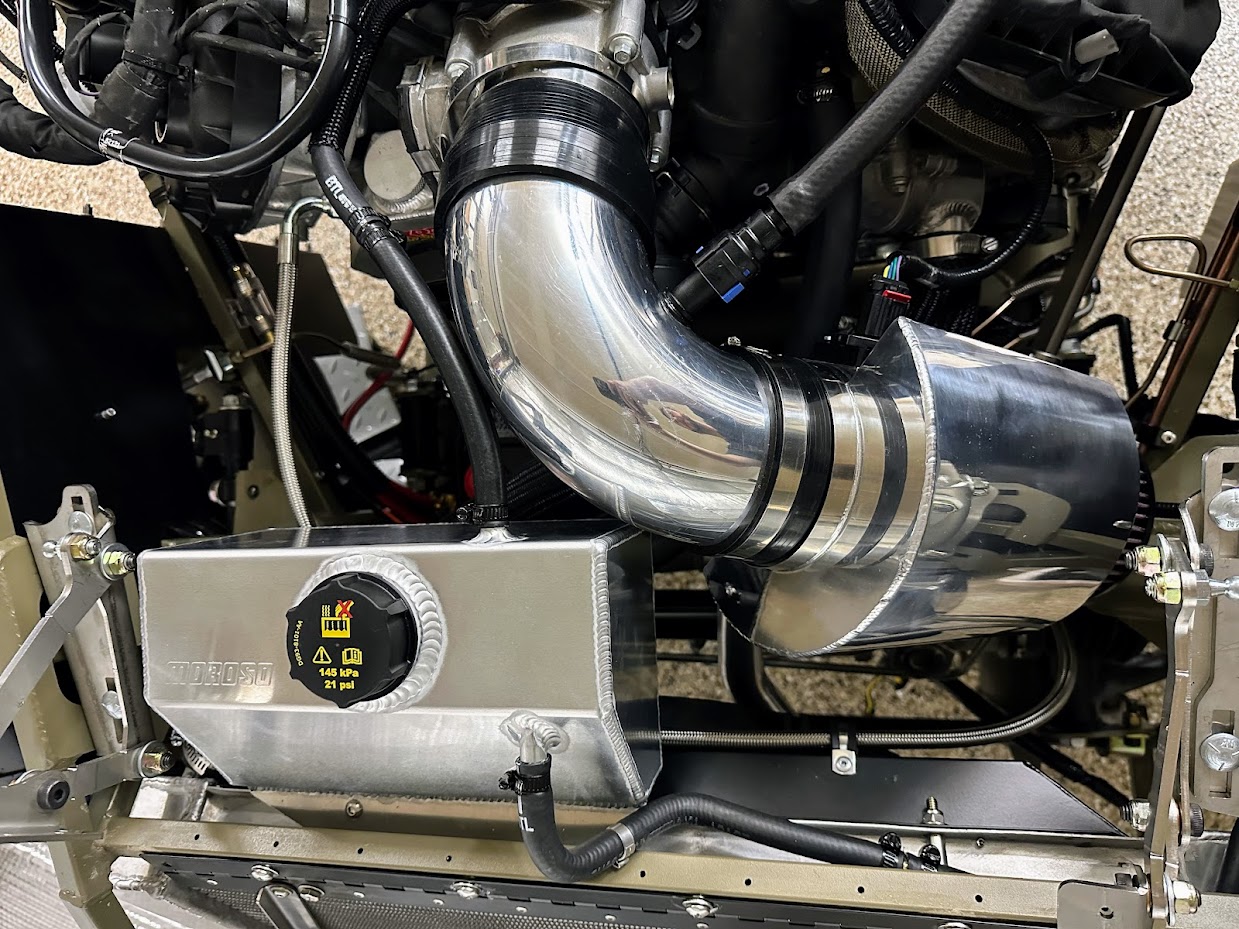
The key part is the Moroso 63806 Coolant Expansion Tank . Yes, it is pricey. However, the design is very close to a Mustang GT tank.
Hose and cap parts list
Here are the other parts needed. Then this Coyote coolant expansion tank comes together:
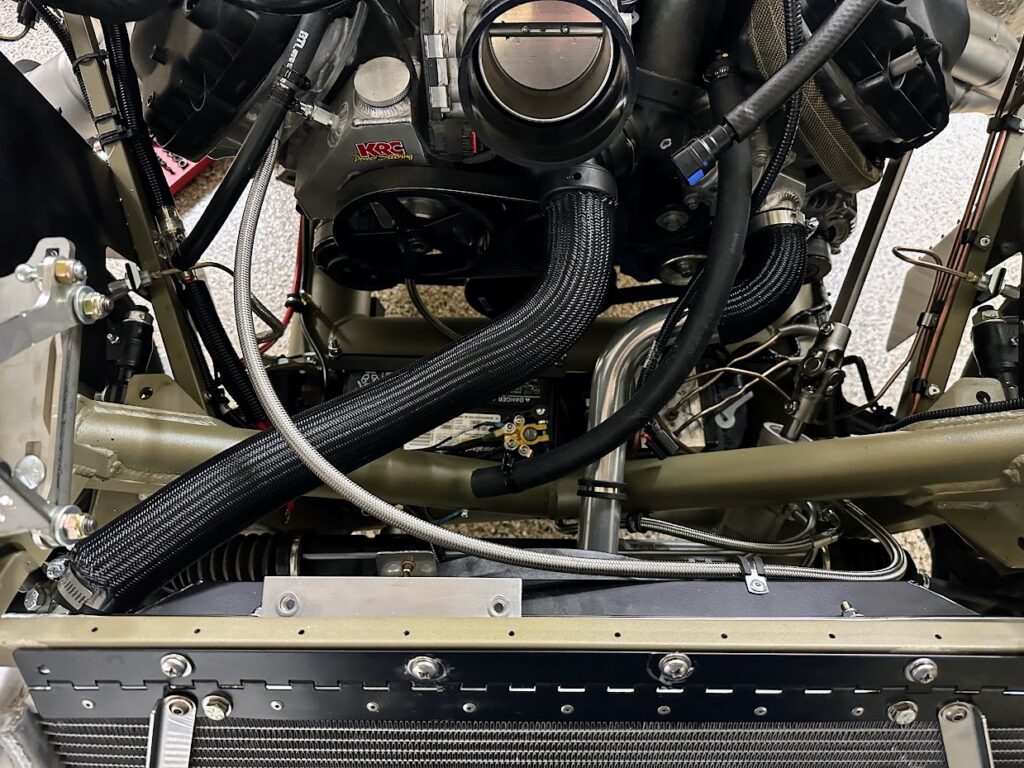
- CL3Z-8260-A or KM-5114 – Upper radiator hose. This comes from the 2012 F150 upper hose. It has the quick disconnect on the engine side. With some trimming, it plugs into the radiator inlet.
- FR3Z-8075-C – Hose from tank top/front to radiator, including one-way check valve. This allows the system to burp air and not backflow into the radiator.
- DG9Z-8100-A – Stock Mustang reservoir cap. There are shiny aftermarket billet versions available, but this one at < $4 is a bargain.
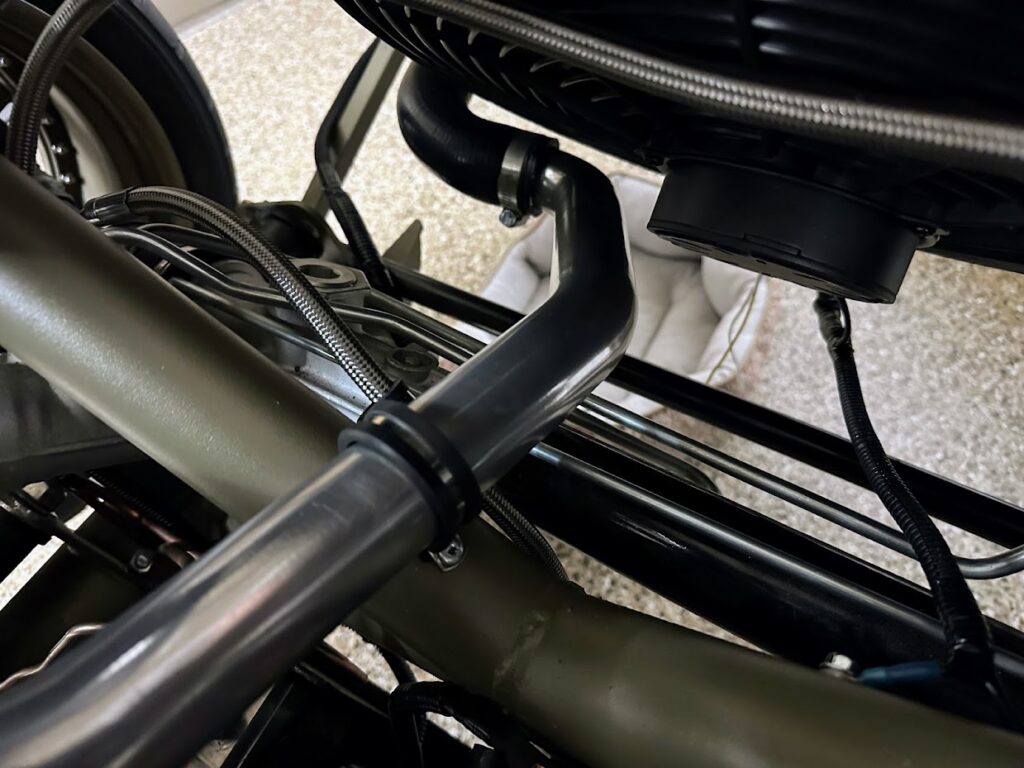
- FR3Z-8276-B – Hose from the overflow tank top/rear to the water neck near the throttle body.
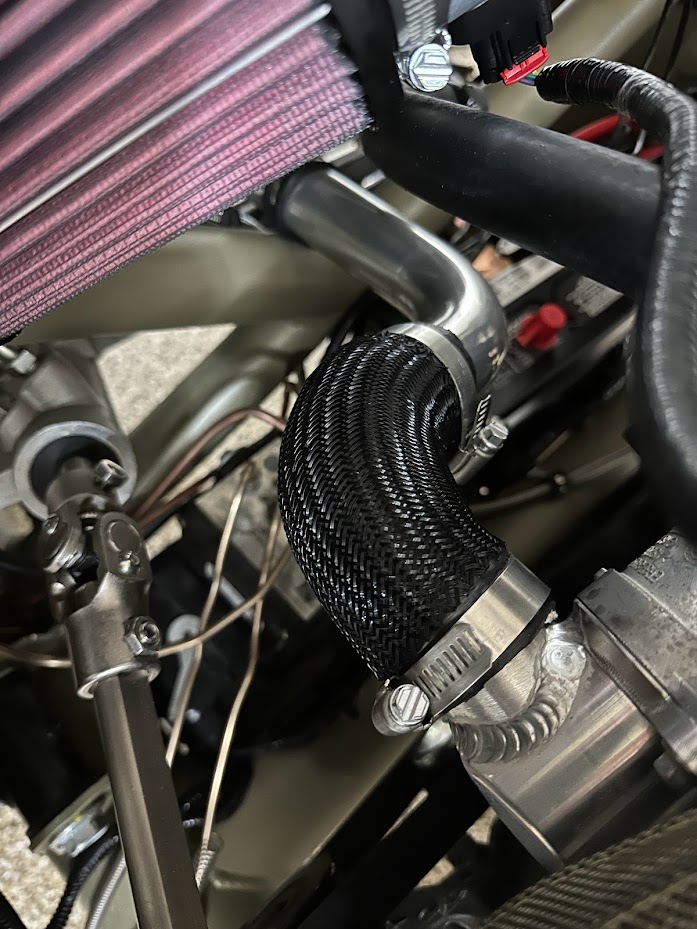
- For the lower Radiator hose, I used a section of 1.5″ hose from the Coyote kit from FFR and modified with the Boig Coyote Cool Tube setup to clear my ABS HCU
- There is a second return hose at the bottom of the tank, just some regular 5/8″ heater hose works trimmed to fit.
Mounting the tank on the crossbar
Aluminum bar and rivnuts
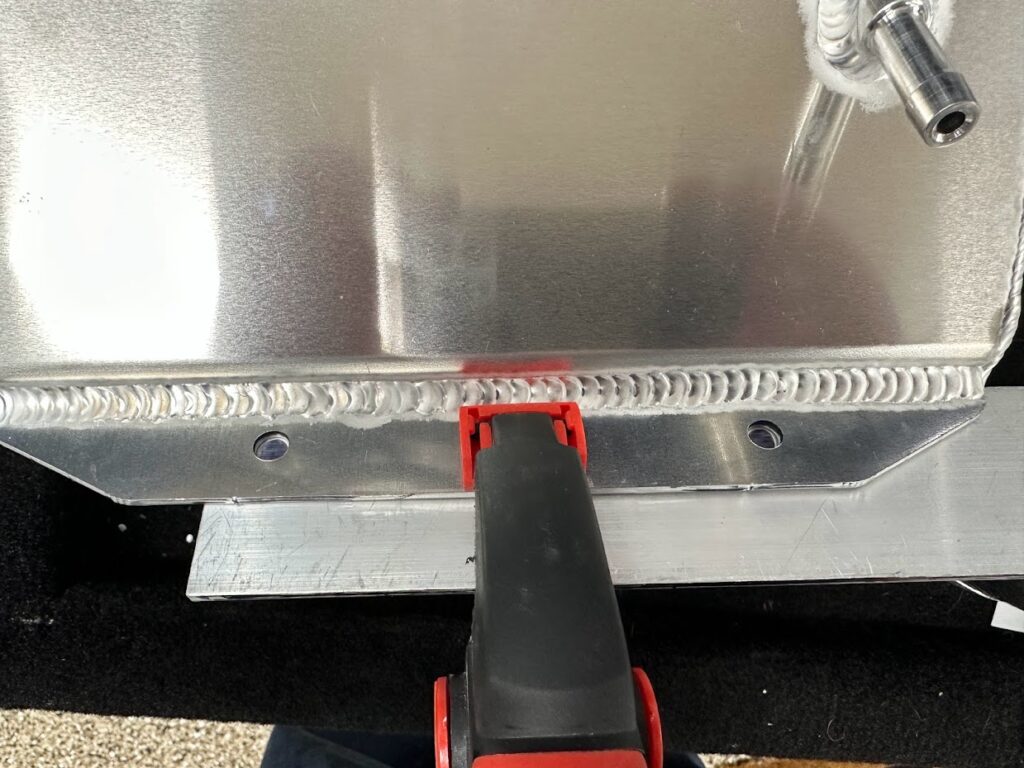
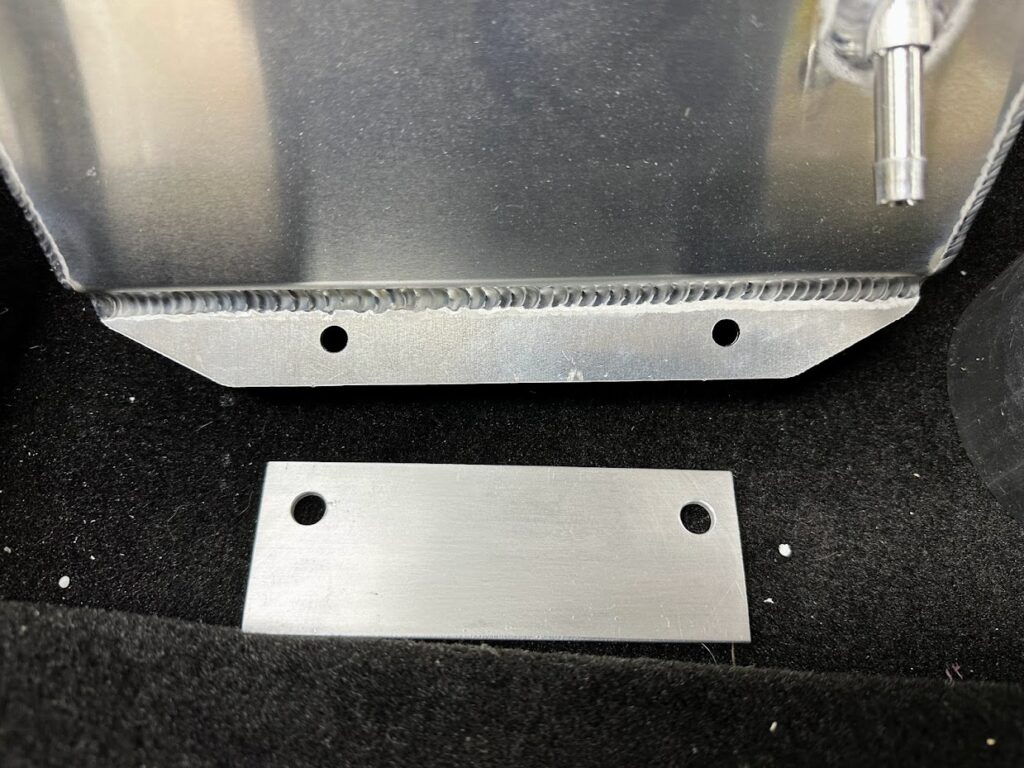
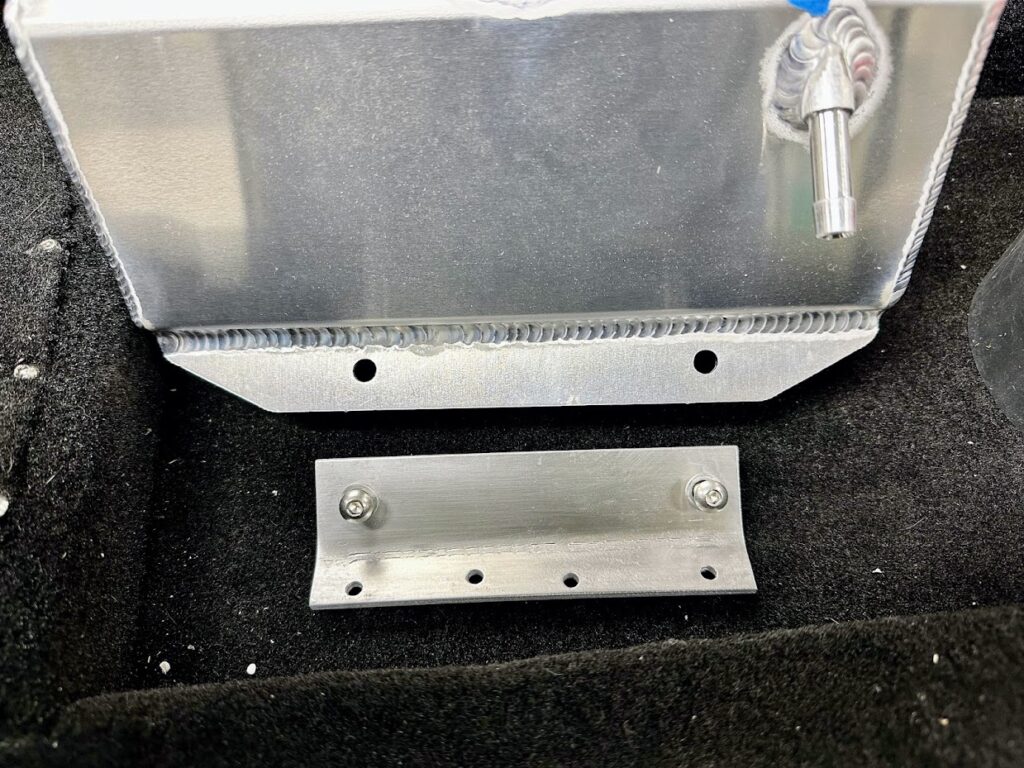
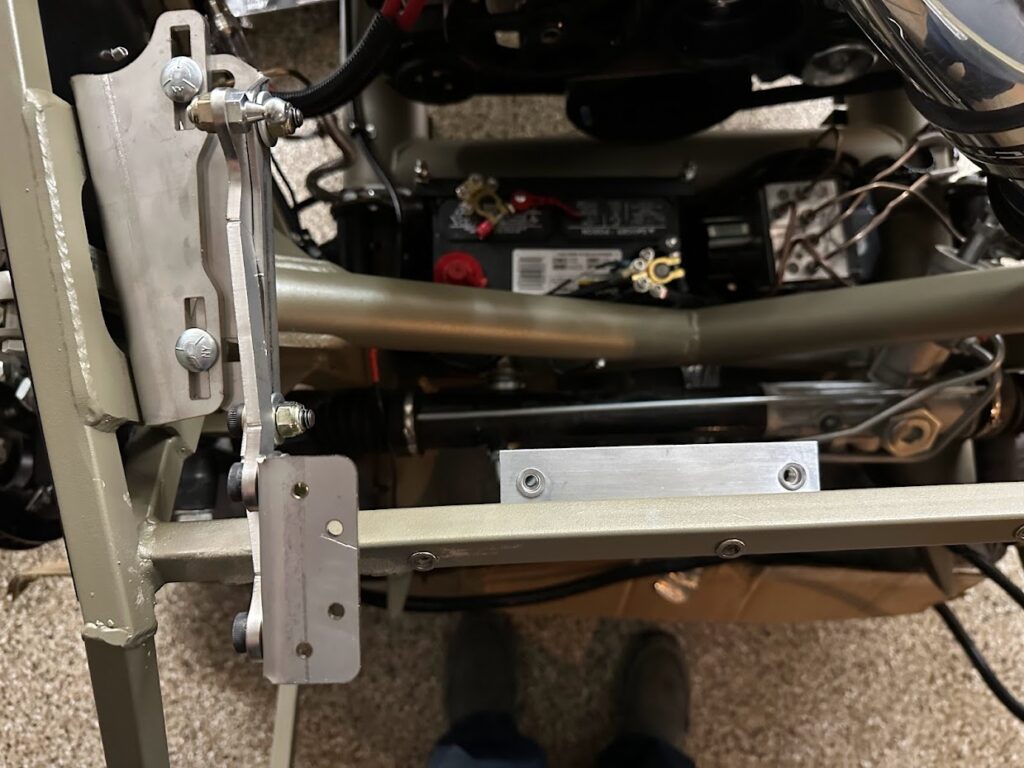
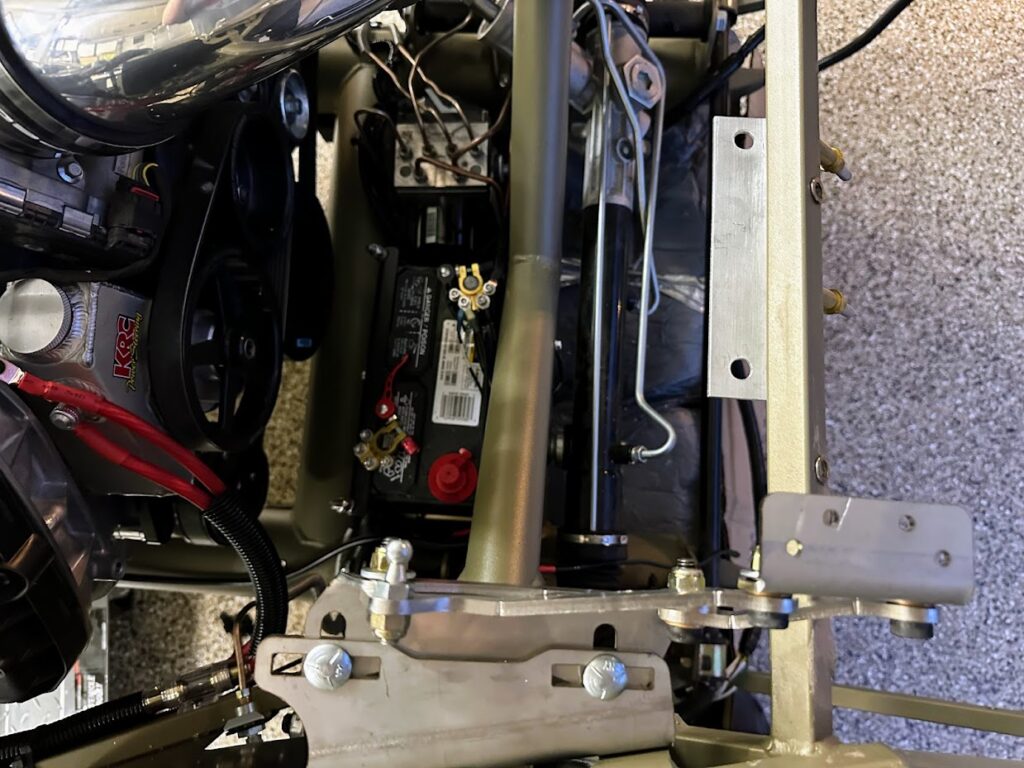
Now that parts are out of the way, the mount gets interesting. First the tank mounts to the crossbar above the radiator. Then I used 1/8″ aluminum bar and trimmed holes for rivnuts. As a result, I can mount and remove the tank as needed. The guideline is simple. Keep the tank mount in line with the crossbar bottom. Otherwise keep it lower than that bottom edge.
Lower brace to the Breeze shroud
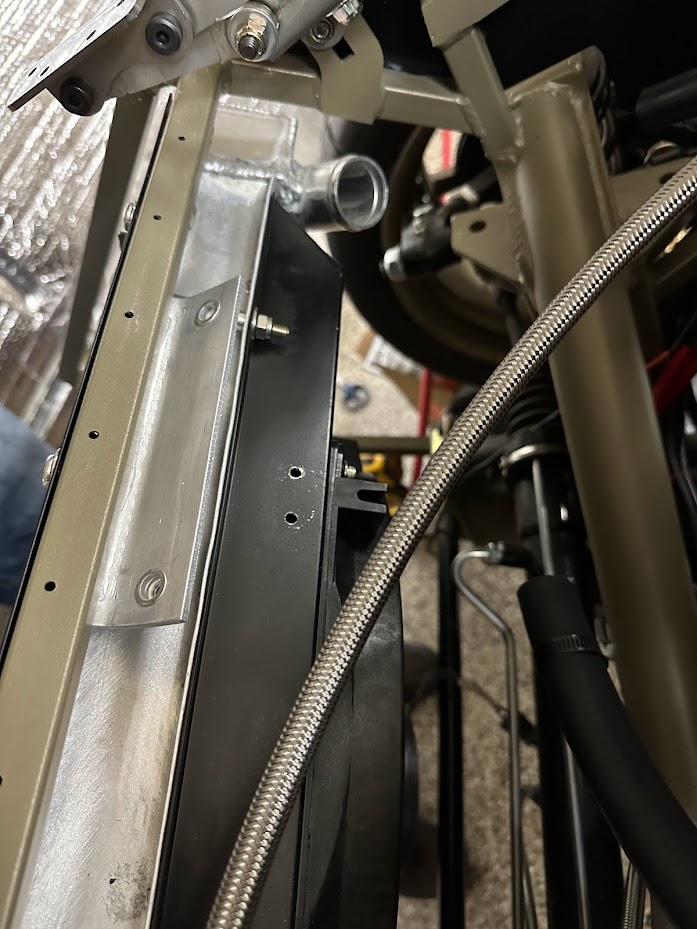
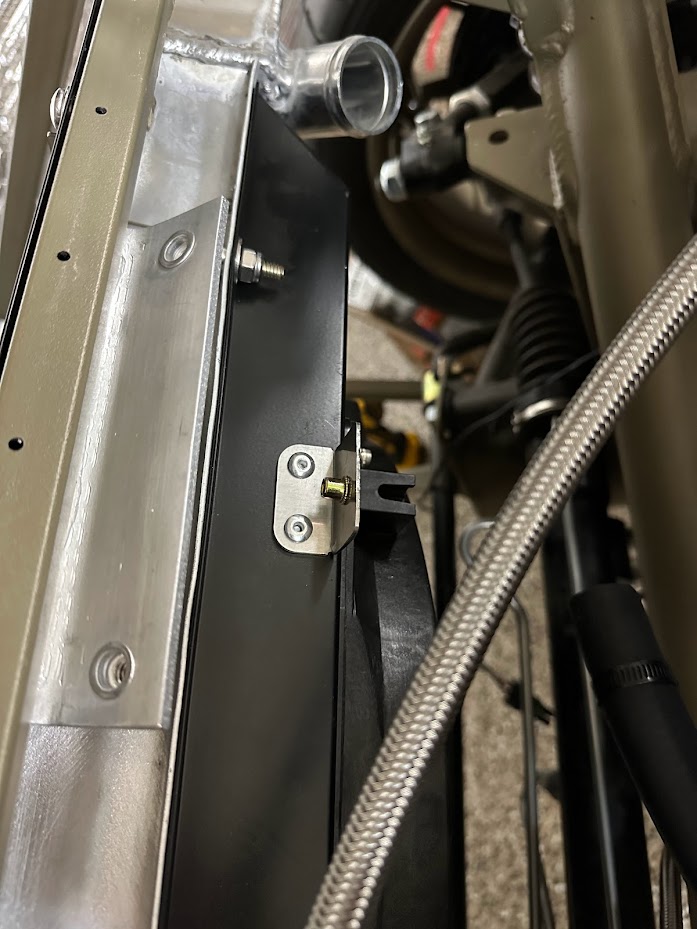
Once the mount is in, place the tank. To be honest, it feels a little flimsy alone. Therefore many builders add a bottom mount. In my case it ties to the Breeze Radiator Shroud. First we made one mount on the tank. Next we made one on the shroud. Then a rivnut and screw tie them together. Ultimately it is hard as a rock. Seriously, it will not budge!
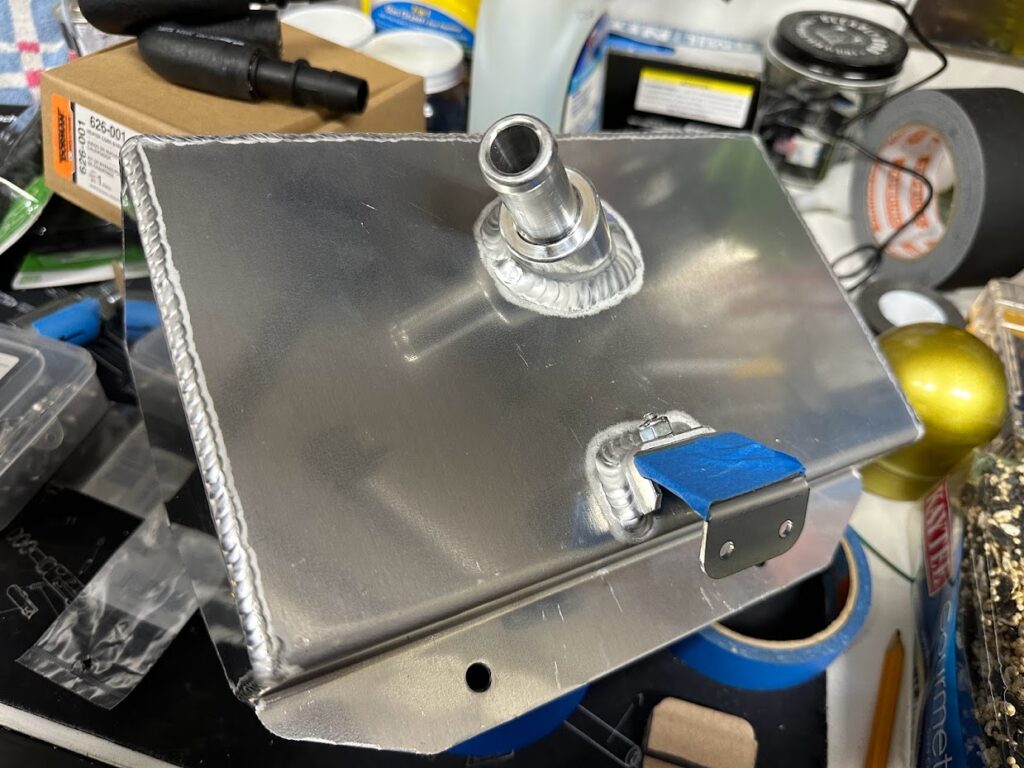
Upper and lower hose routing
Clocking for power steering clearance
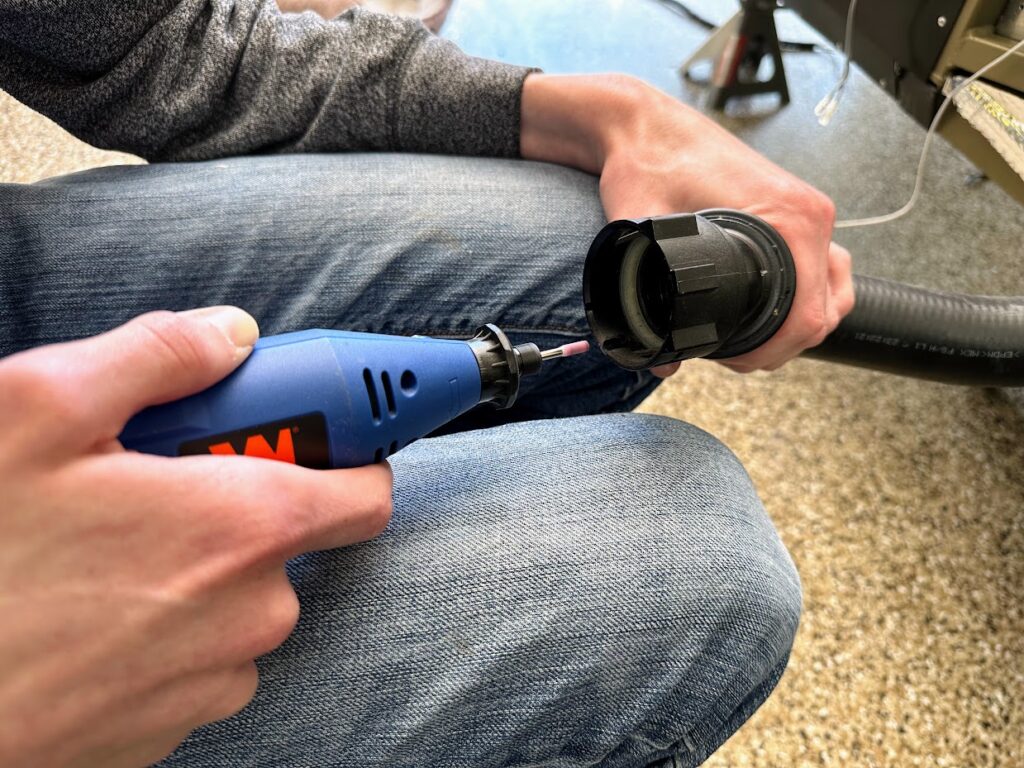
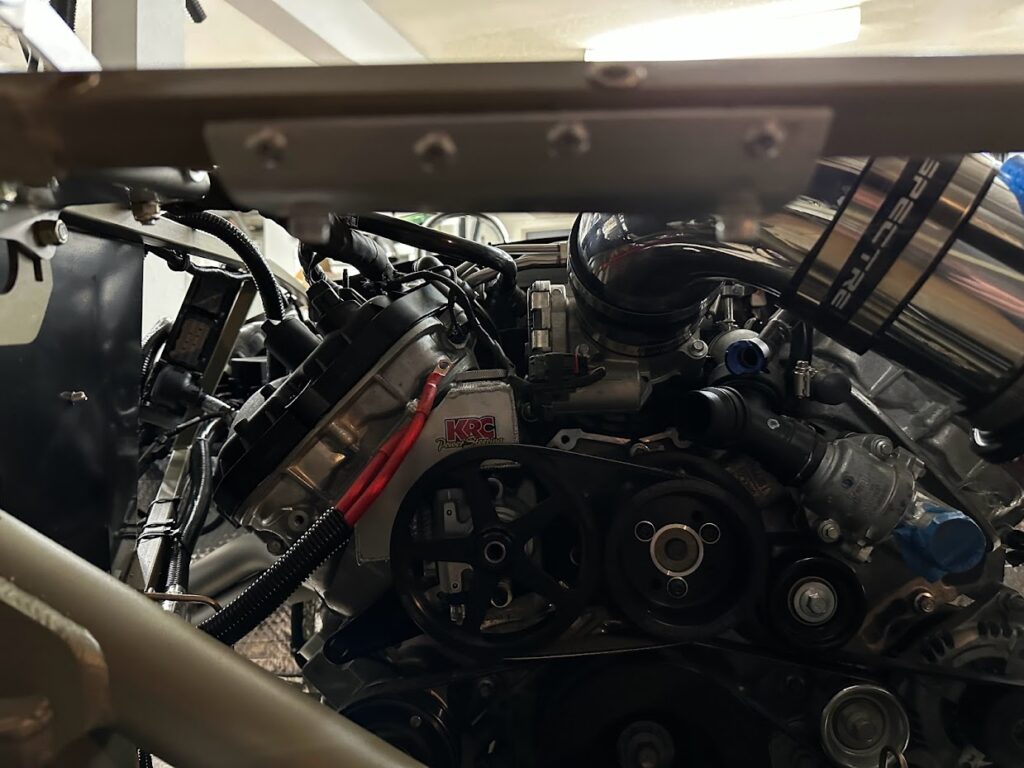
Now the fun parts! The upper radiator hose needs a slight clock so it clears power steering. First a Dremel keys a new slot. Then trim the end and plug into the upper radiator. Likewise, the lower hose needed quick tweaks. After that it uses the Boig Cool Tube setup to clear the ABS HCU. There is no more room in there. Yikes!