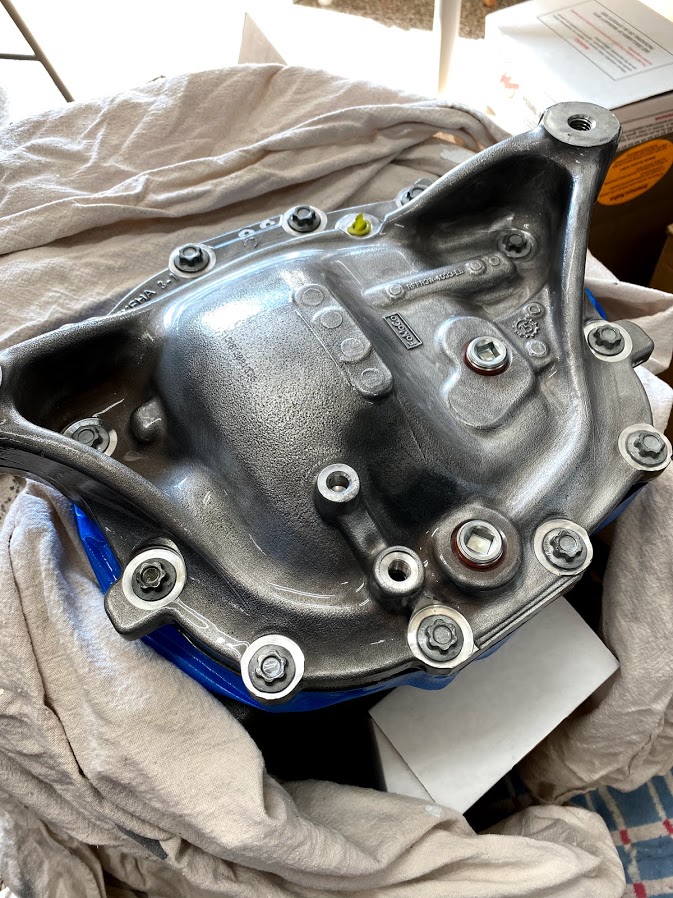
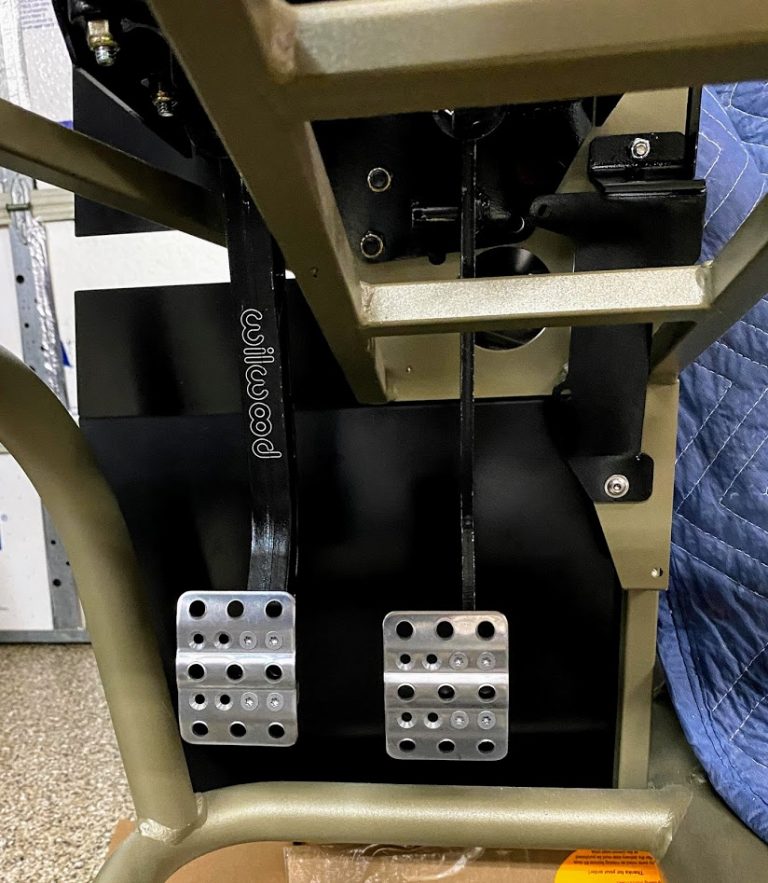
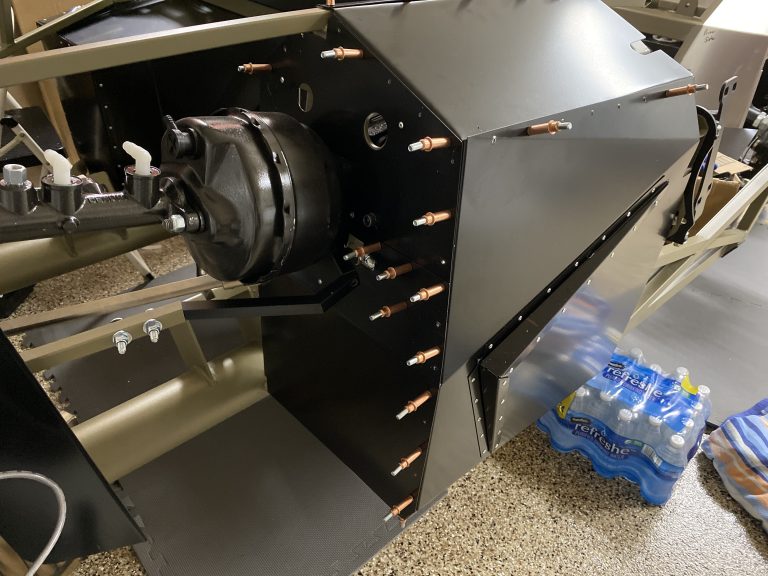
Got the ABS HCU mounted!
This update covers ABS HCU mount.
Related notes live on the Factory Five Cobra build hub.
Why ABS and a custom HCU
Modern features on a classic look
First, build decisions are hard enough.
You wonder, “can I actually build this?”
Then you start making modifications.
However, every deviation from the norm adds time.
Also, complexity climbs with each change.
Is it impossible? No.
Still, it does take time and patience.
So I wanted a homage to the original with modern features.
Meanwhile, ABS has been on cars for 30+ years.
Because it works for good reason.
I cannot remember my last non-ABS car.
Otherwise, maybe that was my 1989 Mustang.
Of course, this customization takes learning, money, and patience!
Still, gathering the parts was not terribly hard.
Because a handful of folks have already done this.
Next, the last Mustang ABS layout was the 2006-2011 GT500 setup.
In other words, the HCU stays separate from the ECU.
Therefore, it needs an ECU tie-in for operation.
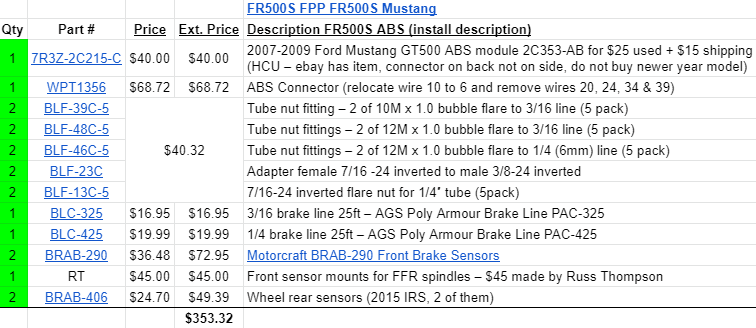
Here is a breakdown of the parts:
Sheet-metal ABS HCU mount
Building beside the Breeze box
Since this is a custom add-on, I had to mount the HCU.
Some have welded mounts.
Others have used the Breeze battery box.
However, I tried sheet-metal box creation myself.
Then I mounted it next to my existing Breeze box.
Also, a Harbor Freight sheet-metal brake helped a lot.
With spare sheet metal, I built a decently solid box.
Ultimately, it sits between the 4 inch tubes.
Brake feed lines from the Whitby booster
After the ABS HCU mount was in place, brake lines came next.
I have the Whitby Motorcars power brake setup.
Also, it has a front and rear output.
Then those align with the two holes closest to the battery.
The front line took 50″ of 3/16″ tubing.
Meanwhile, the rear line was 45″.
Make sure to use a de-burring tool to smooth the cut ends.
A simple tubing cutter is all you need.
Next, I used the Rigid 3/16 tubing bender.
Also, they work great once you get things aligned!
Still, I need to use my 3D brain more often.
For example, I nailed an angle that was 180 degrees off LOL.
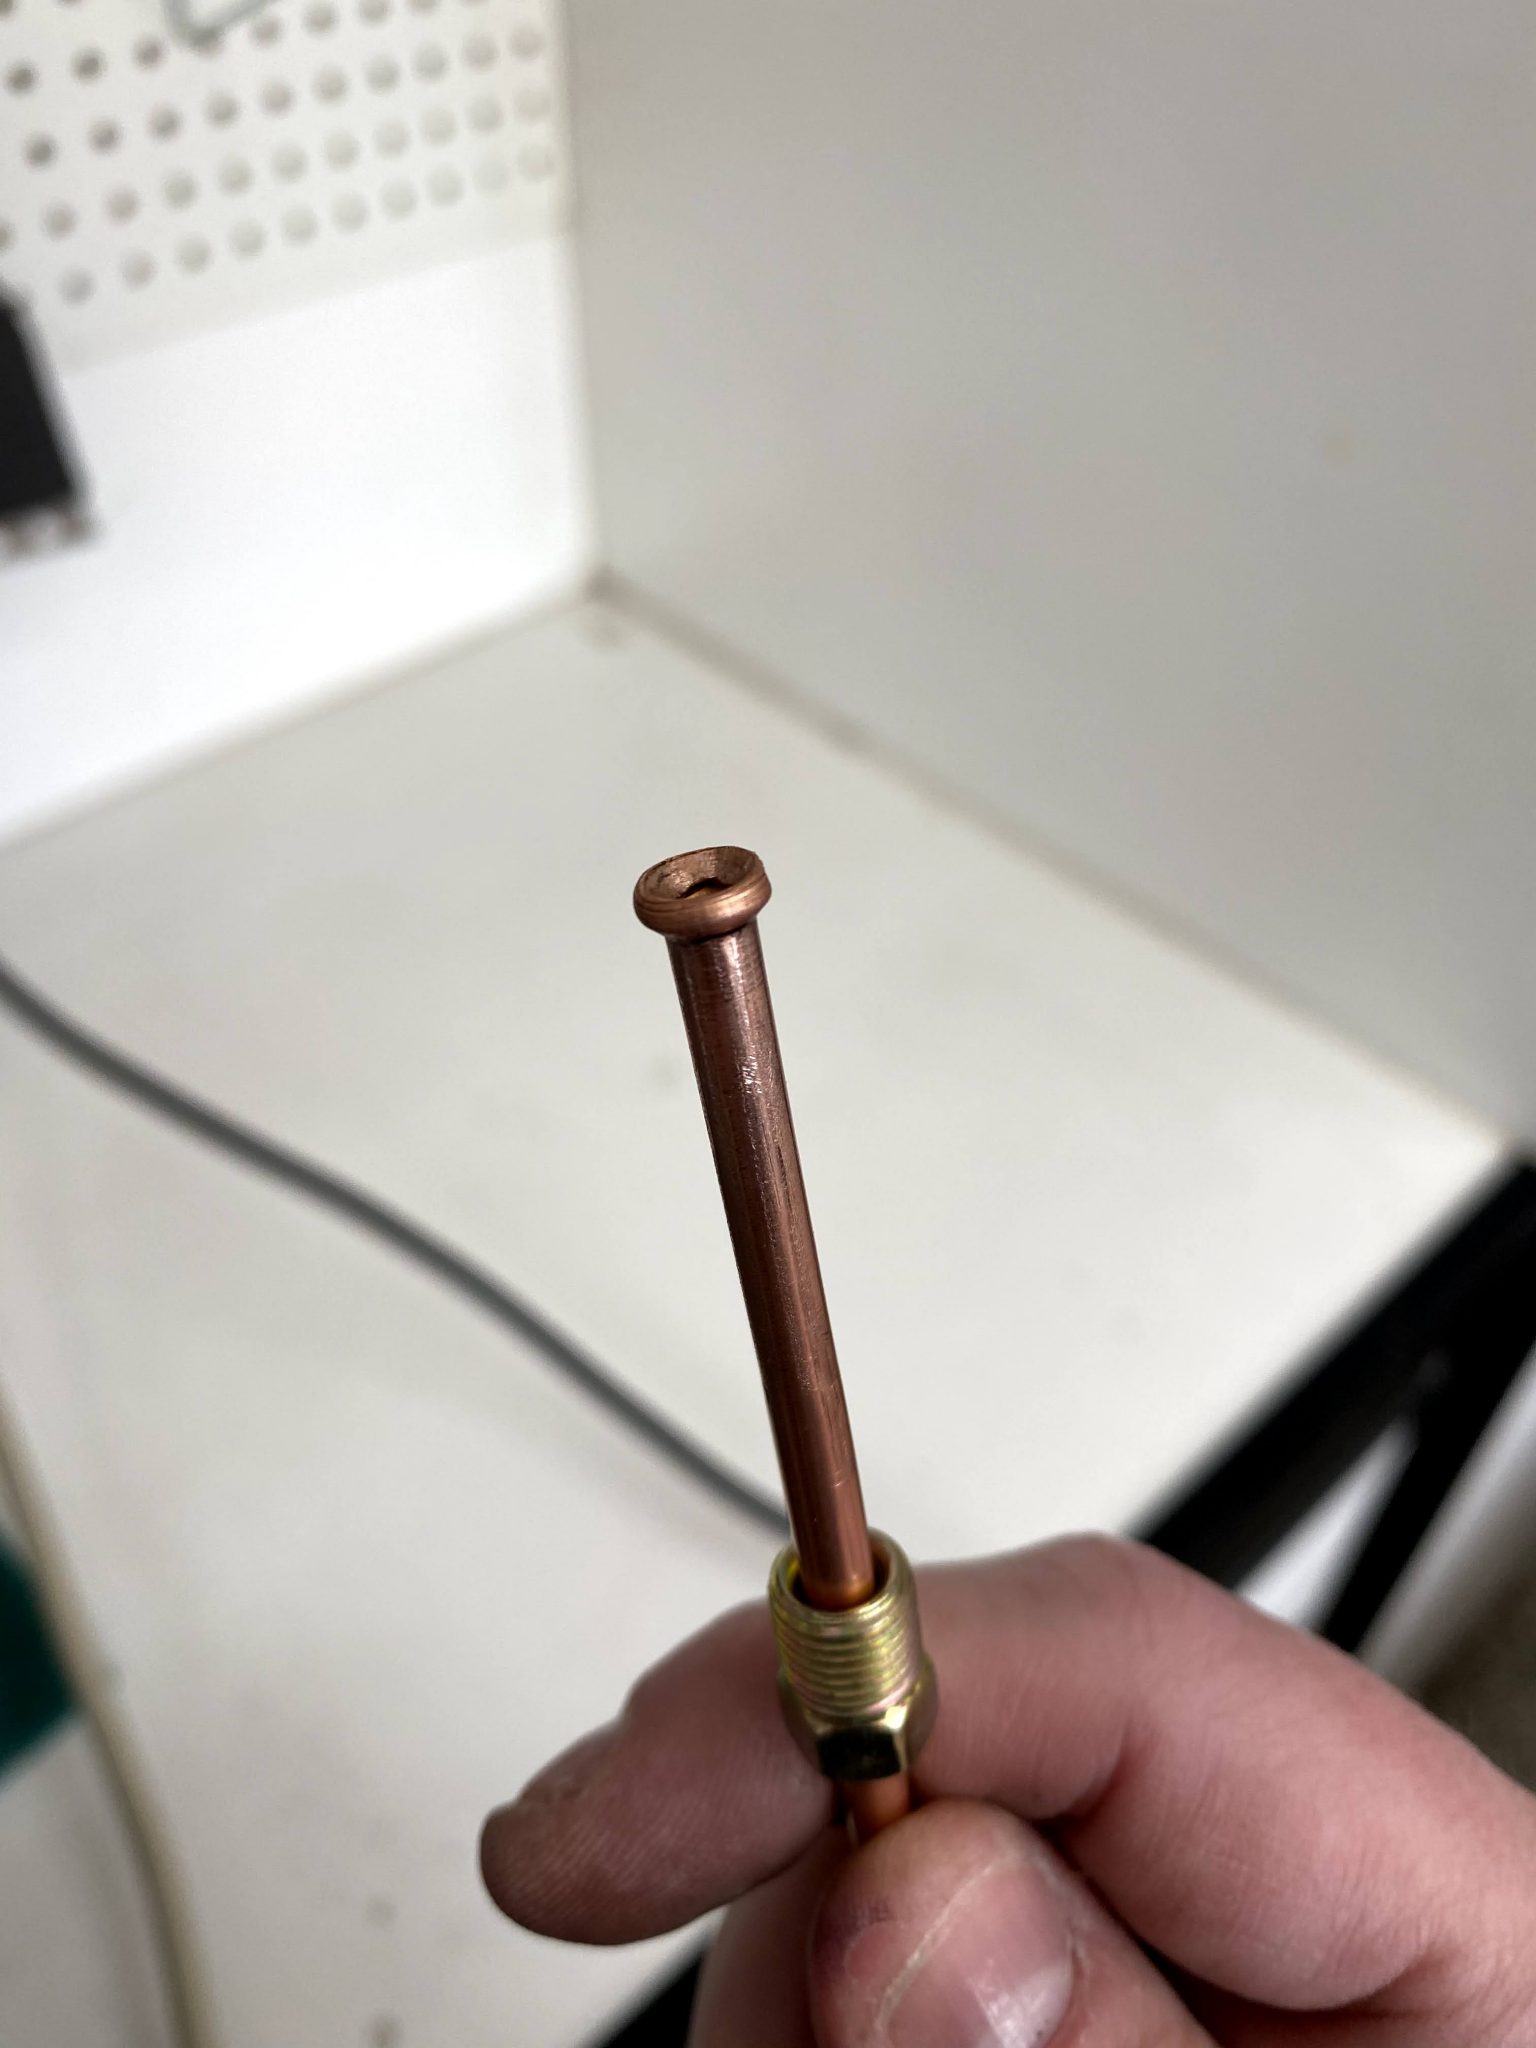
Meanwhile, the Eastwood brake flaring tool is just awesome!
As a result, it makes excellent 45 degree flared ends.
One trick: tape the flare nut near the pipe end.
Otherwise, a bend can lock the nut out of place 🙂
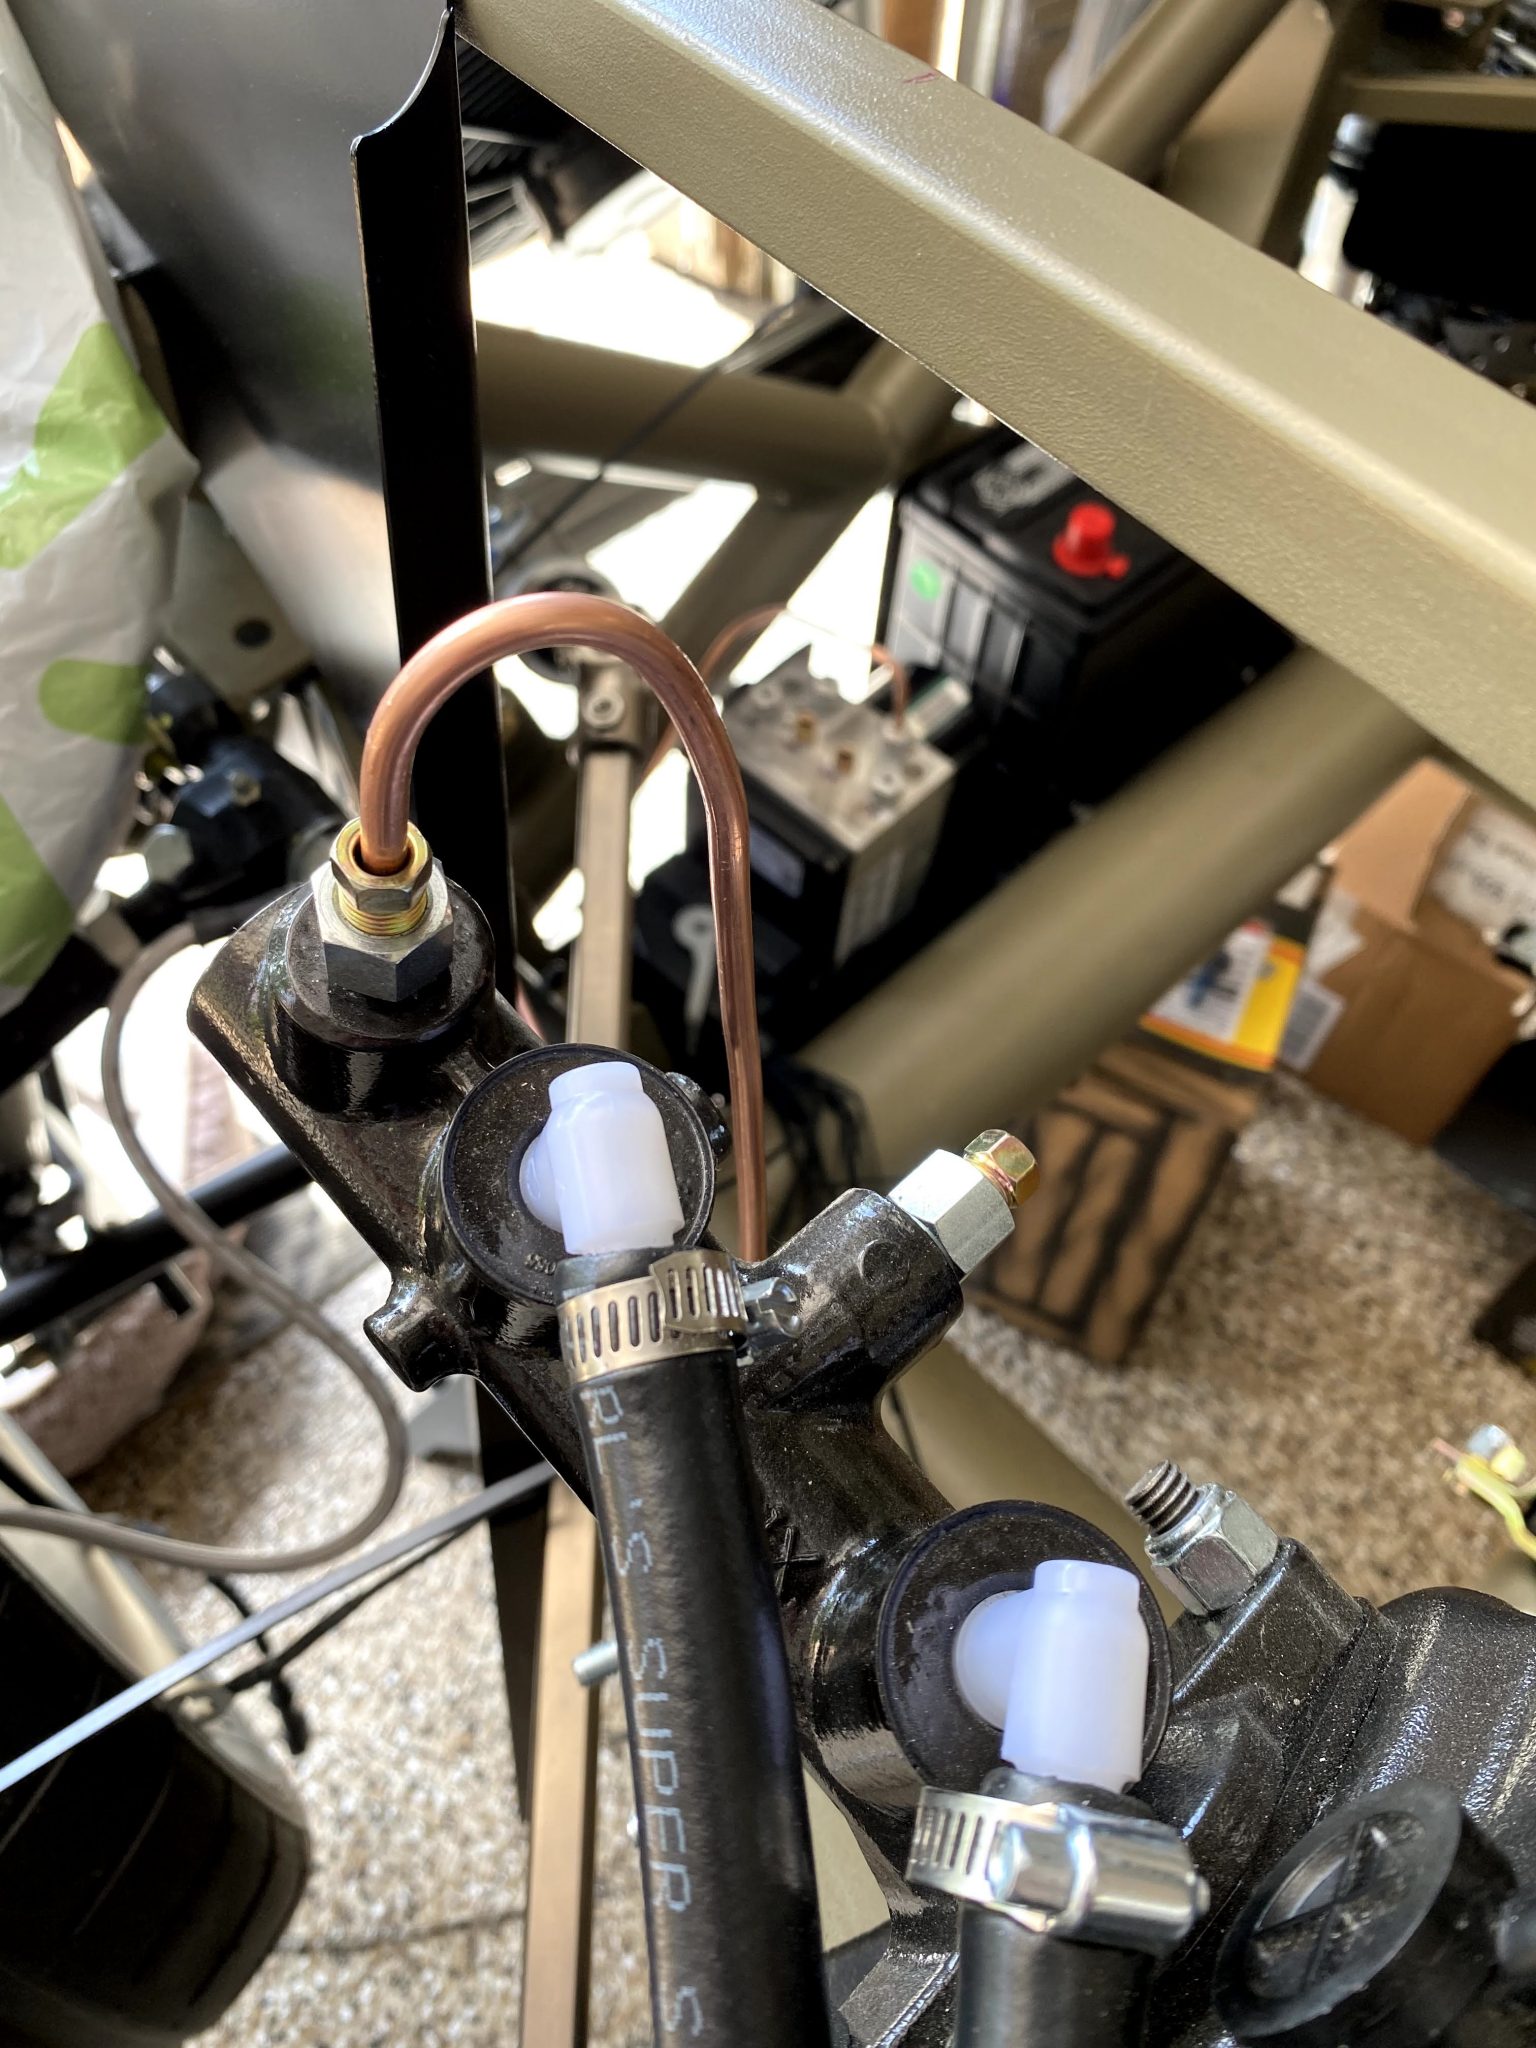
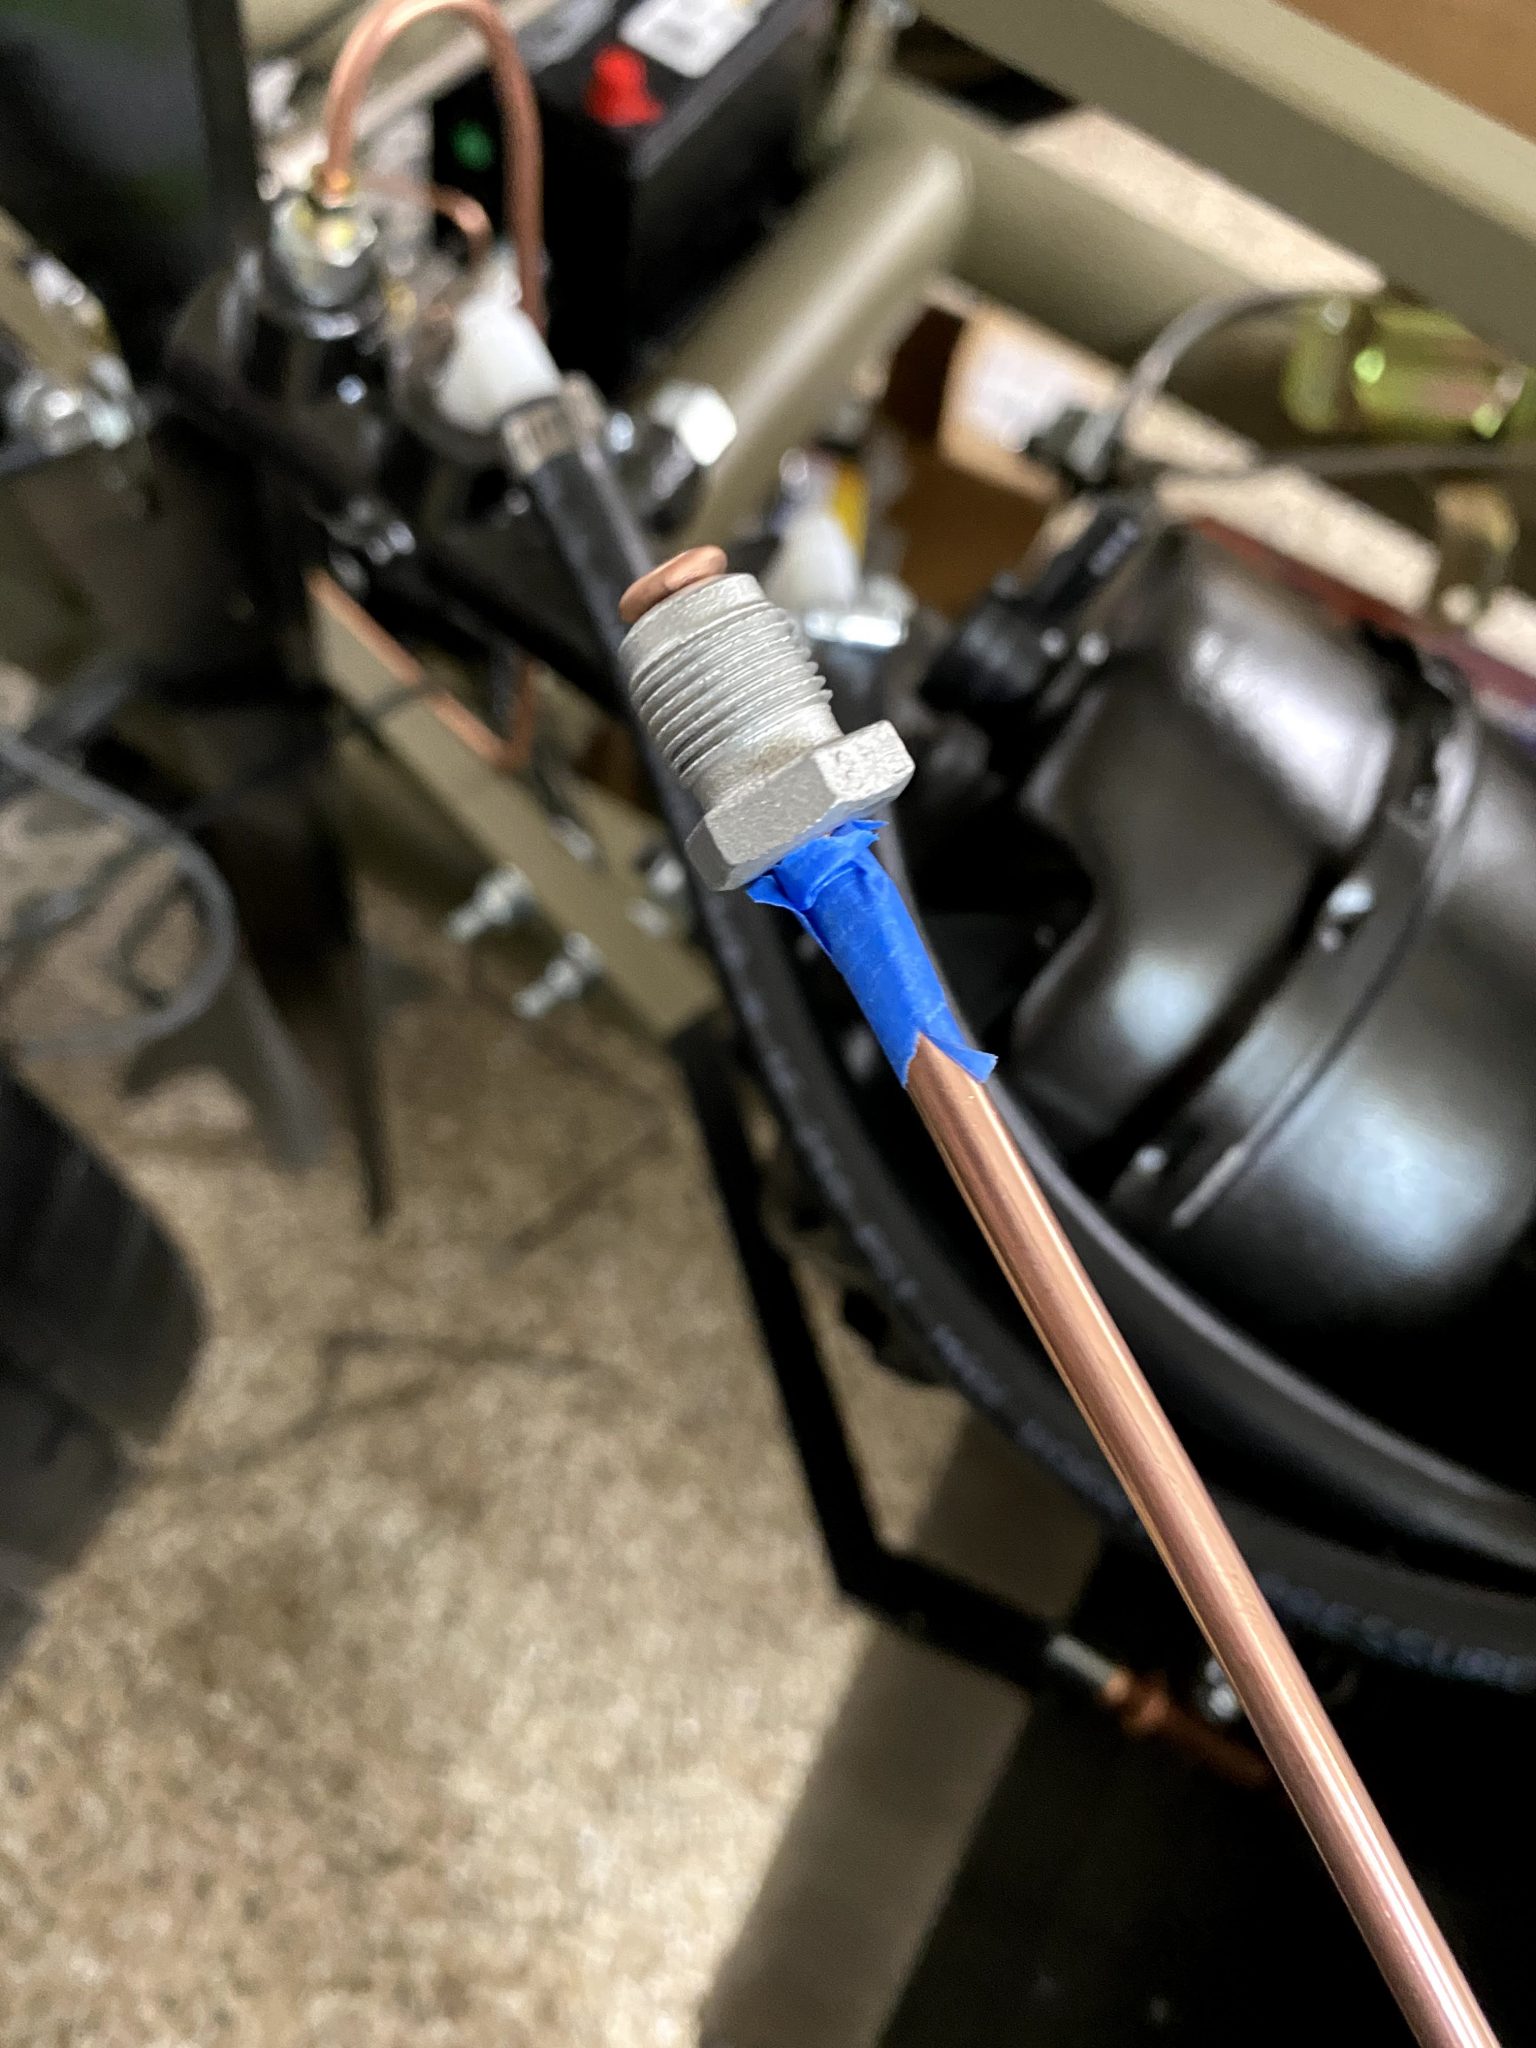
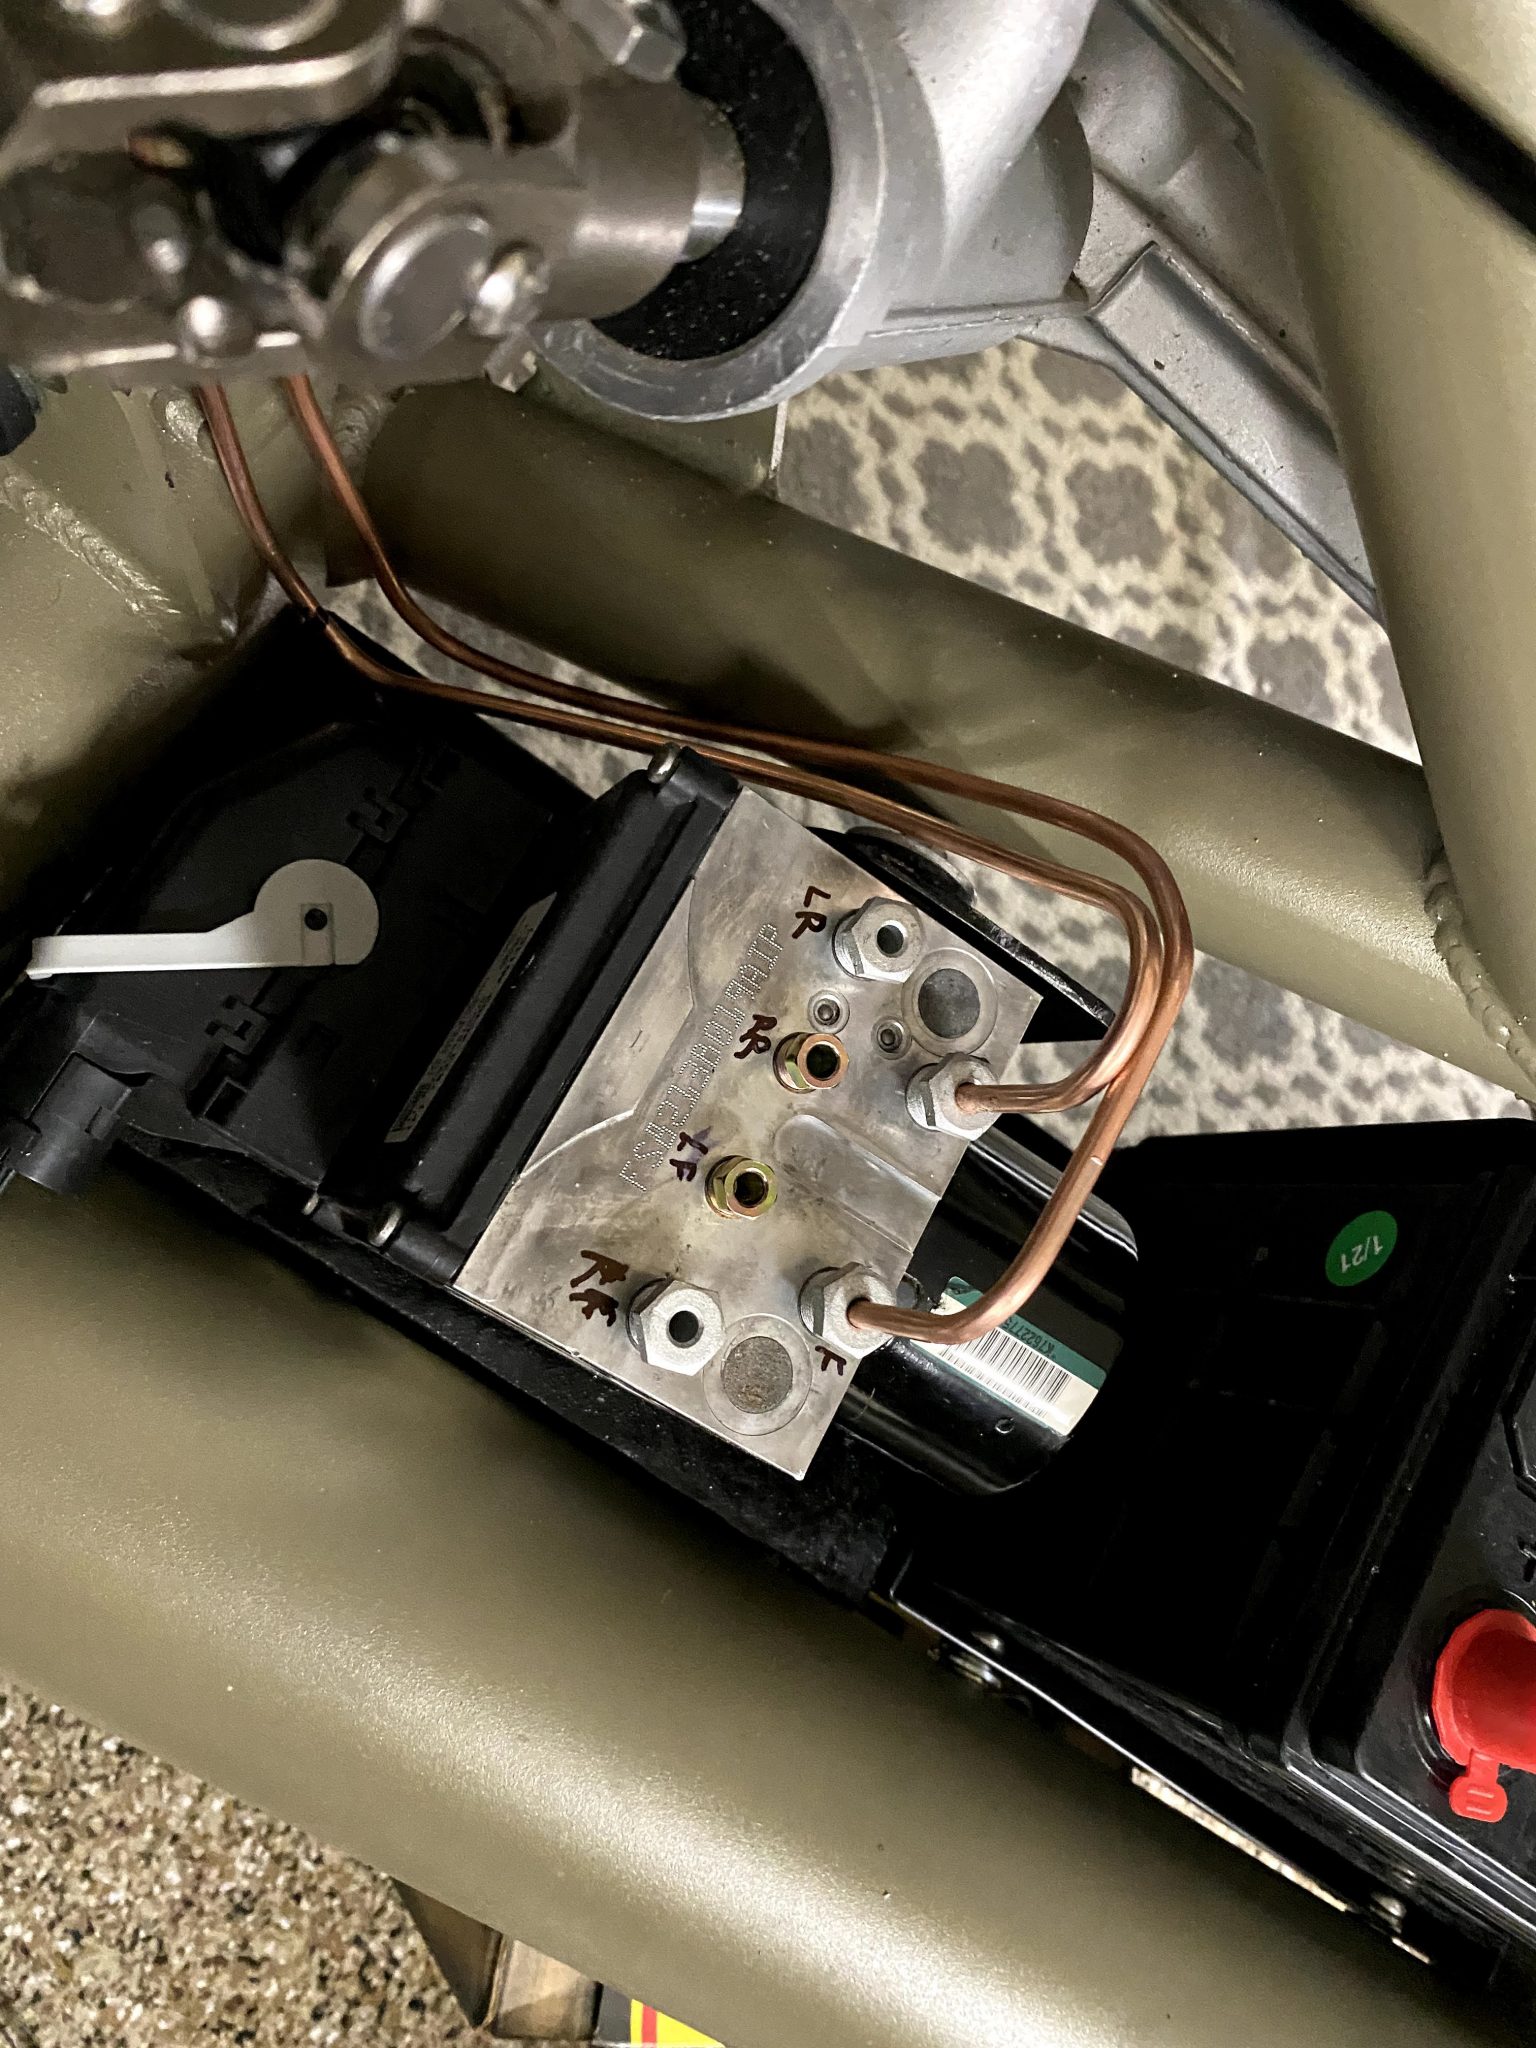
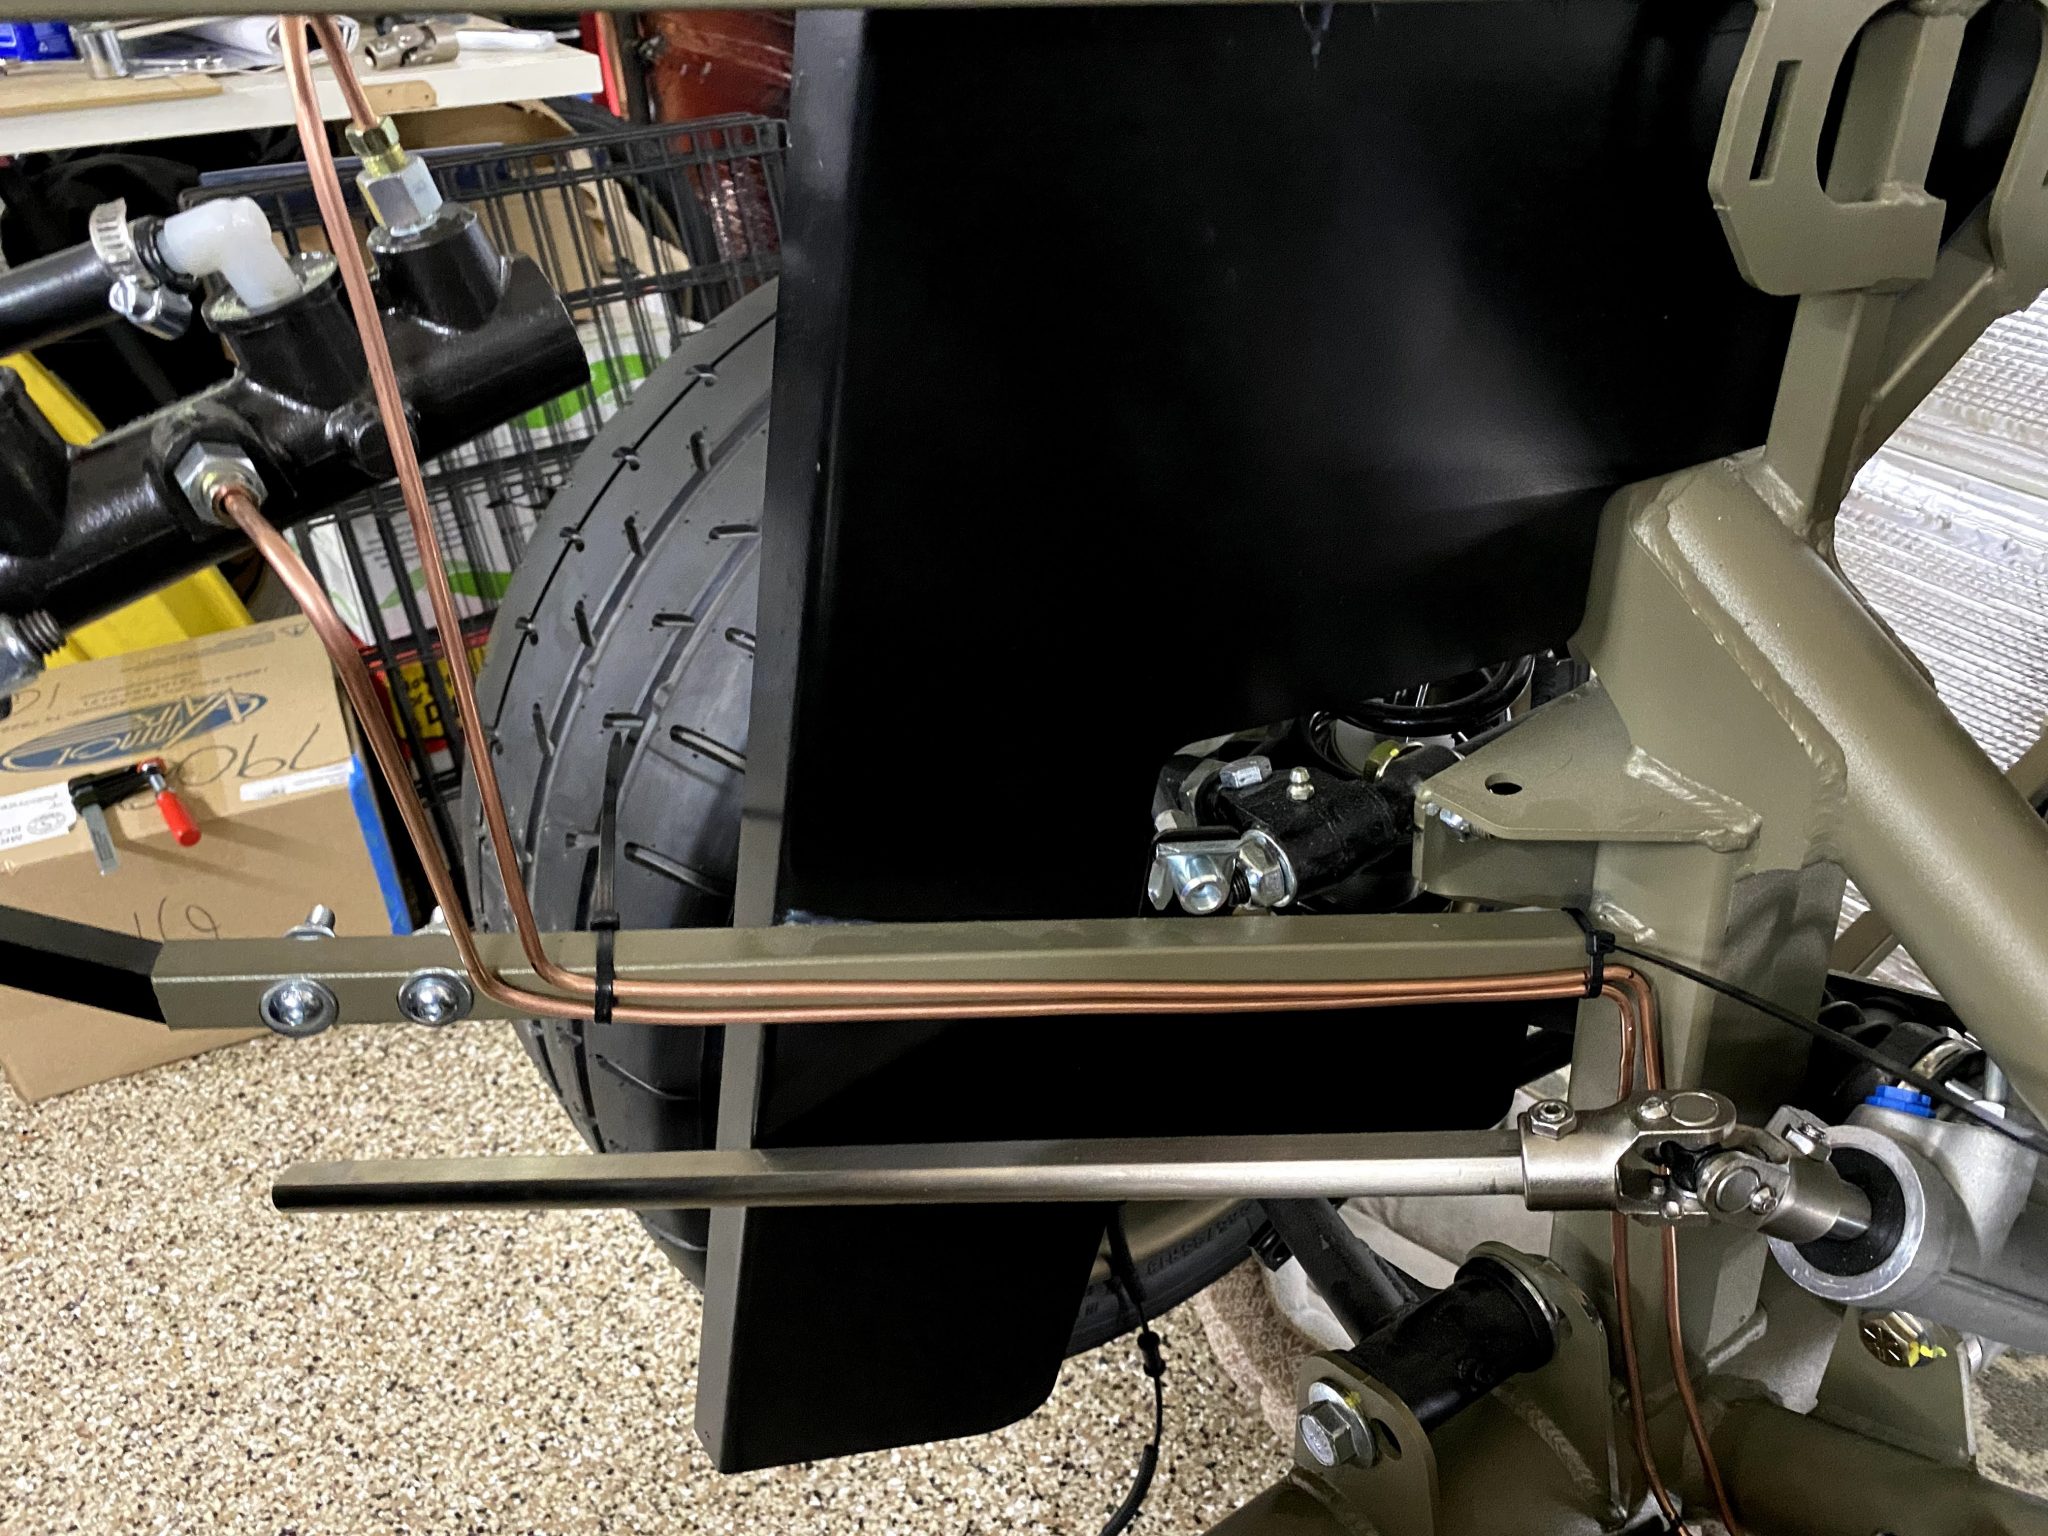
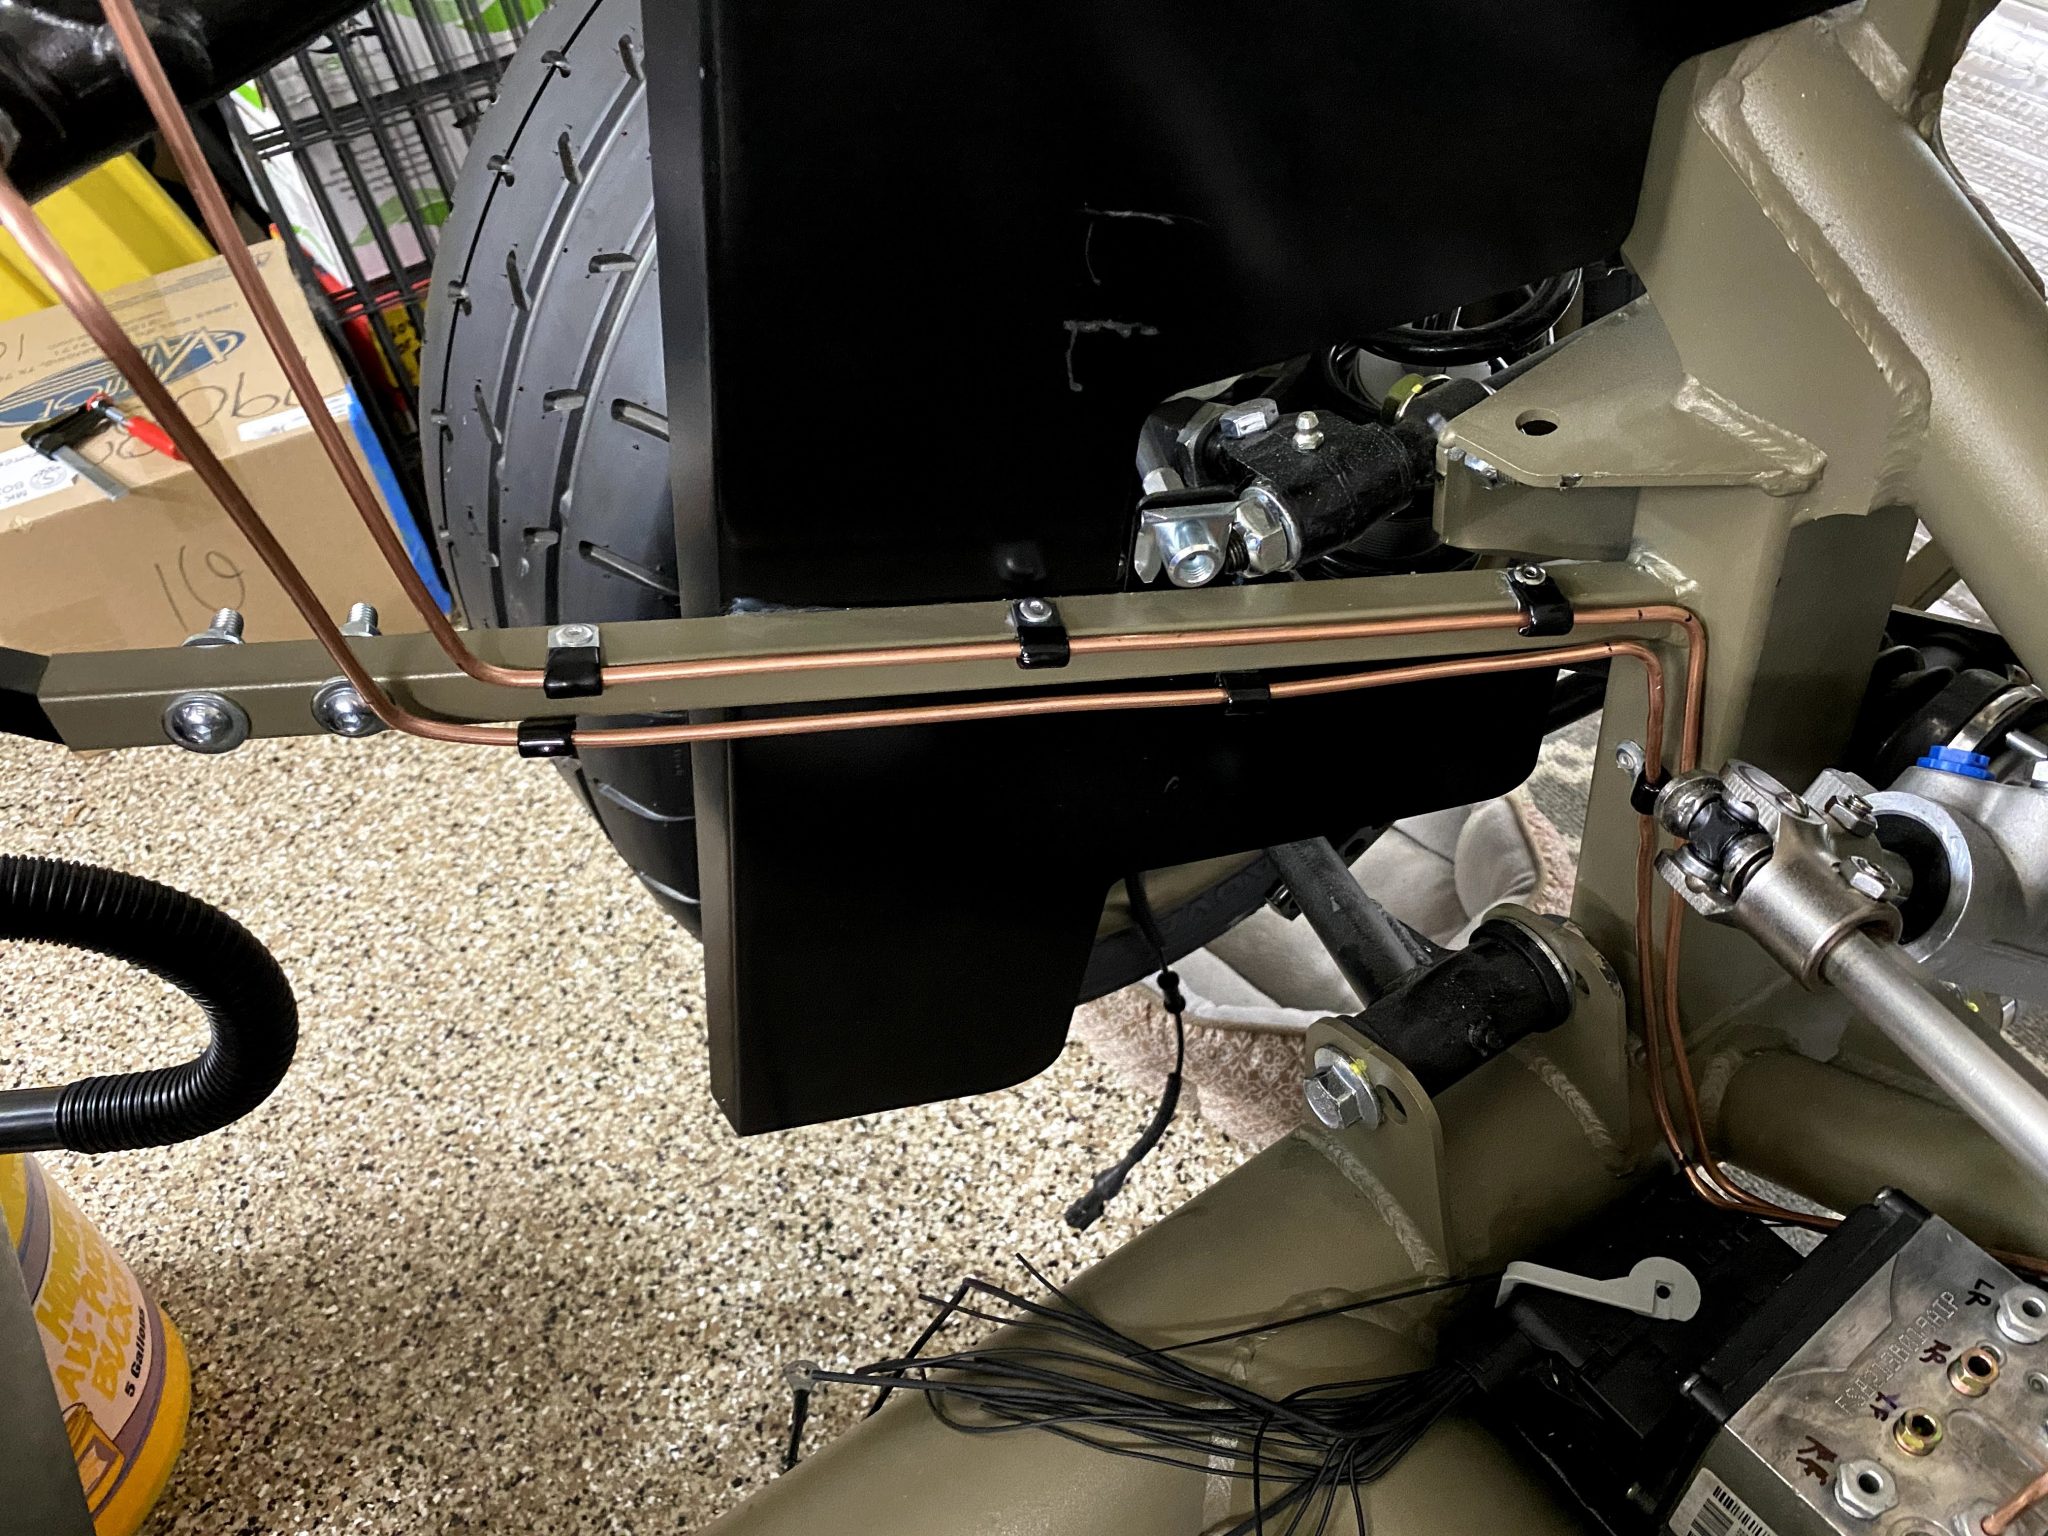
So the feed lines are done.
Then I ordered another 25 ft of NiCopp line.
Because I will run four lines from the HCU to each wheel.
Hope to keep the momentum going!
Ultimately, I should have all four lines run this week!