Aligned the UCA and mounted the spindles
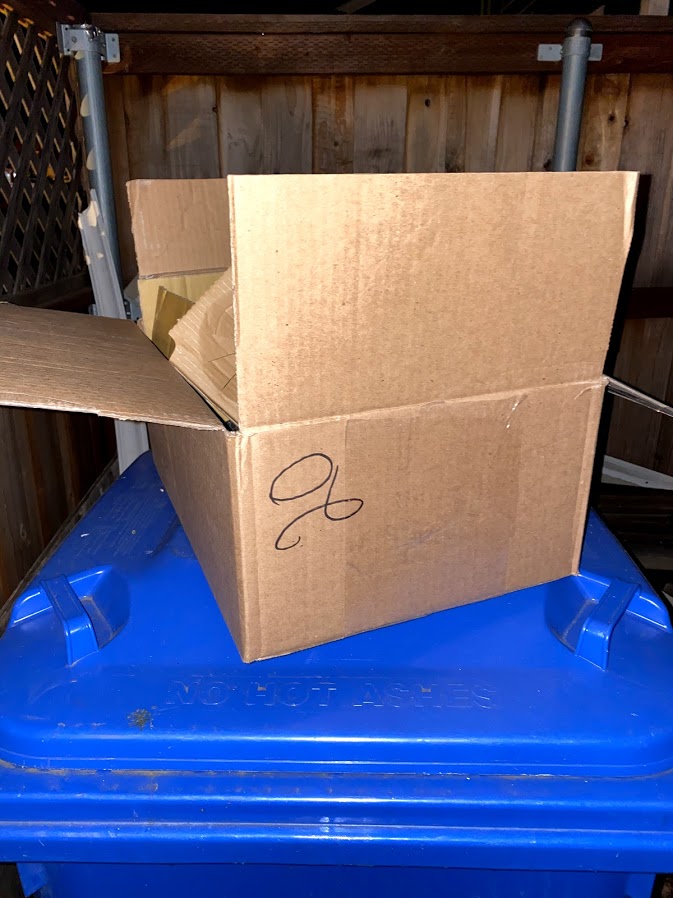
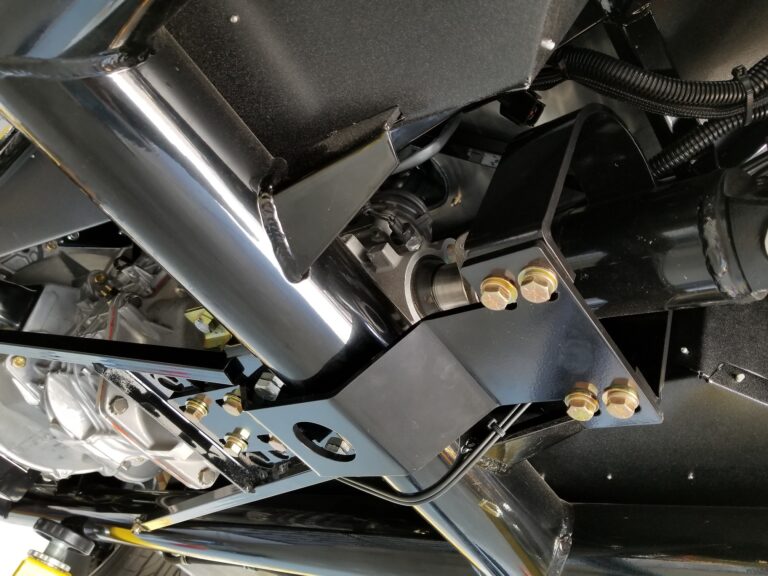
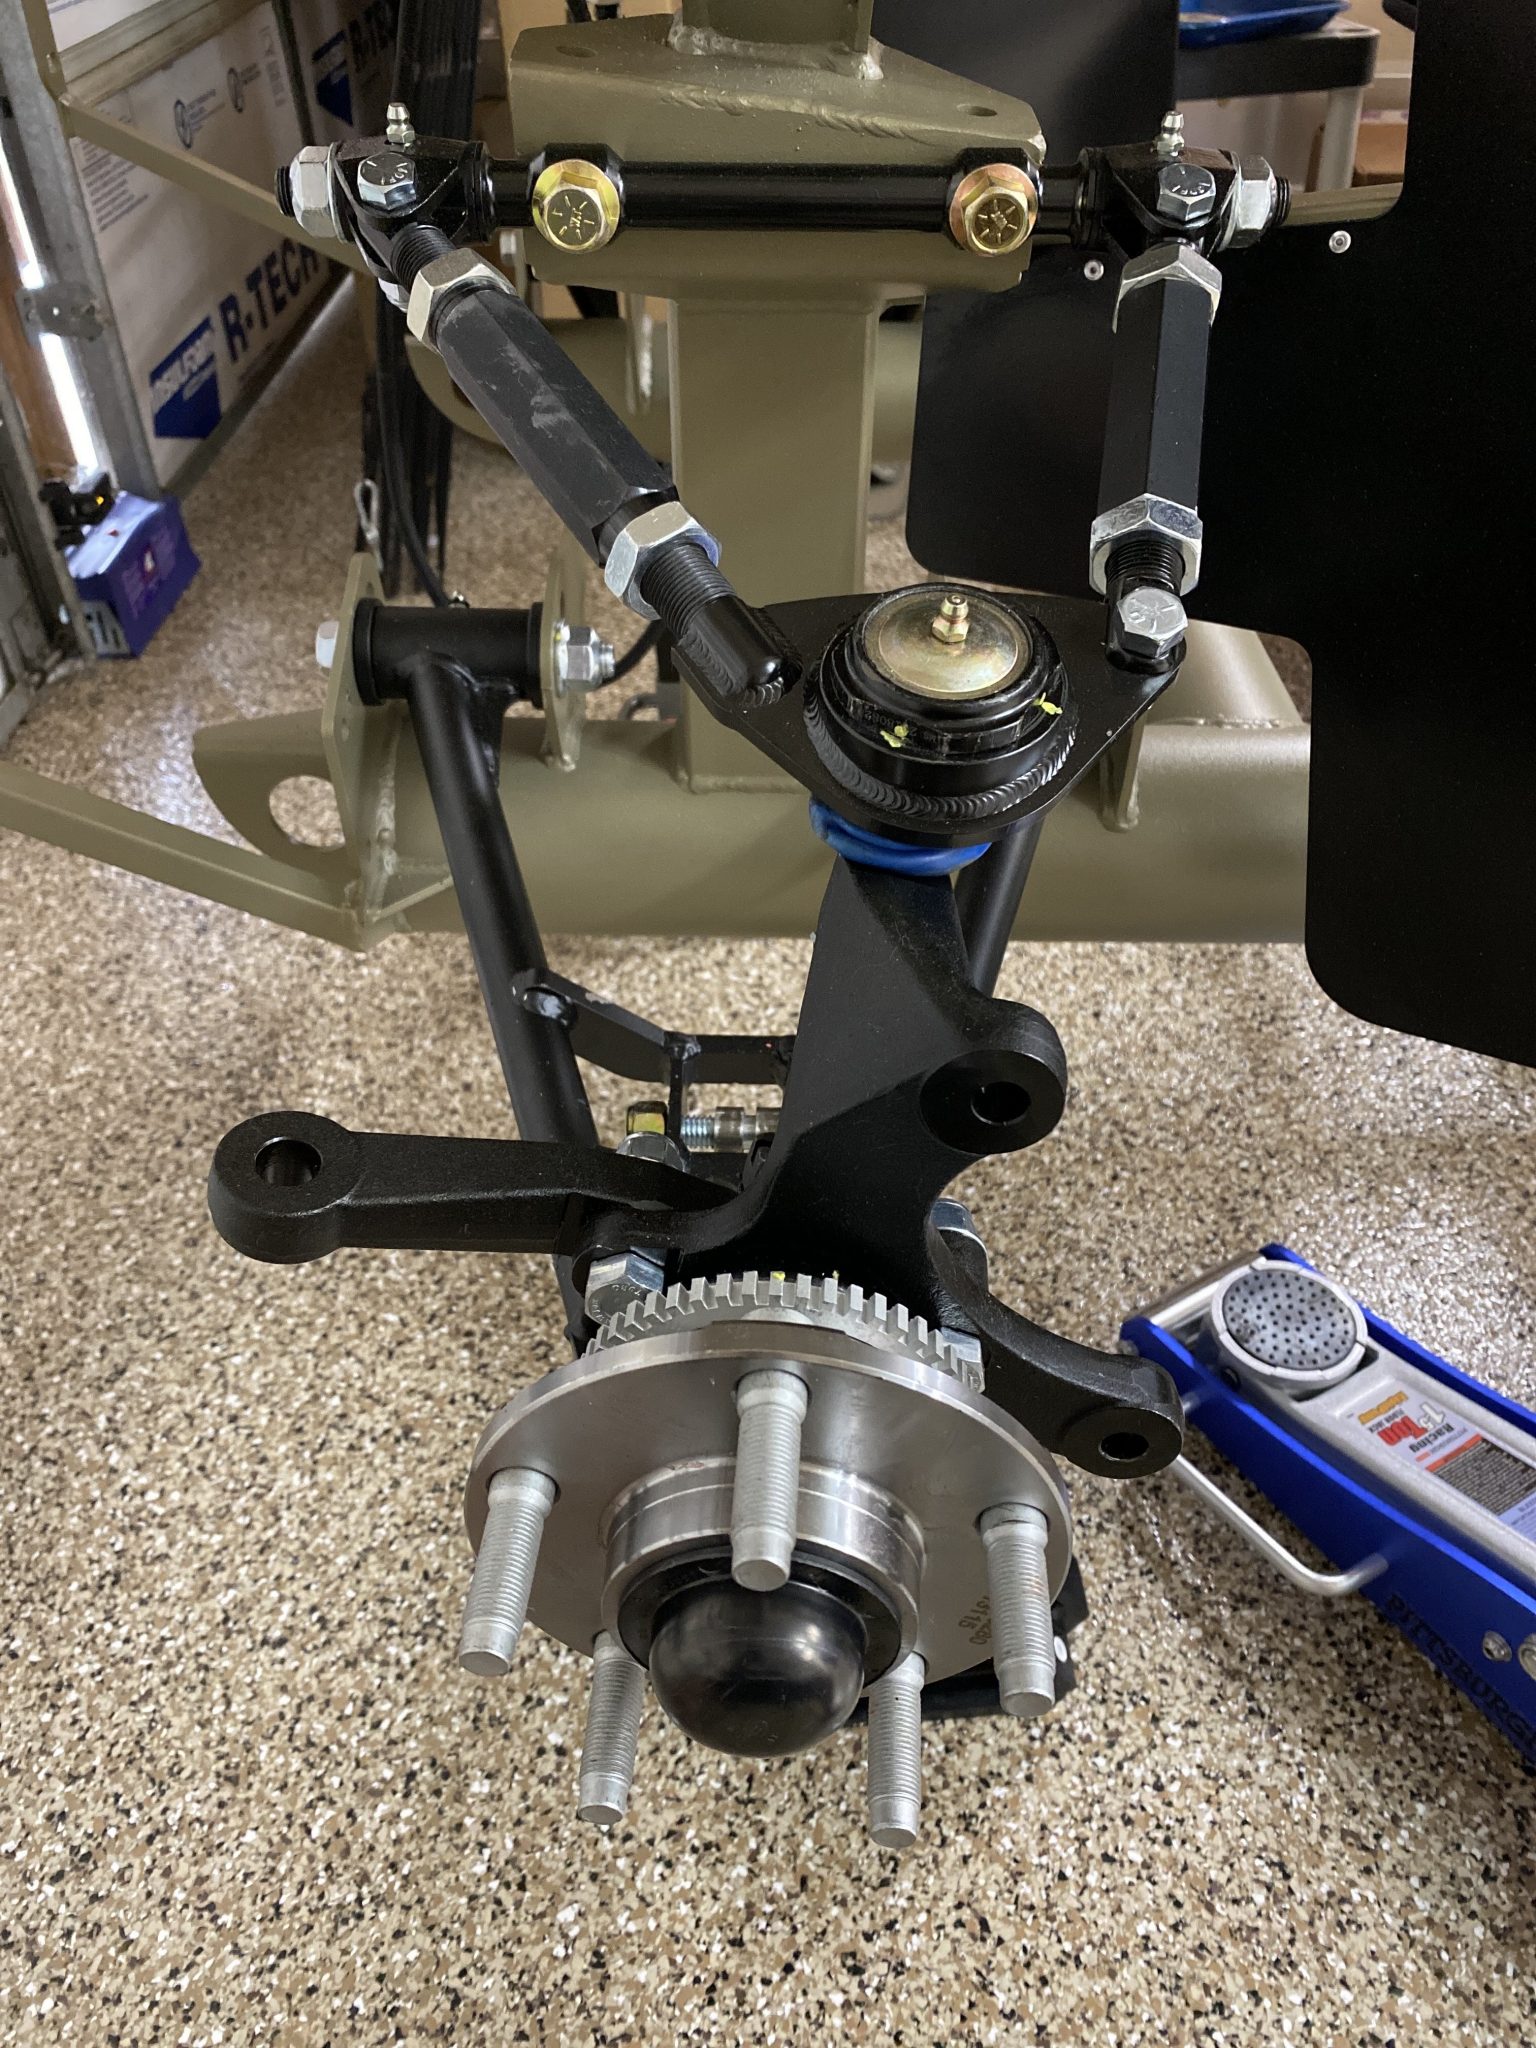
I aligned the UCAs and mounted the spindles on the front IFS. Then Box #20 finally emptied onto the chassis.
Related notes live on the Factory Five Cobra build hub.
mounted the spindles: Finalizing the UCA mounts
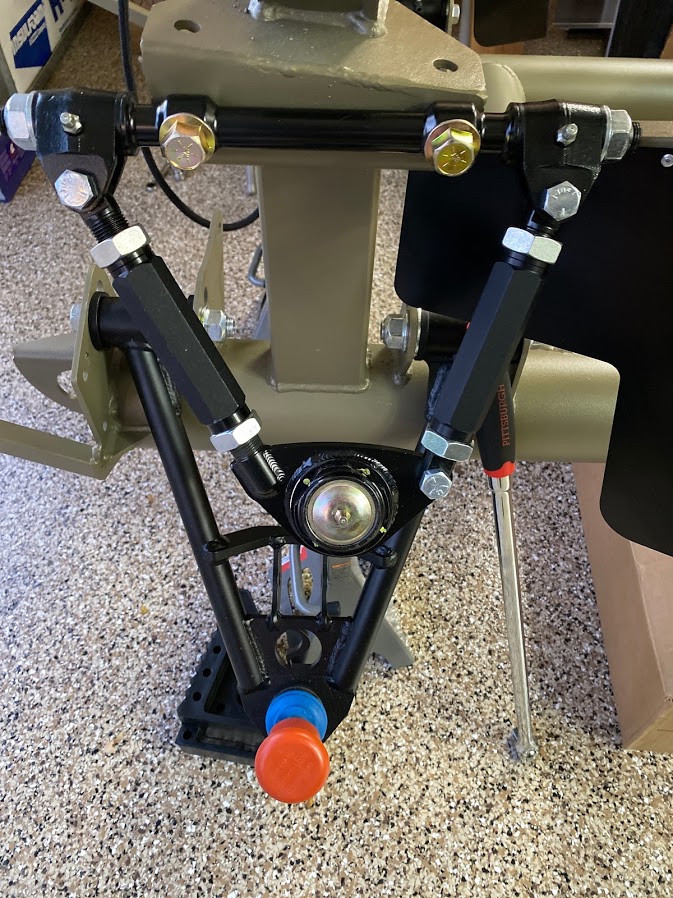
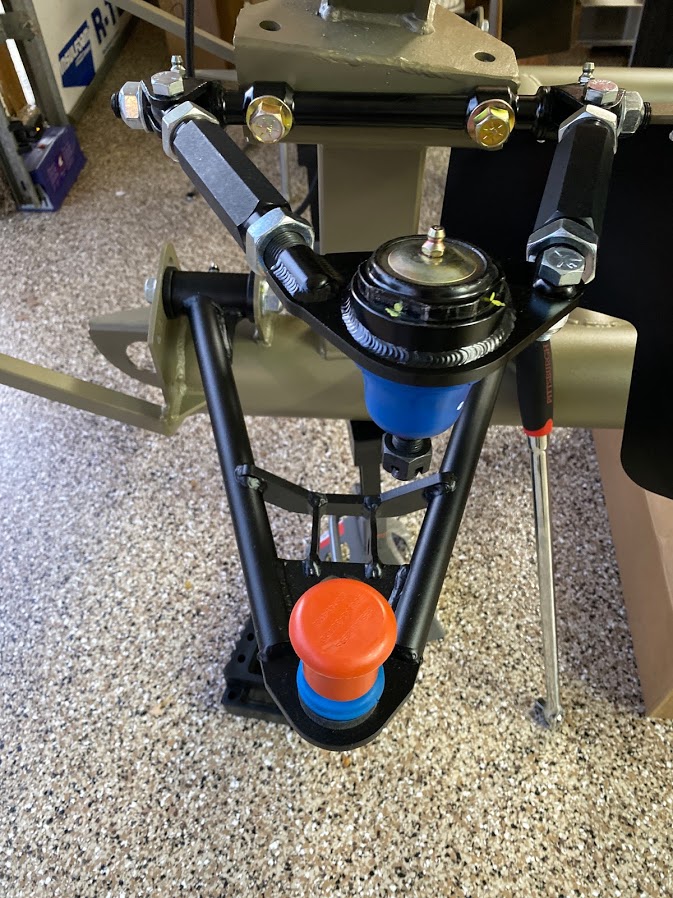
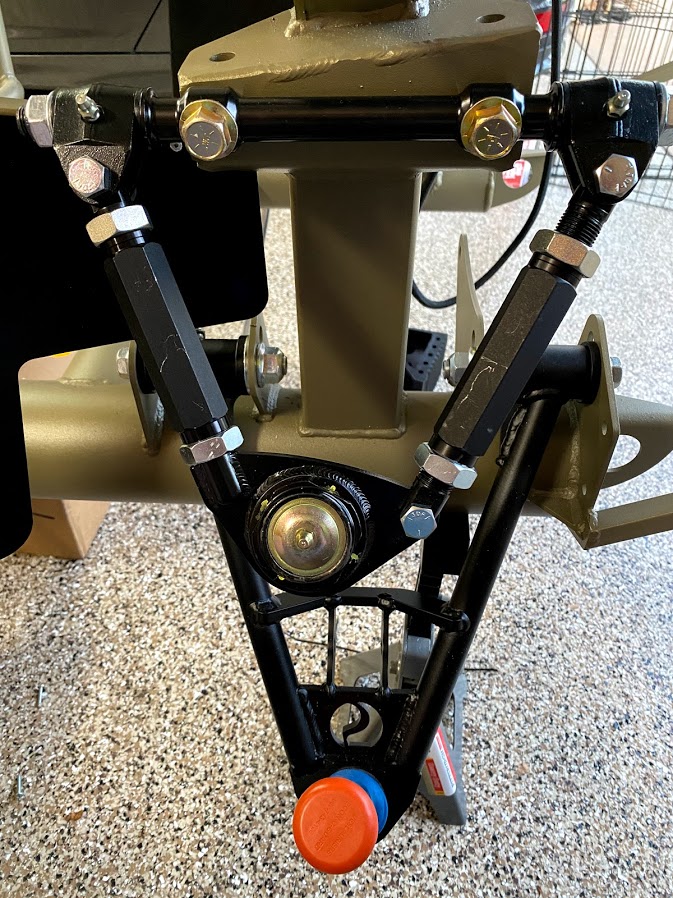
To finalize my UCA mounts, I tightened the passenger side mounts. Also, I used a crescent wrench on the UCA upper locknuts. Therefore the bushings stay captured.
I followed the manual measurements to get the UCAs “close” for final alignment. What throws many people off is simple. The UCAs don’t mirror each other side to side. They’re flipped. So the adjustments differ on each side.
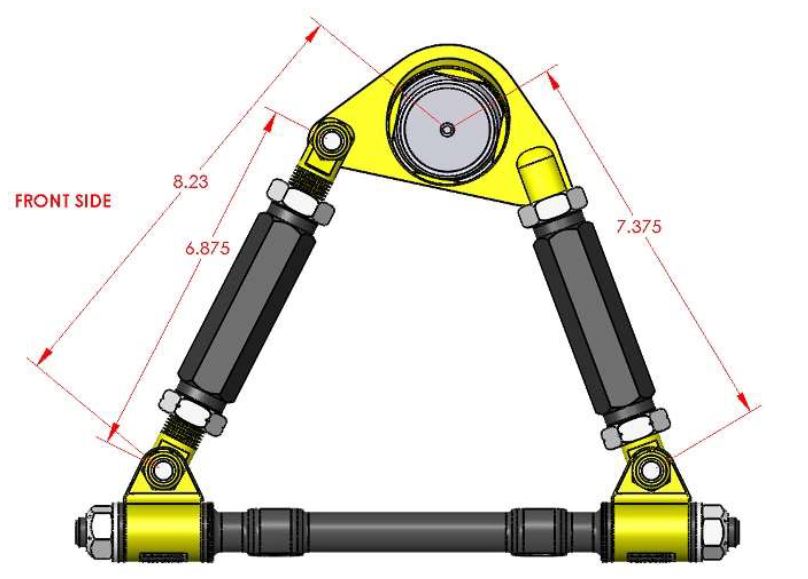
I think I did pretty good!
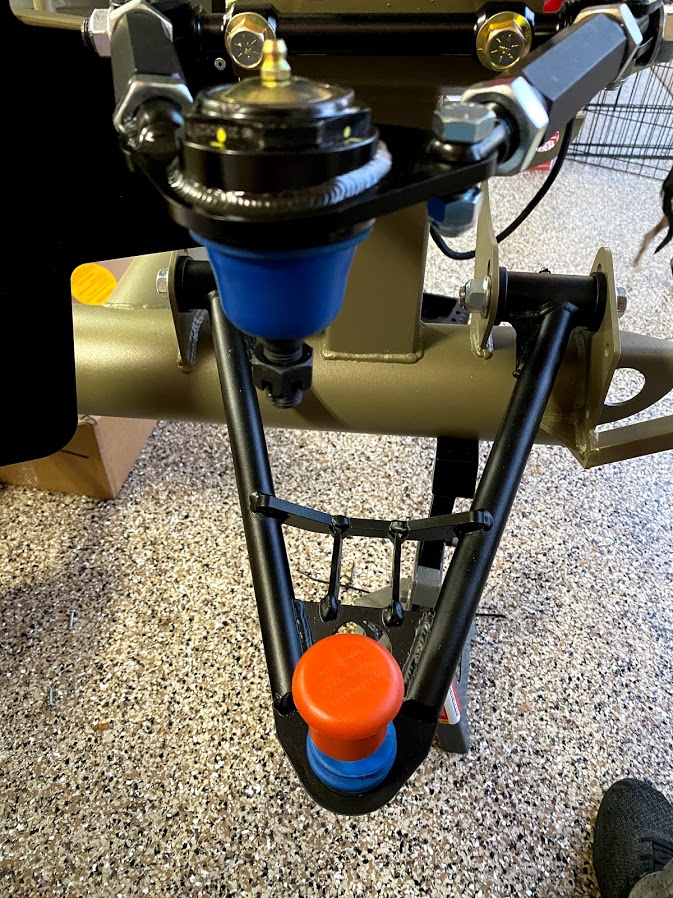
Shock spacers while waiting on KONIs
Since my KONI shocks won’t be in till end of month, I didn’t want parts lying around. So I pre-mounted the bolts and spacers for the shocks.
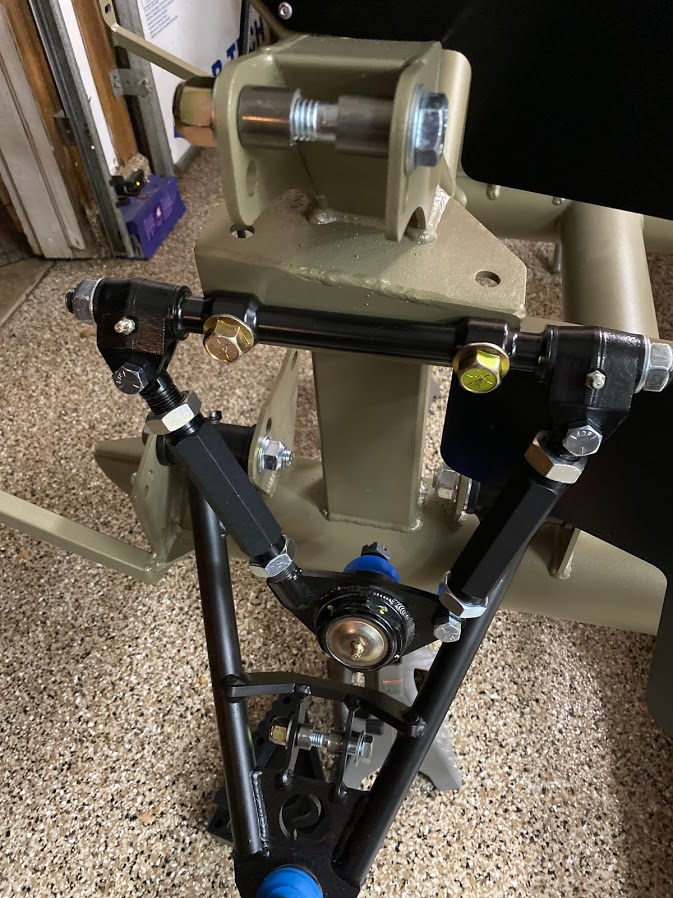
Box #20: spindles, arms, and hubs
Now it gets fun. I get to open another BOX! Box #20 in my case held the front IFS spindles, steering arms, and hubs!
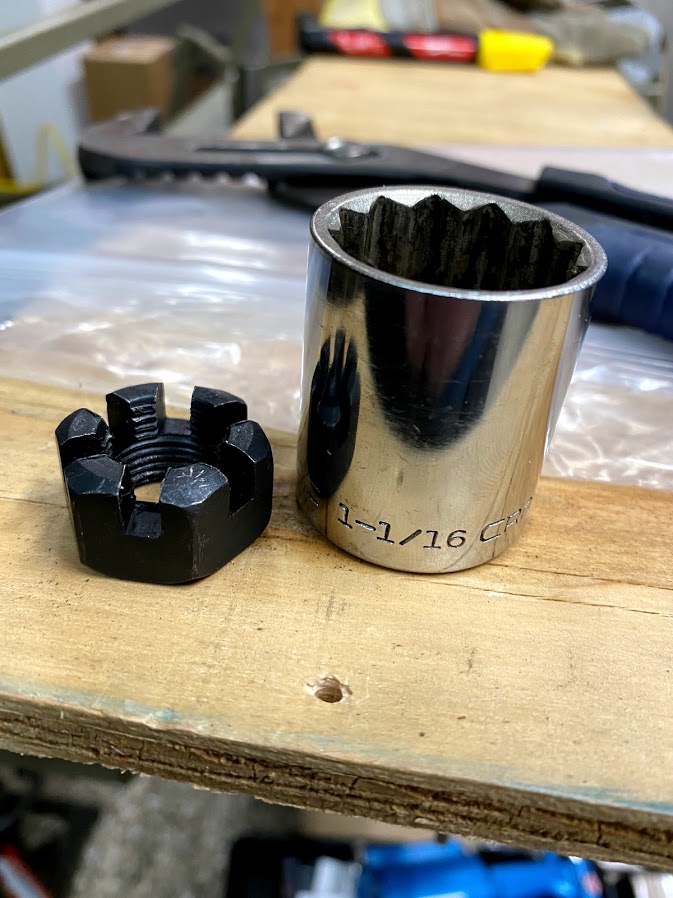
I was able to hand assemble everything pretty easily. However, a lot of nuts and bolts were NOT in the FFR tools list. For example, 1 1/16″ and 1.4″ sockets. Also, a 225-250 ft-lb torque wrench. Sadly mine only goes to 200 ft-lbs.
Castle nut, pap pap’s socket, and a leverage trick
Here’s the lovely castle nut for the LCA that needs the large socket. Thankfully my dad (who passed away last year) gave me his dad’s toolbox. Therefore I found a 1 1/16th socket! Over 100 year old Craftsman socket still going strong!! WOOHOO!
I did struggle at first to tighten the steering arms and castle nuts. However, once you mount the steering arms a bit, you can lift the whole assembly. Then lower it to capture the steering arm. As a result, you get leverage.
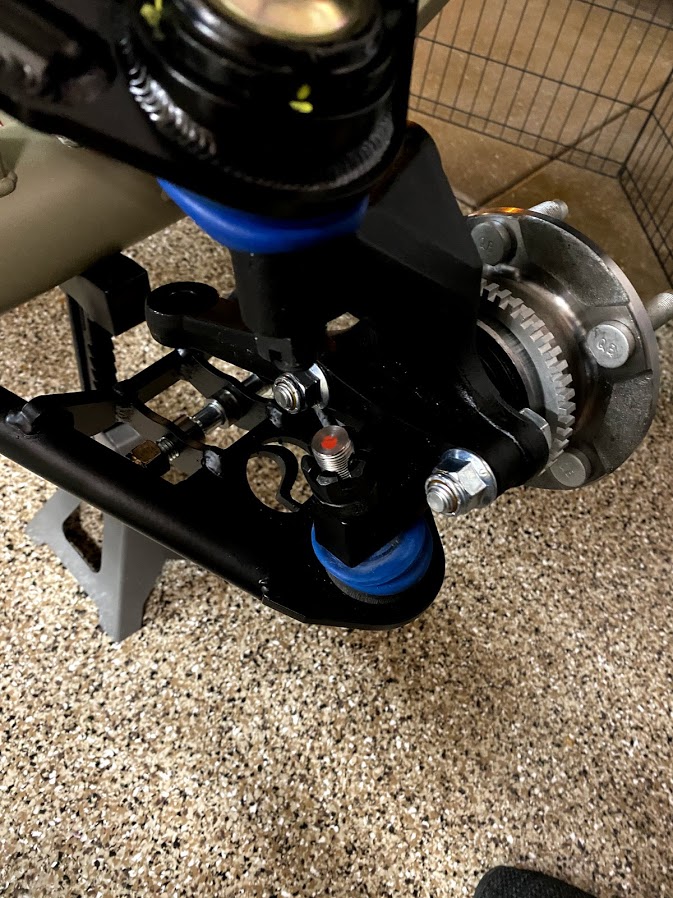
After all the wrenching, things look great!

And the best part — one more box gone!