Backup Camera Installation
This update covers backup camera installation.
Related notes live on the Factory Five Cobra build hub.
Why add a backup camera at all?
Originally I did not plan on a backup camera. Then I found examples on the forums. Also, the Alpine touchscreen already supports front and rear cameras. So I thought, why not? First I bought a license plate frame with a camera. However, that placement blocked the license plate lights. Likewise, flipping the frame upside down would block the trunk. What to do?
Following Saul’s FFR forum build
I opted for a much harder install. Why? Nothing has been plug and play on this car. Meanwhile my courage grew with the build. Therefore I copied a build from Saul on the FFR forums. Sadly, he passed in a tragic accident a few years back. Still, his legacy lives on with this mod.
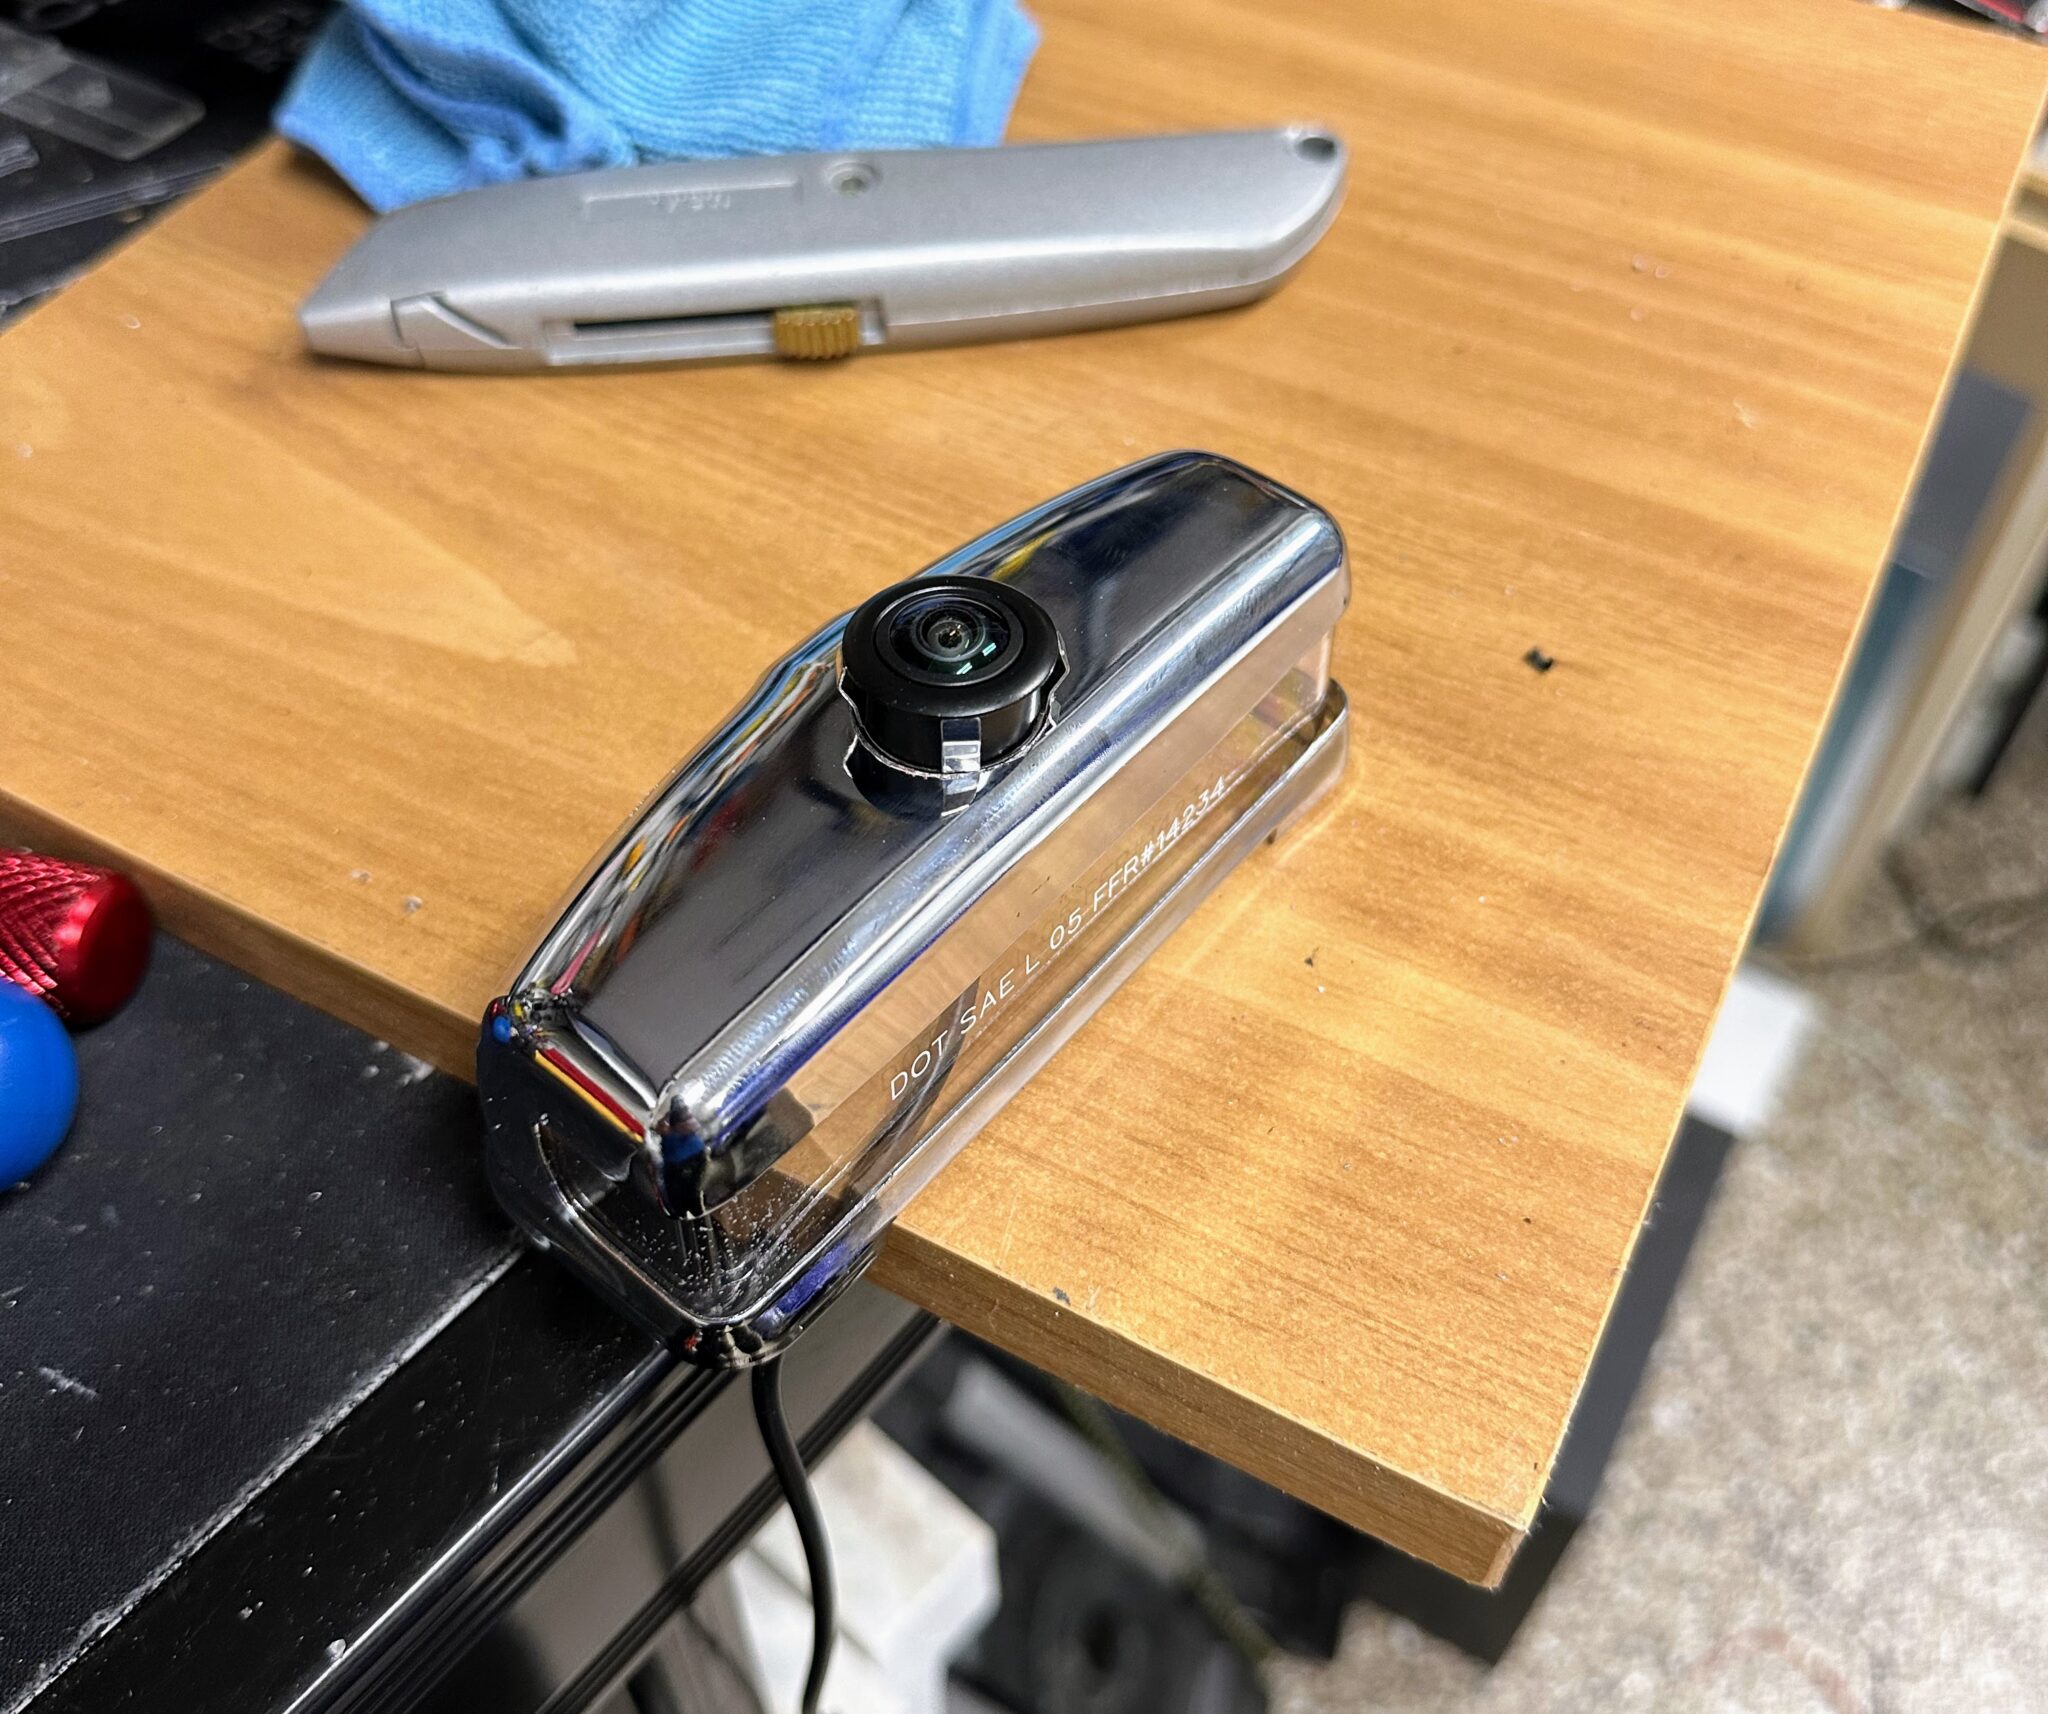
I mounted the camera in the box that holds the license plate lights. Yes, that needs ingenuity and modifications. However, it works perfectly. Also, it looks pretty trick.
Drilling the light box for the camera
Hole saw and test fit
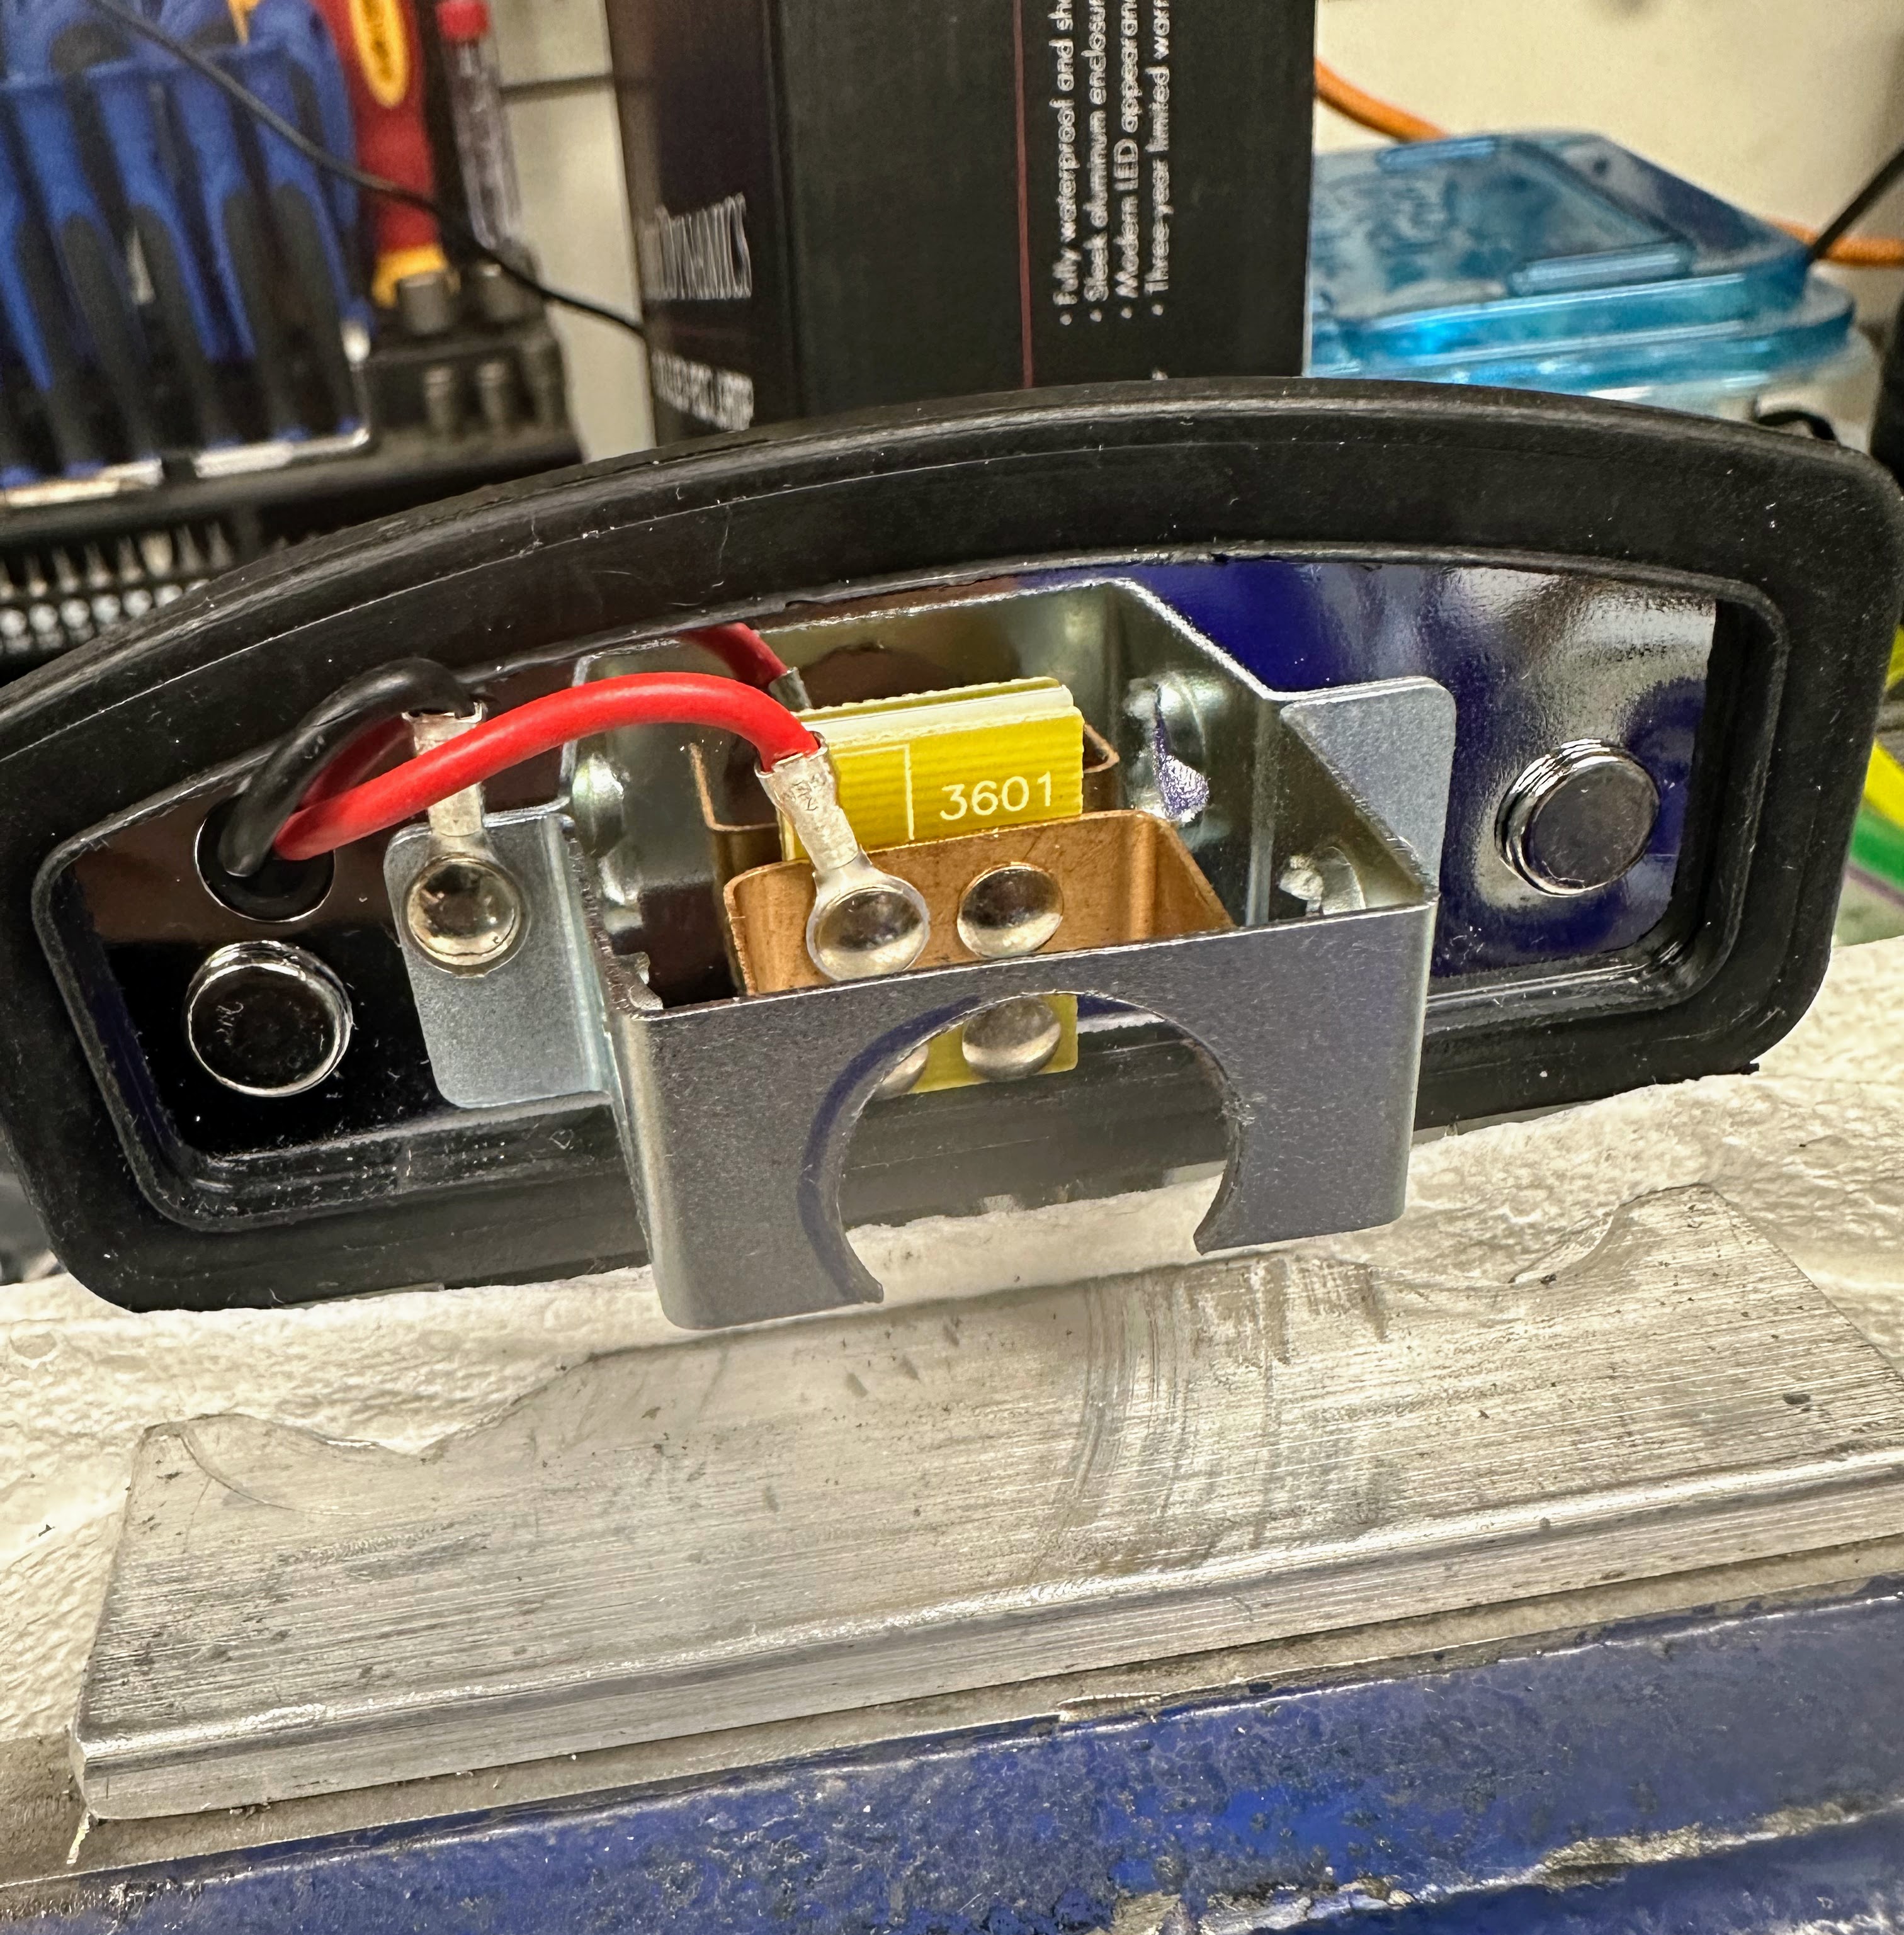
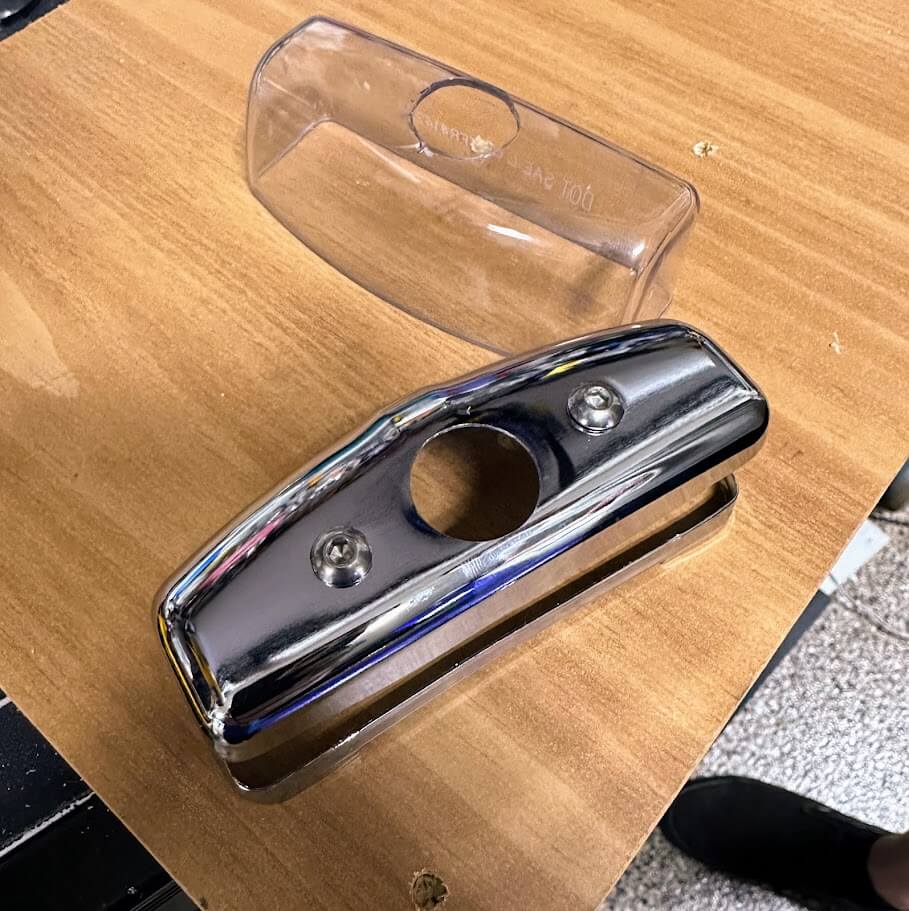
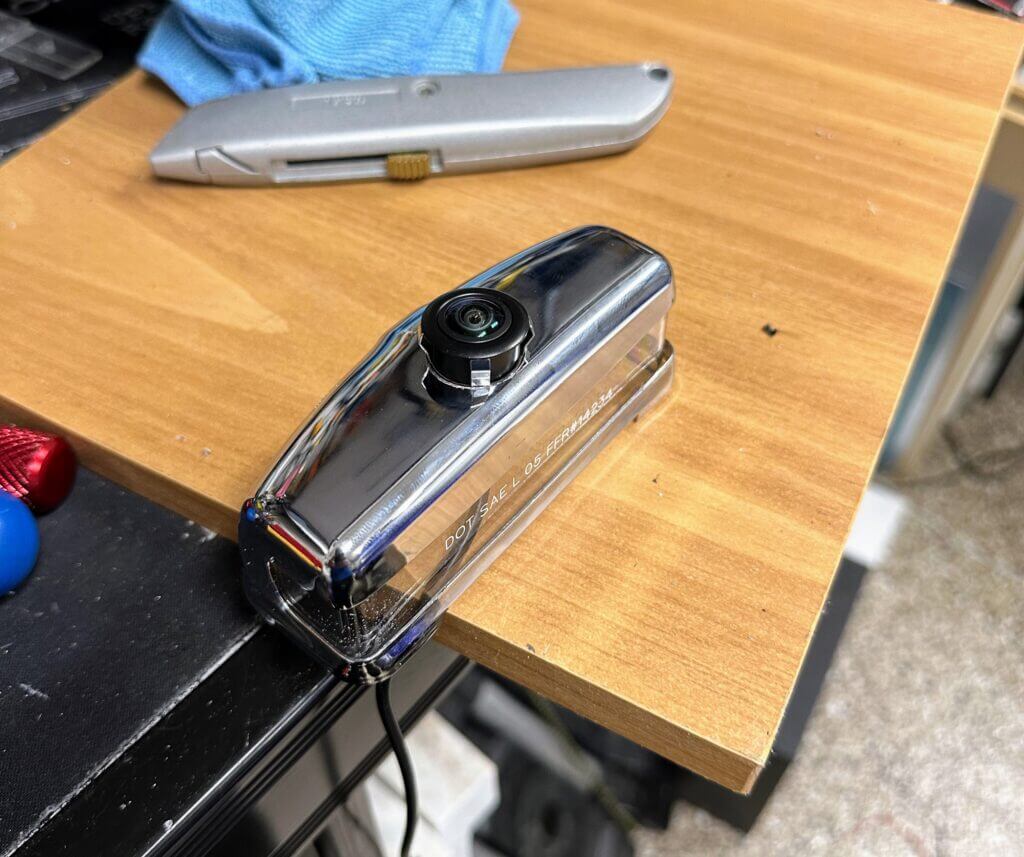
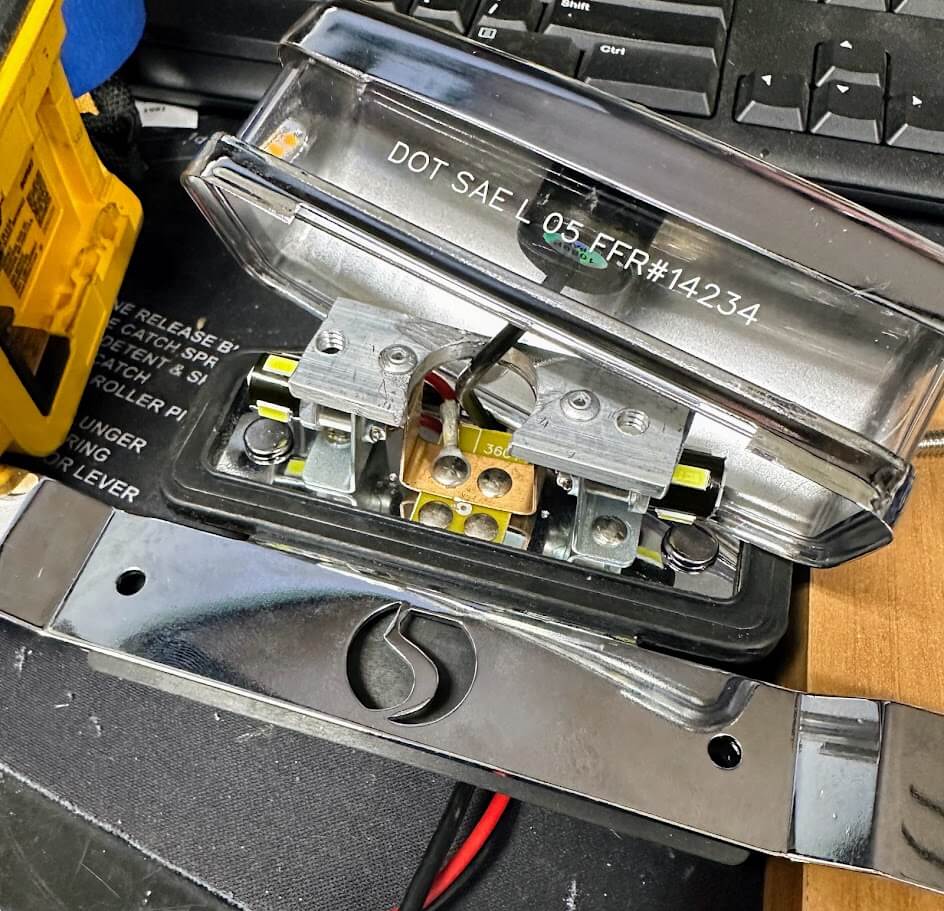
You can see Saul’s original design above the plate in the pics below. First I drilled the grounding bar with an 18.5 mm hole saw. The shiny chrome box holds the license plate lights. Then I aligned and drilled the camera hole. After that I test-fit the camera.
Aligning box, Plexiglas, and body mounts
This is where it gets tricky. First align the light box, the Plexiglas underneath, and the hardware. Next I had to mount the light box to the body. Normally one screw presses the light box onto the plate frame. Then that frame drills into the body. Therefore I needed creativity, patience, and a steady drilling hand.
Aluminum bar, rivets, and final holes
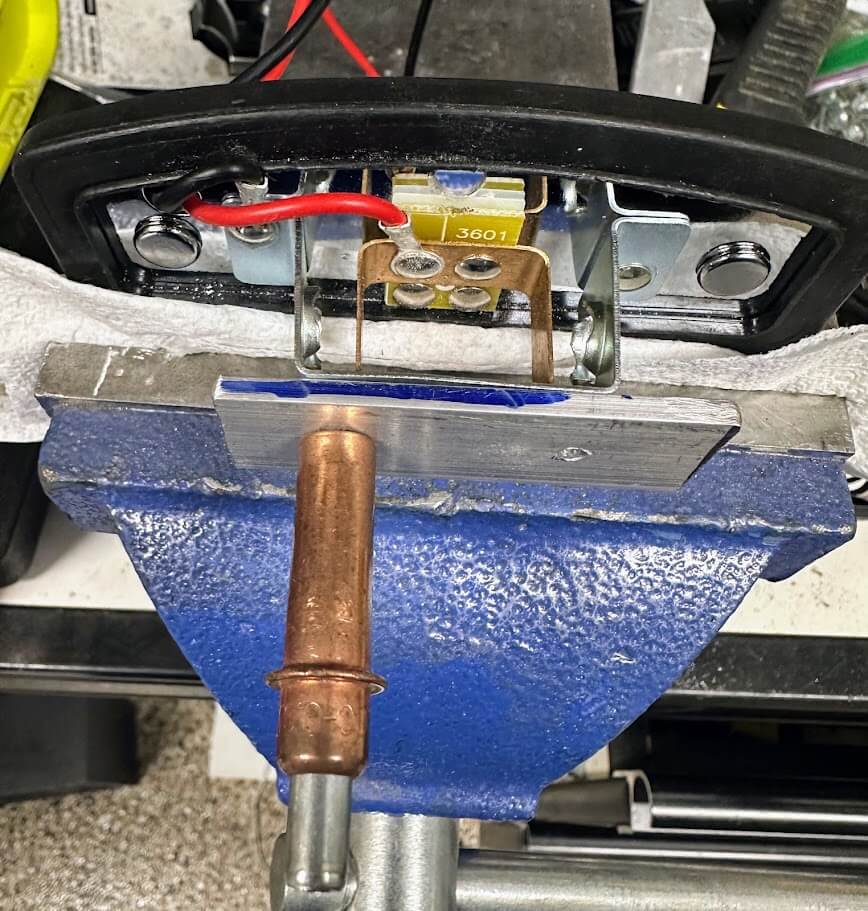
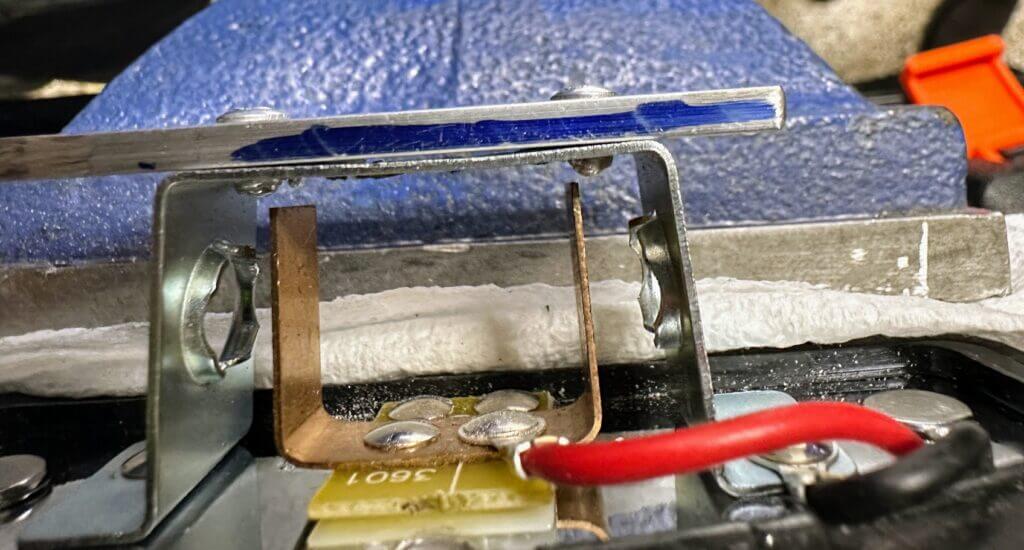
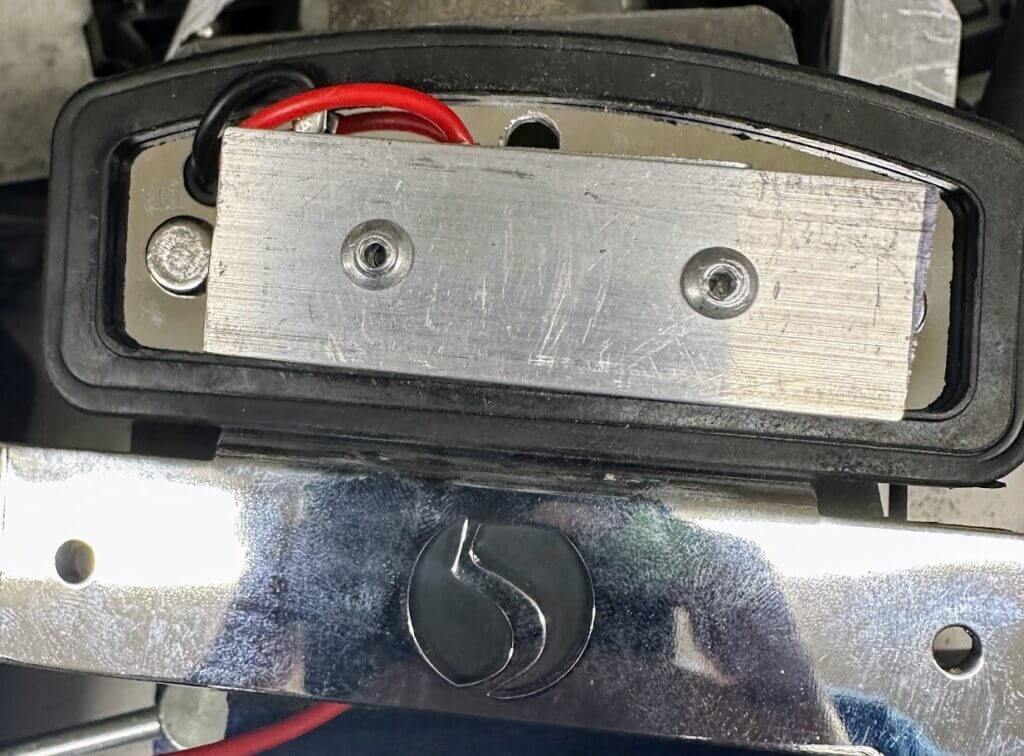
The 1/8″ aluminum bar needed adding. It gave the screws more width. Those screws hold the light box onto the plate holder. Then I used short 1/8″ rivets to mount the bar. They squished enough inside. As a result, they did not mess with the electrical connections. In other words, it is a grounding bar that holds the LEDs. They touch a positive U-bar for power.
Once the bar was aligned, drilled, and riveted, I drilled another 18.5 mm hole for the camera. Of course a Dremel with a mini sanding drum helped. Also, many test fits helped. Next I drilled the final exterior holes. Likewise, I checked screw length so nothing would short the connectors or bars.
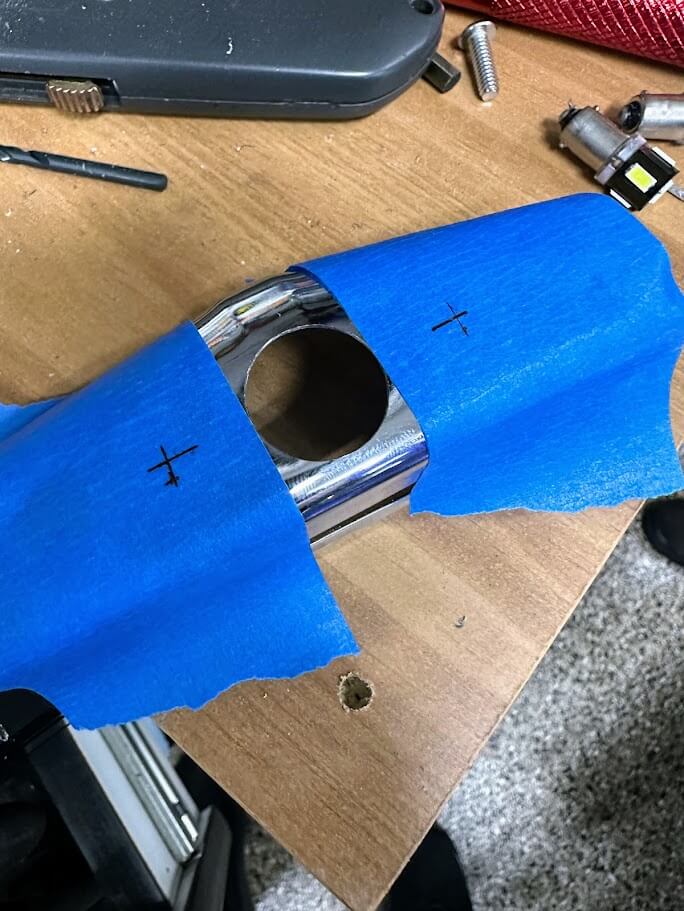
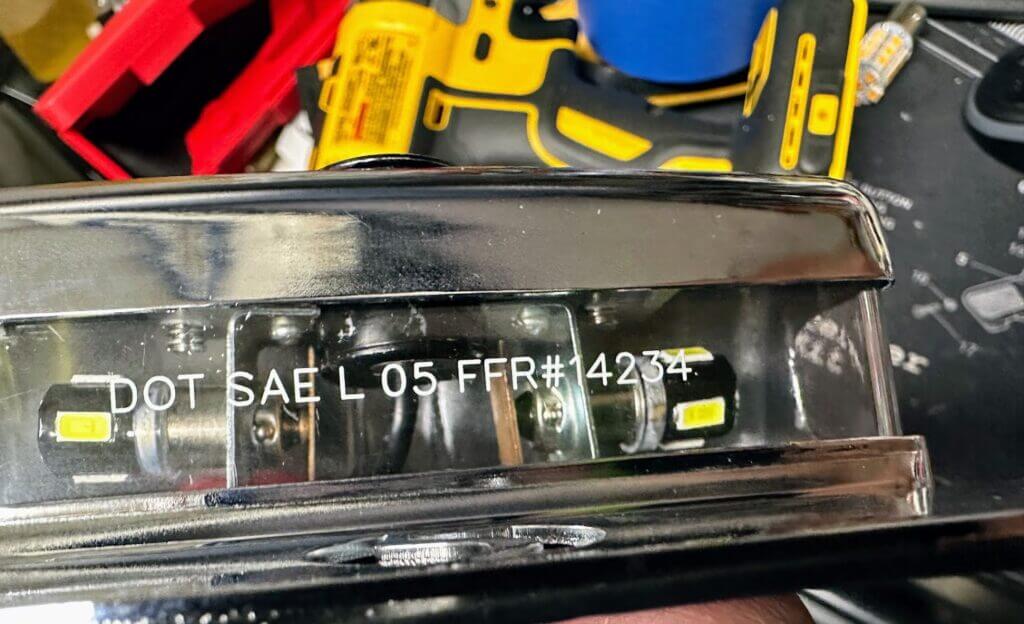
I used 10/24 hex head bolts to mount the rear box. Why? I already had a huge box of them from other mods. All I needed was a #25 drill bit and a tap for the 10-24 screws. See below.
Final backup camera installation result
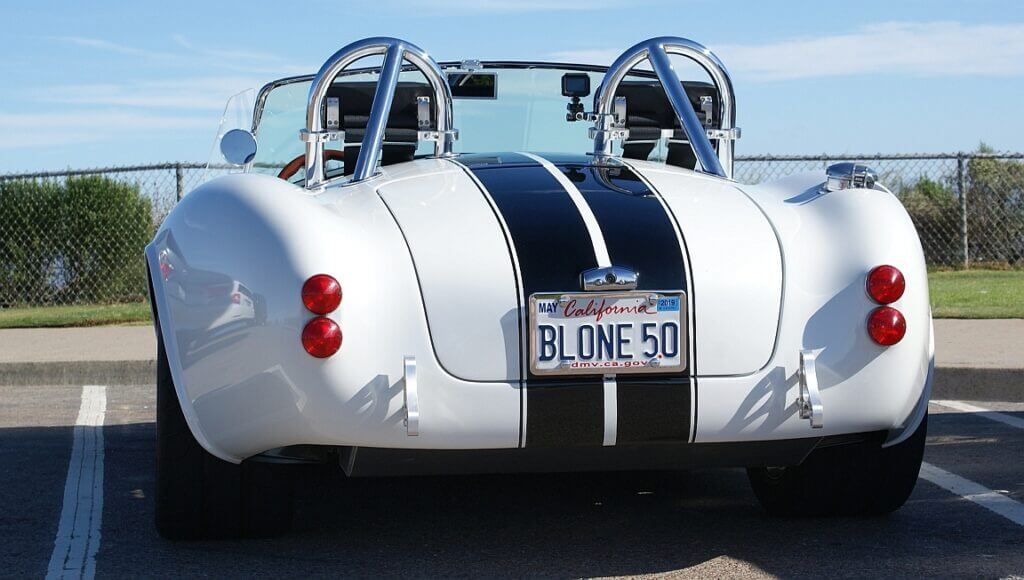
Now the final result! It worked out amazingly well. First we clocked the camera for up, down, and side alignment. Ultimately I love the function. Also, the install stays pretty stealth!
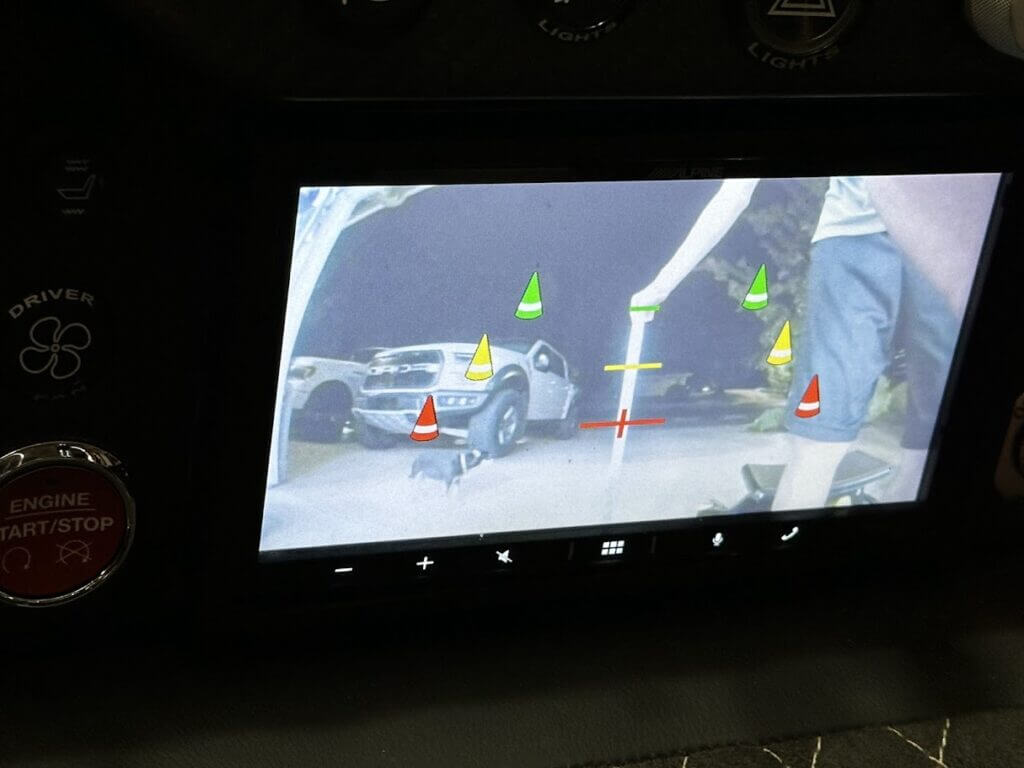
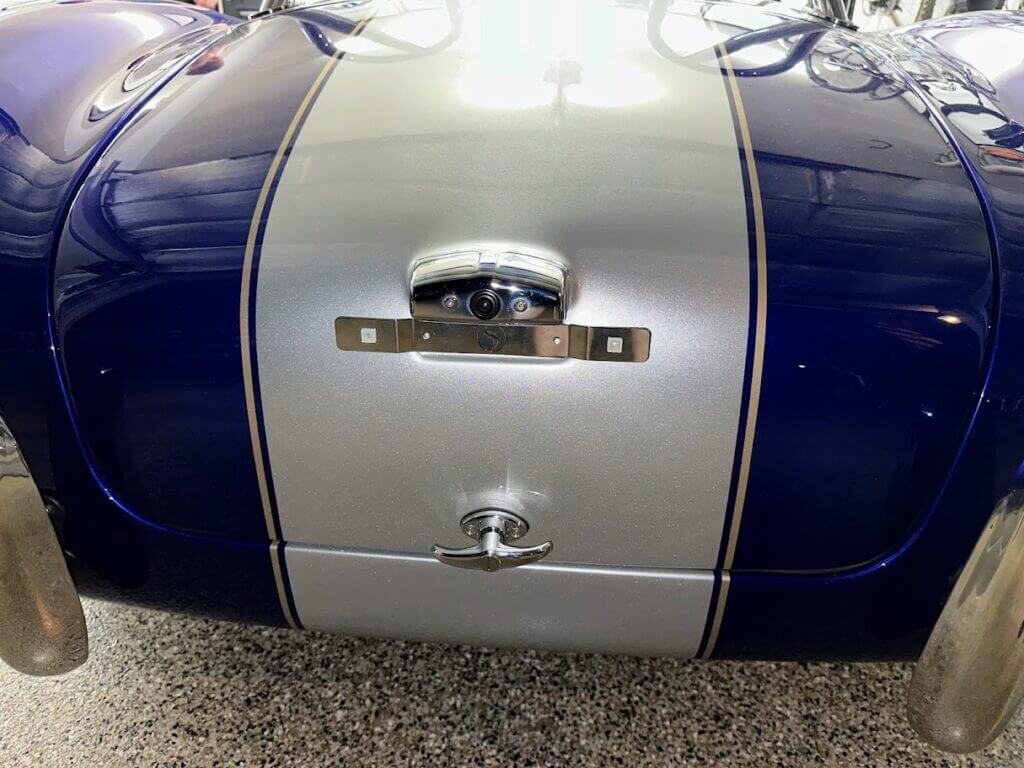
Is this mod worth it?
So, is this mod worth it? It depends…
- Is this needed? absolutely not
- Is it functional? absolutely!
- Would I recommend doing this? Yes, on an unfinished car it’s easy, on a finished car – plan on running wires, etc.
- Was it hard? In a sense, yes. It took a lot of patience and walking away at times. The end result is amazing IMHO. I absolutely love the look. It will be helpful when I install a backup light. It will turn on with the camera. This is the next thing to do. See part below 🙂