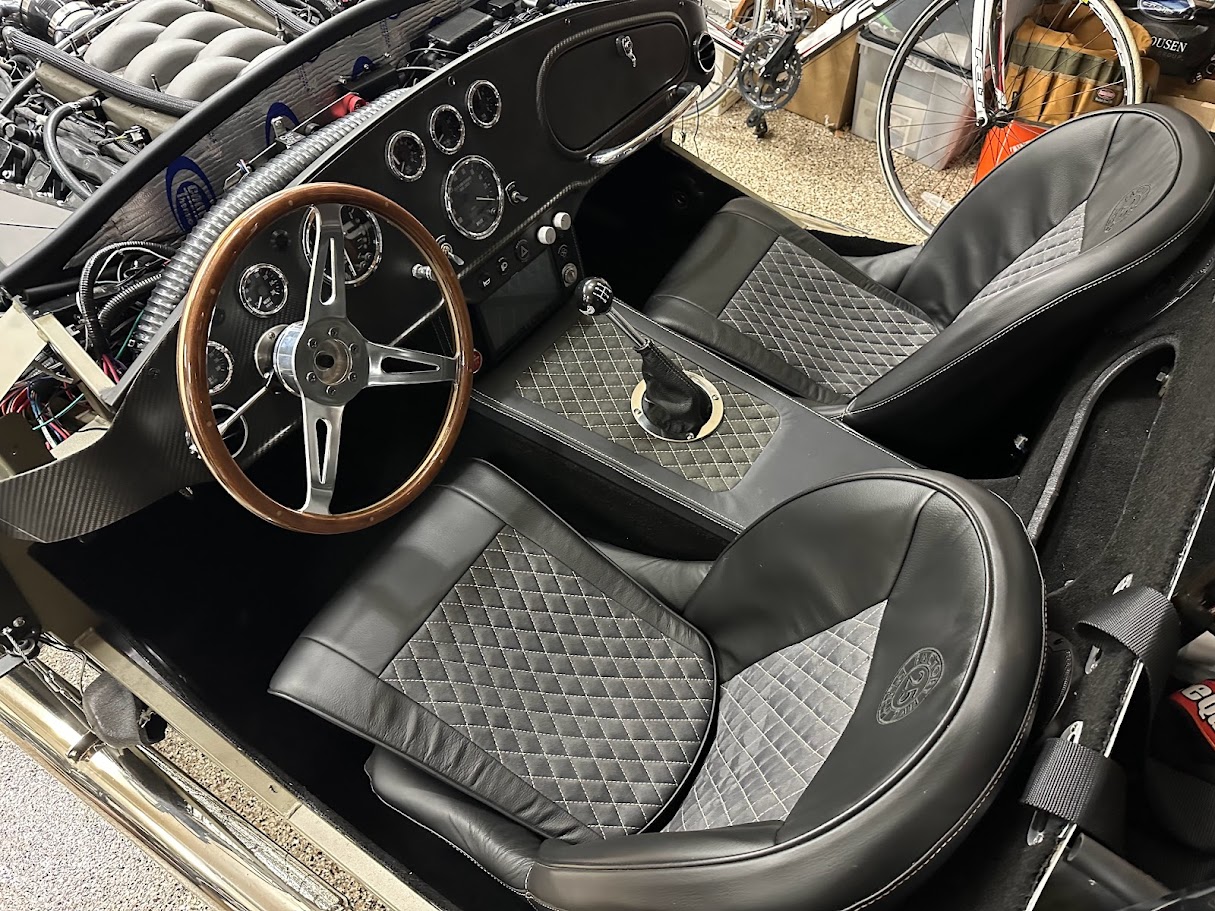
A/C vent setup and dashboard finalization
This update covers A/C vent setup on Factory Five Roadster 9772.
Related notes live on the Factory Five Cobra build hub.
Work behind the dash
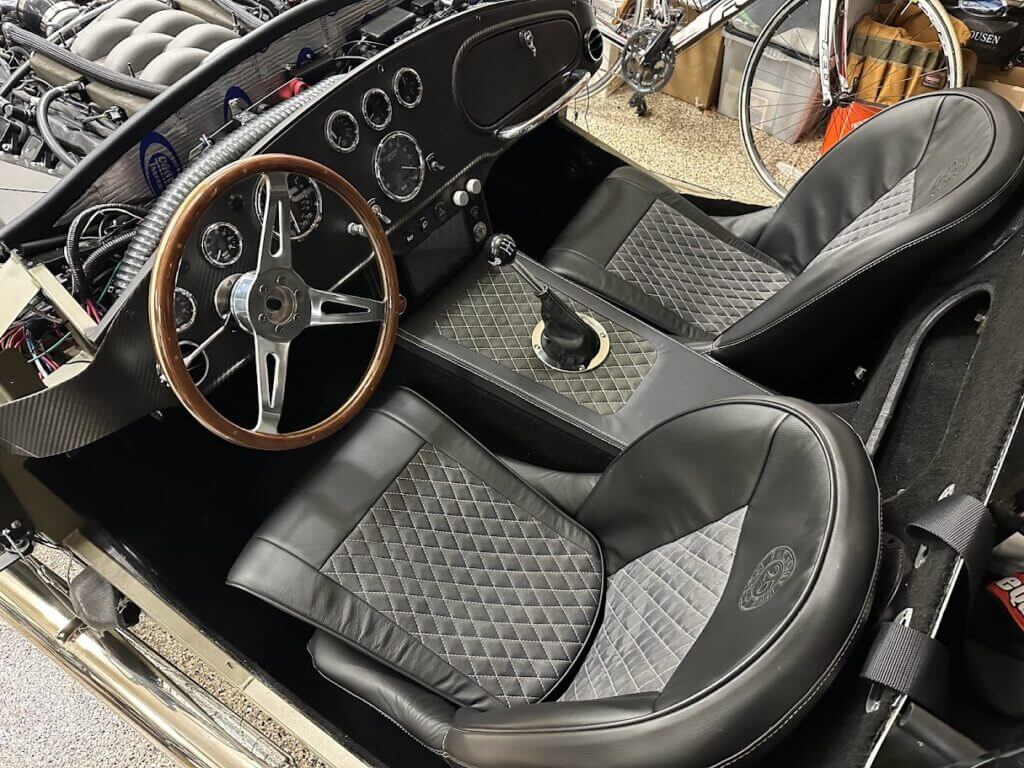
Custom dashboard work has been one of the most satisfying parts of the build. However, changes behind the dash also create extra challenges. In other words, it is a pain in the butt (LOL). Therefore I still had a few items to finish:
- Modify and attach the grab bar support
- custom 3D print A/C vents
- get everything aligned and screw the dash into the frame
Grab bar support
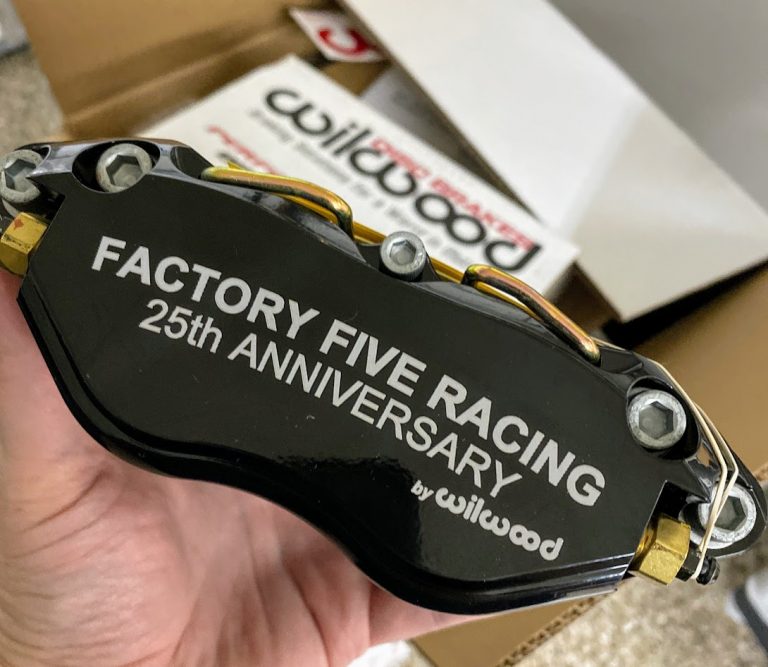
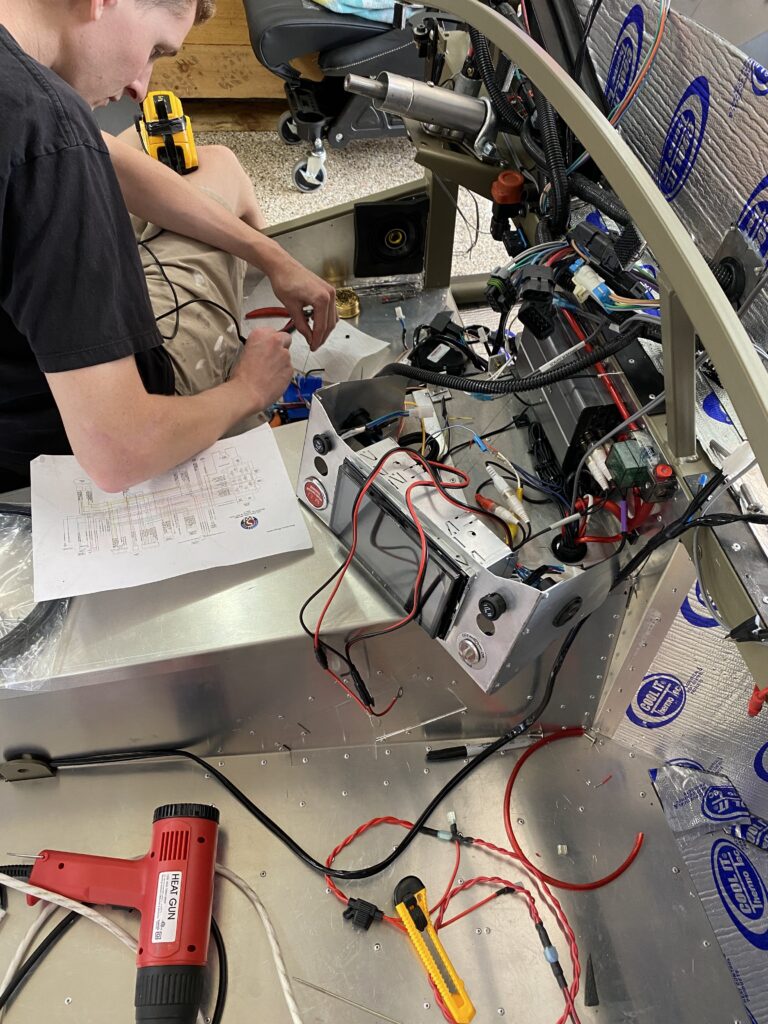
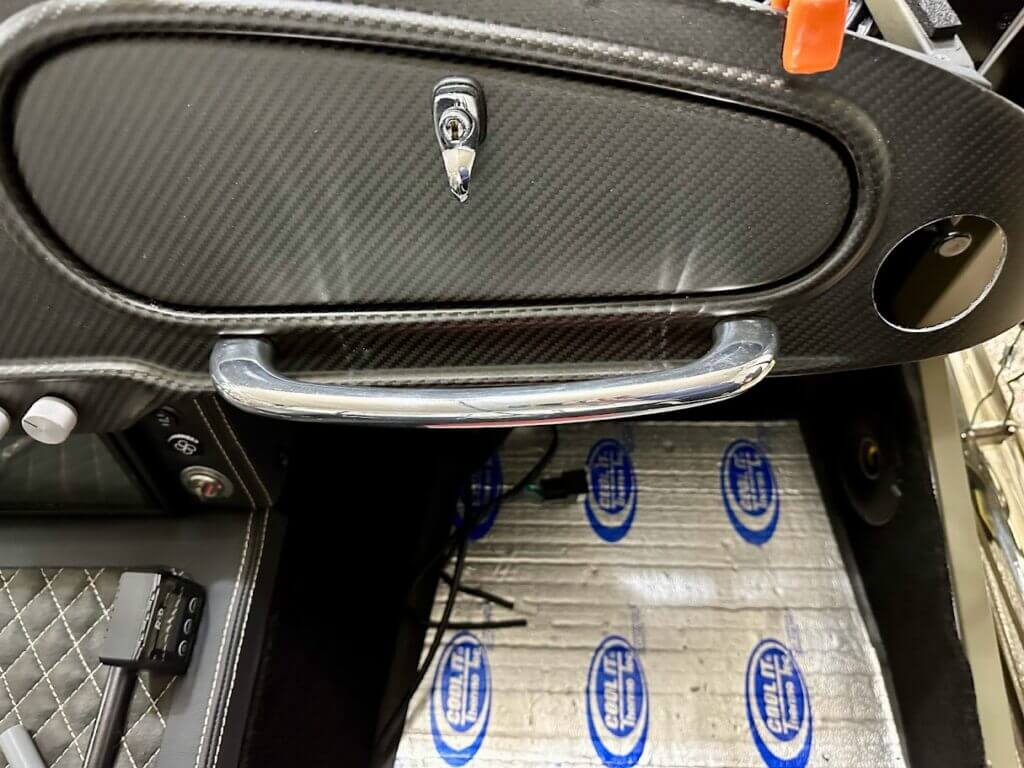
First, the work behind the dash forced a few essential changes. Adding A/C, a heater, and a full-size glovebox made that space very tight. So I relocated the Wilwood electric parking brake module. Then I ran the wires out to the engine bay in a tight cluster.
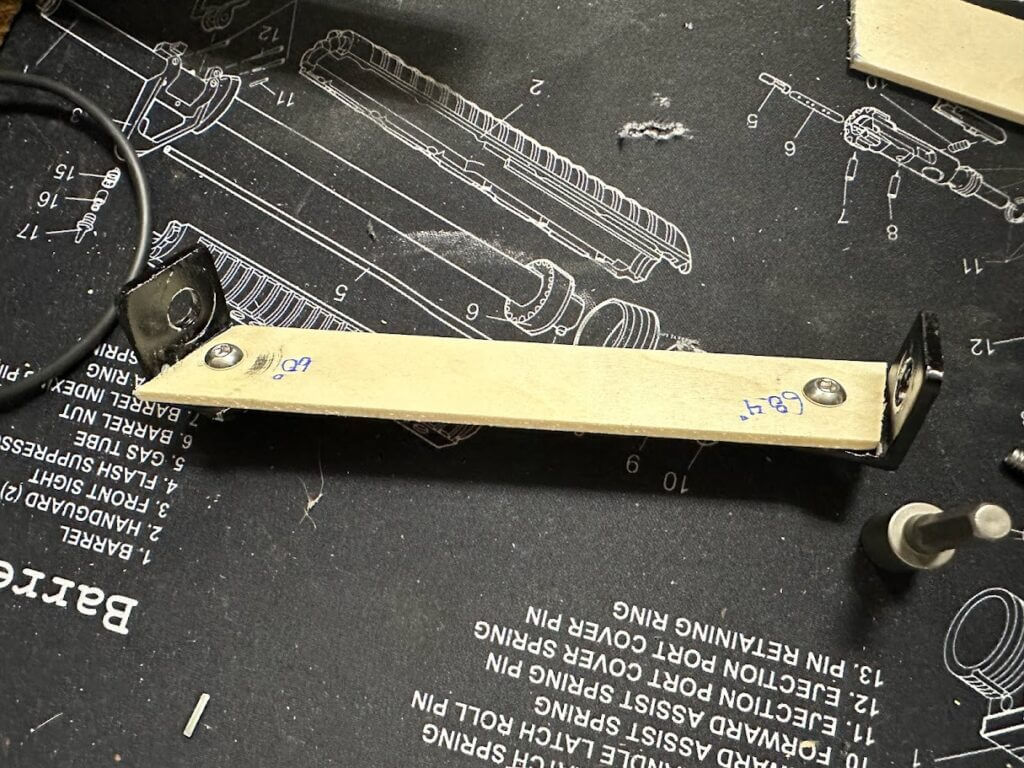
I also cut the 3/4″ support bar between the upper dash hoop and the frame. As a result, the dash angle shifted a bit. Therefore the grab bar needed a longer design.
I made a few cardboard templates and built new support bars for the grab handle. It turned out great. Besides that, it is solid now. Someone can grab it instead of the windshield. Otherwise they usually break the glass!
Custom 3D printed A/C vents
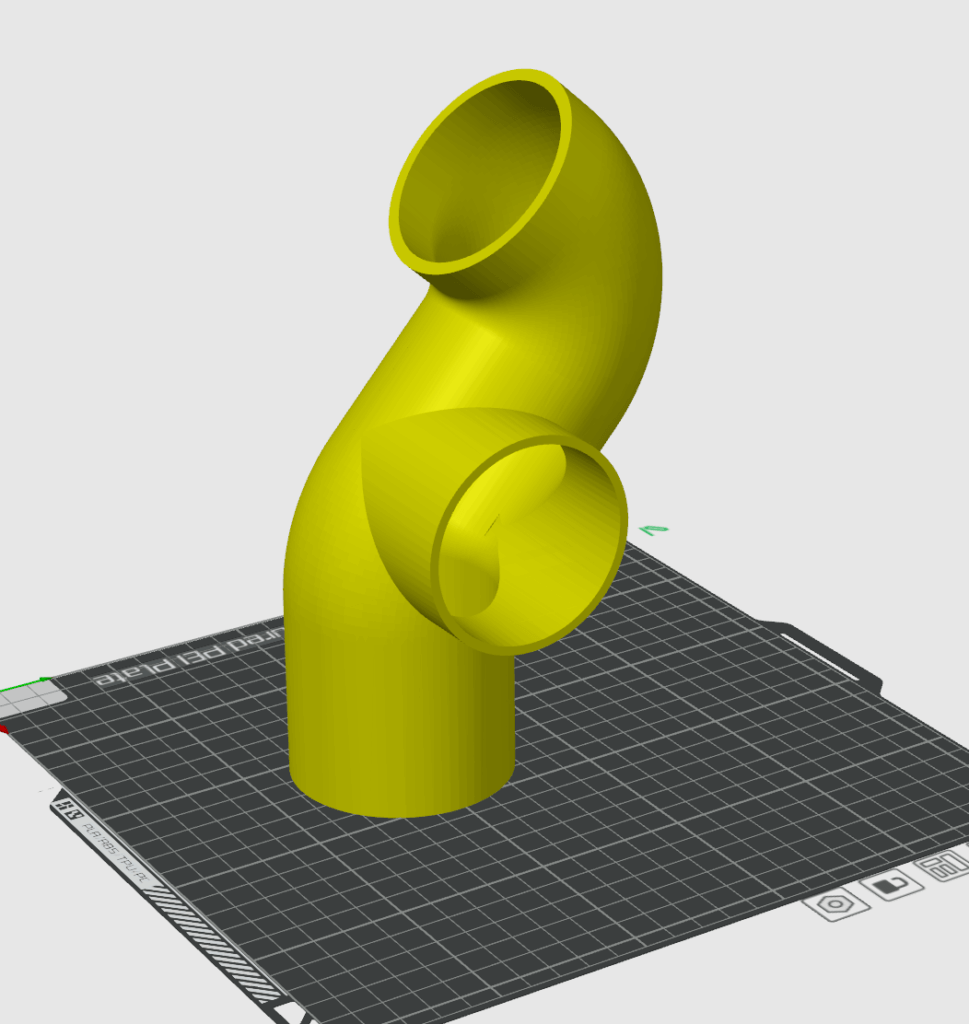
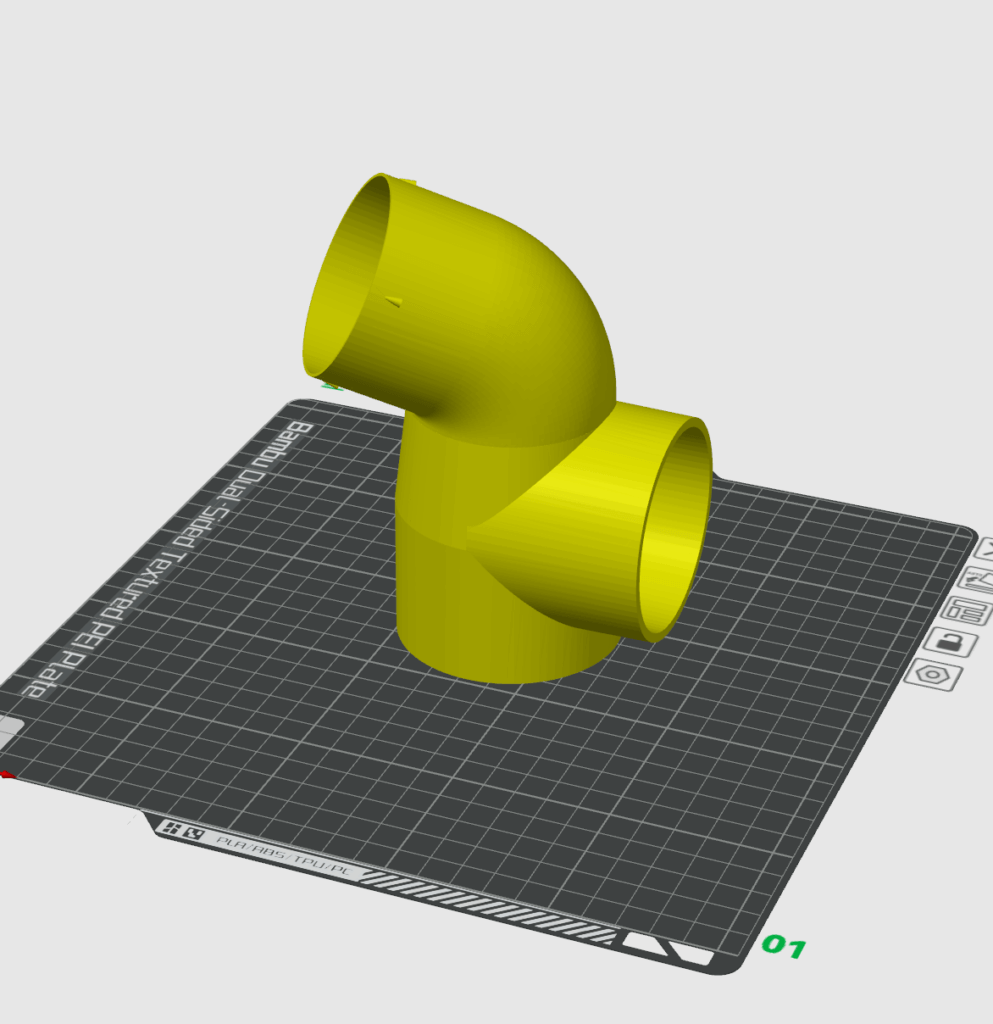
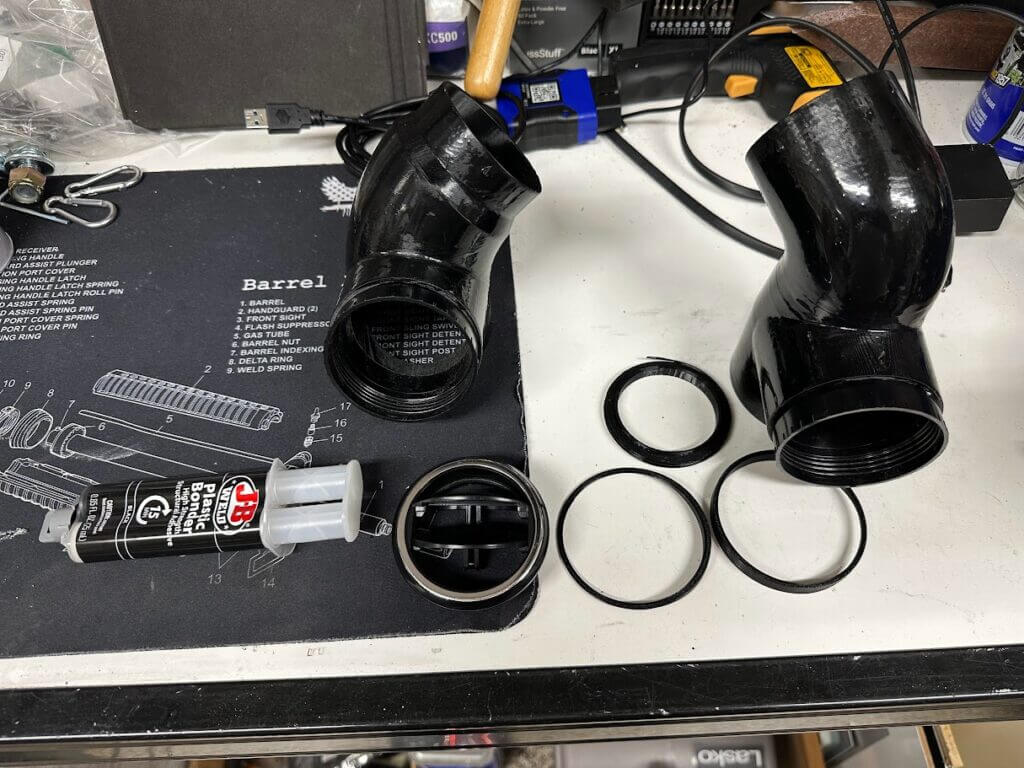
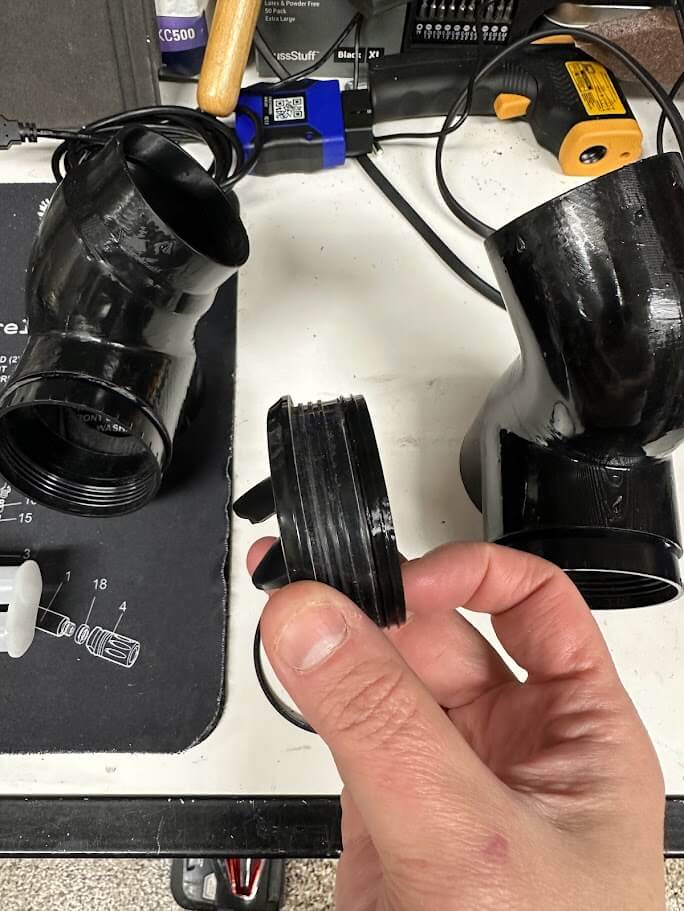
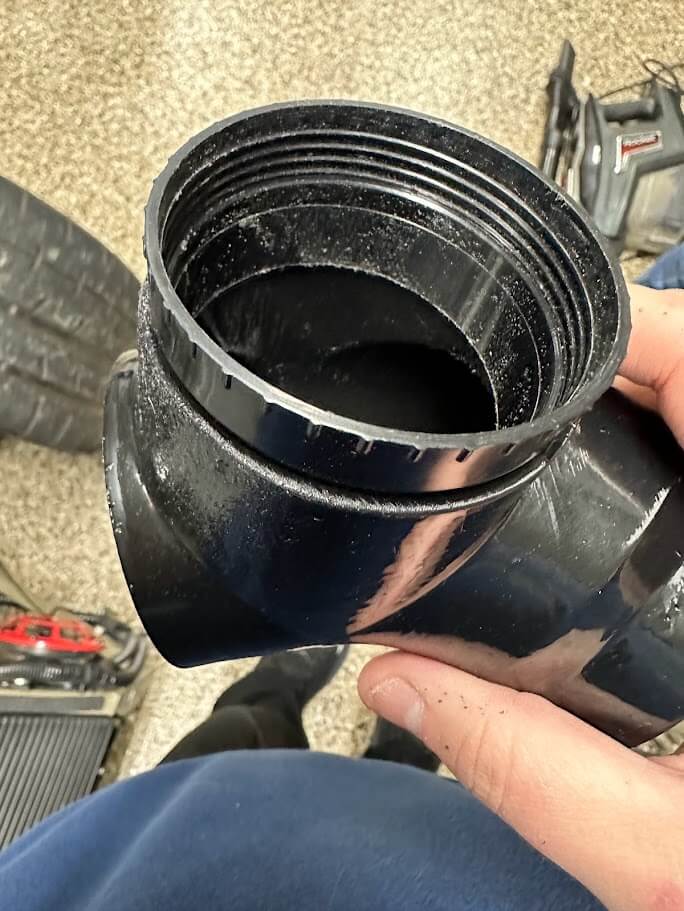
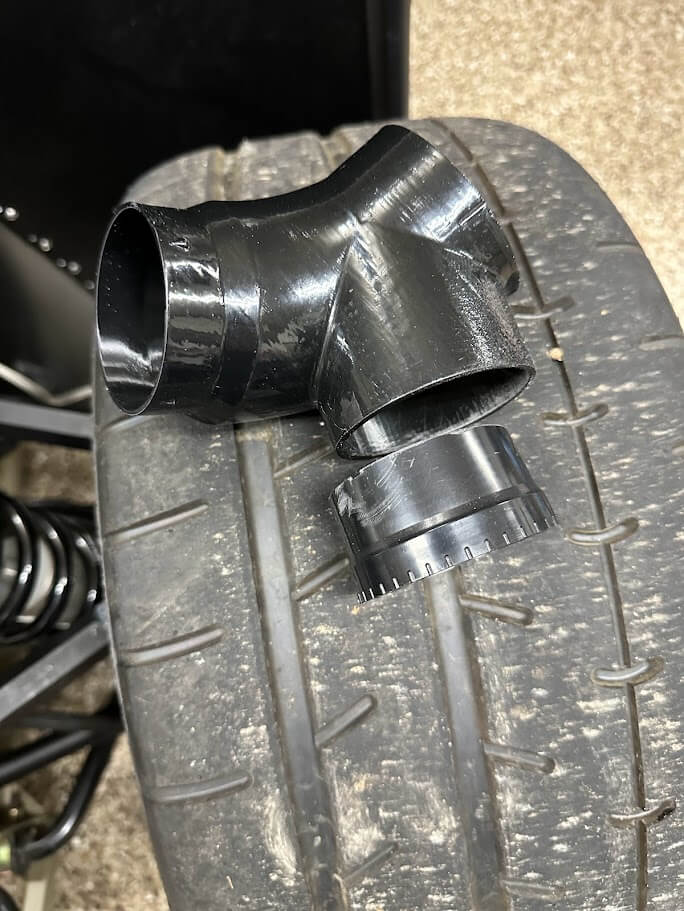
Next up is the custom 3D printed vent ports. My son is amazing at this design work. I really appreciate his handiwork. We did several mockups of the vent areas. Then we tried a few designs. Ultimately we landed on a dual-port setup. The dash vents also feed footbox vents just below. This required a lot of customization and test prints. Here are a few examples of the 3D prints:
Fitting the A/C vents
UV curing the prints
Here is a quick video of the UV curing process. We covered the 3D printed parts in resin. Then we cured them to harden and seal the units.
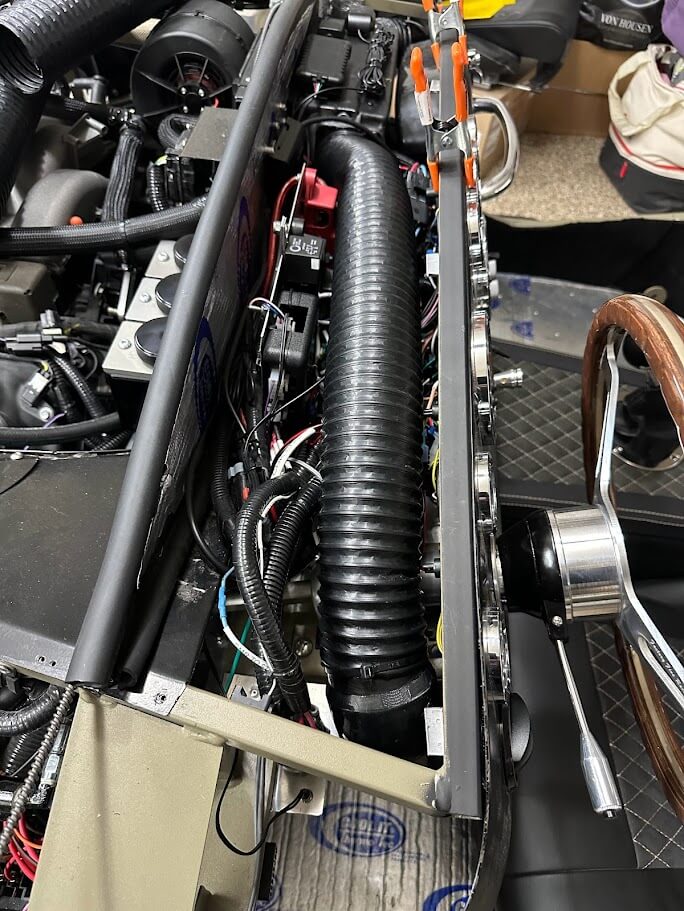
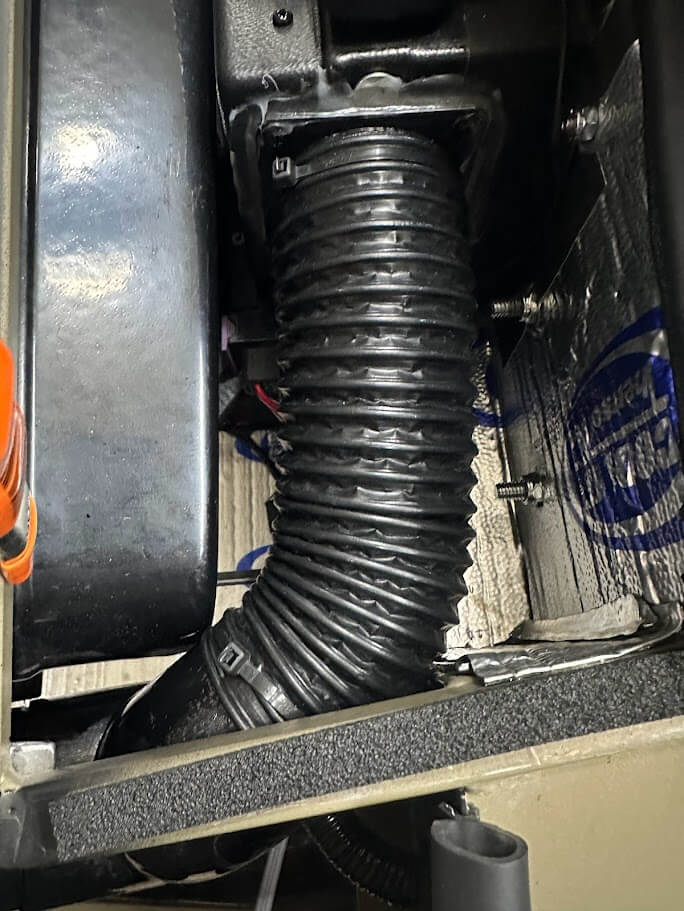
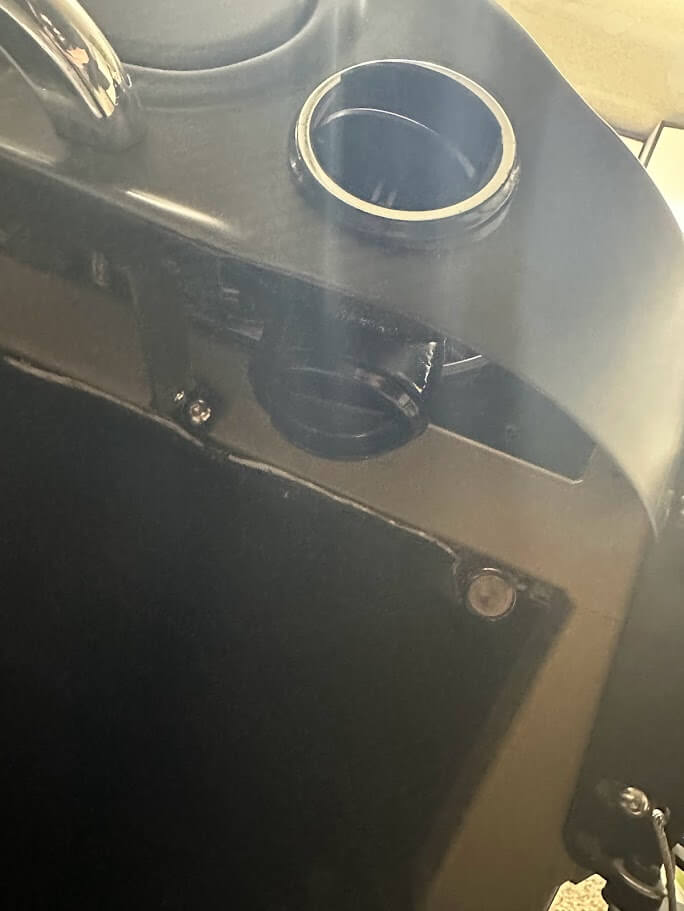
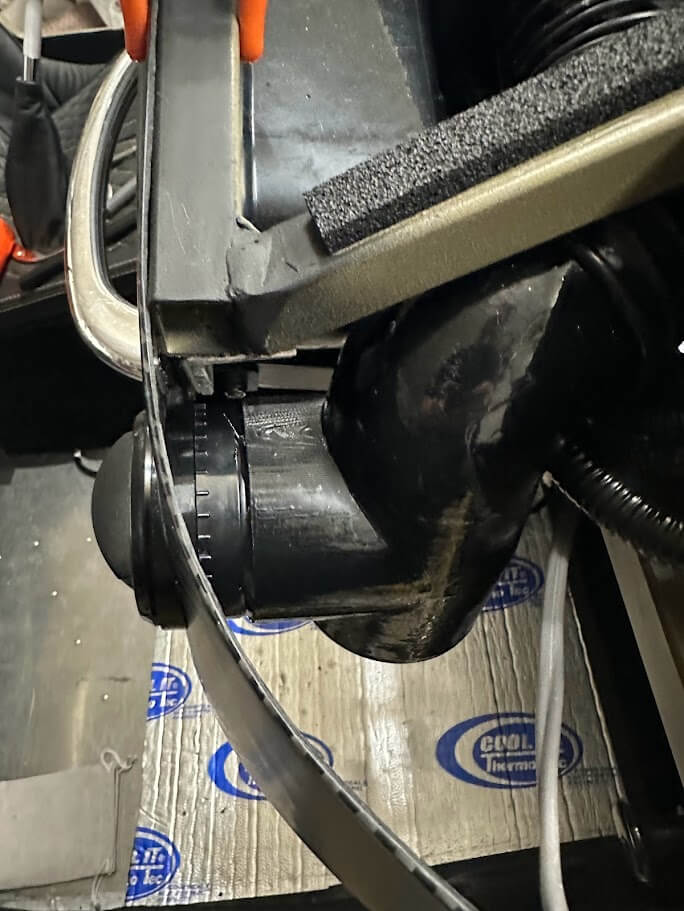
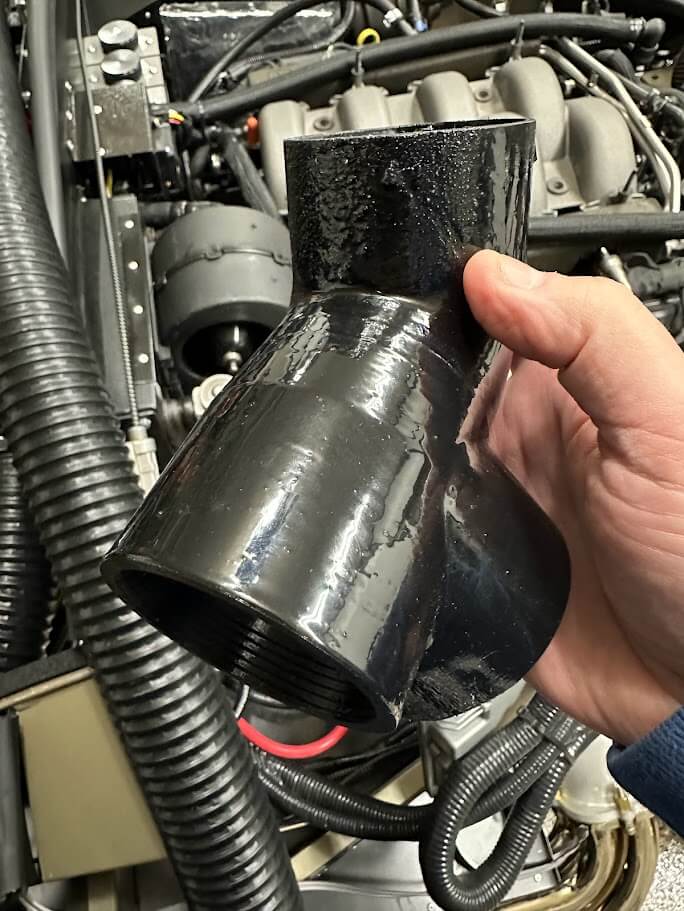
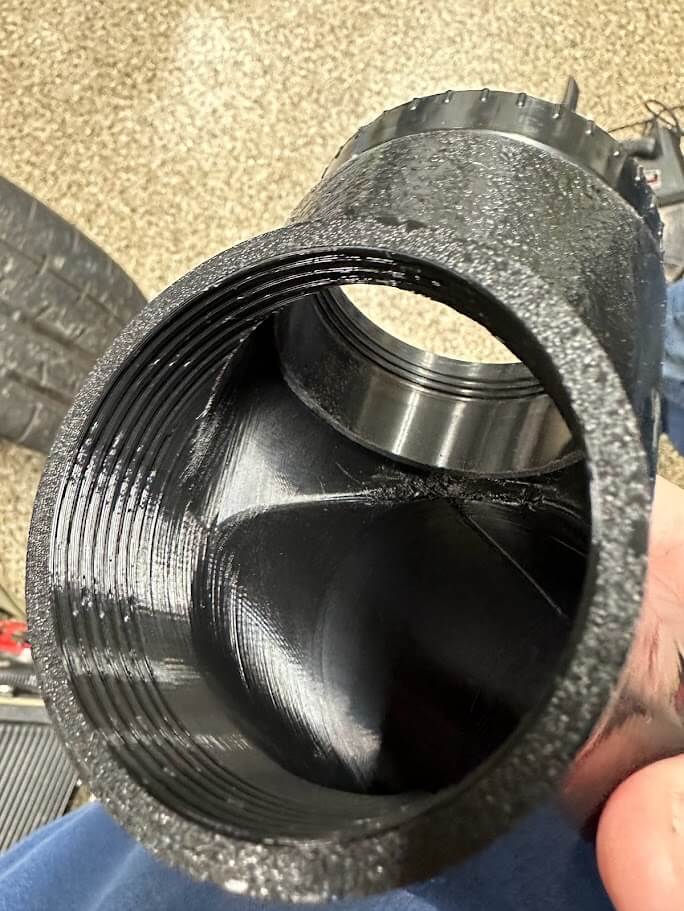
Installing the vents and hoses
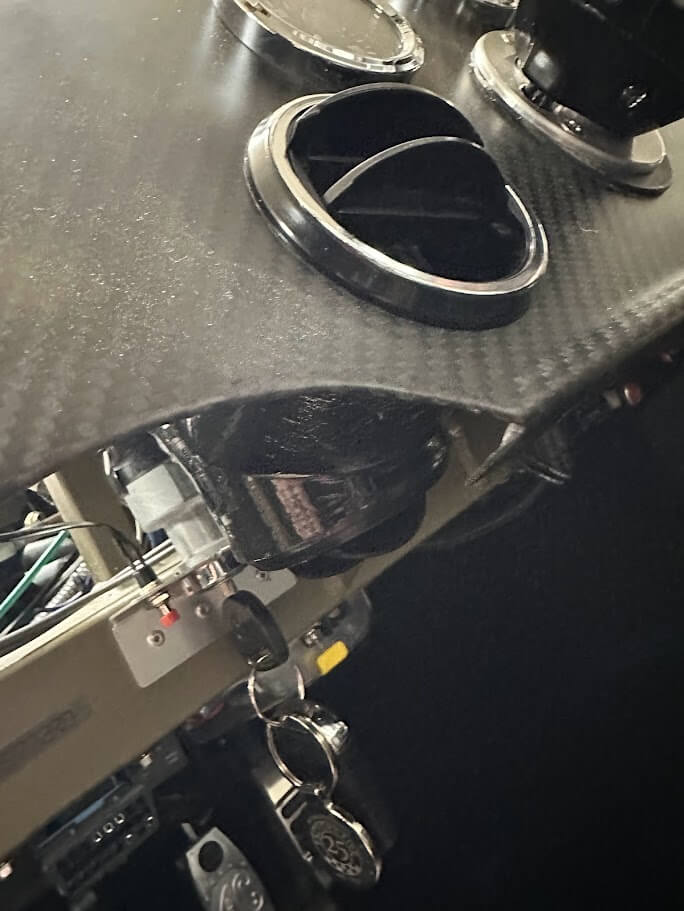
Once I test-fit the parts, I installed them.
Screwing the dash into the hoop
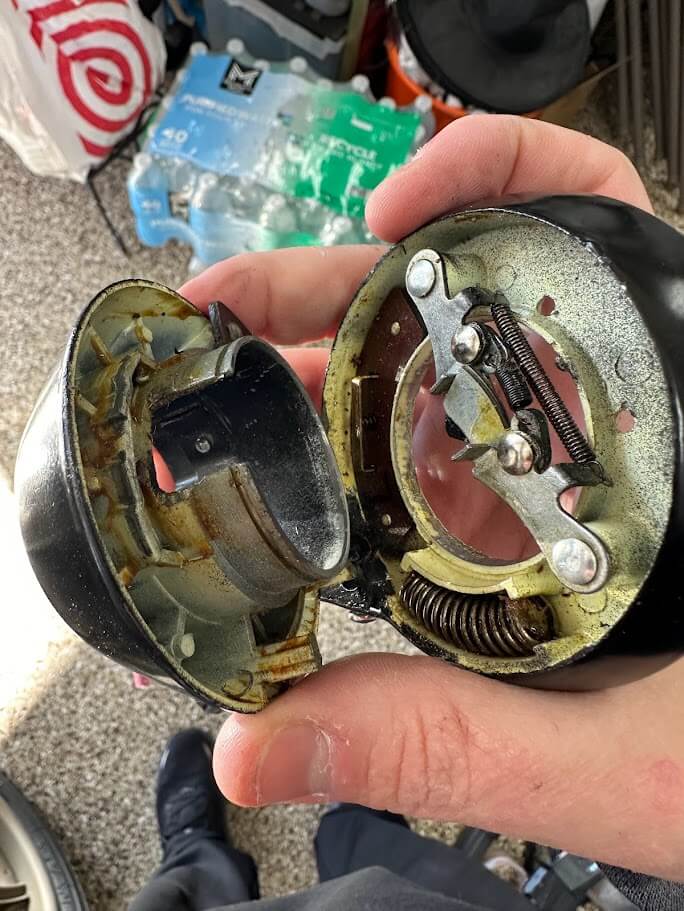
After I finalized the HVAC ports, I lubed the Russ Thompson turn signal. Then I screwed the dash into the upper dash hoop. Voila! Done!