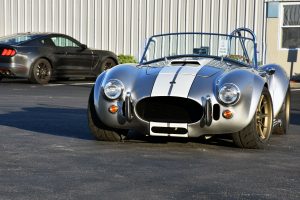
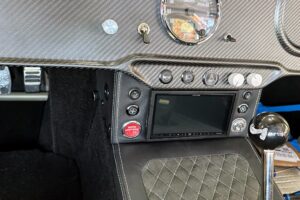
One item that a lot of cobra builders use is a grab handle for the passenger. The last thing you want a passenger to grab hold of, is the windshield – so many cracked windshields this way! The CF dash has a nice space for a handle, so I ordered one from Summit Racing – I think it looks great!
The trick here is mounting the dash at the proper height, and then build supports for the bar that attach to the frame. I also purchased Replica Parts under-dash kit which had to be extensively modified to fit my setup. You can see some of the modifications needed below to trim the under-dash panel. The panel is designed for earlier MKIV frames and the later style frame has a much higher steering mount. Also, where I installed the Wilwood EPB ECU needed trimming. Since I’m adding a lower center dash, I also trimmed behind the drop down section of the dash to make room for switches and extra wiring into that space. This took a LOT of trial and error, fitting, and re-fitting.


We trimmed, and trimmed again – I think we finally got something that has support, but also makes enough room for wires, access points and also the grab handle!


To setup the handle itself, use some aluminum angle, some steel bar, rivnuts, and 5-16 18th and 10-24 stainless bolts and locknuts.


All the parts are painted with some Rustoleum black paint to protect and snugged it all up. My son and I are still aligning the bottom of the dash holes with the rivnuts in the under-dash mount, but we’re nearly done with the hardware setting up the dash! Next steps after the under-dash are to create 5-6 angle pieces and rivet them to the upper 3/4″ bar and use some industrial Velcro to attach to the dash.
Discover more from Cobra Dreams
Subscribe to get the latest posts sent to your email.


