Interior panel sound deadening and fuel vent filter
This update covers interior panel sound deadening and a DIY fuel vent filter.
Related notes live on the Factory Five Cobra build hub.
sound deadening: Sealing the rear cockpit
Rivets, silicone, and Thermo-Tec
First, it has been a minute since my last update.
Because life got busy, work travel stacked up.
Still, lots of little things got done since then.
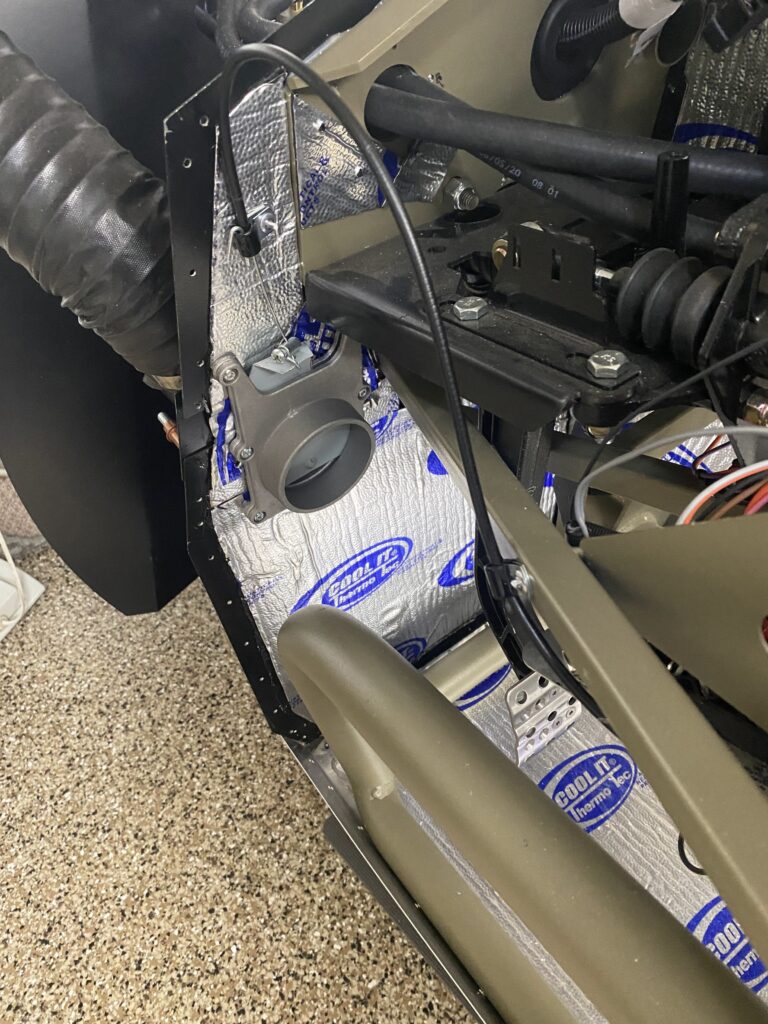
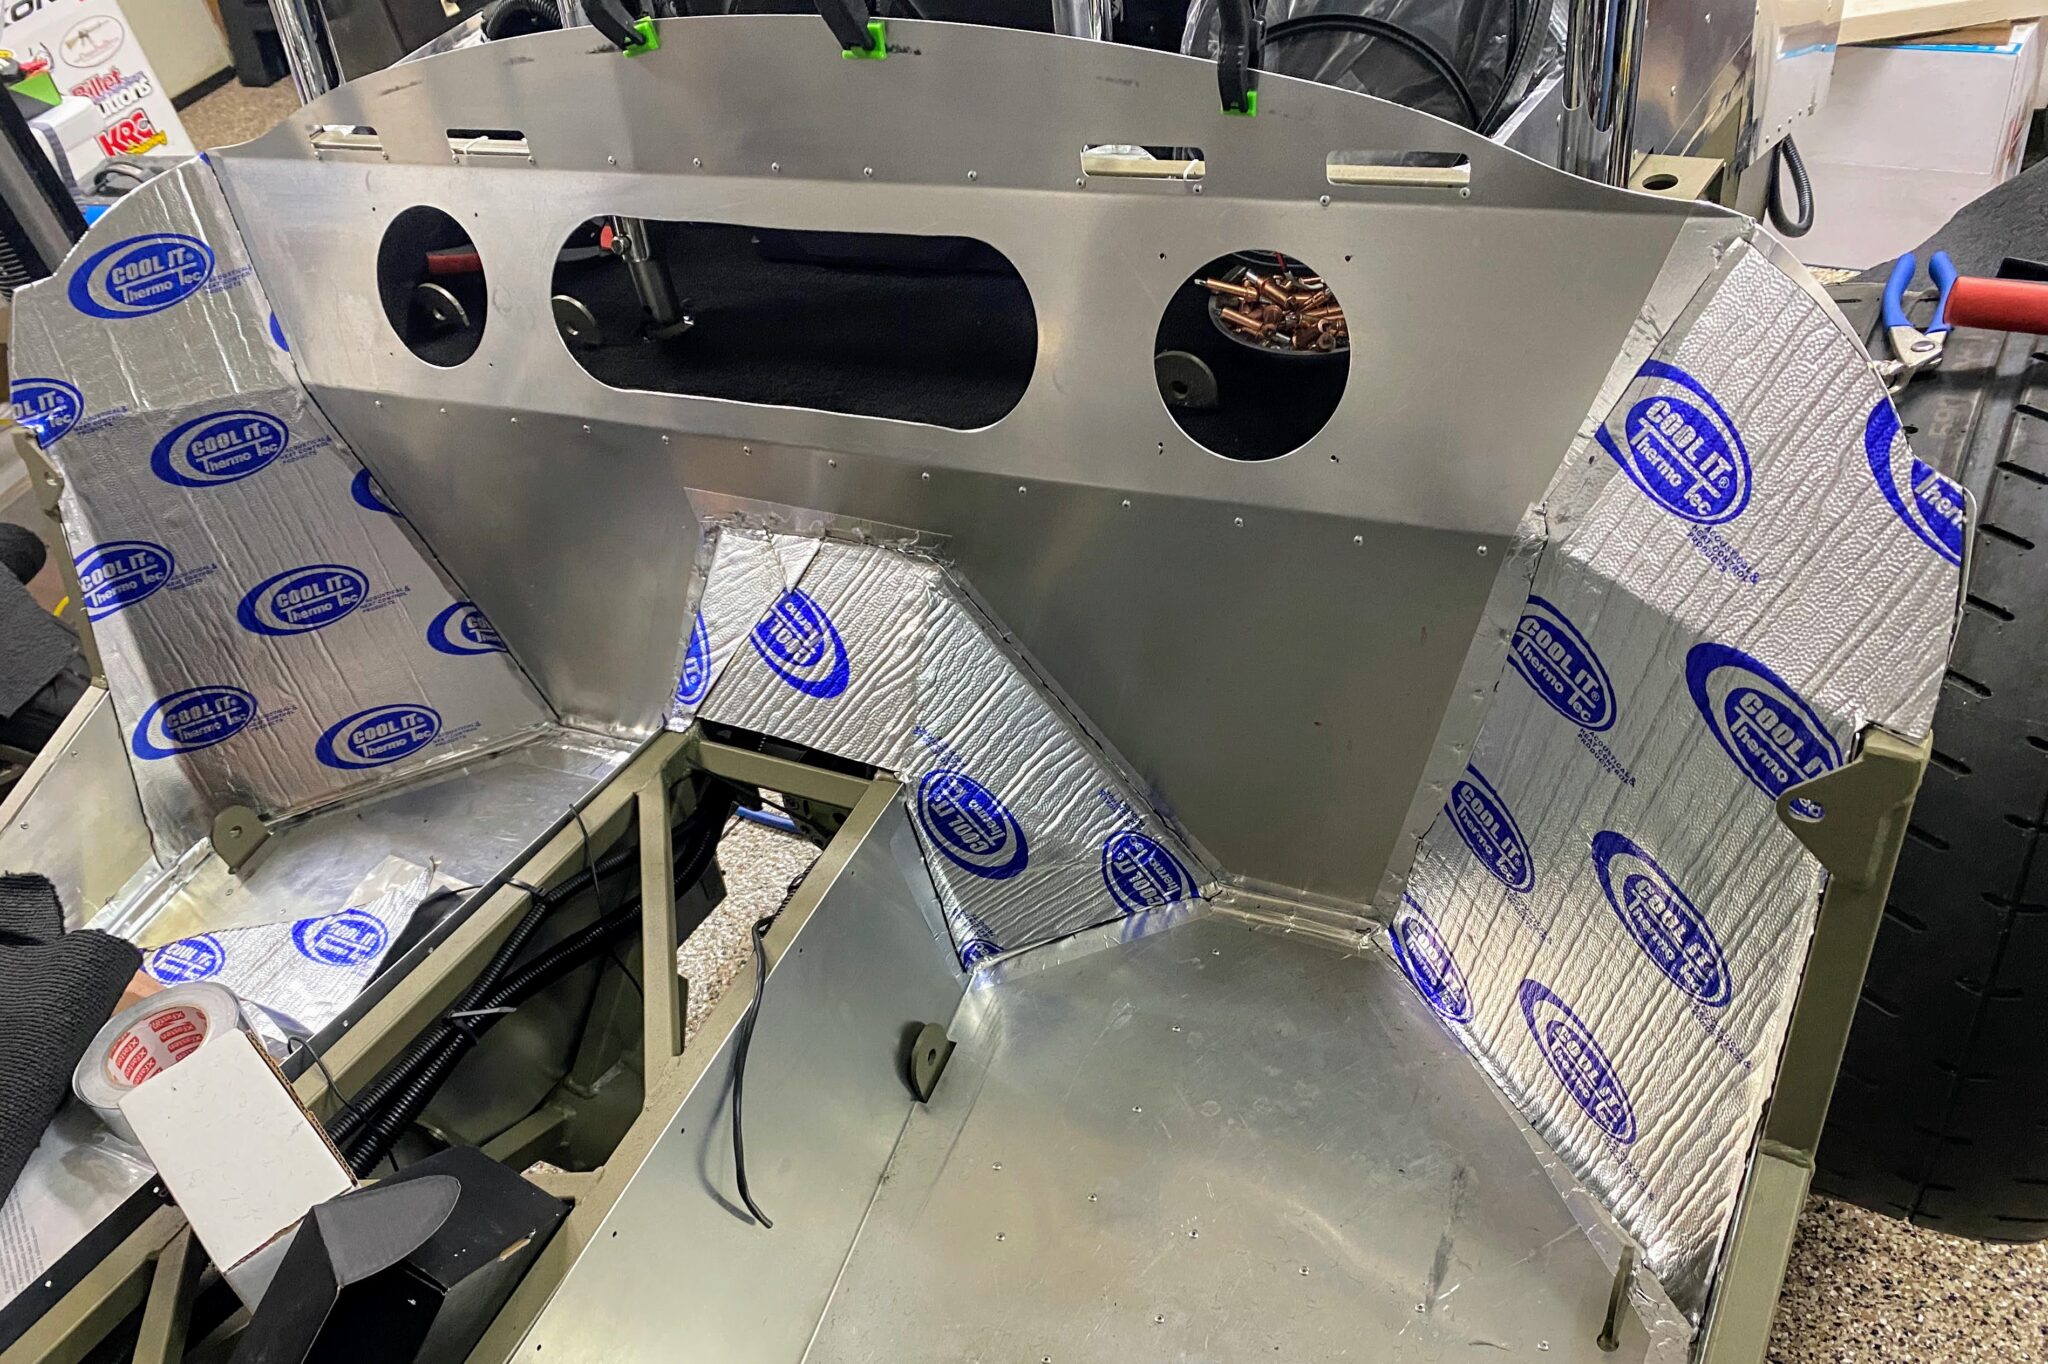
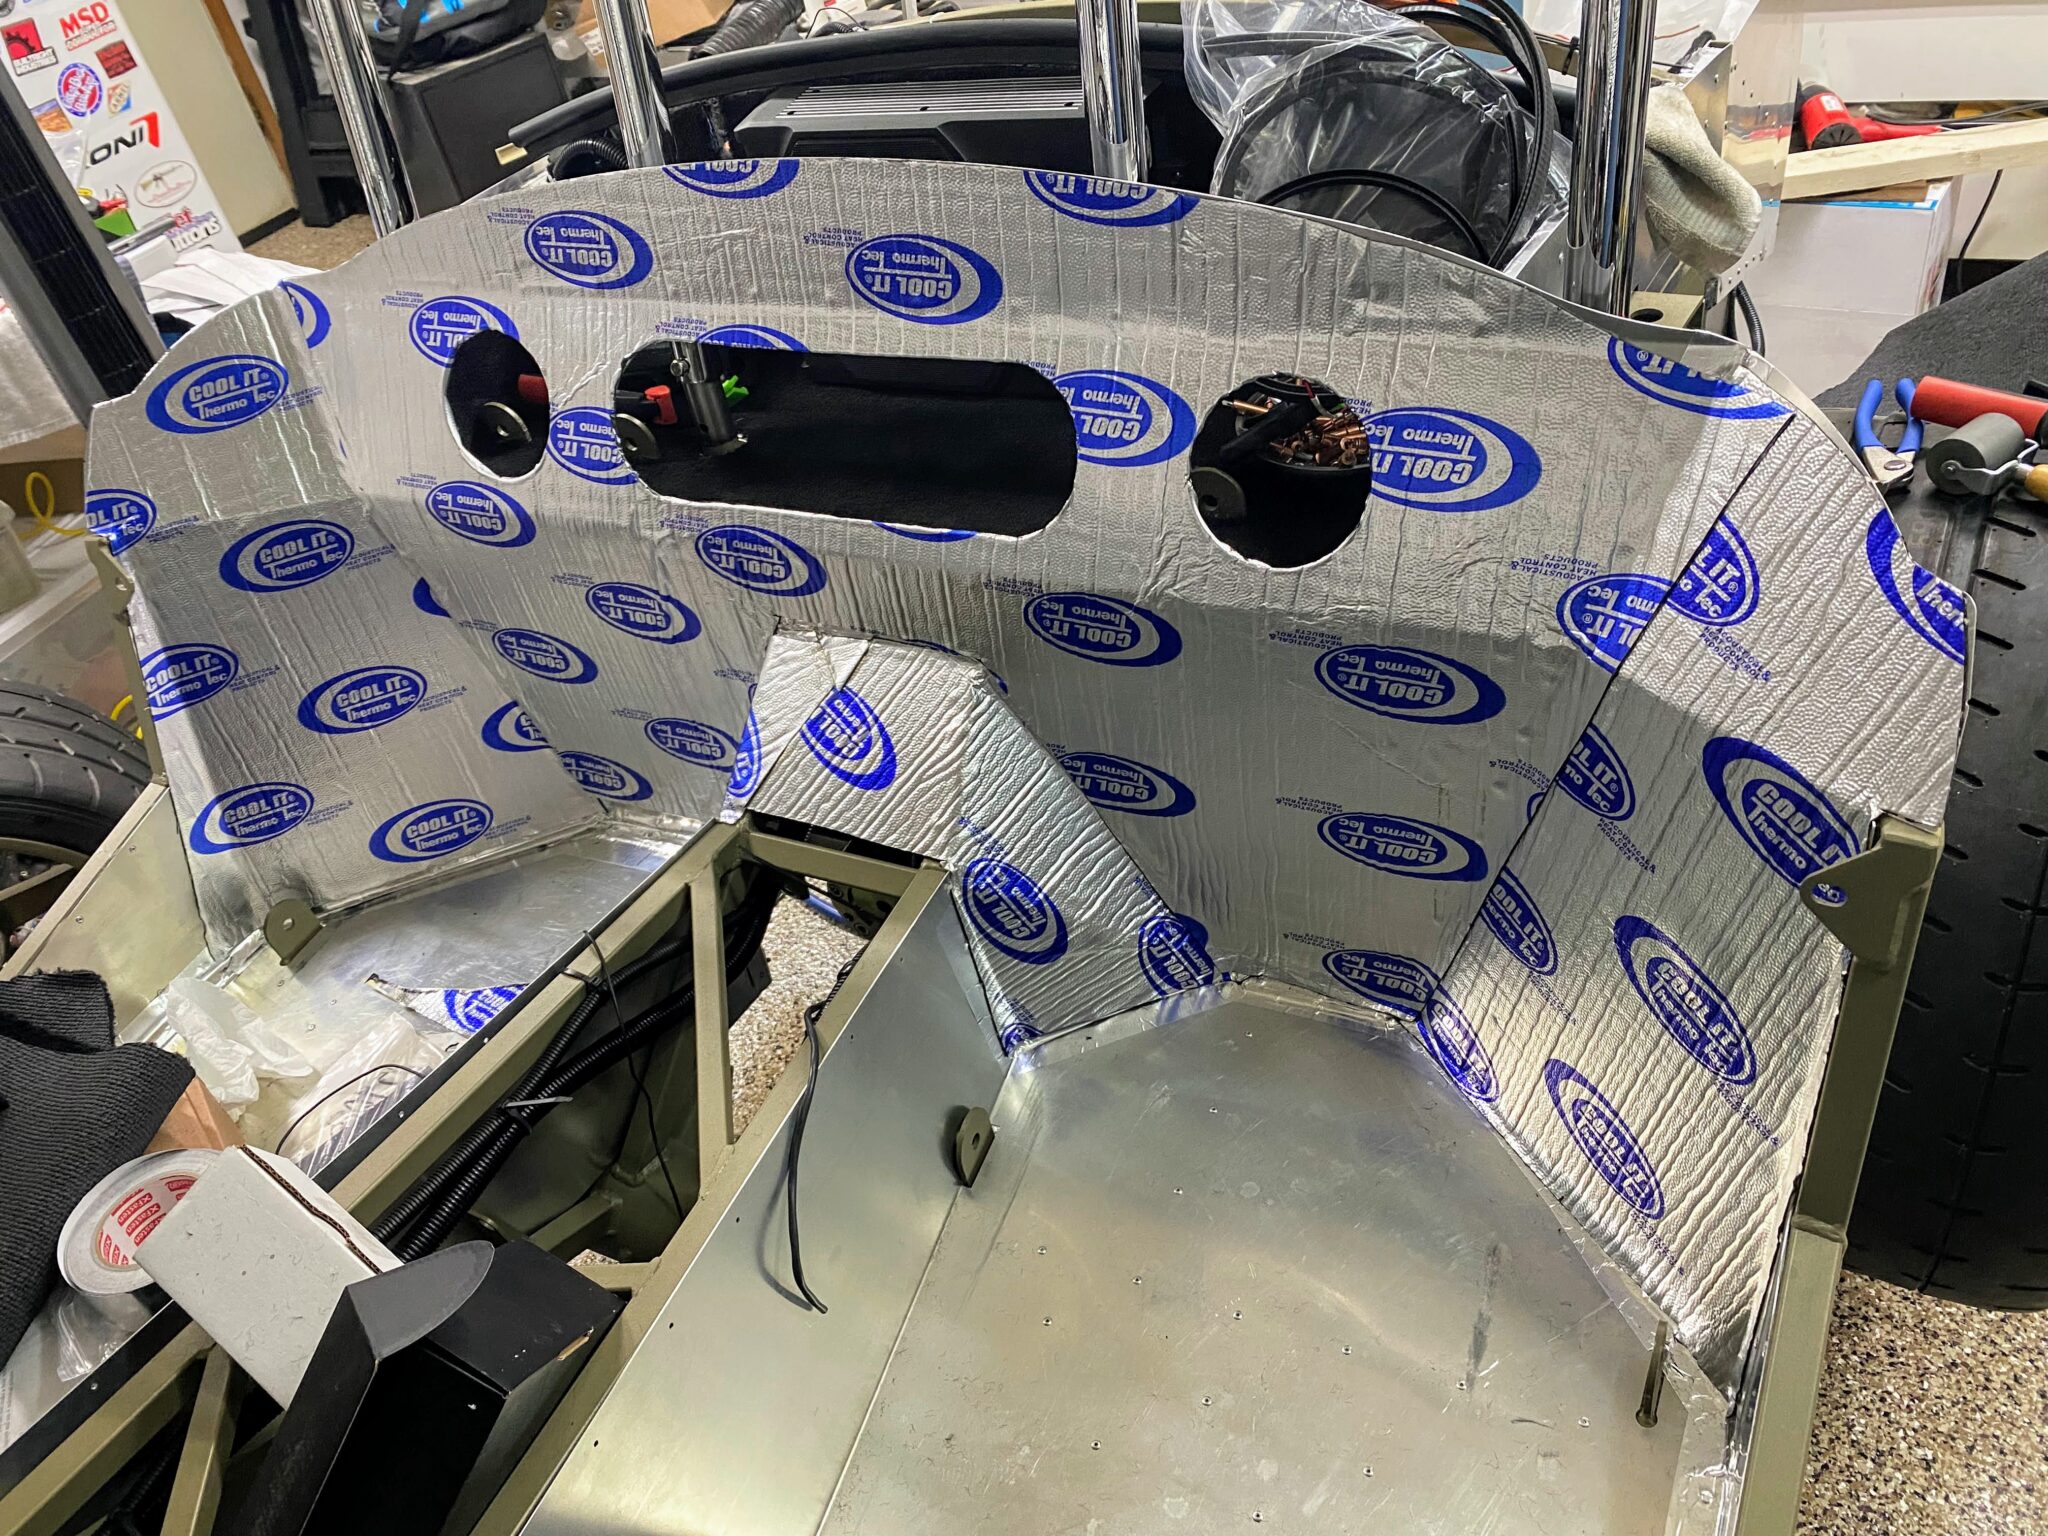
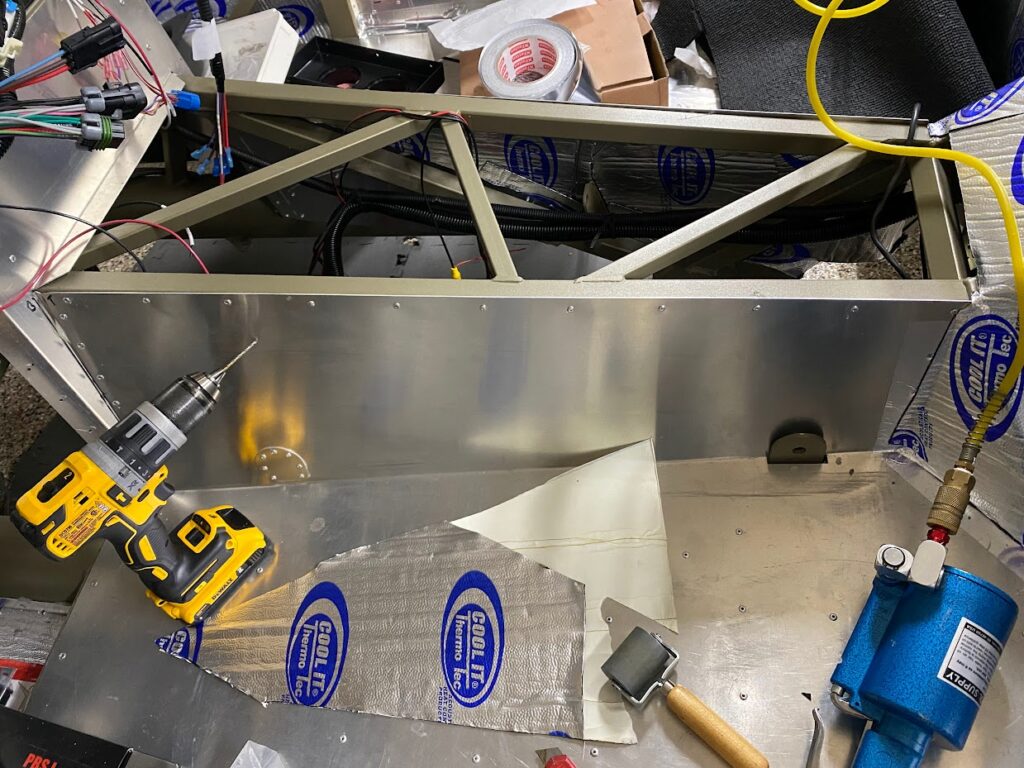
Next, I sealed up the rear cockpit wall and got ready for carpet.
Also, everything has been pre-drilled for a while now.
Then it was a matter of 70+ rivets.
So I sealed the panels with GE Silicone II, rivets, and aluminum tape.
As a result, things stay a bit more watertight.
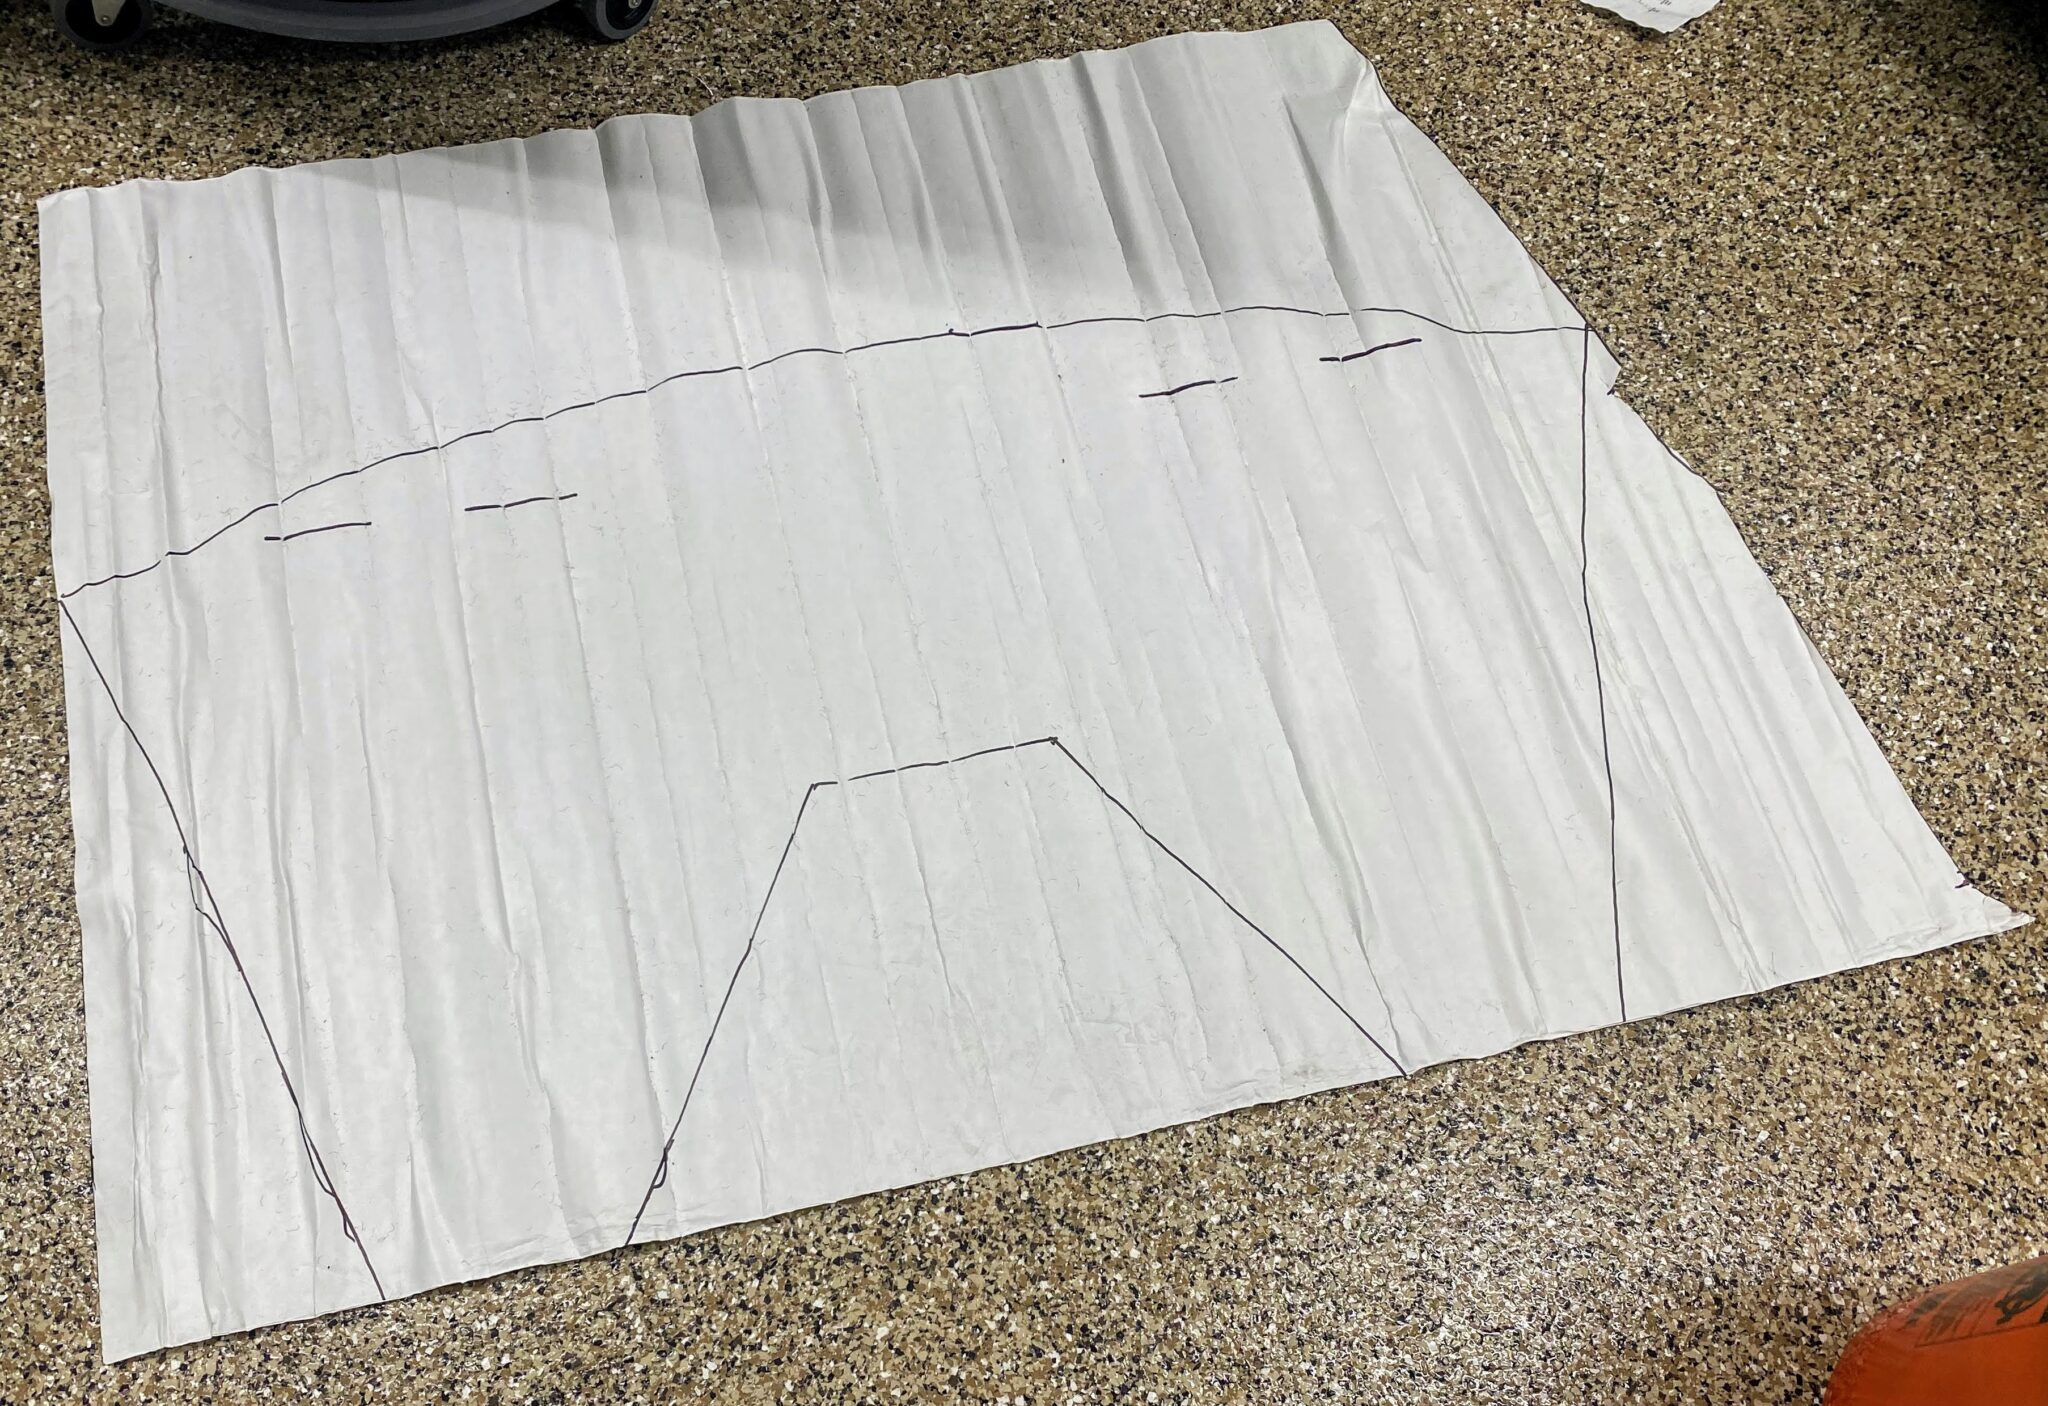
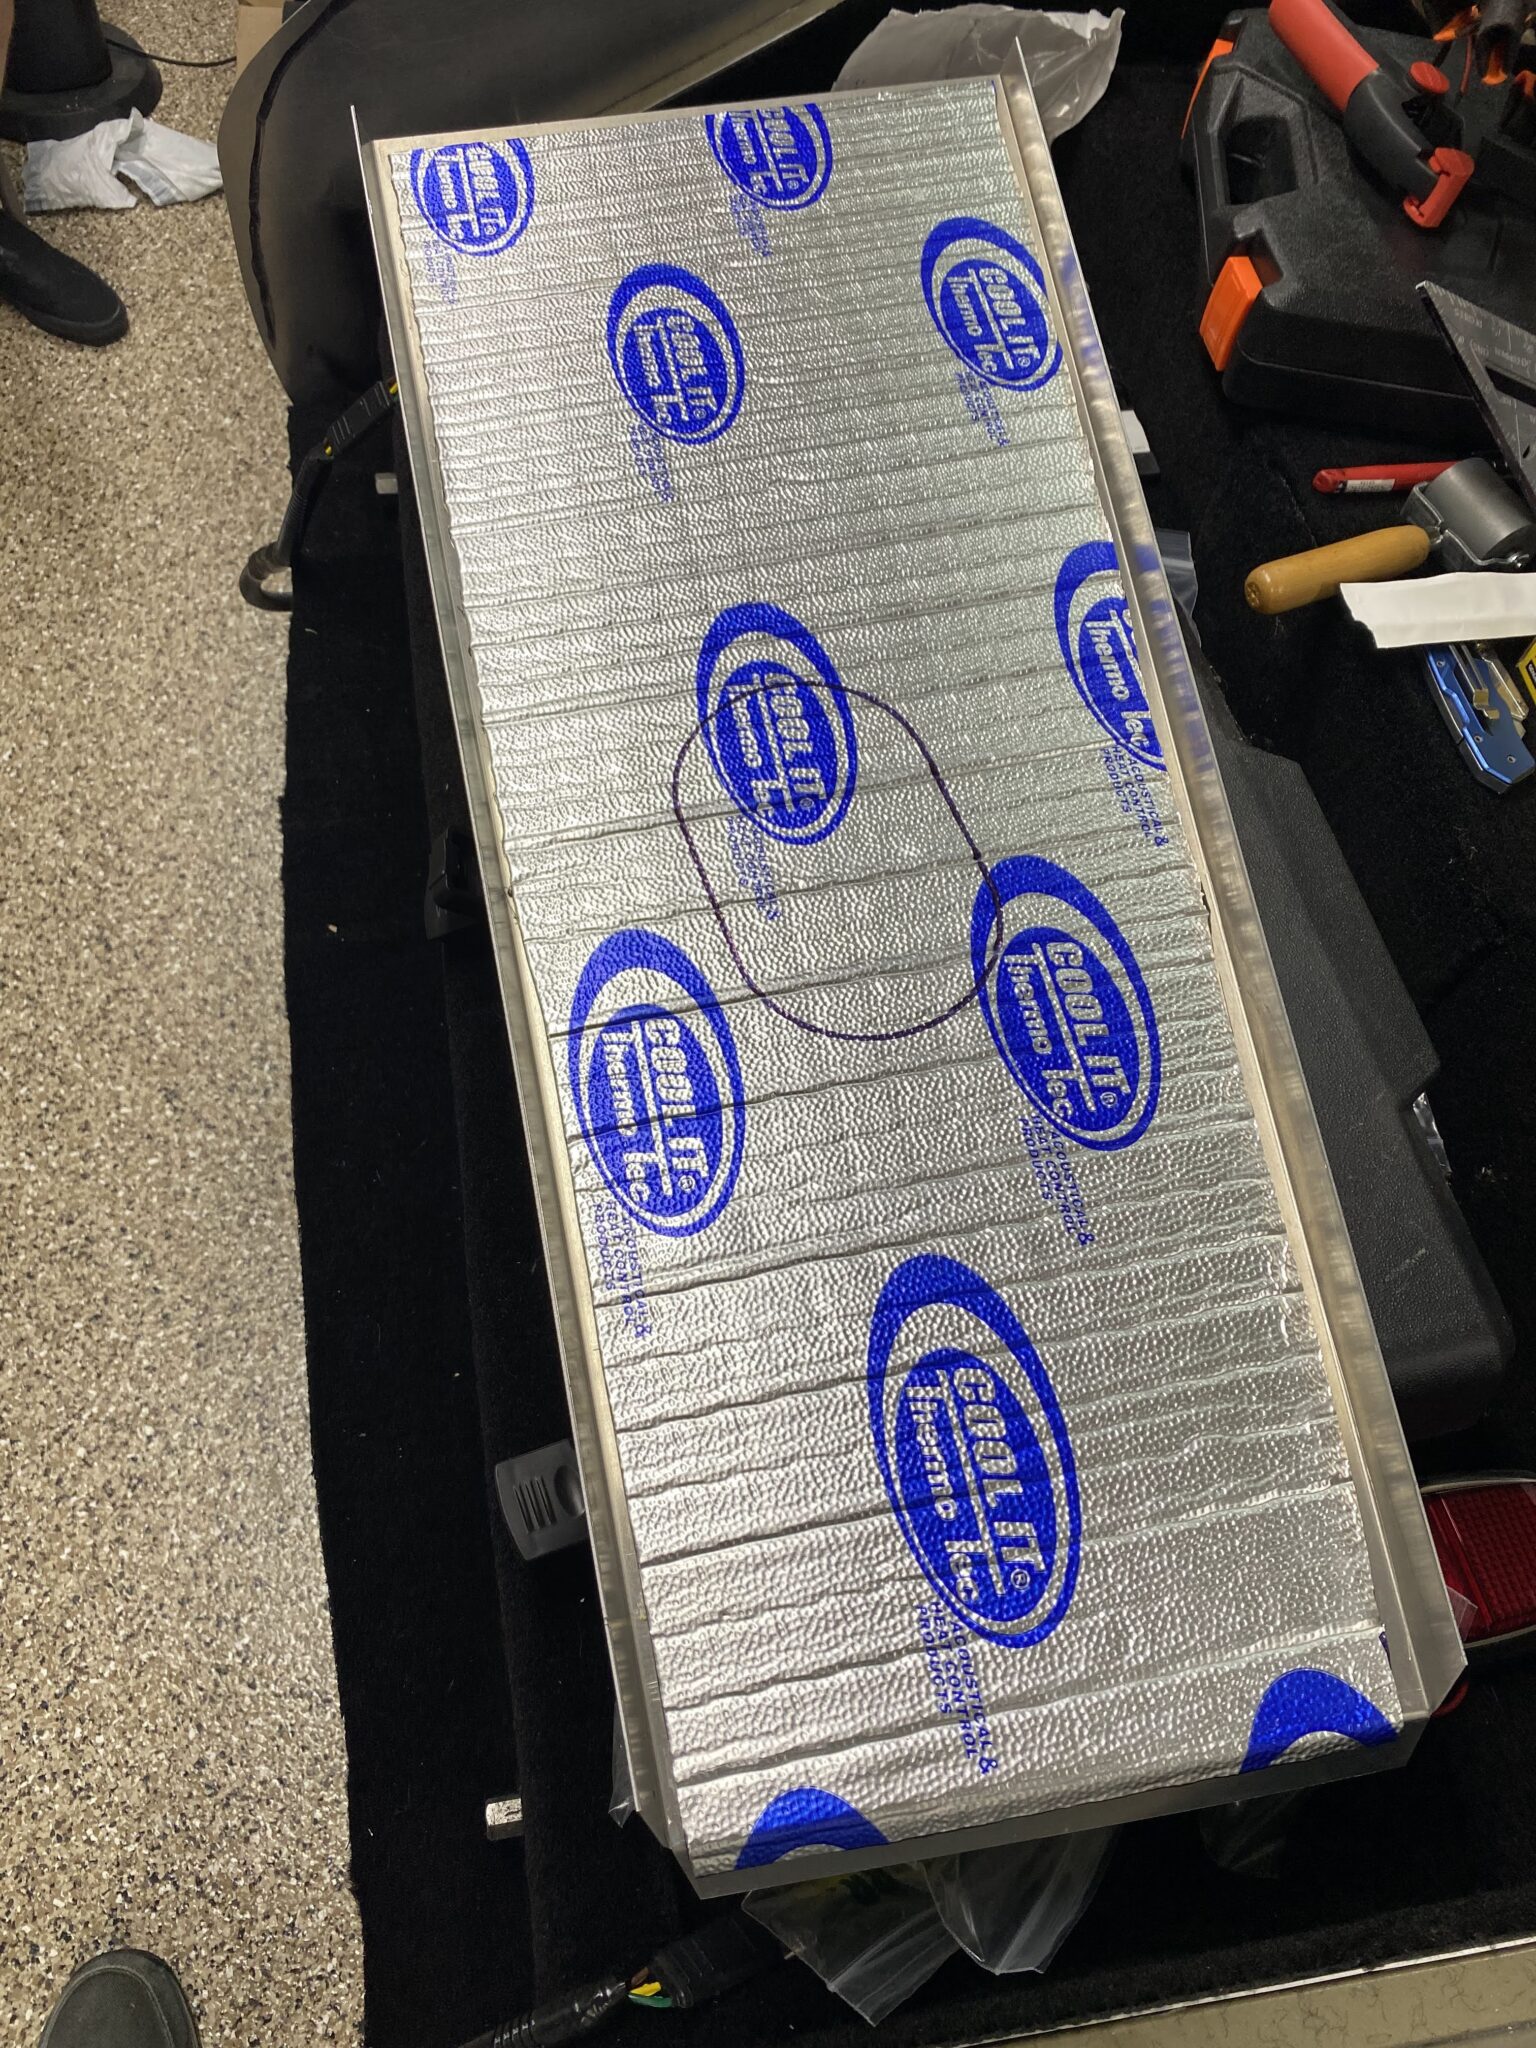
Likewise, I used the provided carpet panels as a template for the Thermo-Tec cutouts.
Therefore, installation is much easier once that sticky stuff goes down!
Why a charcoal vent filter
Next, I wanted to finalize my gas tank vent.
Otherwise, the tank would vent to air.
As a result, fuel vapors could emit into the garage.
However, that is not a smell I am after.
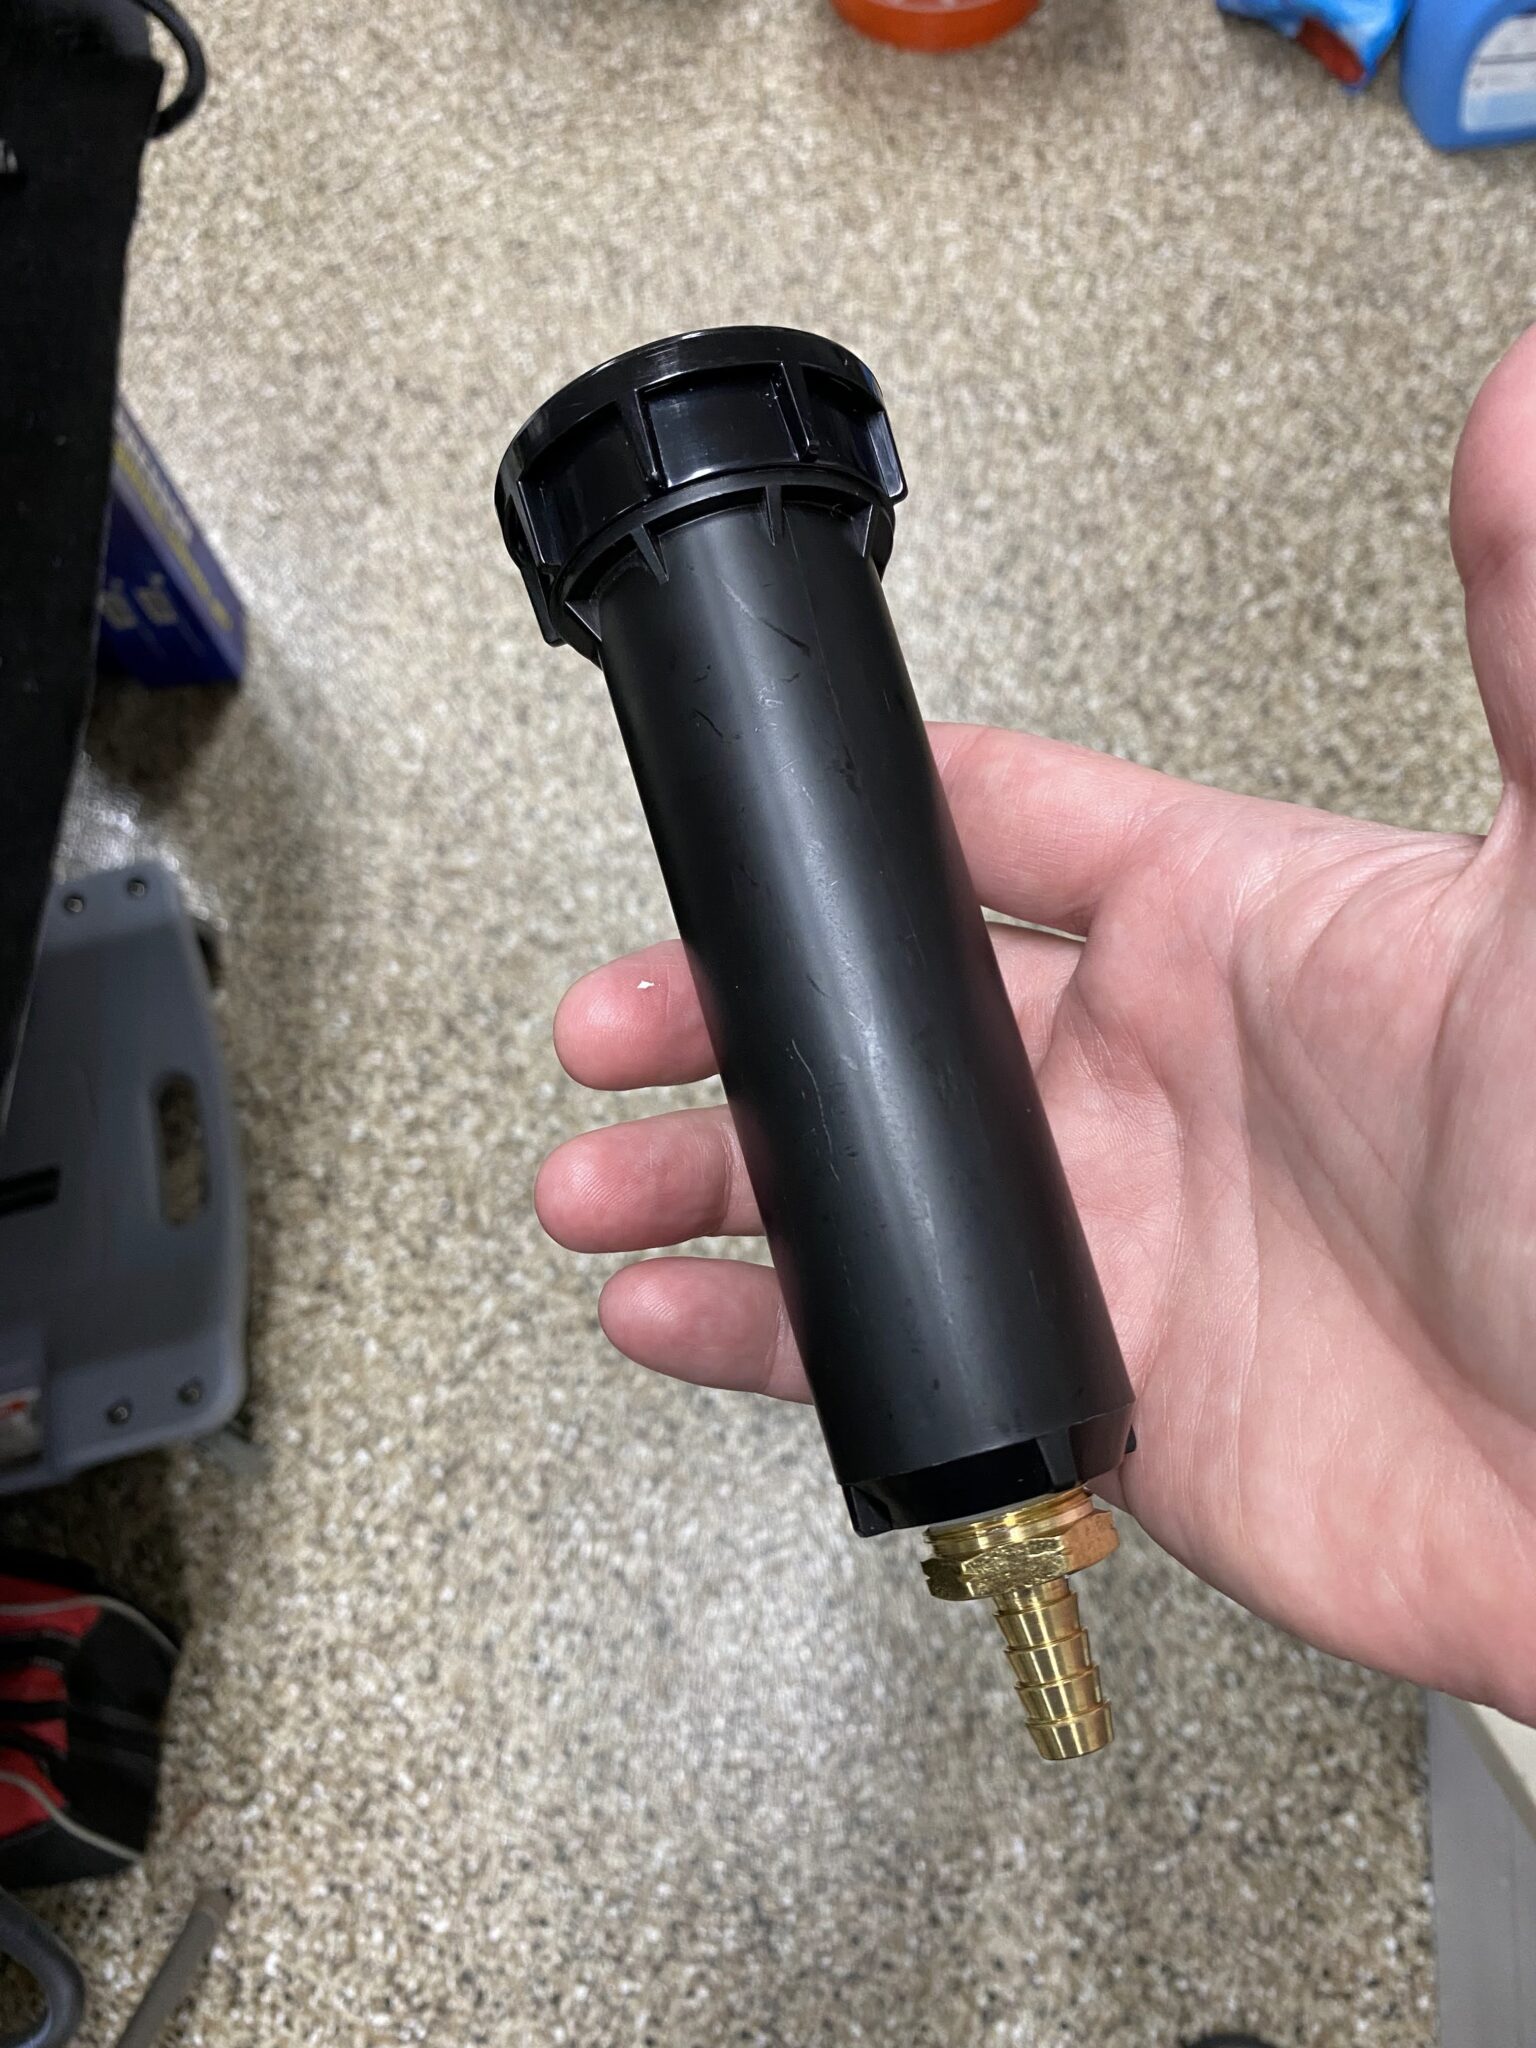
So I built my own charcoal canister setup.
Ultimately, it removes fuel vapor smells and tank off-gassing.
Here is the parts list:
(1) Orbit 54346 4″ 300 Series Spring-Loaded Pop-Up Sprinkler $3.99
(1) 3/8″ Hose Barb x 1/2″ NPT Male $3.60
(2) 3/8”–5/8” 304 Stainless Steel Worm Gear Hose Clamps 80 cents for 2
(1) Kitchen Bathtub Sink Strainer < $1
(1 bag) Activated Charcoal Carbon Pellets ~$9
(1) #3 ACC Conduit Hanger $5
(30″) Fuel Line 3/8″ ID ~$3/ft
Also, this whole setup is about $30.
Granted, you could probably get a charcoal canister from the junkyard for the same or cheaper.
Fuel tank vent filter
Build steps
- disassemble the sprinkler head, you just want the hollow shell, and open on both ends for now
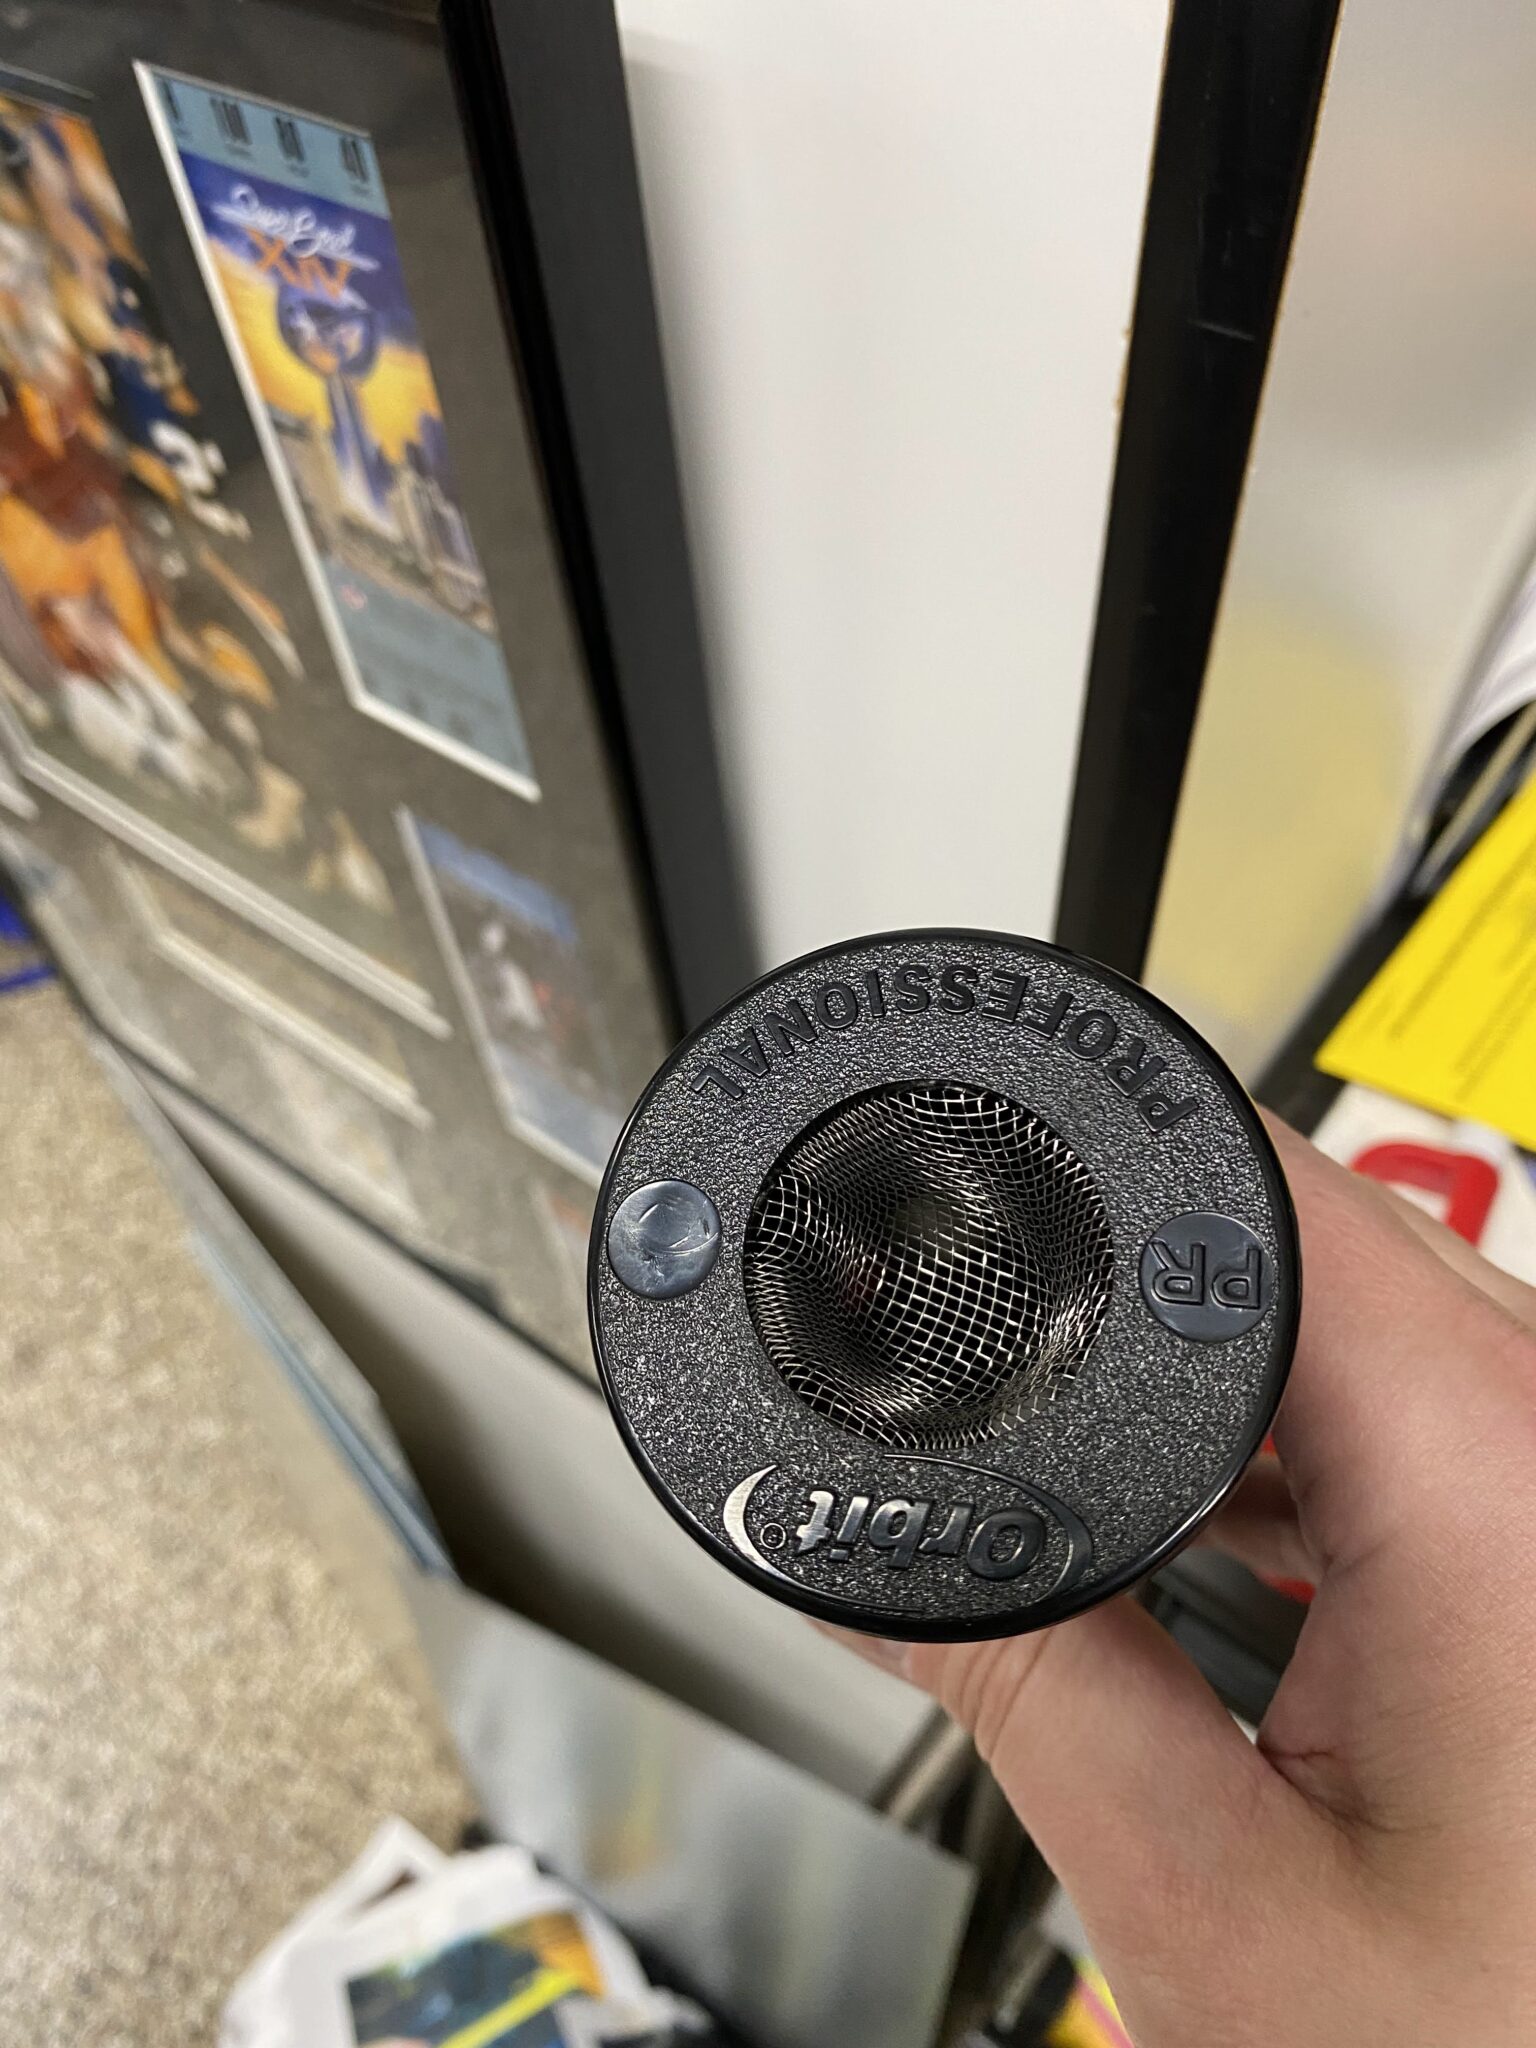
- I re-used the bottom of my sprinkler valve since it had a metal breather at the bottom – keeps the pellets from coming out the bottom
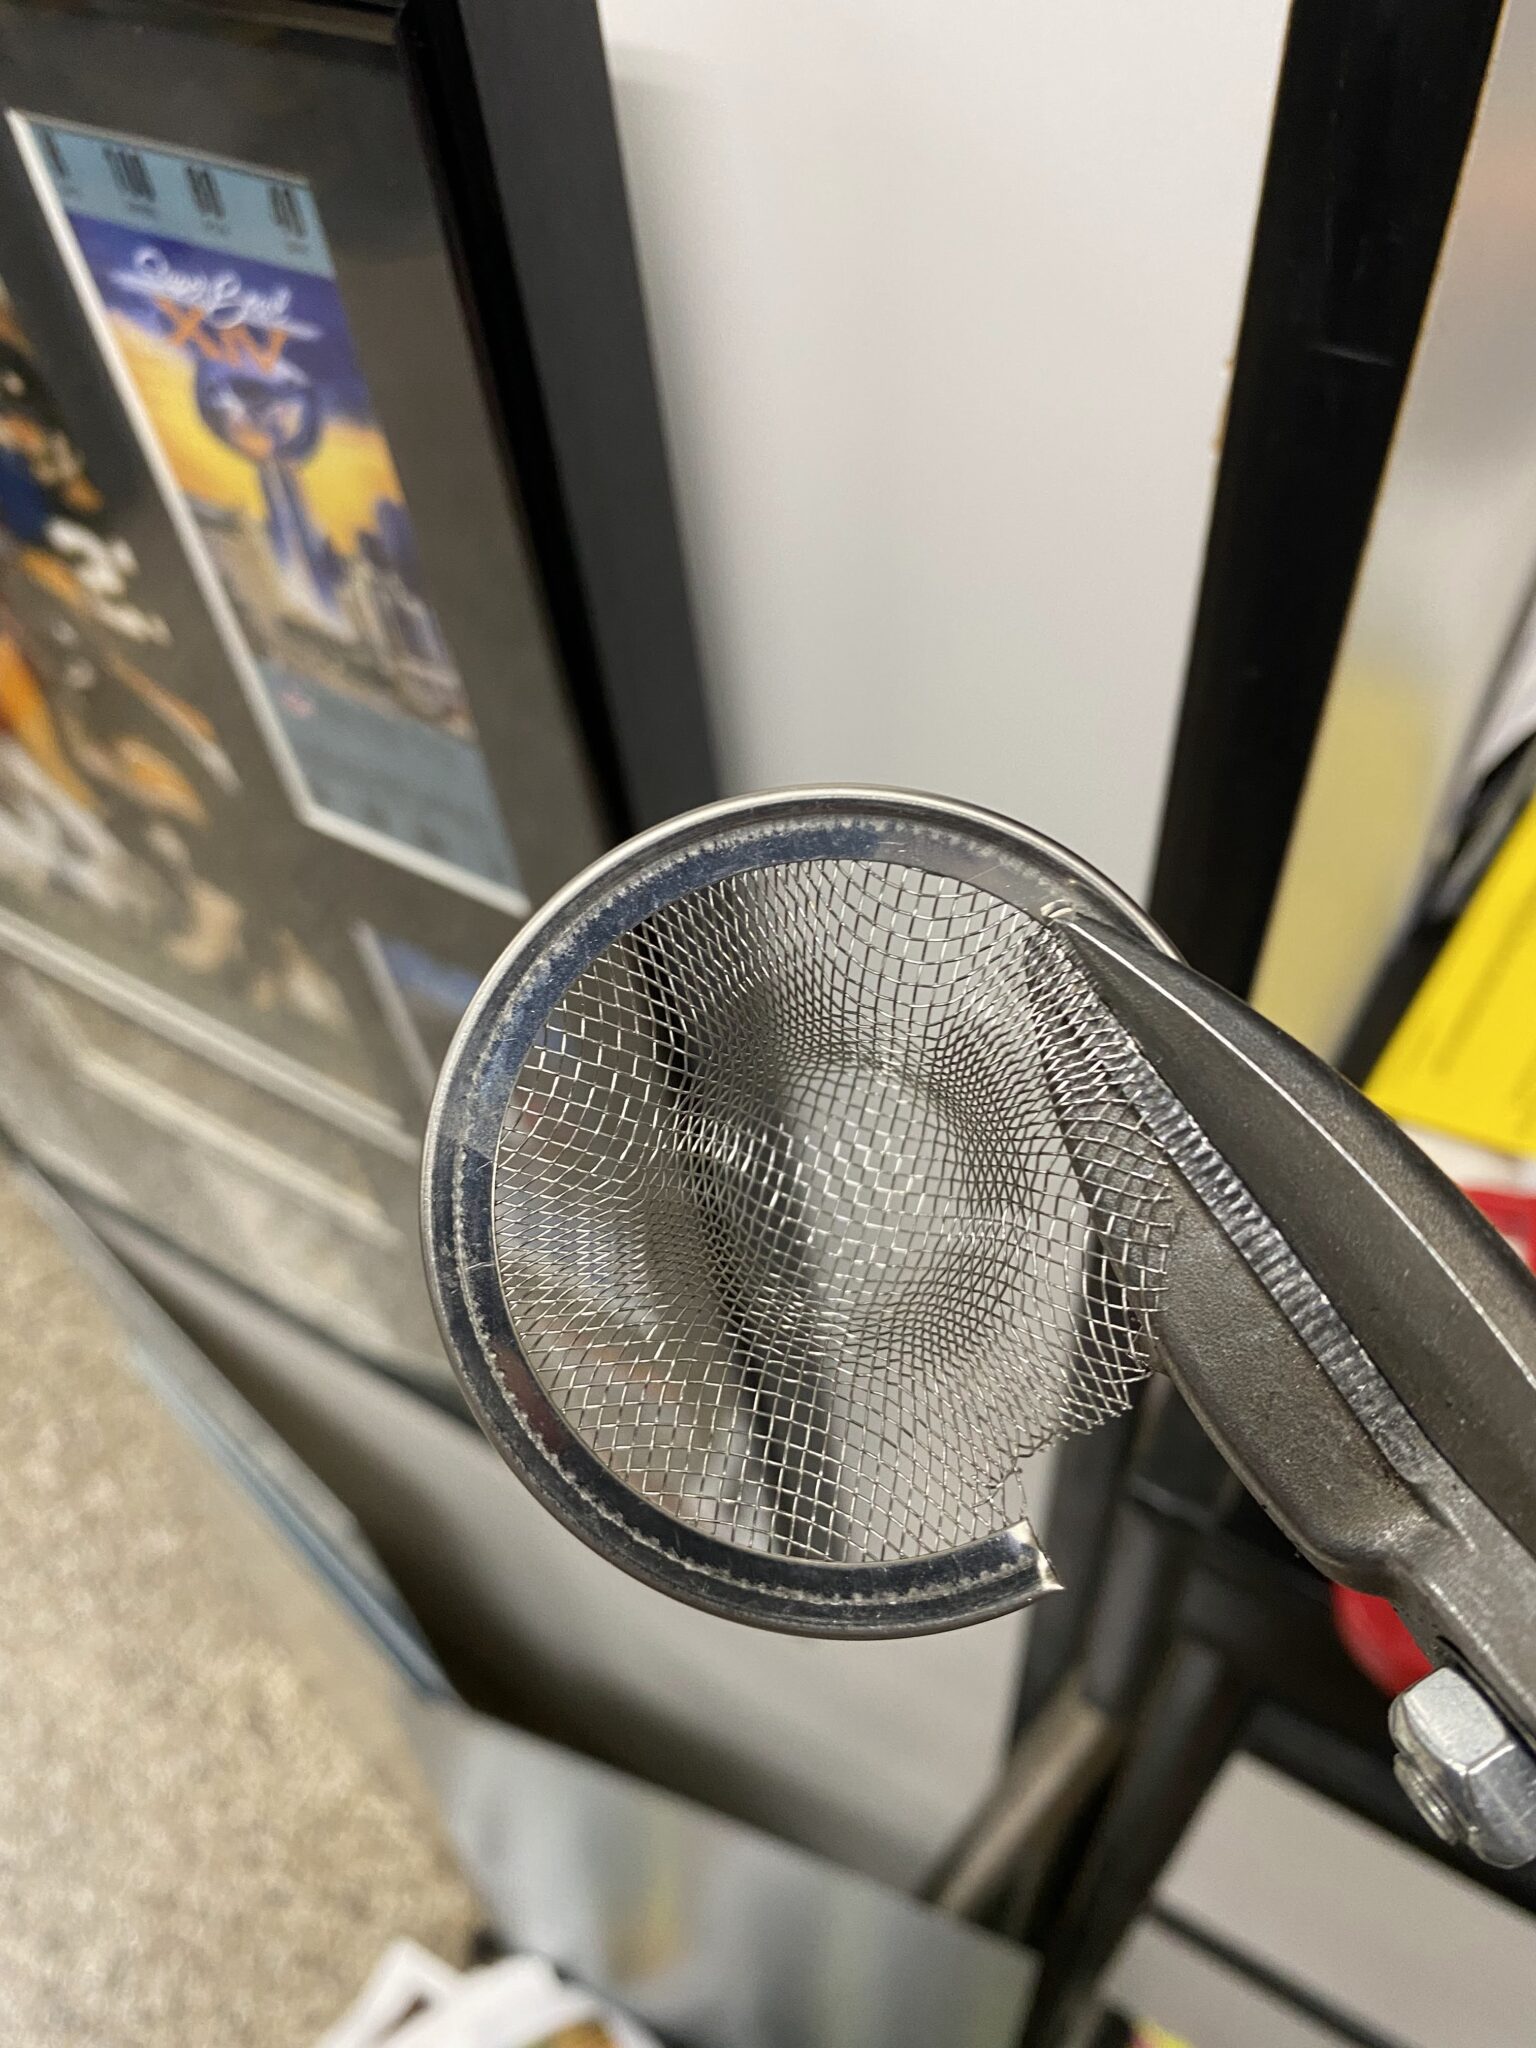
- take your new strainer and trim it just a bit larger than the screw top
- fill up the sprinkler head with the activated carbon granules, almost to the top depending on how your sink filter is shaped, mine is concave
- put the strainer on top of the charcoal, and screw down the cap
- add the 1/2″ MIP (hose) end to the sprinkler head, I used a little Teflon tape
Body mount and hose route
Now you prep the body for install.
Because I have the Boyd Welding Gas Tank, my breather valve sits on the passenger side.
So I routed my breather hose up and into the rear tire well.
However, my mount point was in the rear panel.
Also, the interior trunk panel occluded that spot.
Therefore, I used an M6 rivnut to mount the #3 ACC bracket.
Ultimately, it should stay up and out of the way of everything else!


Transmission mount and footboxes
Next up is prepping the transmission mount.
Meanwhile, the unit is pretty sturdy from Factory Five.
Still, you need some assembly, of course.
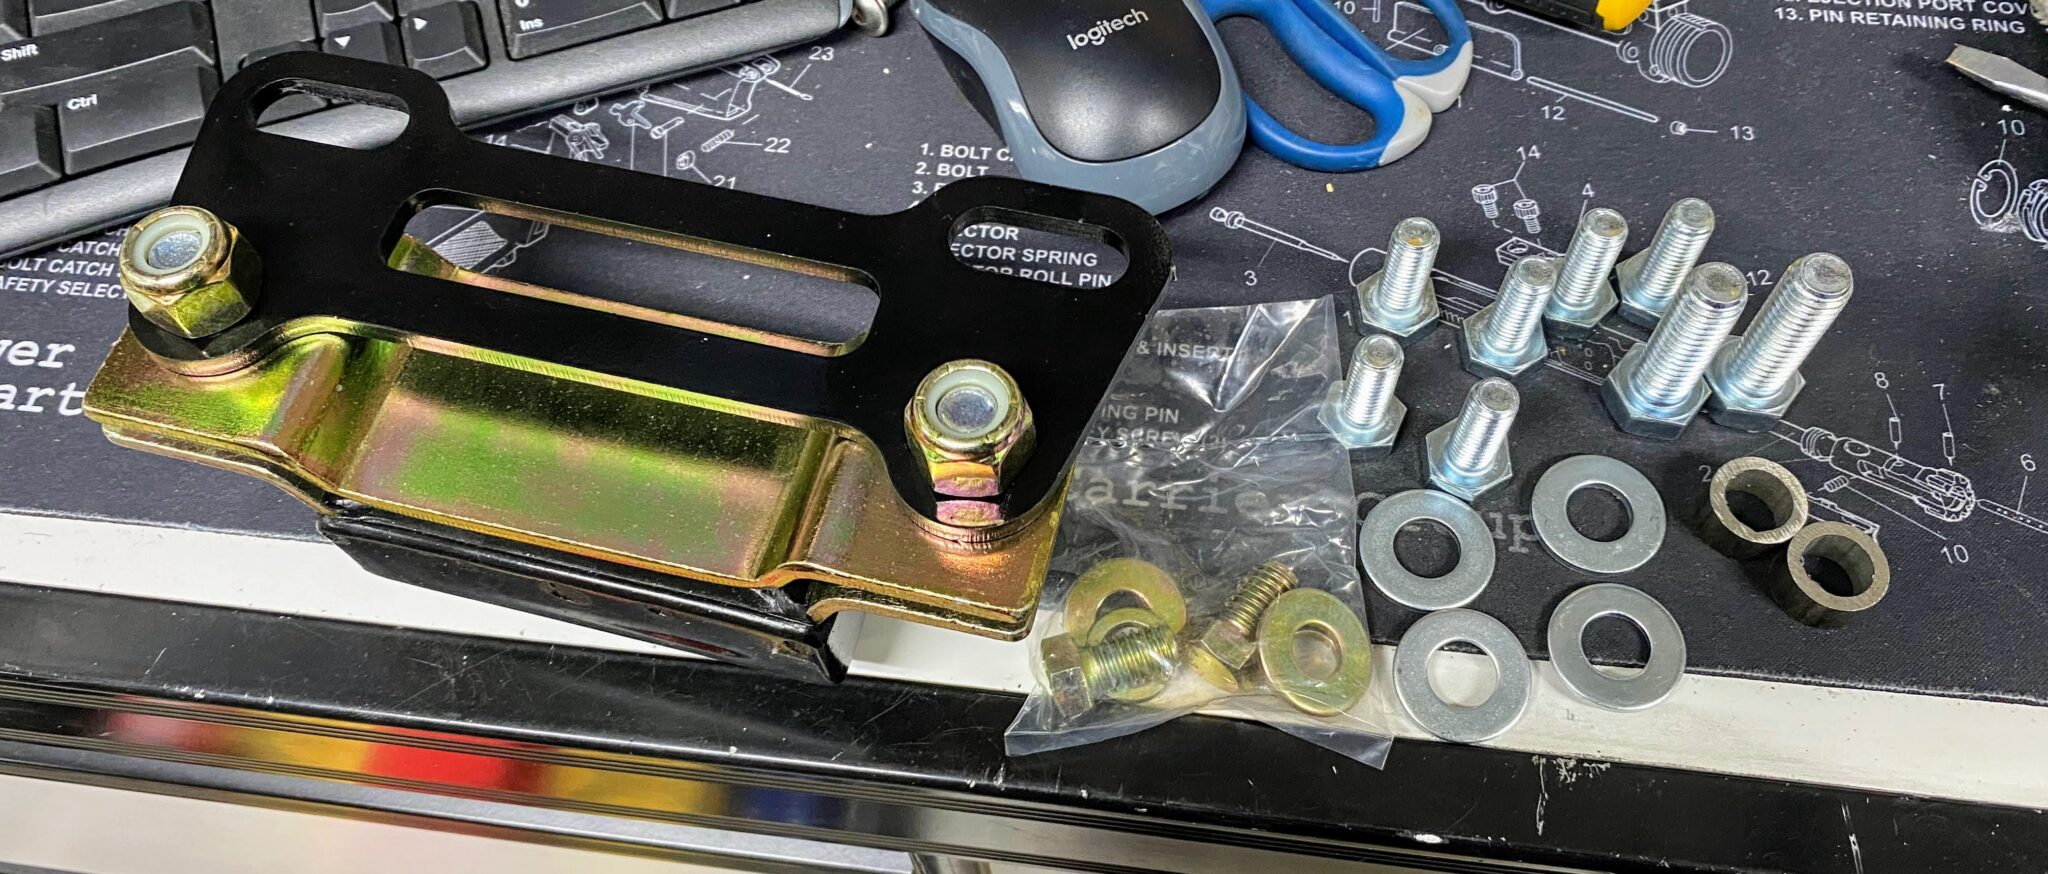
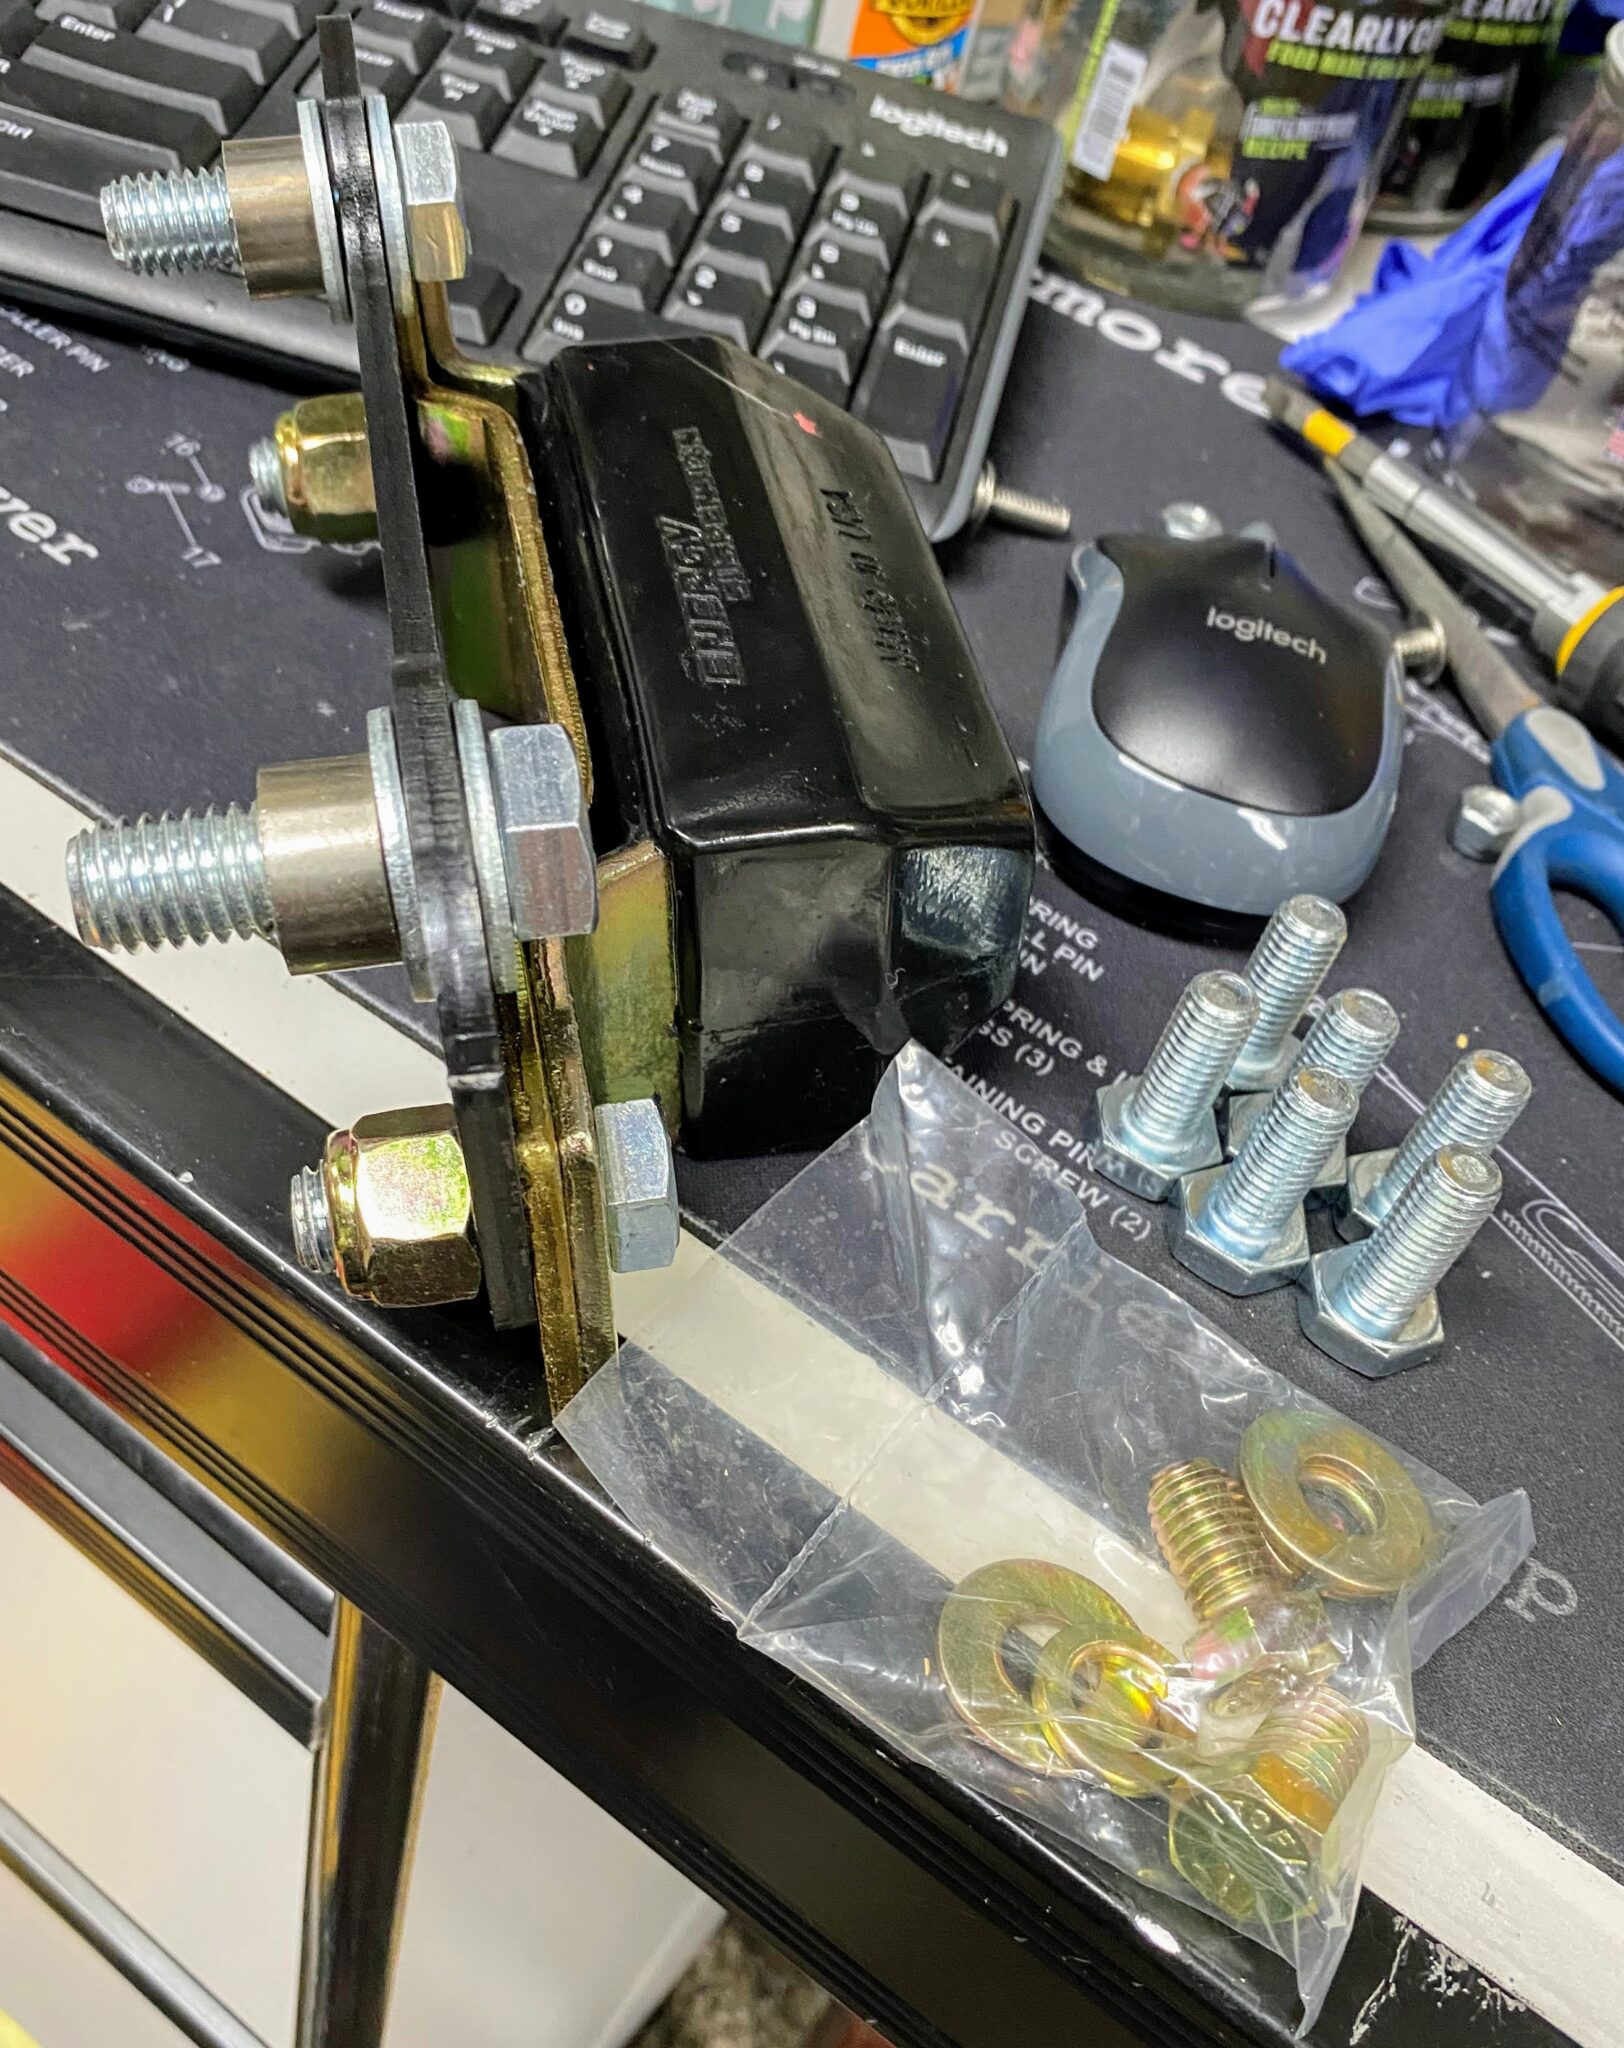
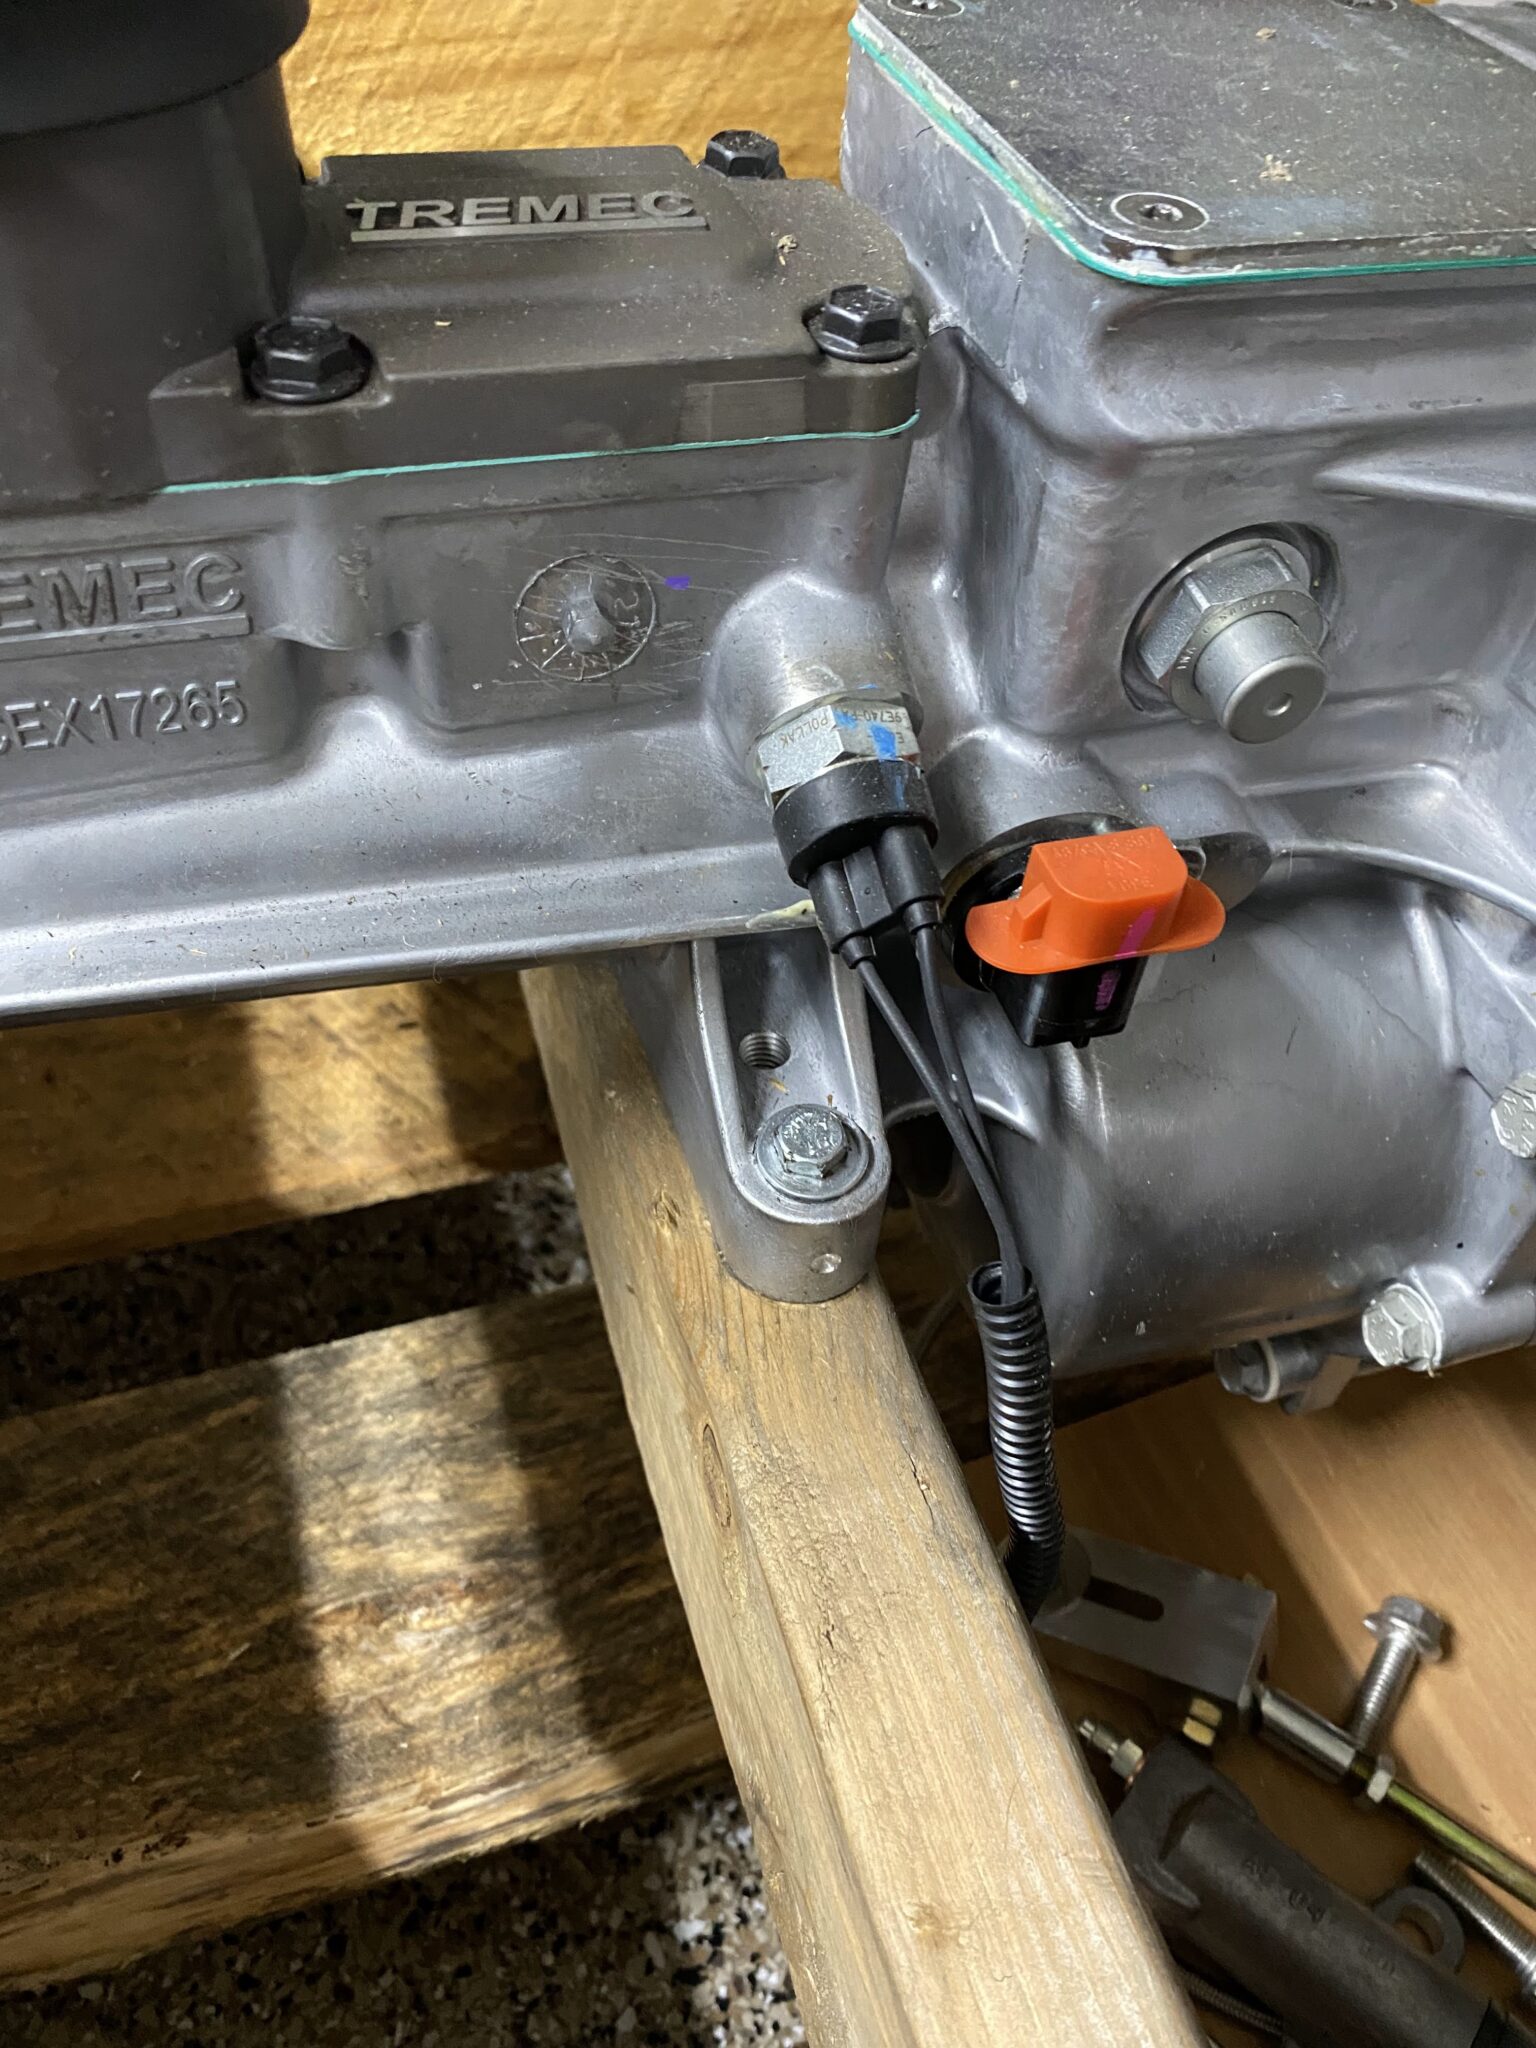
Also, I riveted the driver and passenger side footboxes.
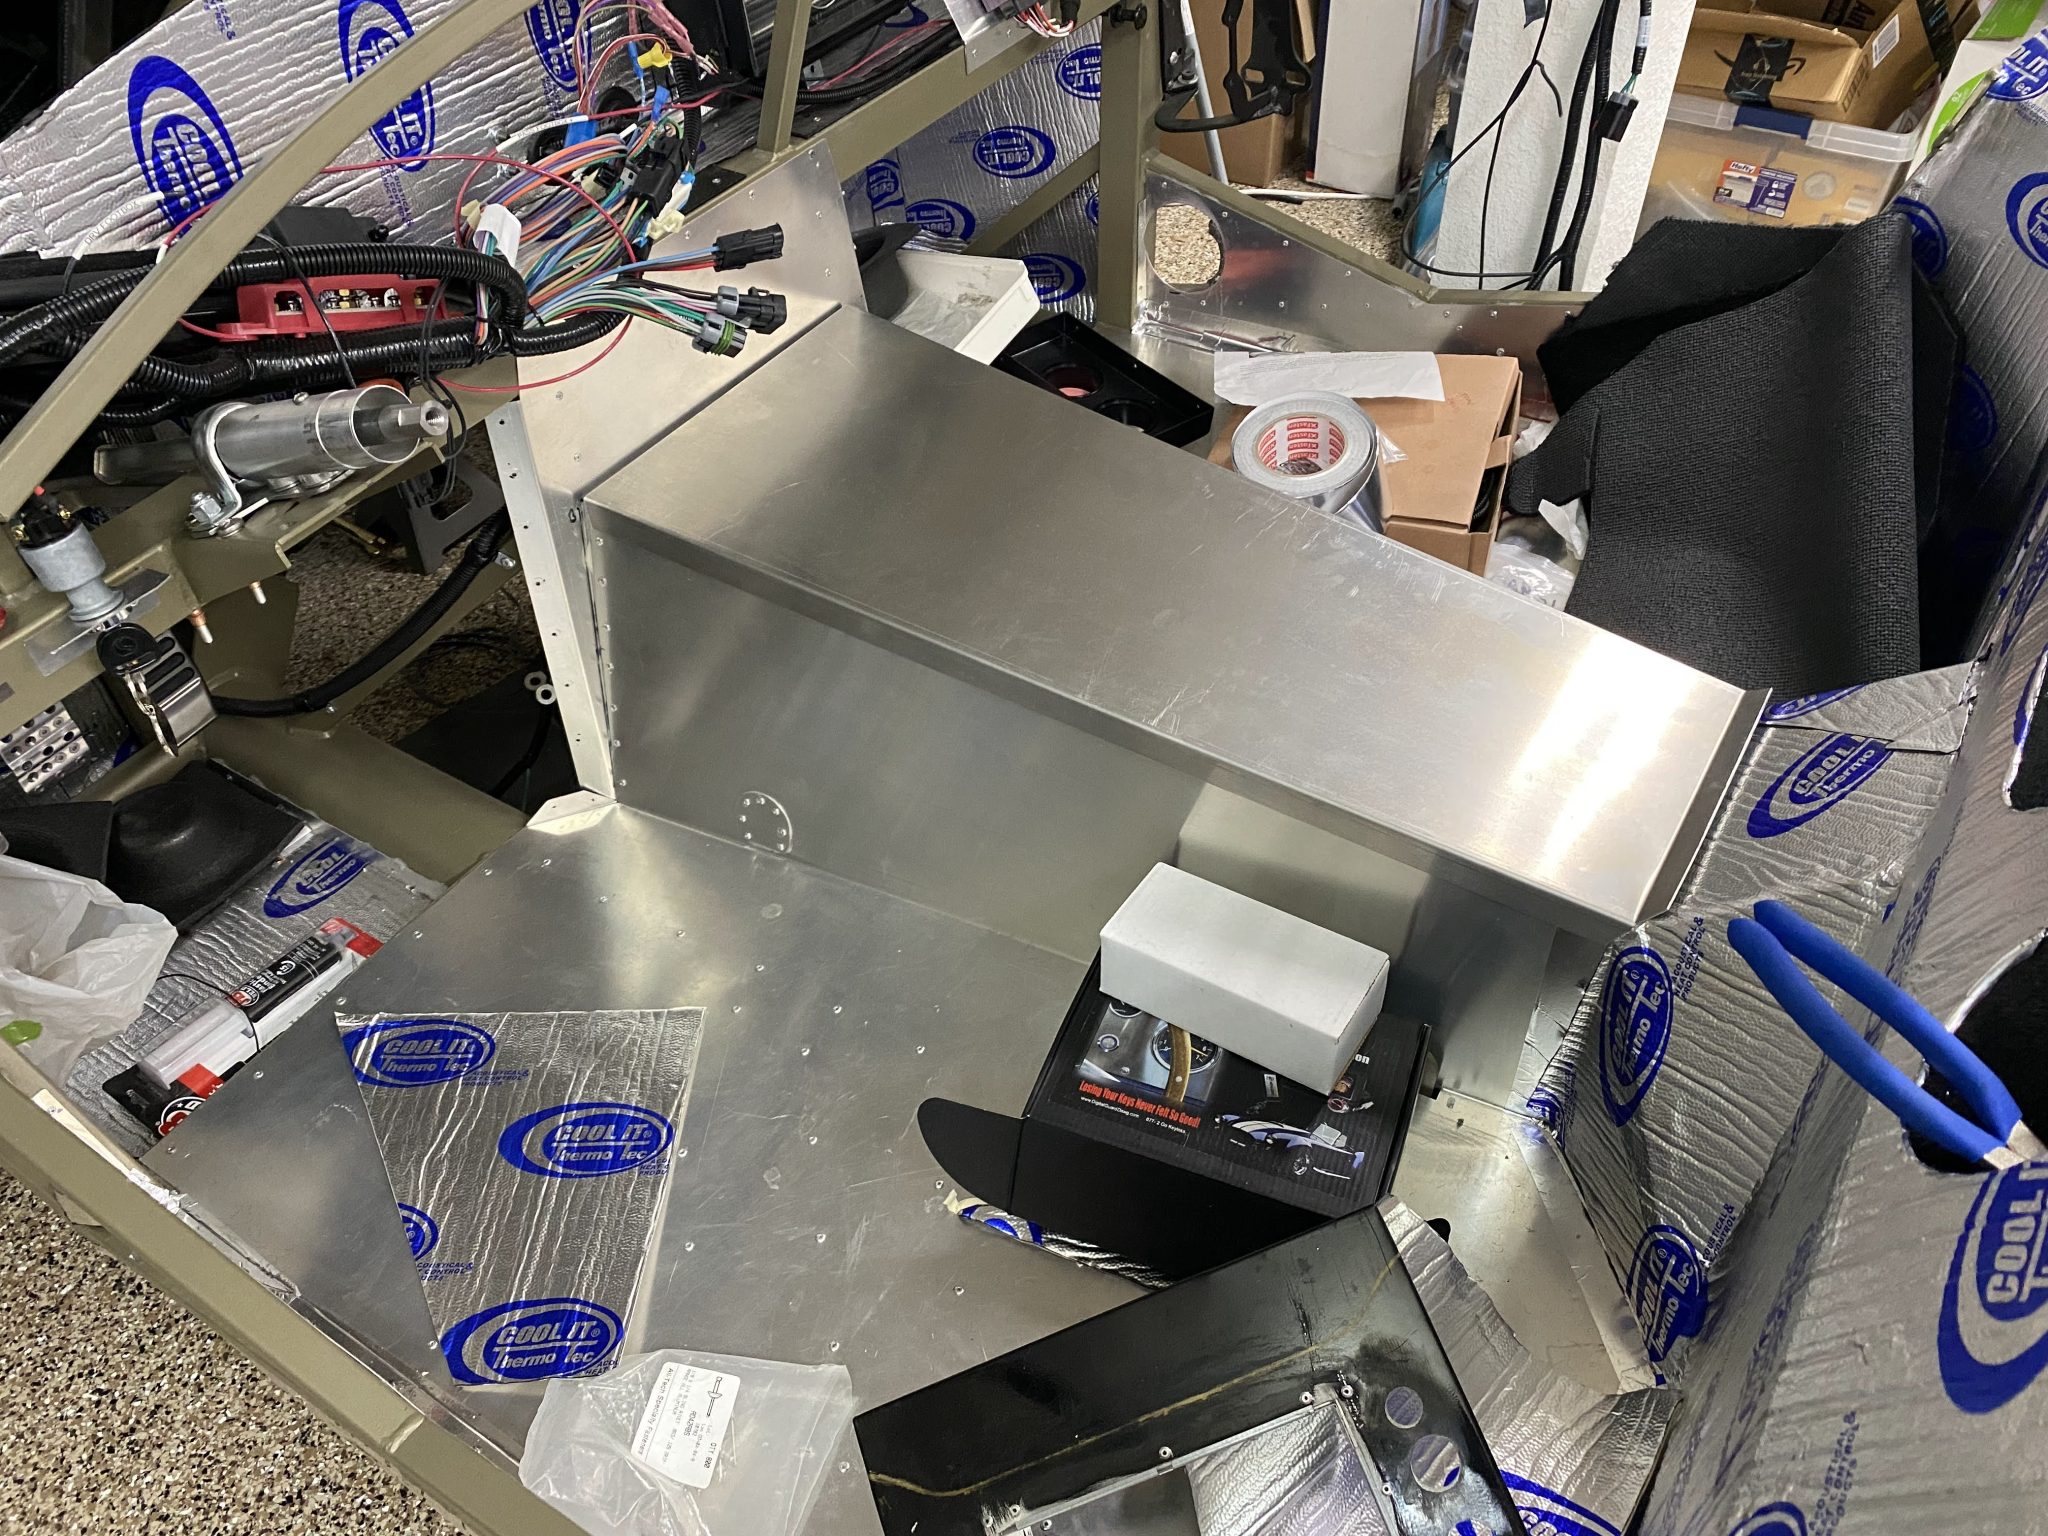
Then I applied Thermo-Tec to the inside of the panels.
As a result, heat transfer drops further.
Besides that, I covered the under panel of the center console cover.
Once the transmission goes in, I will trim that cover.
Clutch switch, ground, and Coyote
Also, I set up a few more things.
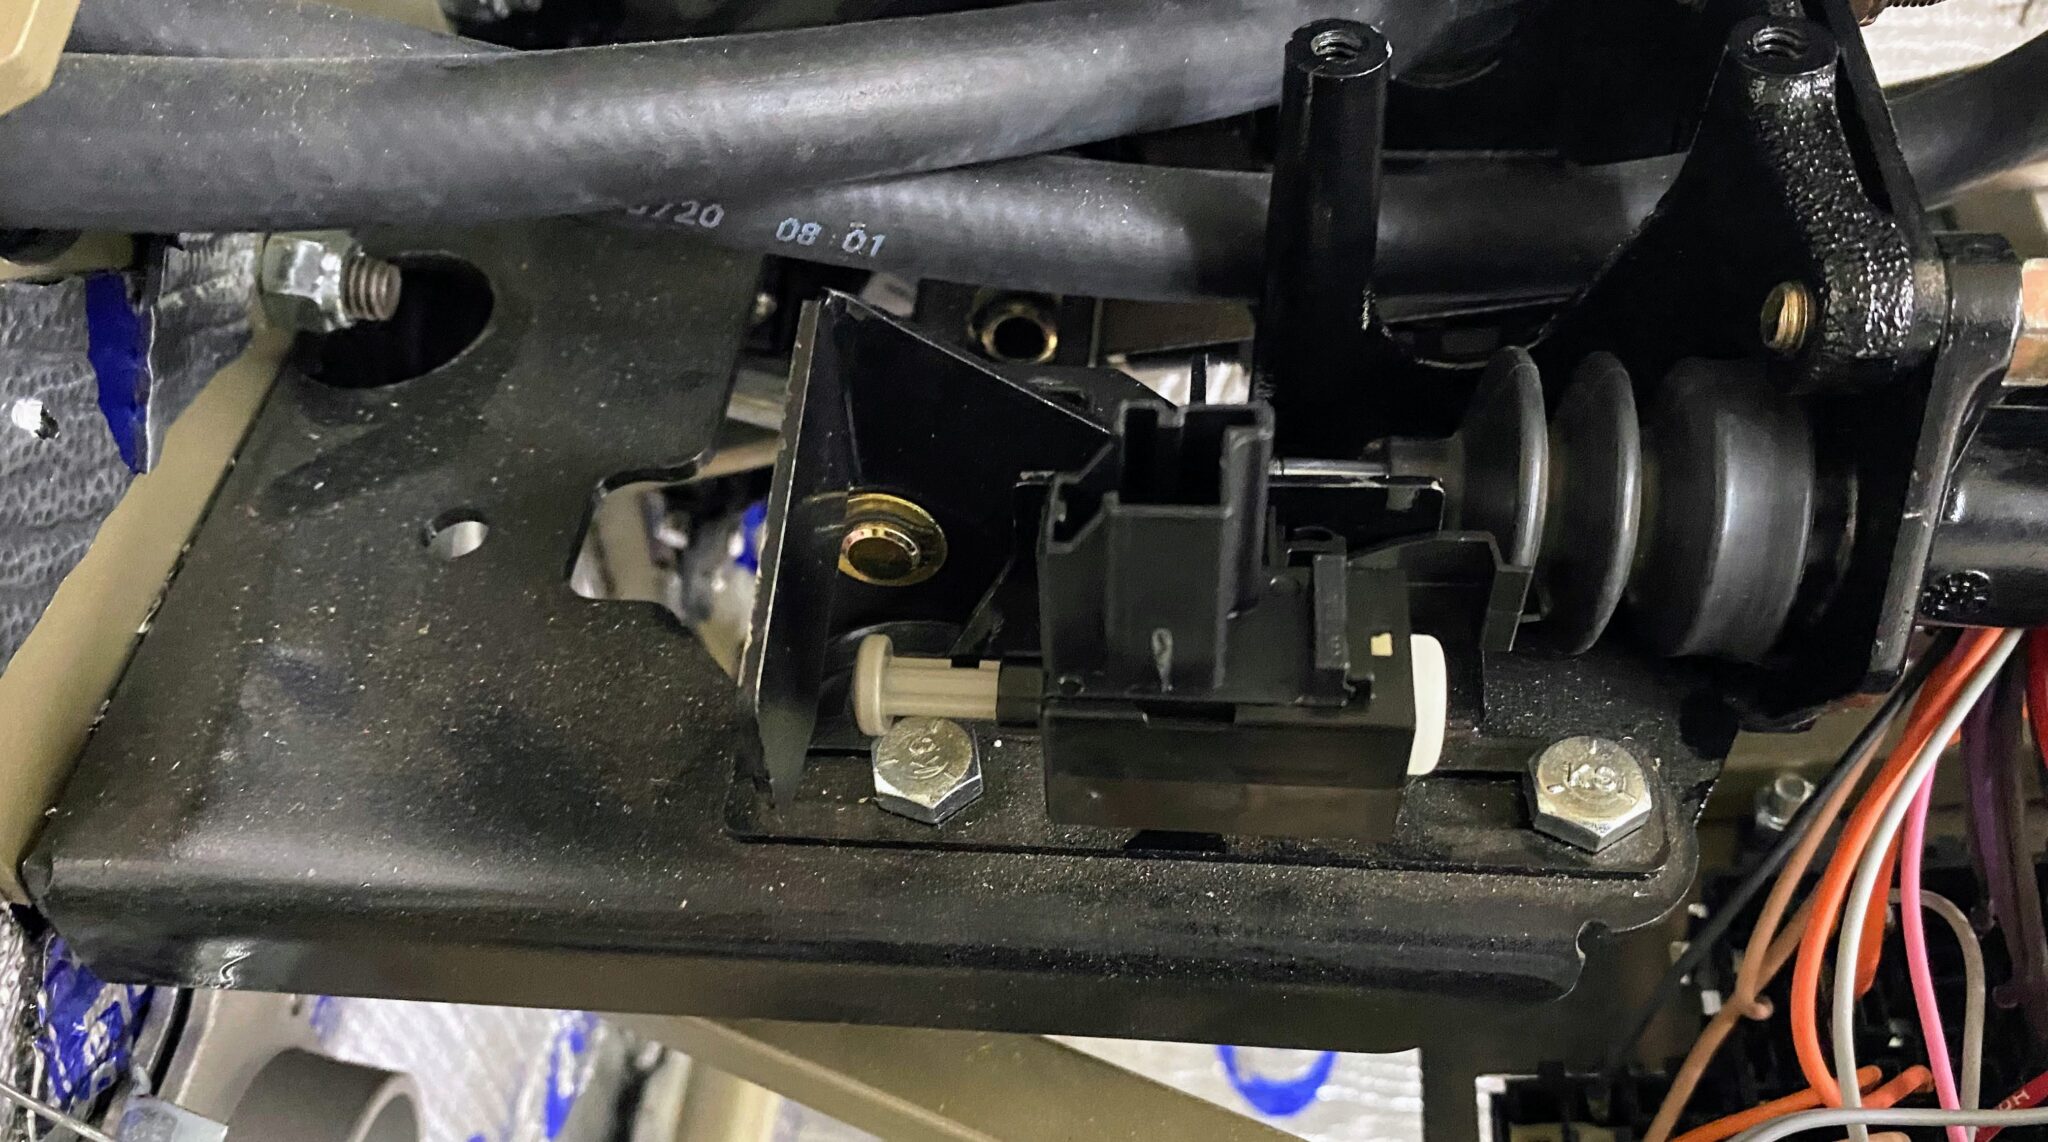
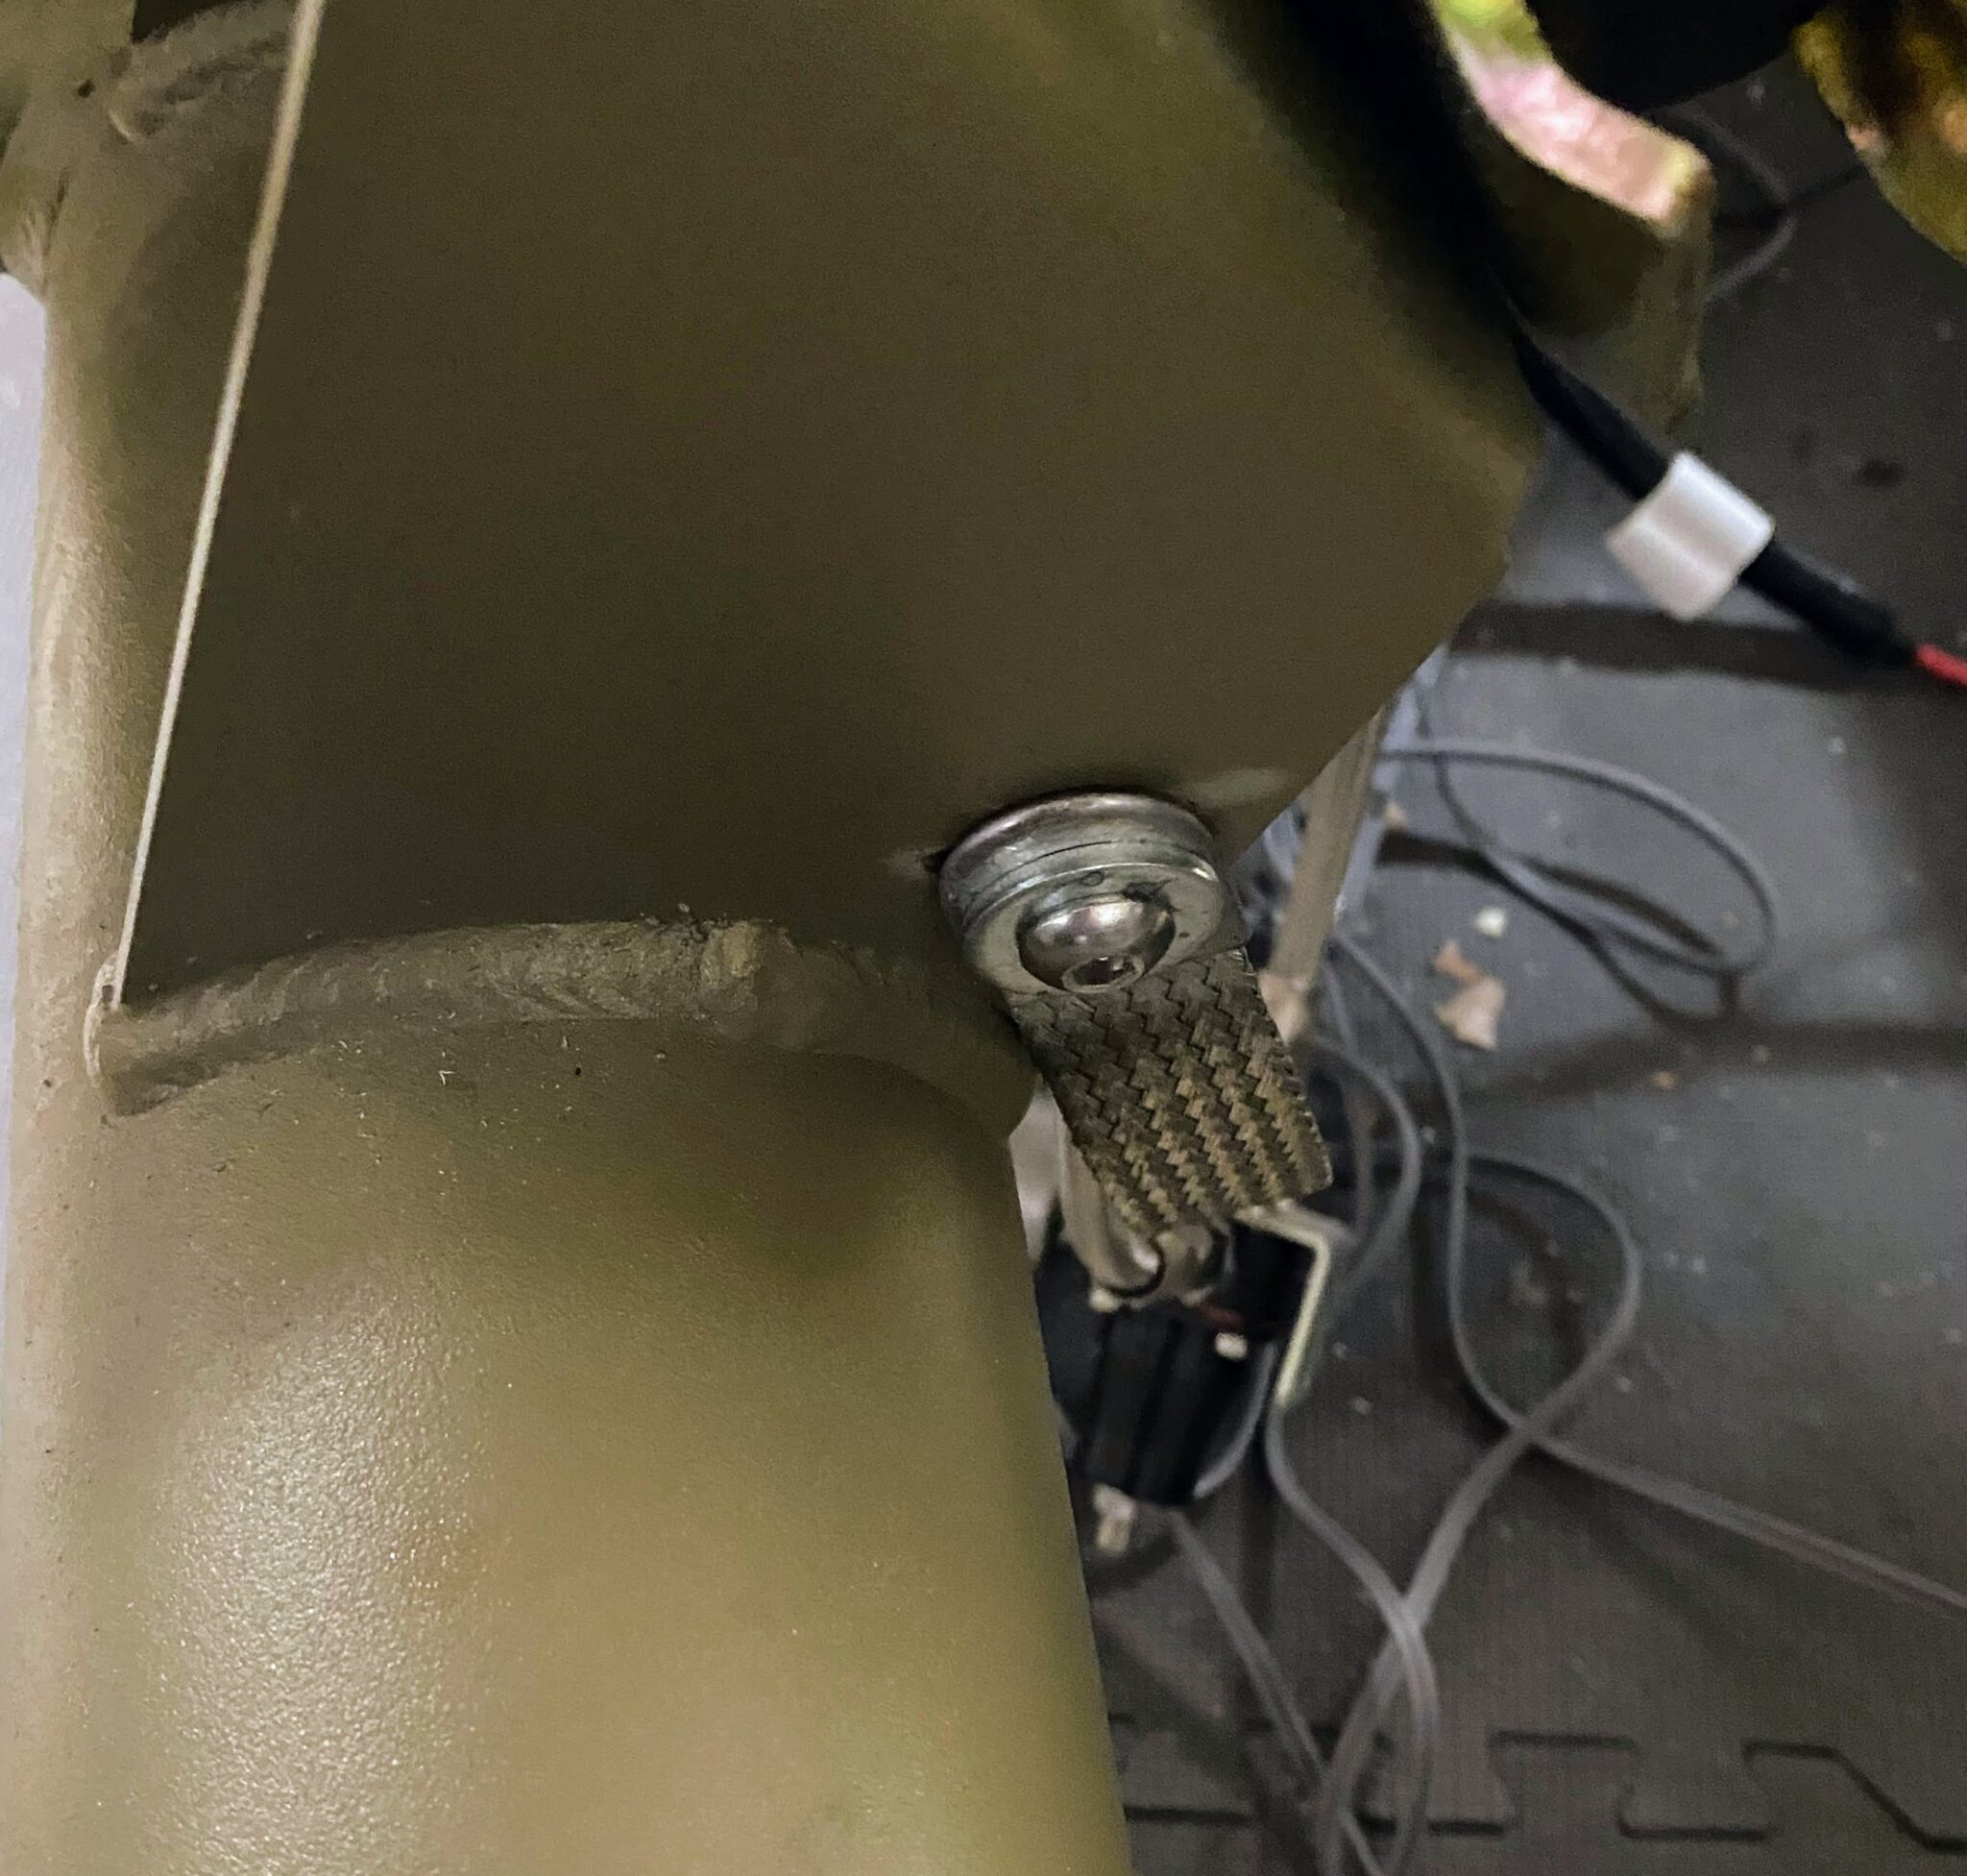
For example, I finished the clutch safety switch and engine ground.
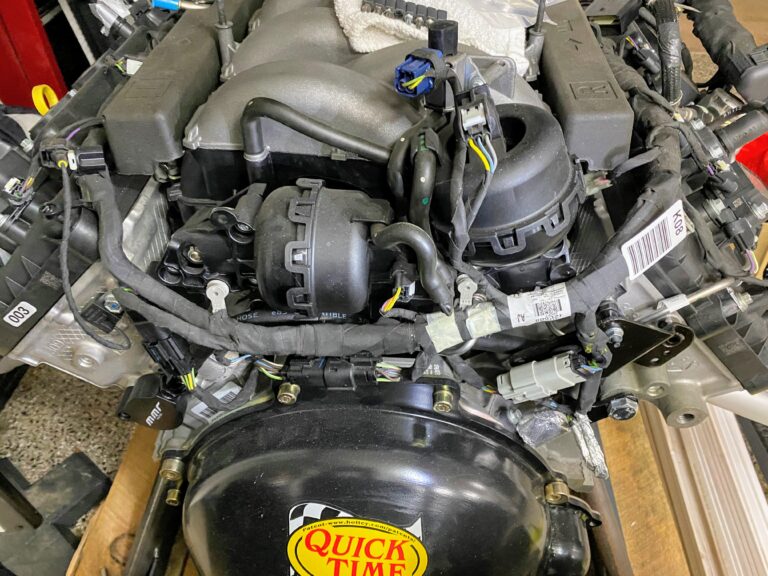
Then I finalized the Coyote setup.
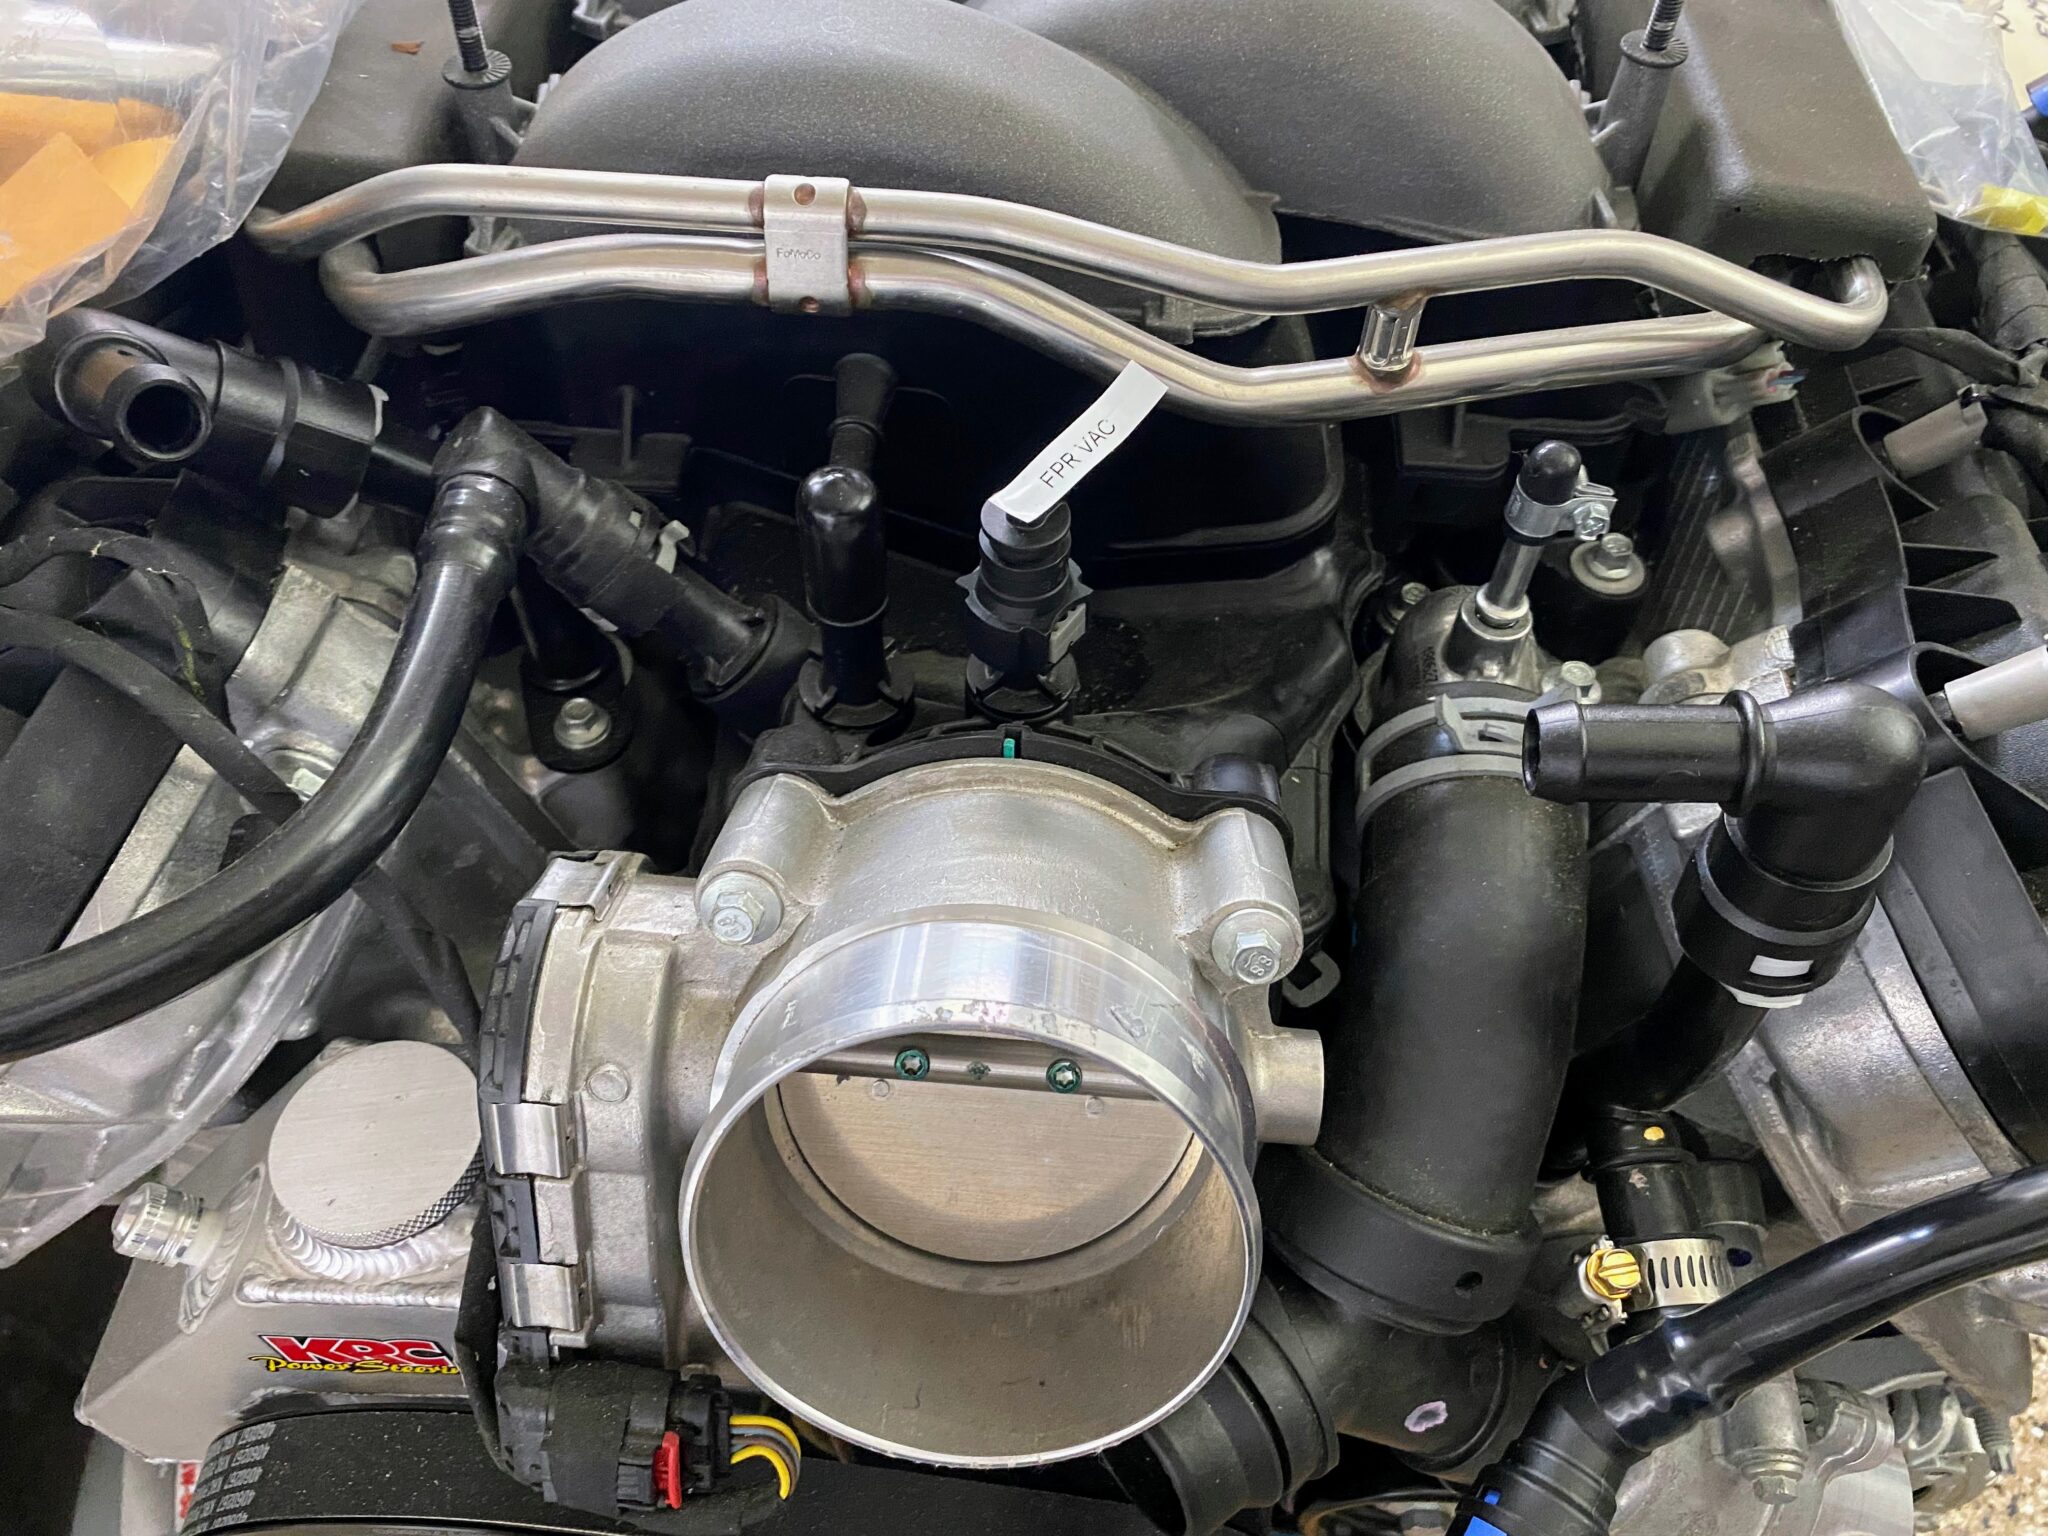
That is it for now.
Next, I will dial in the wiring harnesses.
Meanwhile, I am trying to get the engine installed soon!