Now that the condenser and evaporator are installed, they all need to have lines run to make them functional. I’ve never done a/c hoses before and it requires some new tools – oh yeah! For $109 I got this Handheld Hydraulic Hose Crimping Tool Hydra-Krimp 71500 Manual A/C Hose Crimper Kit Air Conditioning Repair from Amazon. This is much like the Mastercool 71550 A/C Hose Crimper Kit that FFR recommends, which costs more.
Since this is a custom build, I had to mix/match different fittings to match the setup that I have configured. Here’s the FFR schematic with the changes that I made. The FFR default setup for the Type65 is on the left, and my modifications are on the right. Common parts are ‘green’, modified parts are ‘yellow’ and ‘red’.


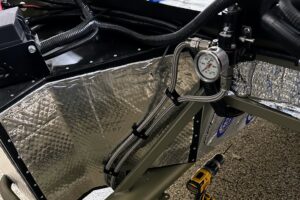
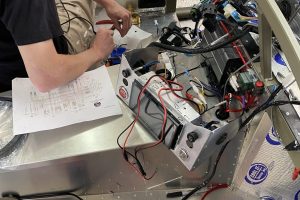
The low-pressure port needed to be added, that part alone was $45 from the local NAPA store. I had to modify the return port form the condenser as well as a 90 degree part instead of the 45 degree part from FFR. Otherwise, everything seems to be connected. Here are some pics of the crimper and the hoses from the process.


What a process to be honest, took about 4-5 hours for all the hoses and get them connected. I also got a vacuum pump to fill the system. Kozyvacu AUTO AC Repair Complete Tool Kit with 1-Stage 3.5 CFM Vacuum Pump, Manifold Gauge Set, Hoses and its Accessories (KZTA350F+) comes with all the parts needed. Adding A/C was a chore, and not cheap – about $2,800 all in including extra parts and tools. Can’t wait to get this puppy running!
Discover more from Cobra Dreams
Subscribe to get the latest posts sent to your email.


