More dash work, and wiring diet going on!
This update covers more dash work and a wiring diet.
Related notes live on the Factory Five Cobra build hub.
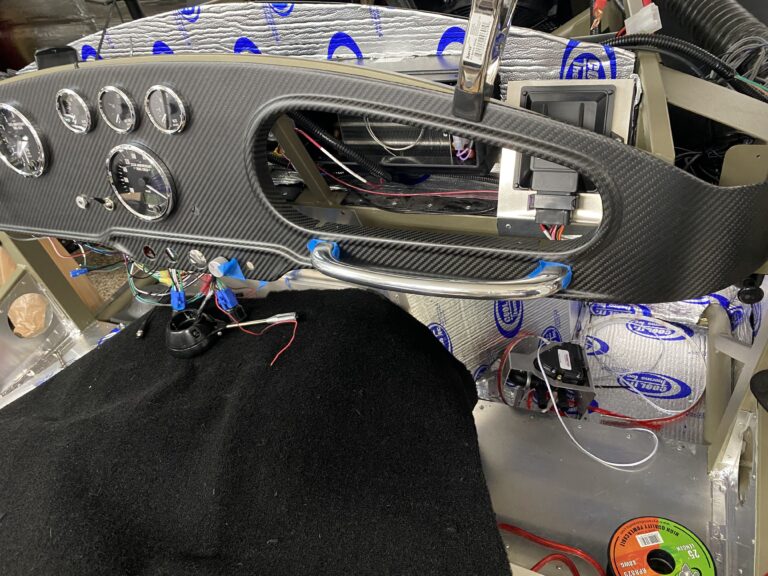
Laying out the dash holes
Back in the garage
After a few months off, we got back into the garage.
So we could get things moving along again.
However, the two photos below barely show the layout time.
First came spacing, alignment, taping, measuring, praying, and luck!
Still, I think the end result will be amazing.
Also, we had to make several decisions based on the options at hand.
For example, adding the wipers needs a switch.
Likewise, the A/C and heater need three switches.
Besides that, hazards, horn, and driving lights sit there too.
Therefore, I will mount the light switch under-dash for a cleaner look.

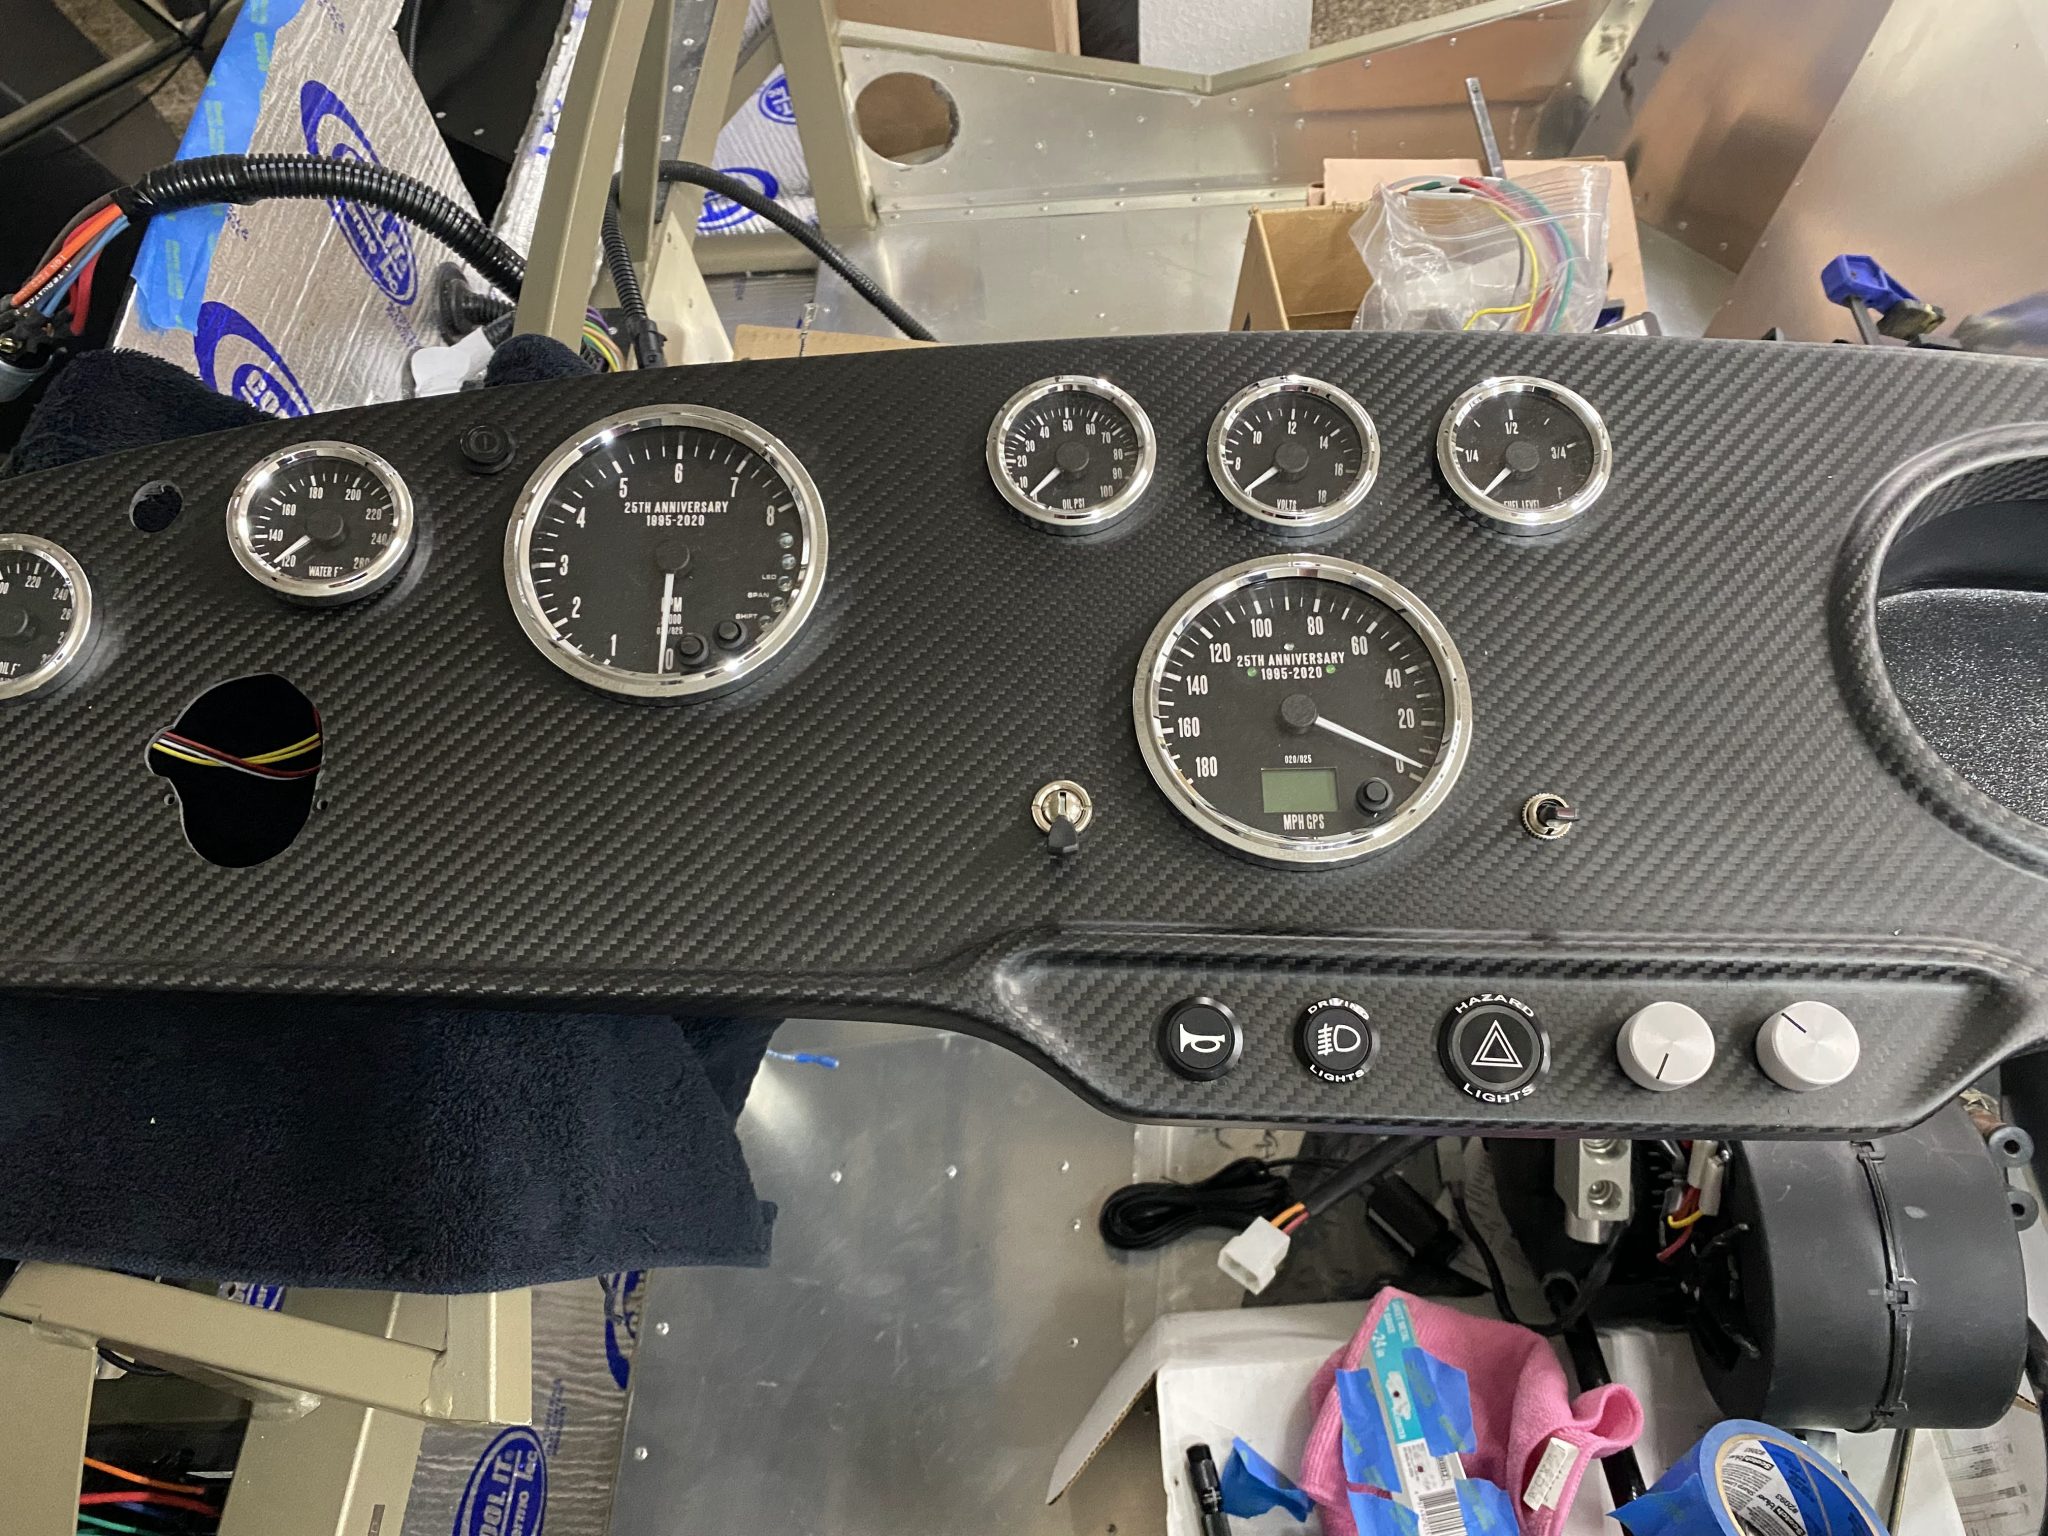
Template, hole sizes, and CF tips
First, we made a template for the lower dash from blank aluminum.
Then we measured the layout multiple times.
Originally, we mounted the A/C compressor switch lower.
However, I think it balances the wiper switch beside the speedometer.
Meanwhile, carbon fiber is strong but also very finicky.
So I used a 29mm (1 1/8″) holesaw for the hazard switch.
Also, I used a 22mm holesaw for the driving light and horn buttons.
Next, the heater fan and temp controls used 10mm and 13mm drill bits.
Likewise, the A/C compressor switch was 13mm.
Then the wiper used a 1/2″ hole.
Because CF dust is no joke, do not breathe that stuff!
In other words, speed and a light touch matter when drilling carbon fiber.
Ultimately, holesaws work best in my opinion.
Once you keep the bit from walking, it plunges through CF quickly.
Otherwise, a regular drill bit can tear CF strands as you go.
Still, we are very happy with how the initial layout is turning out.
After that, we finalized the Wilwood EPB mount.
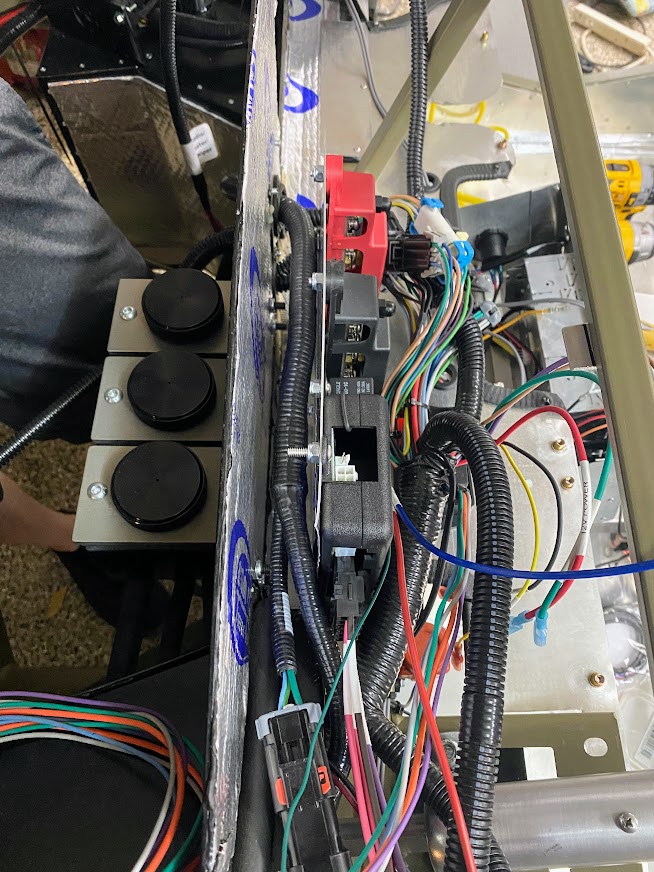
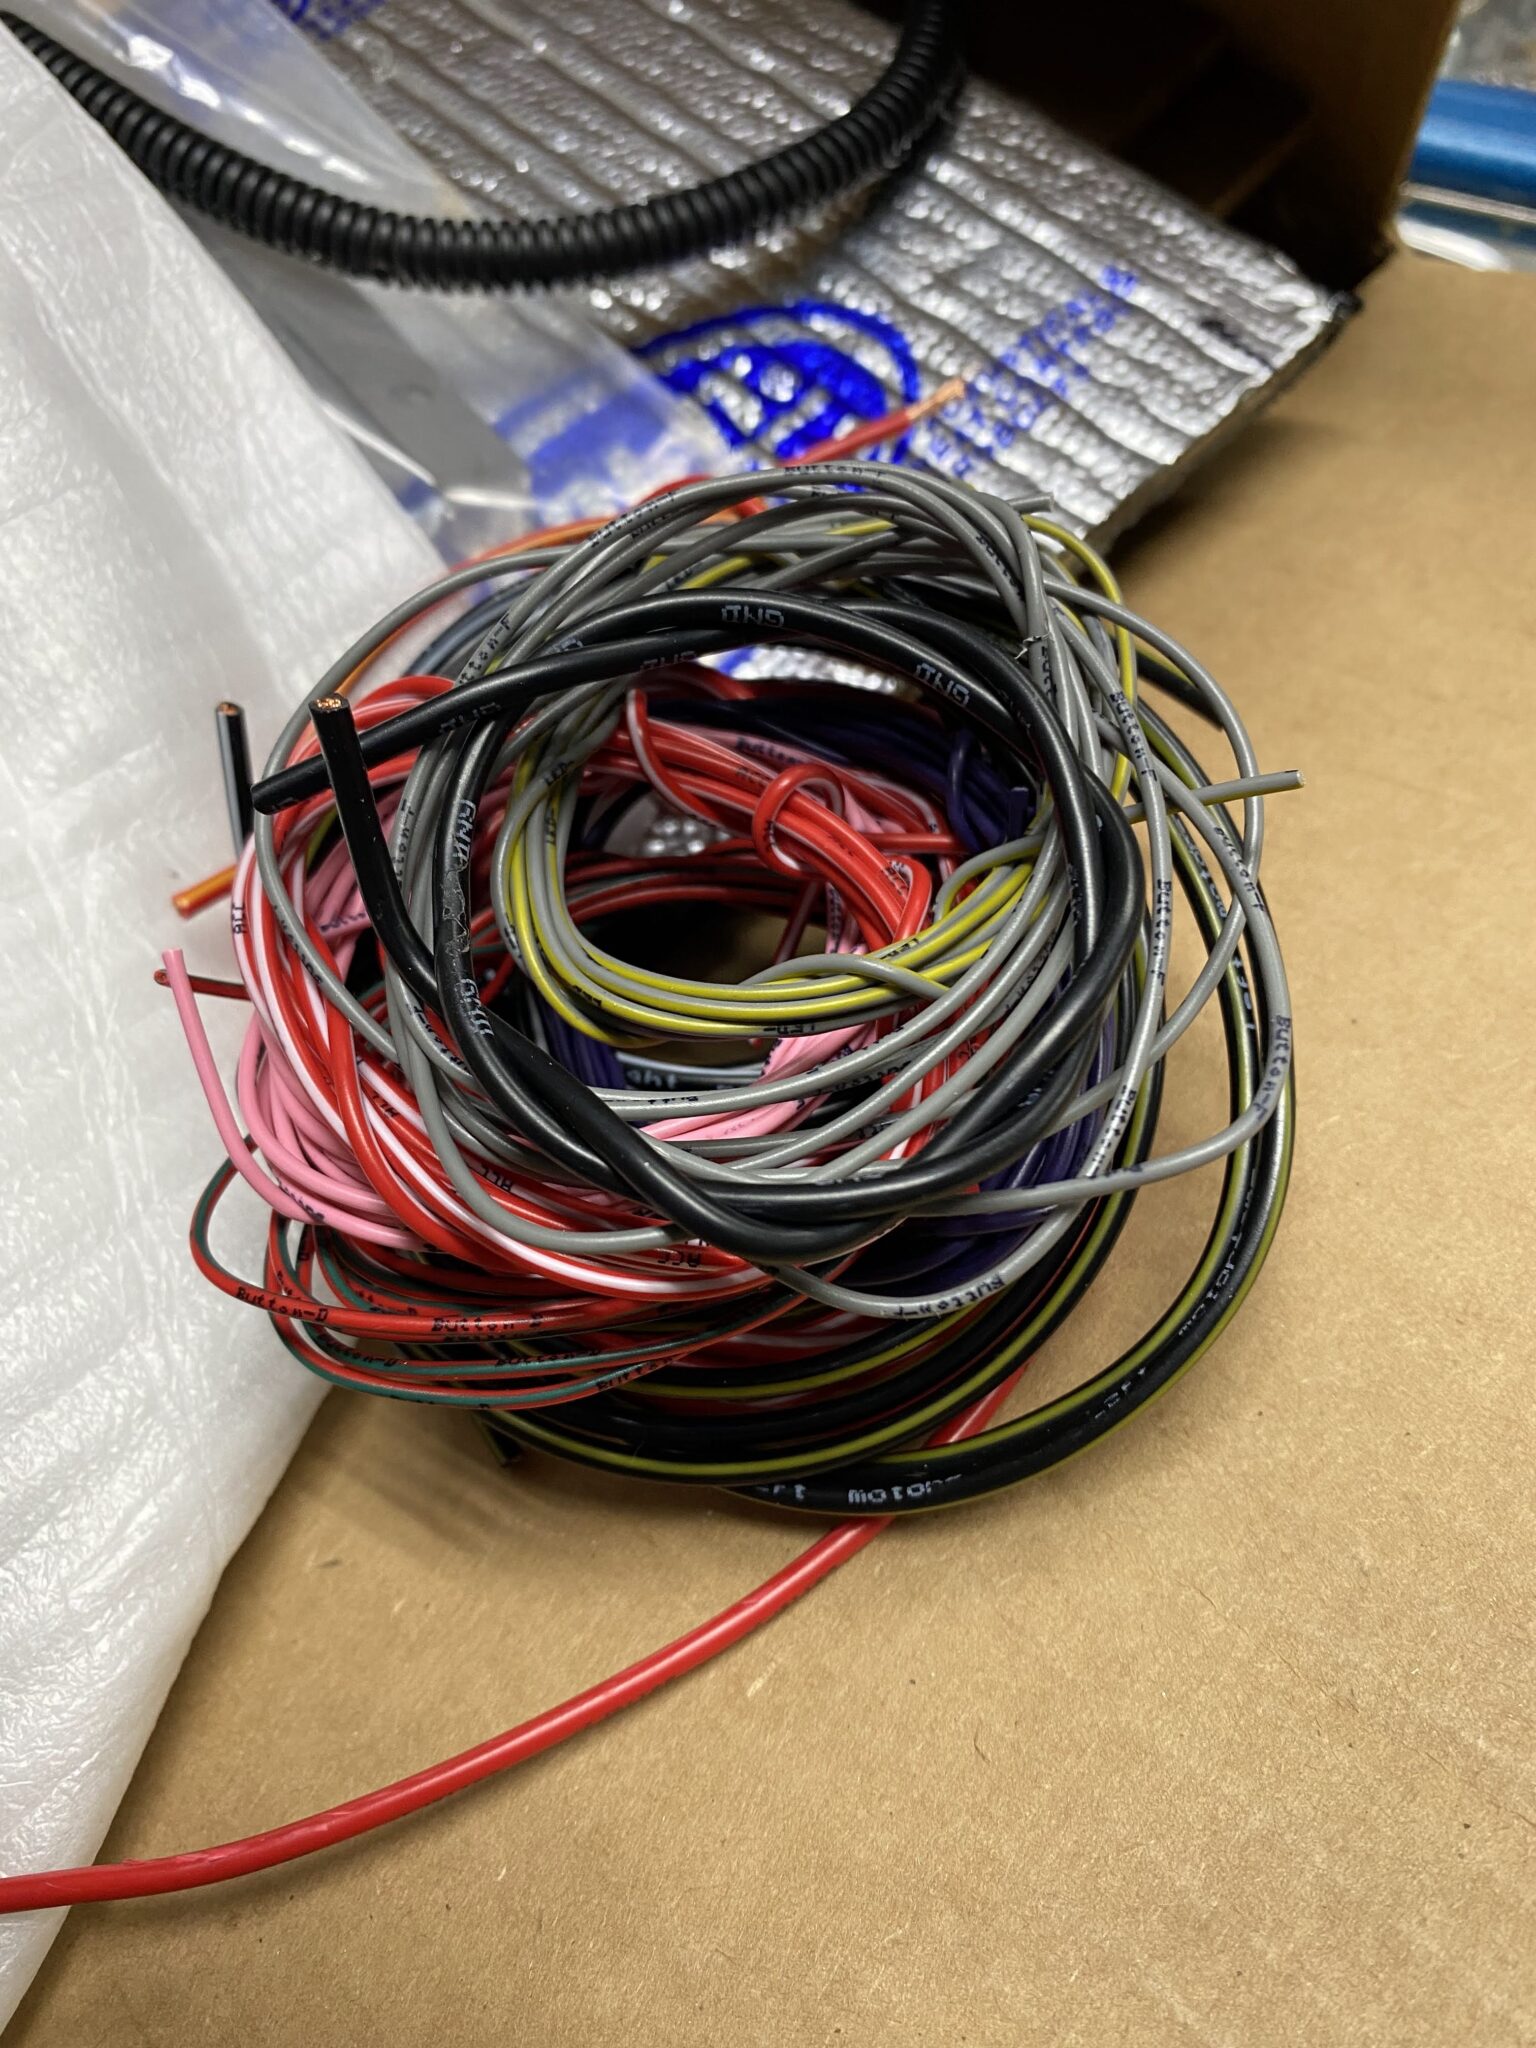
Also, we did a large amount of wire dieting.
Because the whole harness is about 1.5 car lengths, we cut bulk.
Wiring diet
EPB brain mount
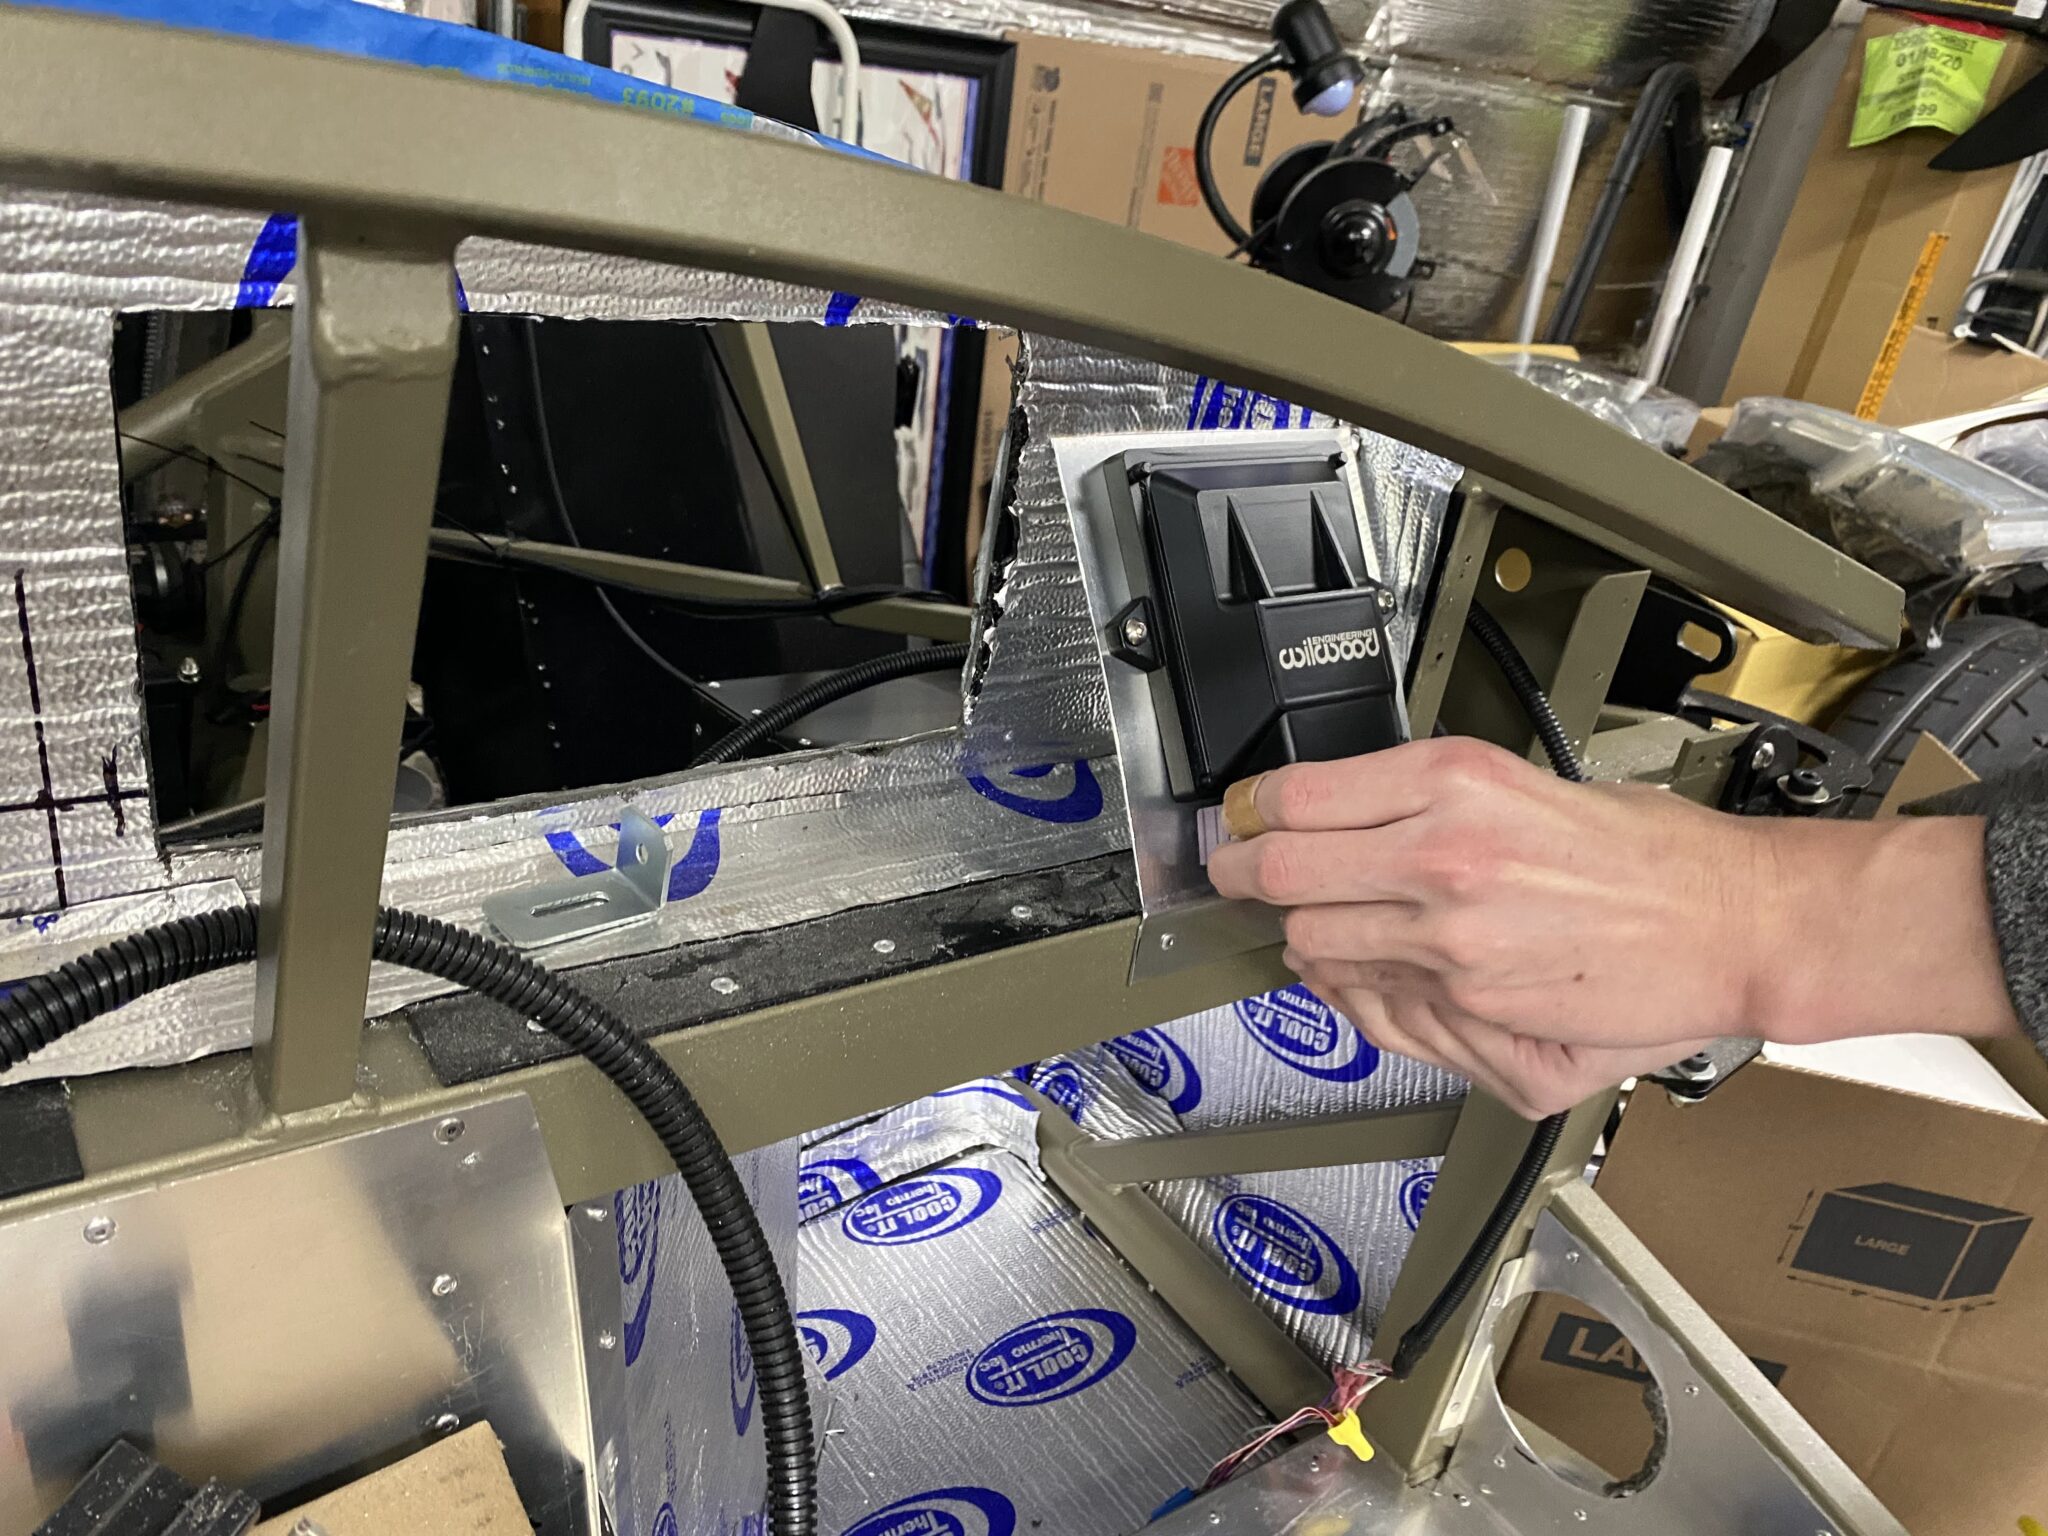
First, we needed a good place to mount the EPB brain.
However, the dash and glovebox make space back there a challenge.
Then my son found that an angled vertical mount works.
As a result, it hides the wires and tucks the EPB guts behind the dash.
Soldering and clearcoat
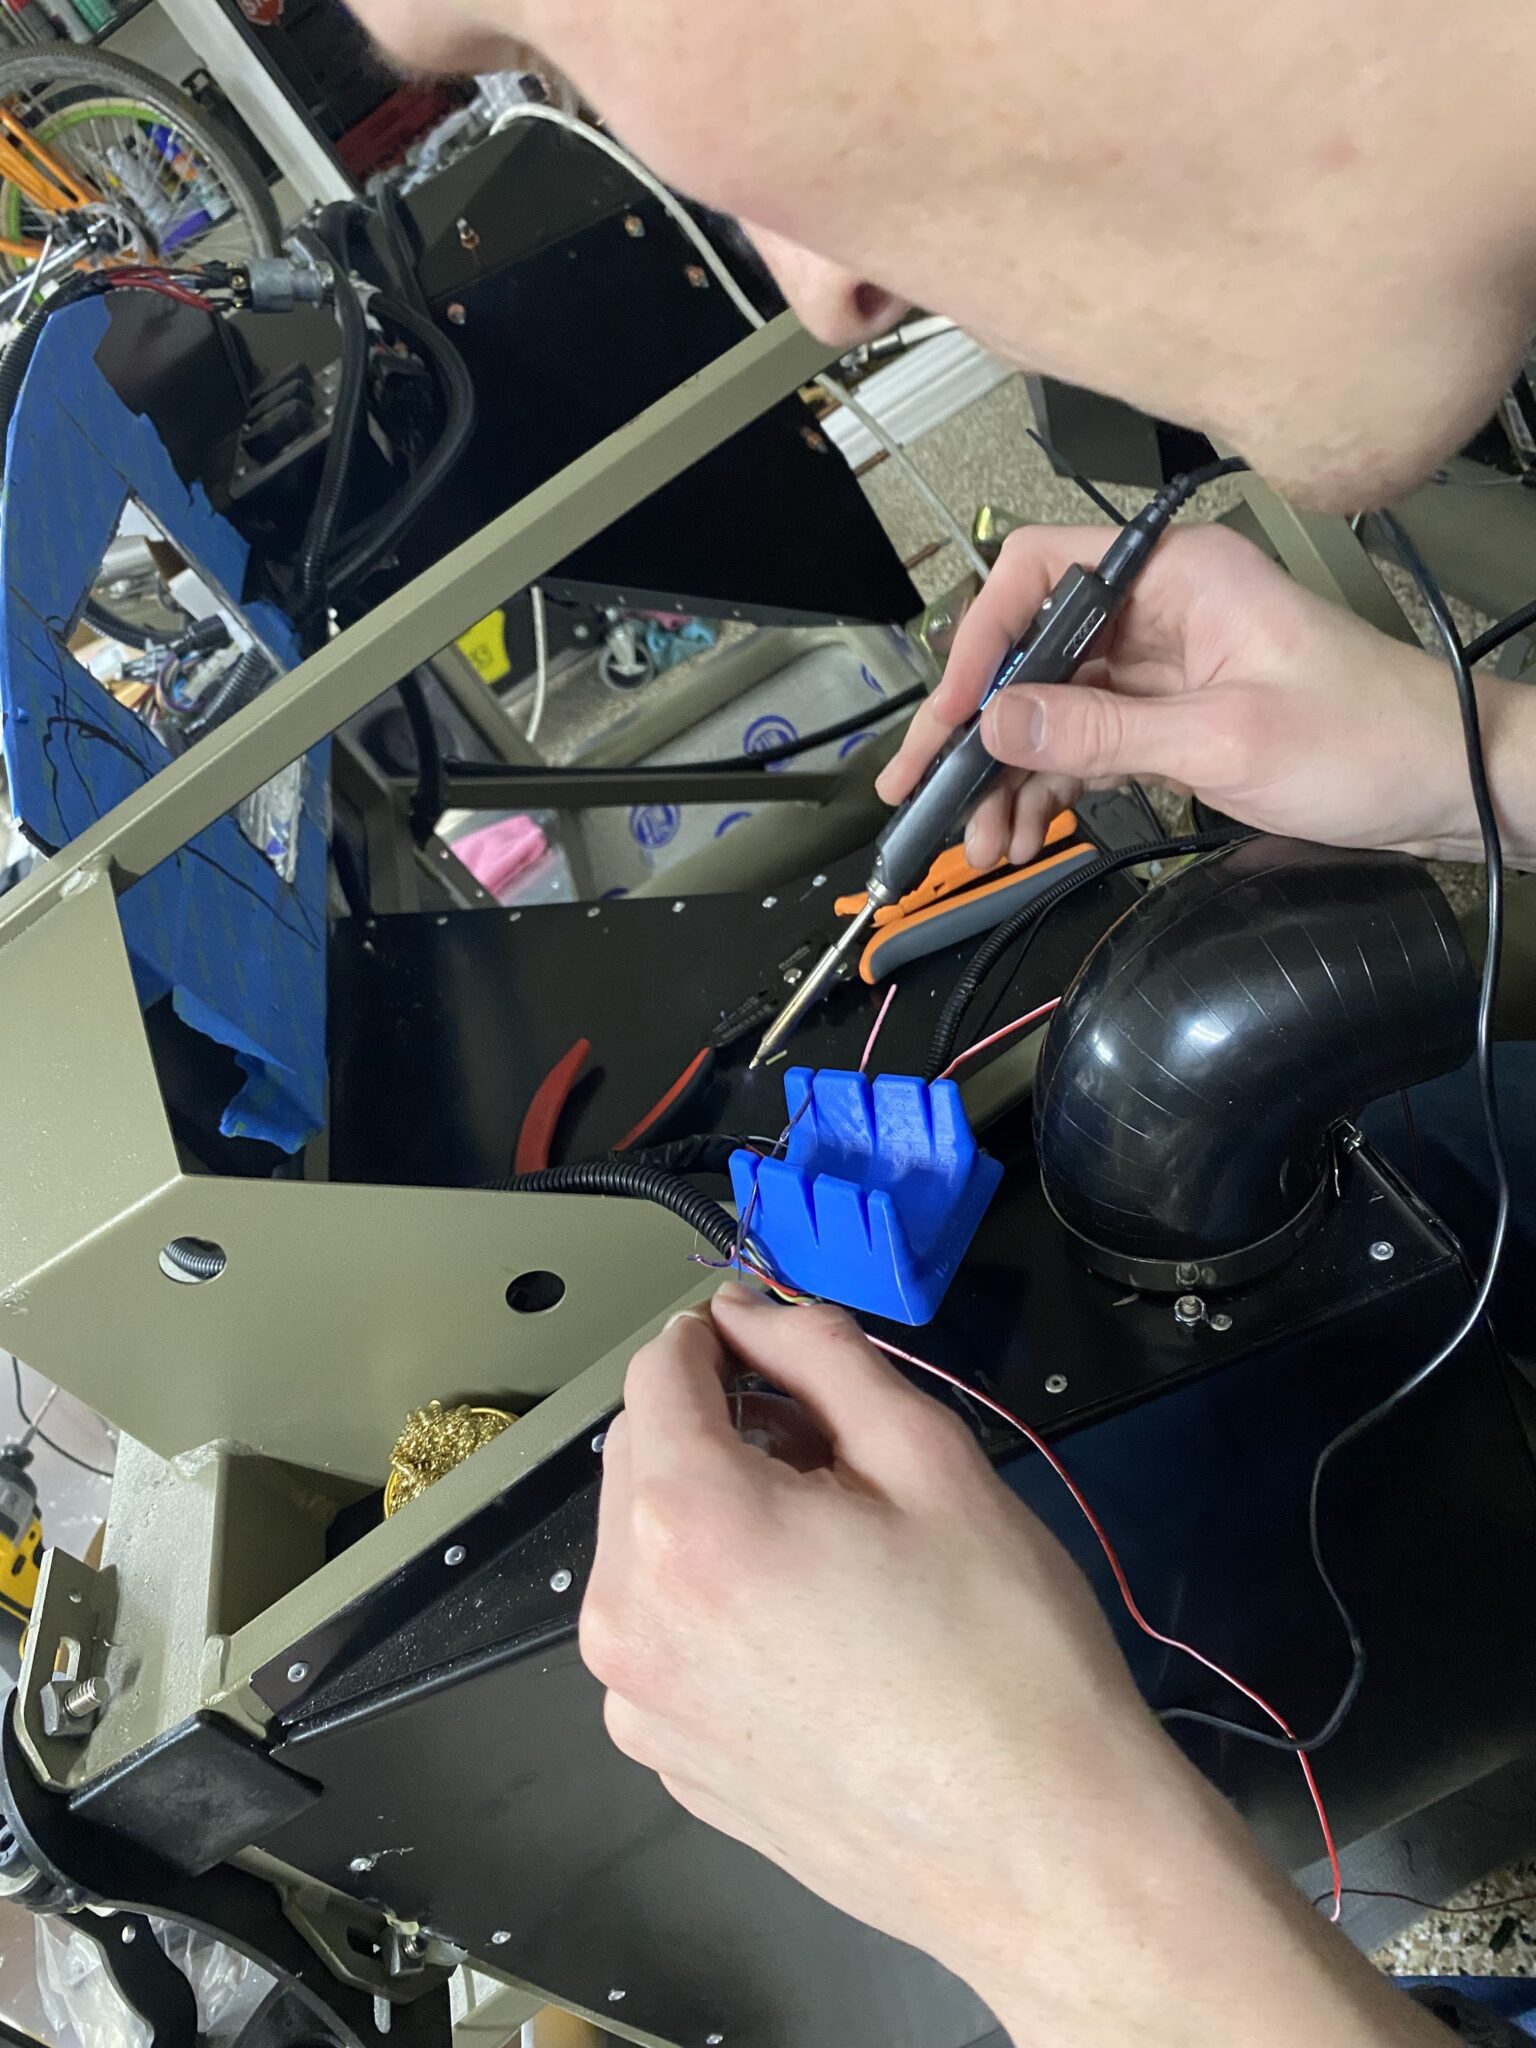
Next, my son loves to solder.
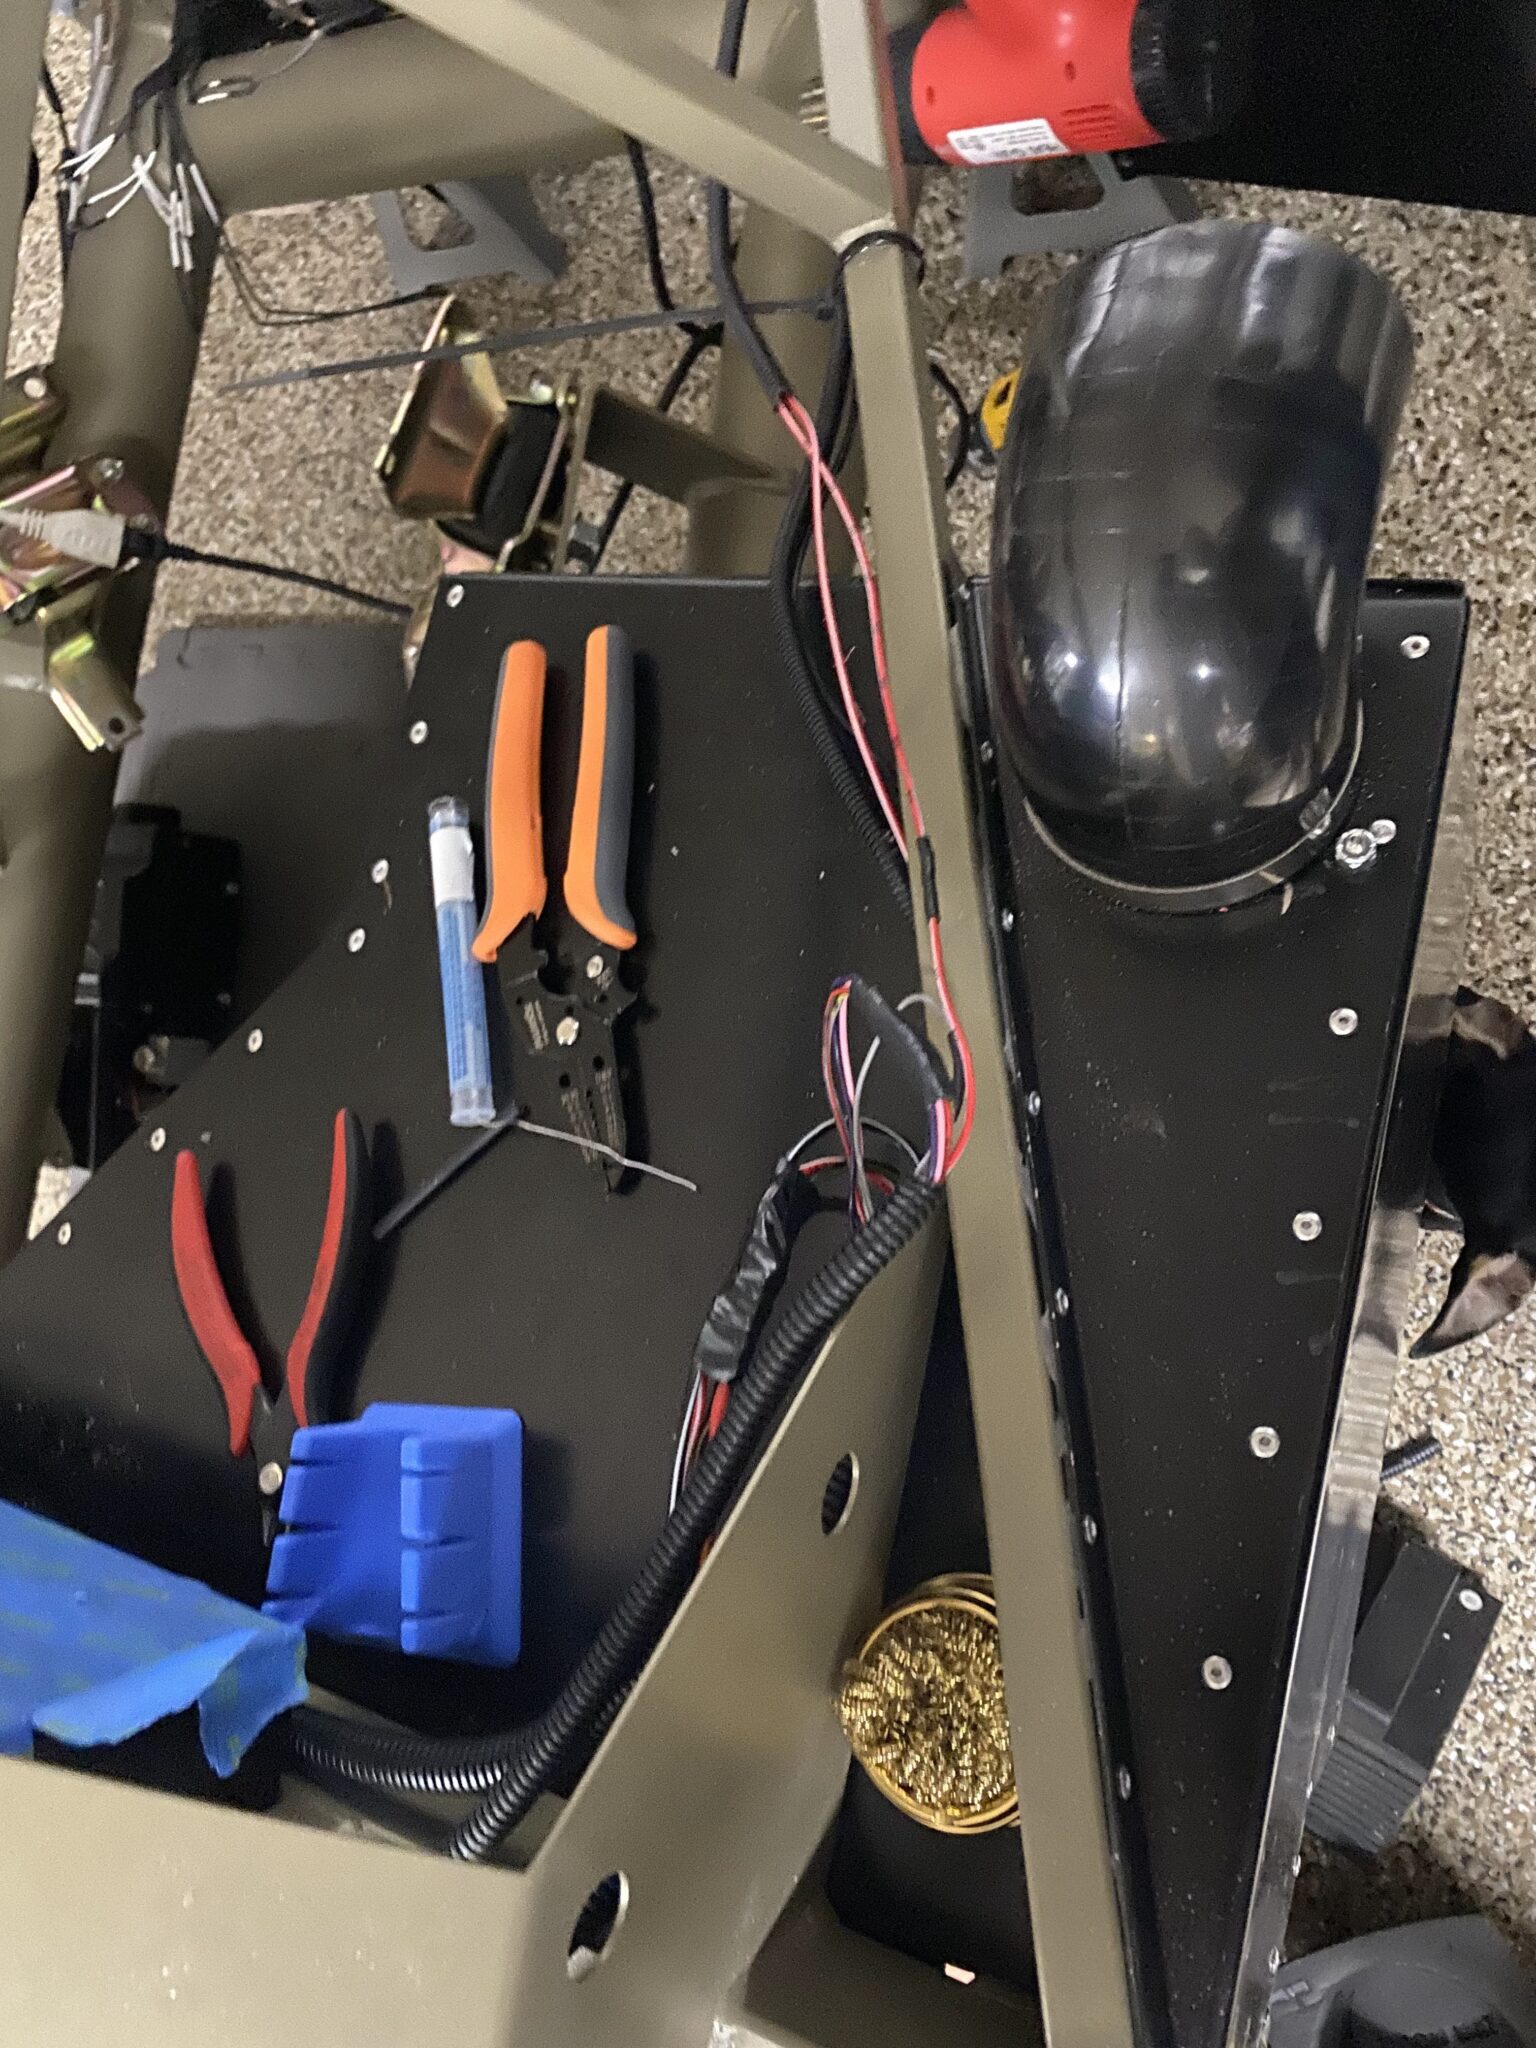
So we use our cool TS-100 pencil soldering iron and shrink tubing.
Also, we ran the main rear-caliper lines up the passenger-side tunnel.
Then we attached them with some ziptie clips.
Ultimately, that is probably the last major drilling for the dashboard.
Still, we may add mounting holes for the top bar and bottom supports.
Next, we will spray a matte finish clearcoat over the dash.
Therefore, the dash gets more UV protection so it does not yellow.
For example, we are using USC Spraymax Matte Clearcoat 3680065.
Because the forums recommend it highly, that product won the vote.