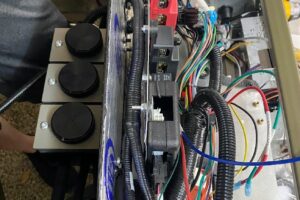
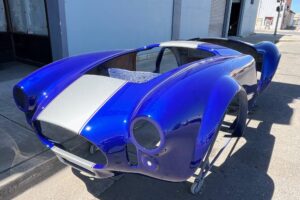
Back on track to get more building completed! I spent a hot afternoon fitting the driver side footbox. Lots and LOTS of drilling and clecos are definitely recommended! I won’t fully button this panel up until all the brake/clutch lines are done and I’m confident that I don’t need to crawl in there anymore!
Getting the side of the driver footbox is the first step. It’s a little hokey, but this little bump out has been praised by many because it gives you a little more space for your left foot. The three parts are the large panel with a ‘V’ cut into the side. The smaller brackets fill in this ‘V’ to lift the flat panel outward. Hopefully the photos can help showcase this. I reached out to my buddy Travis (Fman) to get my brain wrapped around the setup.


The one angle bracket attaches to the upper large panel, and the other bracket attaches to the lower panel – below the ‘V’. Lay out the rivet spacer and start drilling! 24 rivets for these parts is probably overkill, but it looks cool!


Using the clecos is really helpful here in keeping the parts aligned. The center section really wants to pull back to ‘flat’ so keep it staged! The air-rivet gun saves a LOT of time, just set and pull – next!
Next, I aligned the side panel to the top and bottom panels, and yes – drilled more! You can see the kick-out in the outer panel pretty good here. This layout requires a lot of clamps and drilling. There are 7 panels to align if you count the engine bay panel. I had to notch the one small front panel to fit the nut/bolt from the power brake setup. Finally, I’ll fill this in with more Thermo-Tec to keep the engine heat out of the footbox.

Lastly, I’ll keep this cleco’ed up for a while until the lines and wiring are settled. I hope this helps your progress!
Discover more from Cobra Dreams
Subscribe to get the latest posts sent to your email.


