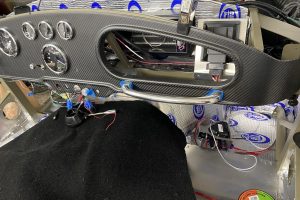
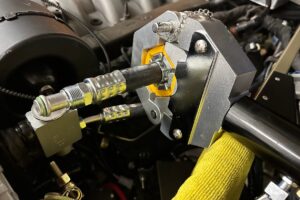
I ran out of time the other night to finish riveting the passenger footbox. Panel alignment and riveting takes patience, and it’s tricky to keep everything aligned initially, using the clecos makes installation much easier once you have the initial alignment in place. Finishing this part is very satisfying, because you can see the internals coming together.
Five parts make up the passenger footbox. The top panel rivets into the 2″ support and stretches to the 3/4″ brace on the side. The inside panel aligns to the a-brace that was previously installed. The next 3 parts are aligned at the same time. The top triangle piece attached to the 3/4″ brace, and it is the top of the footbox outside the 3/4″ brace. Attaching the outer triangle to the side of the footbox is tricky, and requires the clecos to ensure things are kept in shape. The front panel connects three of the 4 panels, and is riveted on 3 of 4 for sides now.


I’m happy with the setup, and I can apply some smaller strips of Thermo-Tec in the edges of the footbox versus trying to install the whole sheets for insulation. Definitely take the time to prepare the insulation prior to installation of the panels if you get the opportunity!
Discover more from Cobra Dreams
Subscribe to get the latest posts sent to your email.


