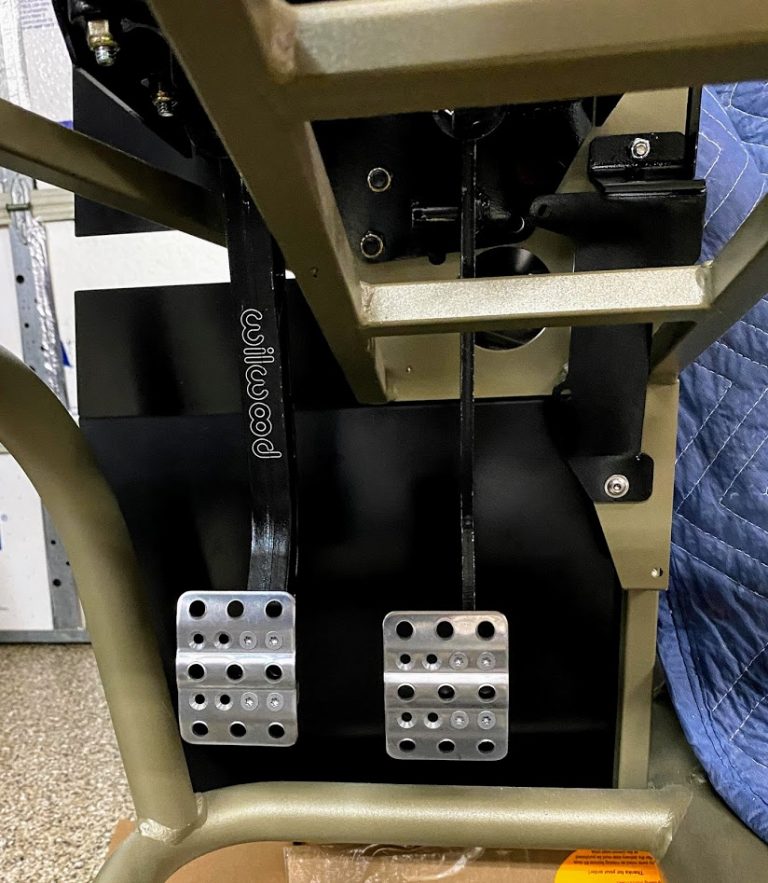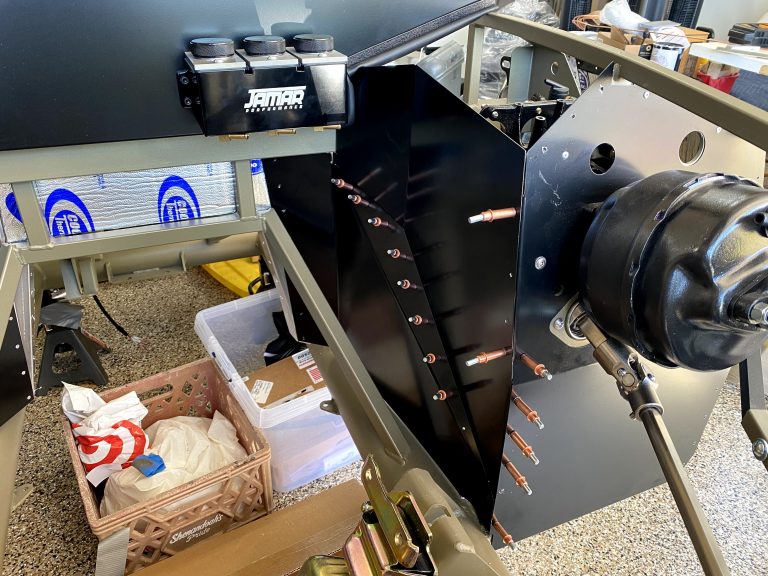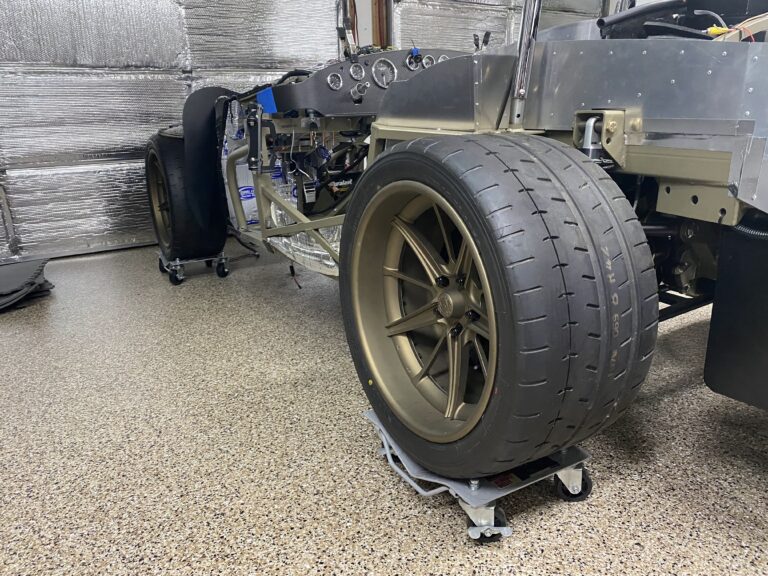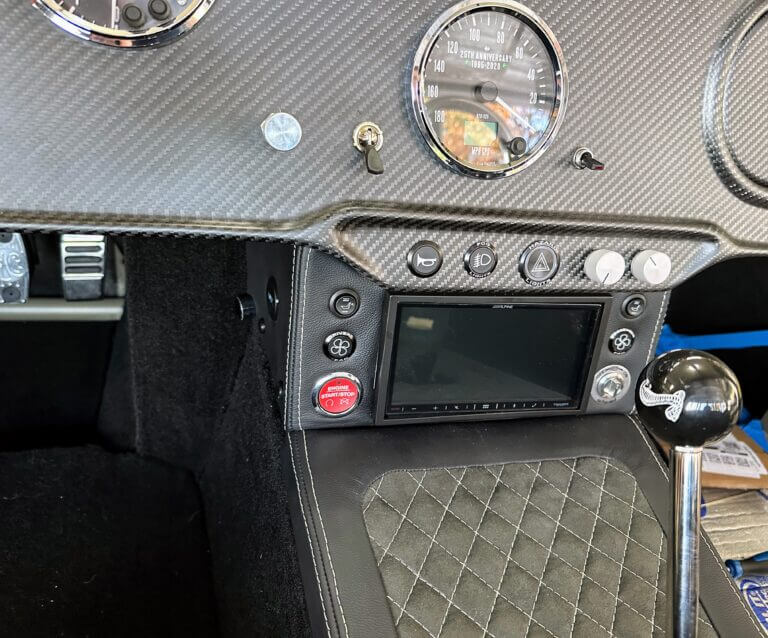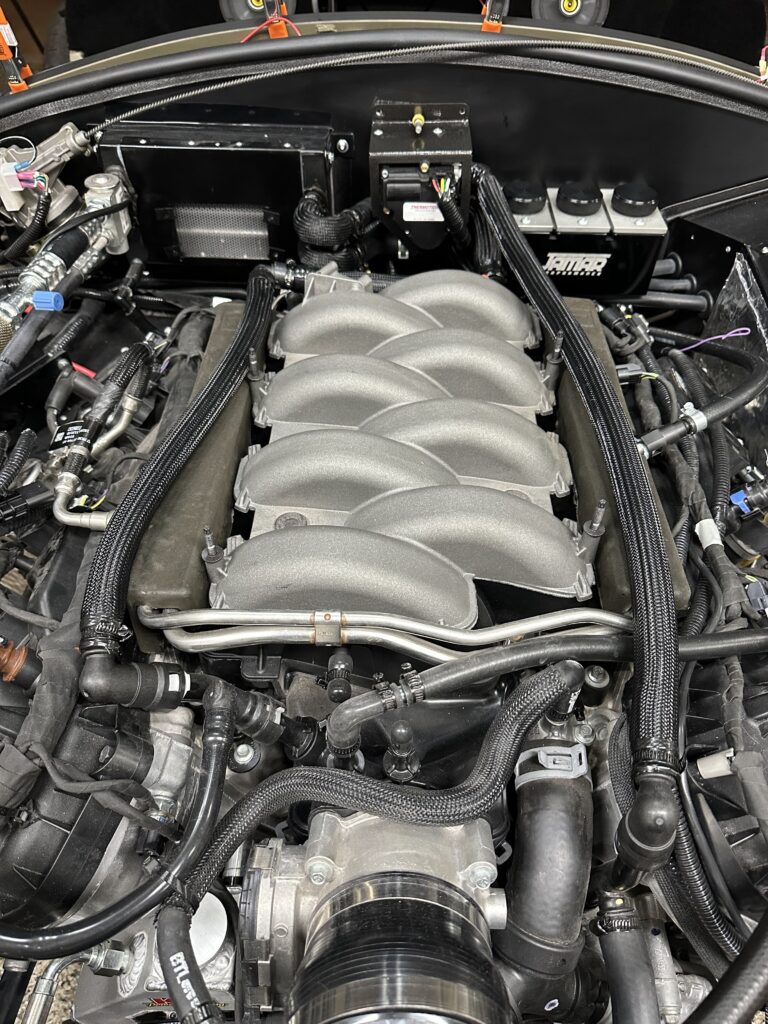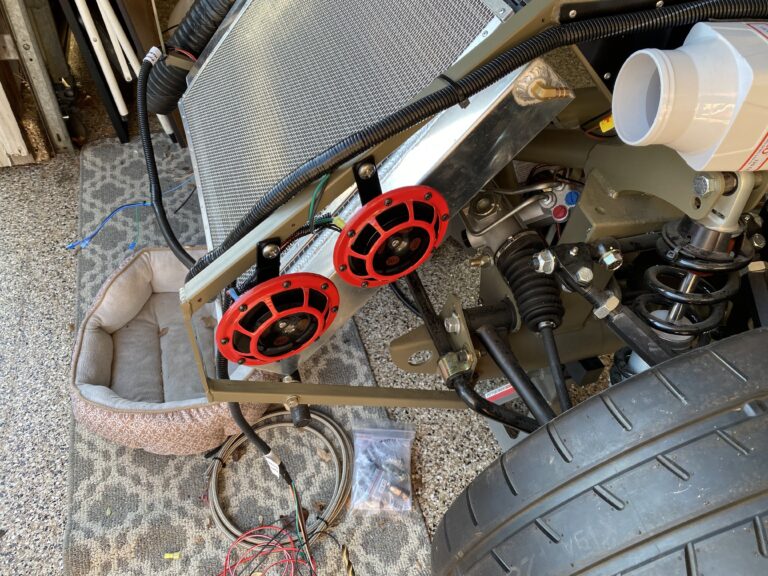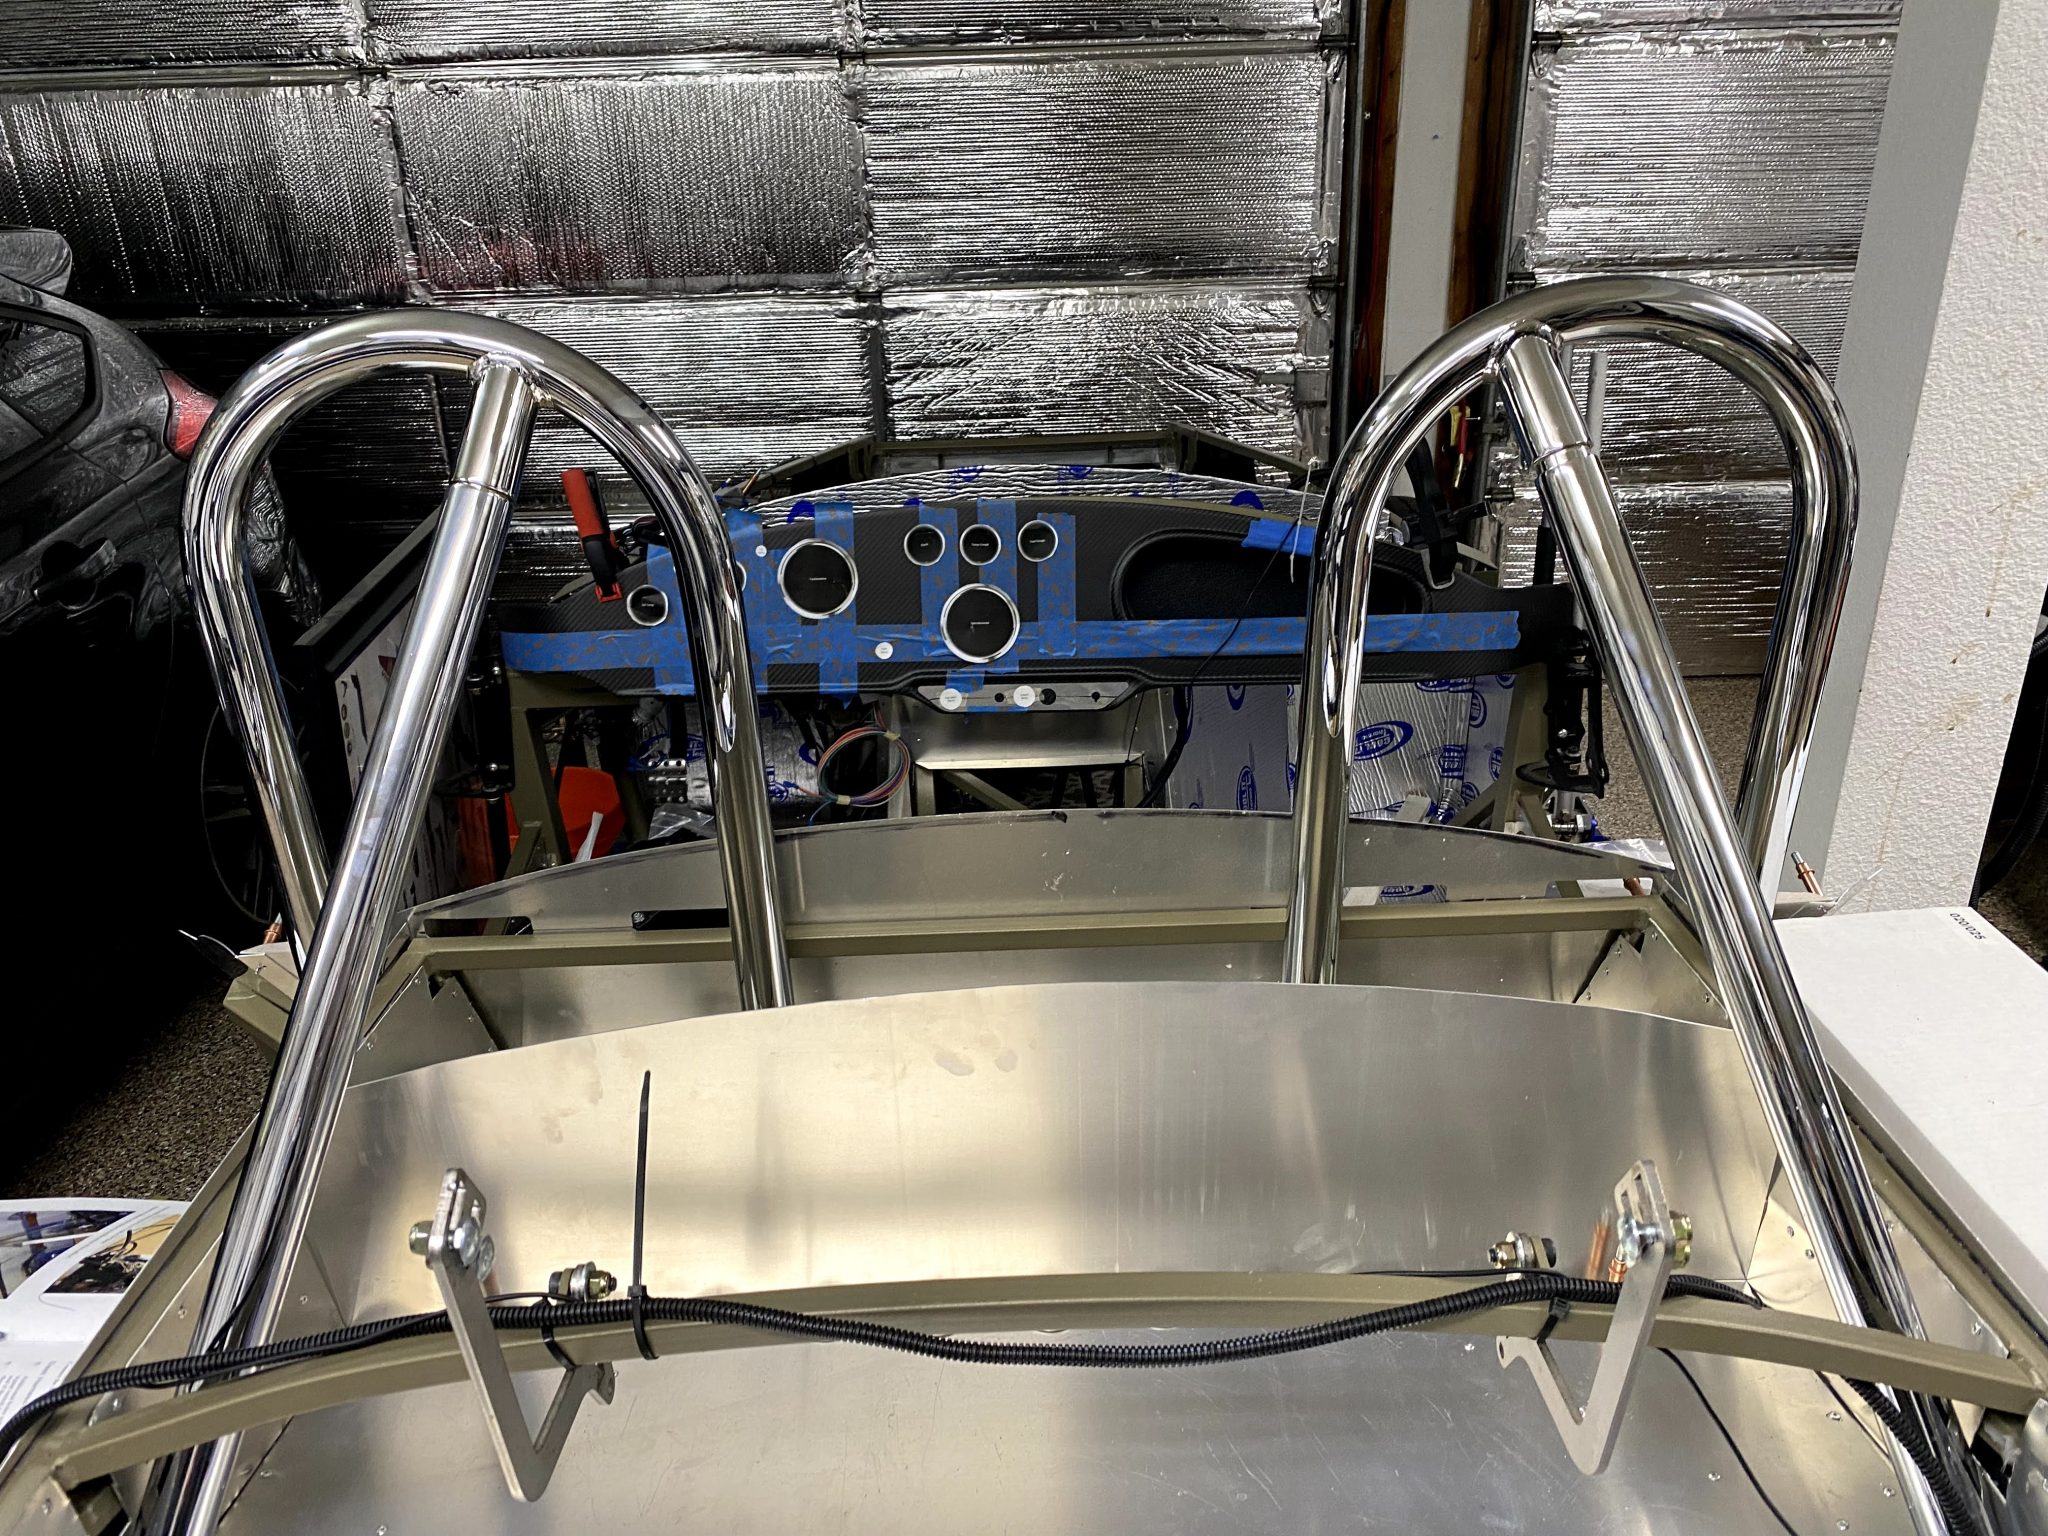
Cockpit and rollbar fitment done!
This update covers cockpit sheet-metal work and rollbar fitment.
Related notes live on the Factory Five Cobra build hub.
Sheet metal in the cockpit
Trunk panels and access doors
First, this was one of those moments when the car felt really together!
Meanwhile, my son had COVID-19 and was out of service for about 10 days.
Still, he is feeling better now.
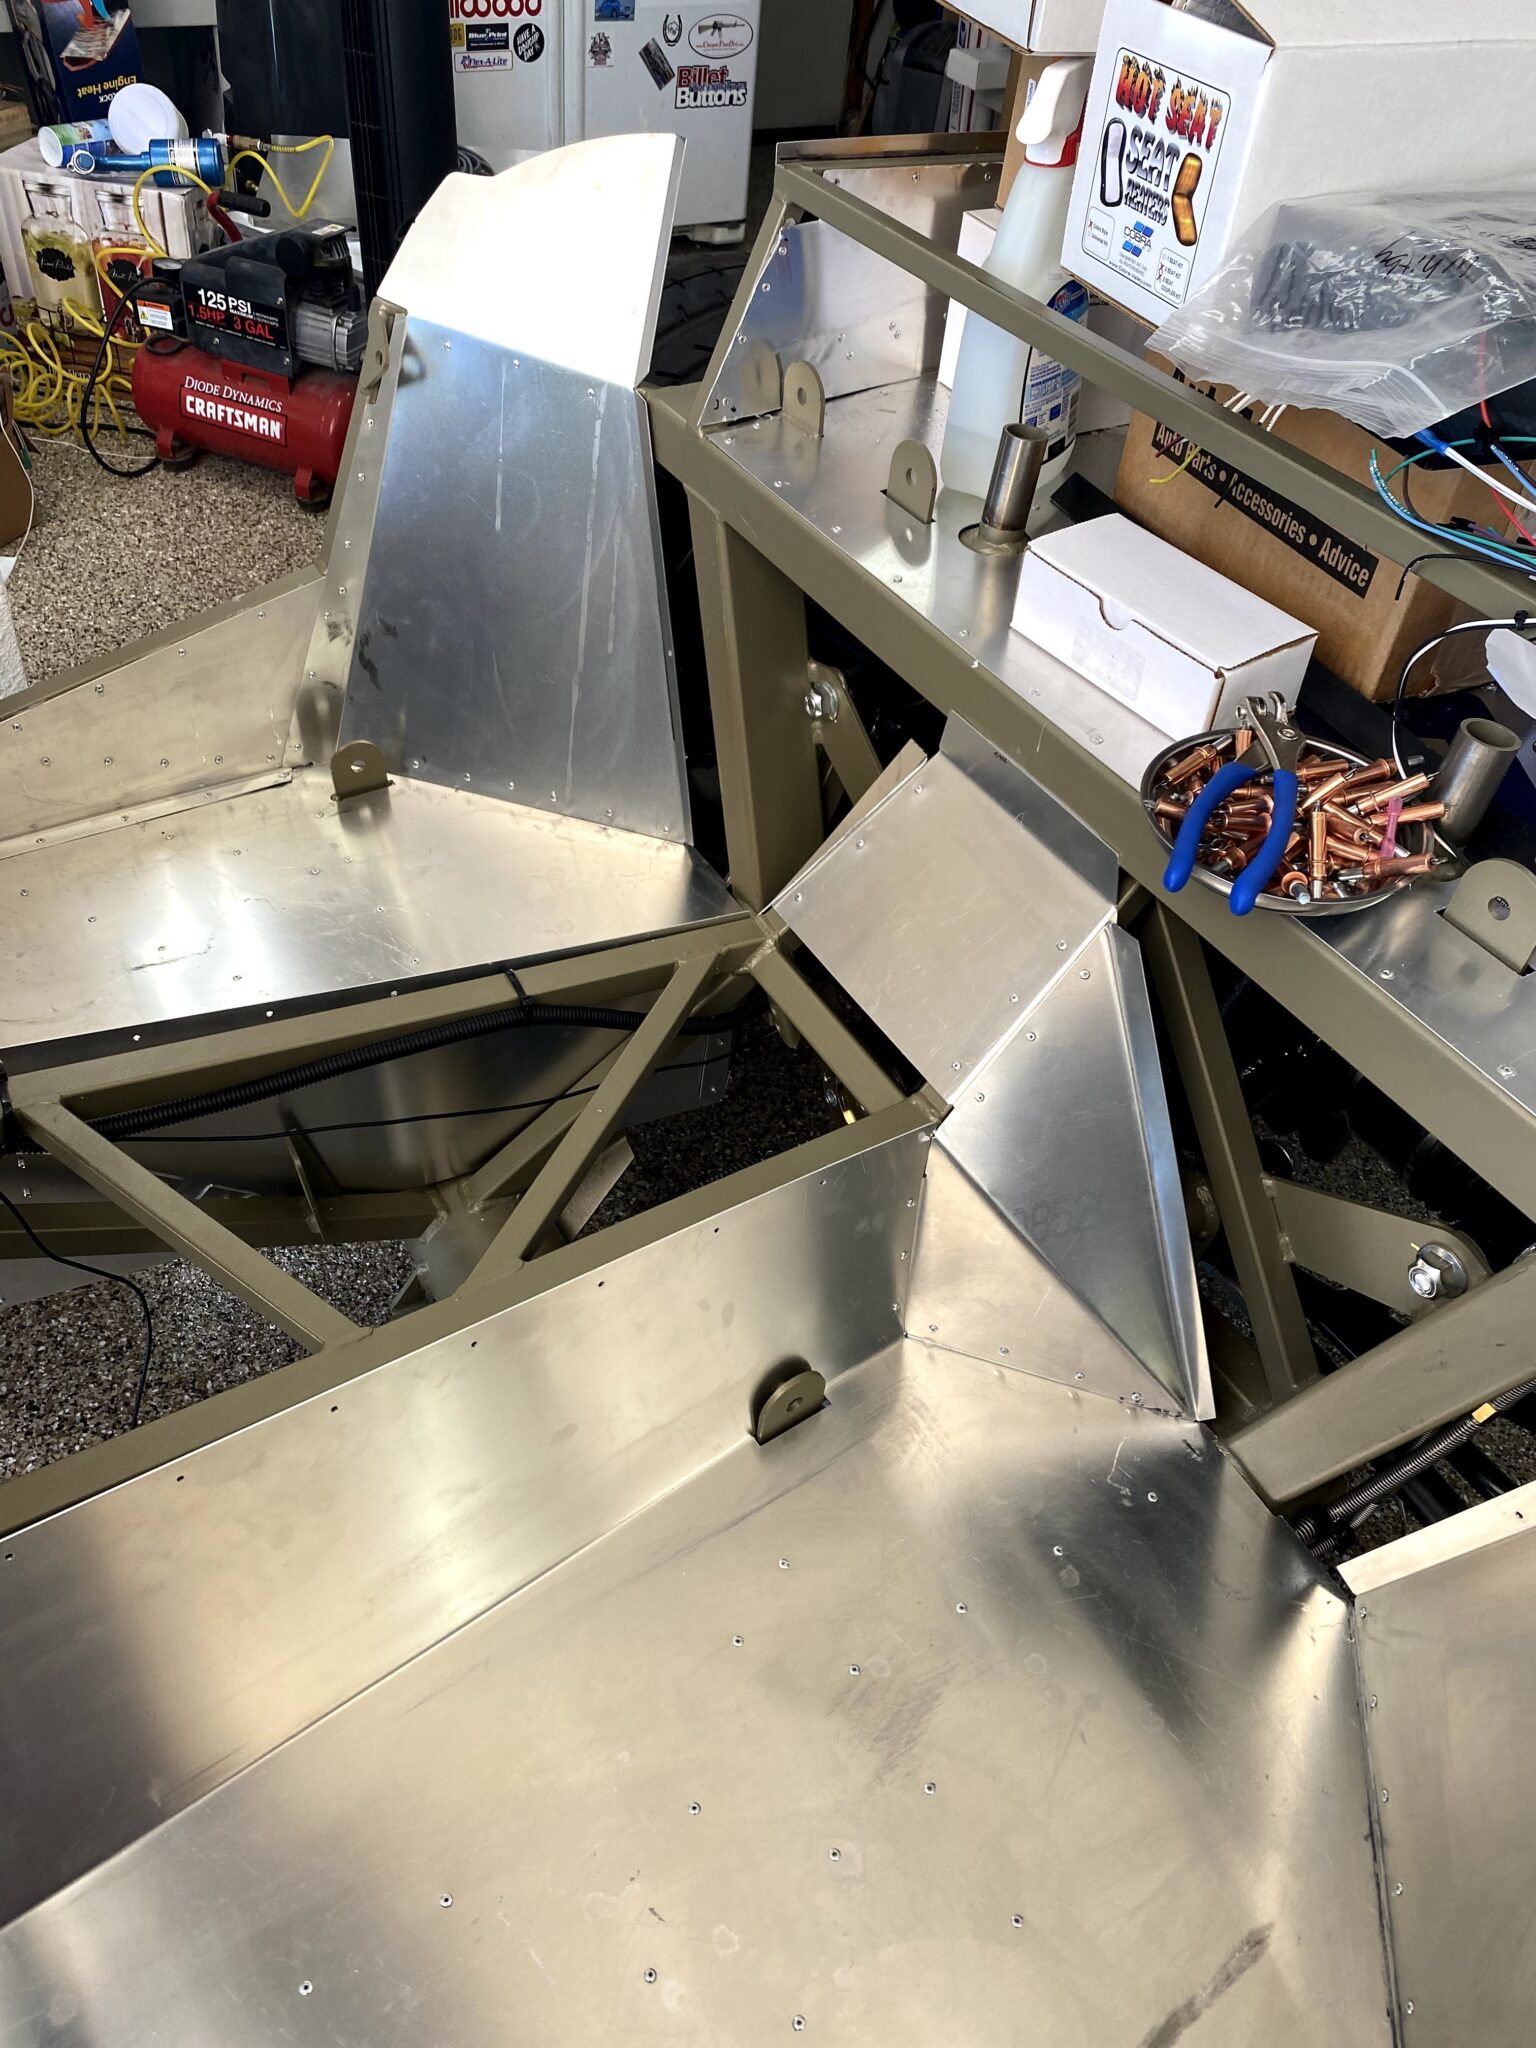
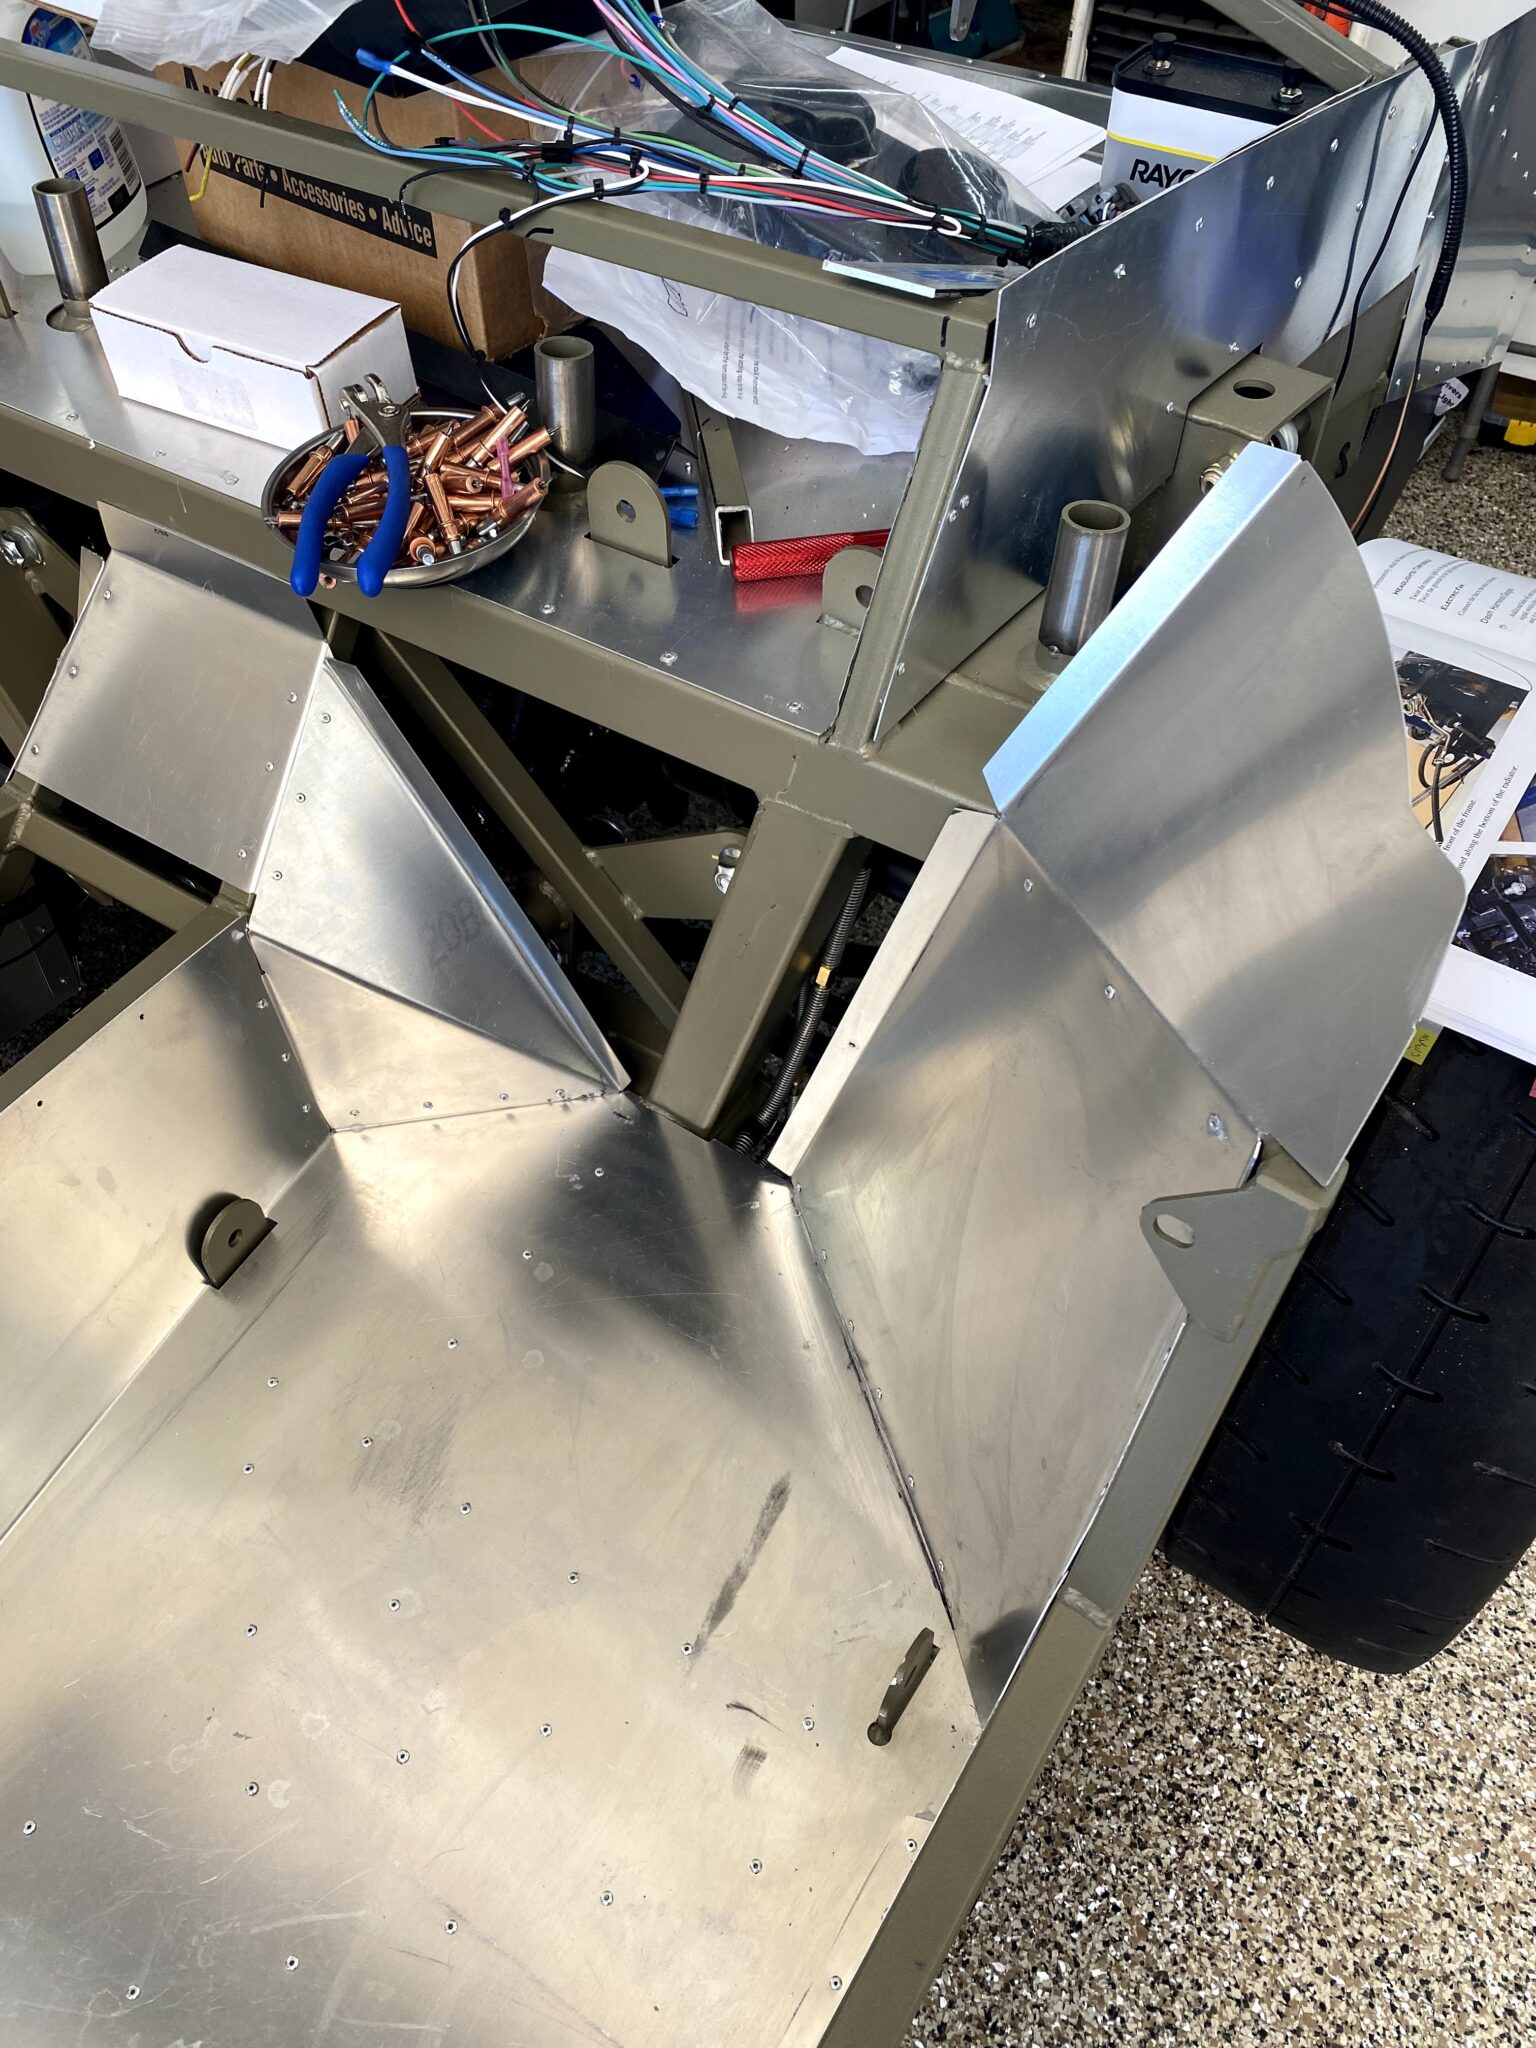
So I completed a lot of sheetmetal work on my own.
Then he came back to help with the rollbar setup.
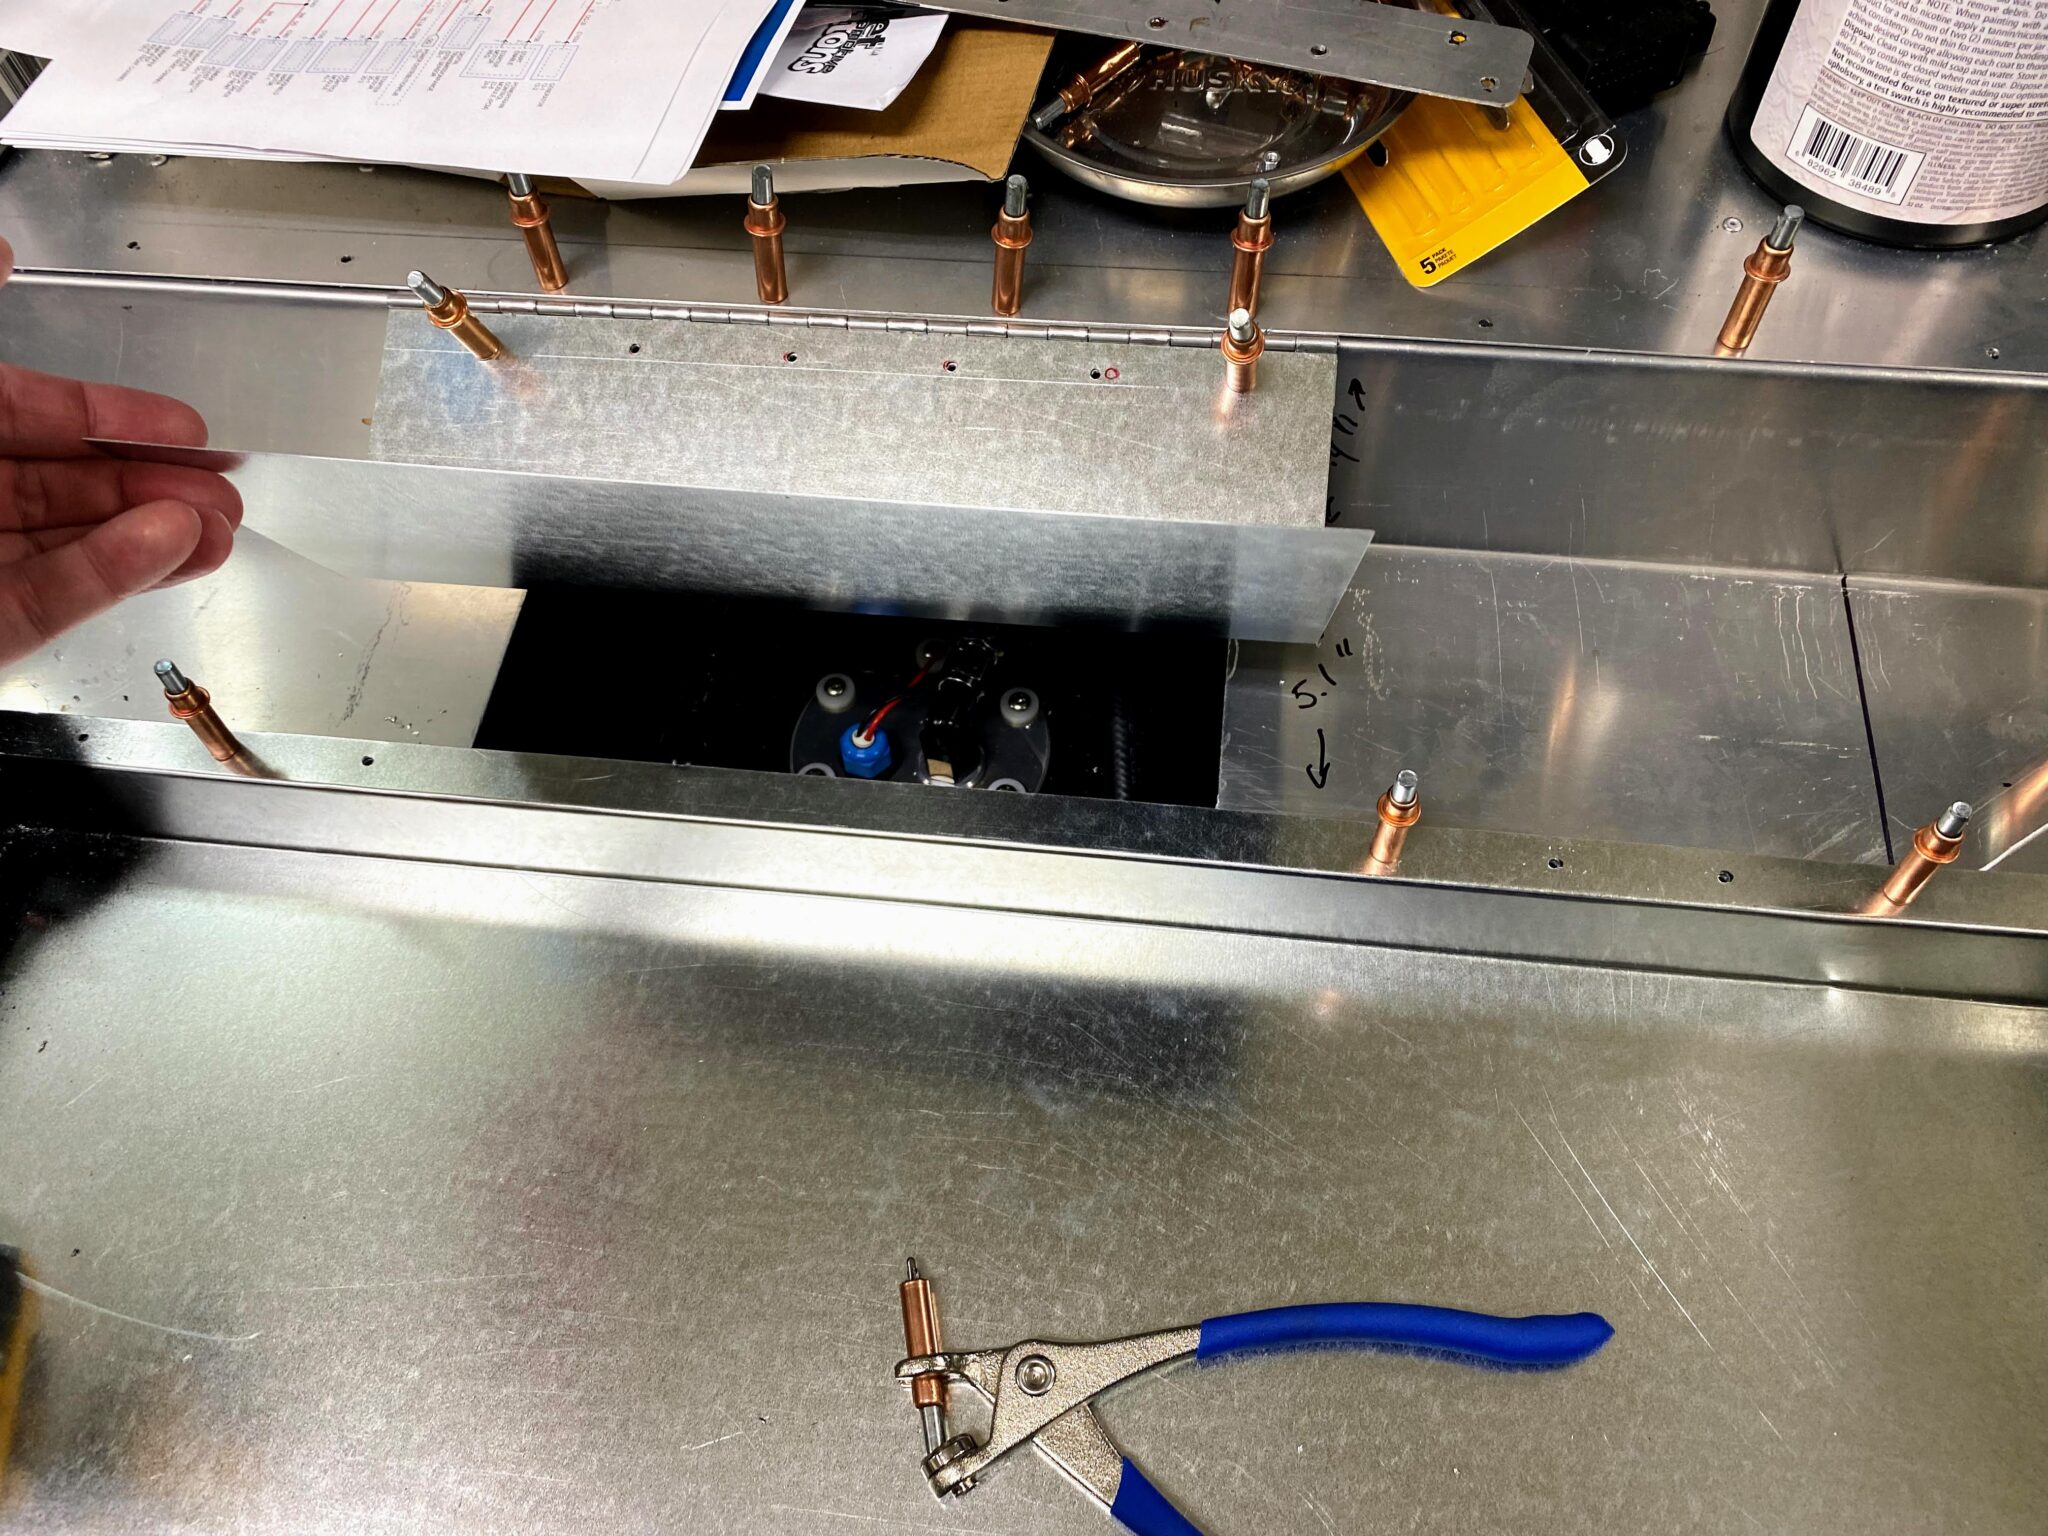
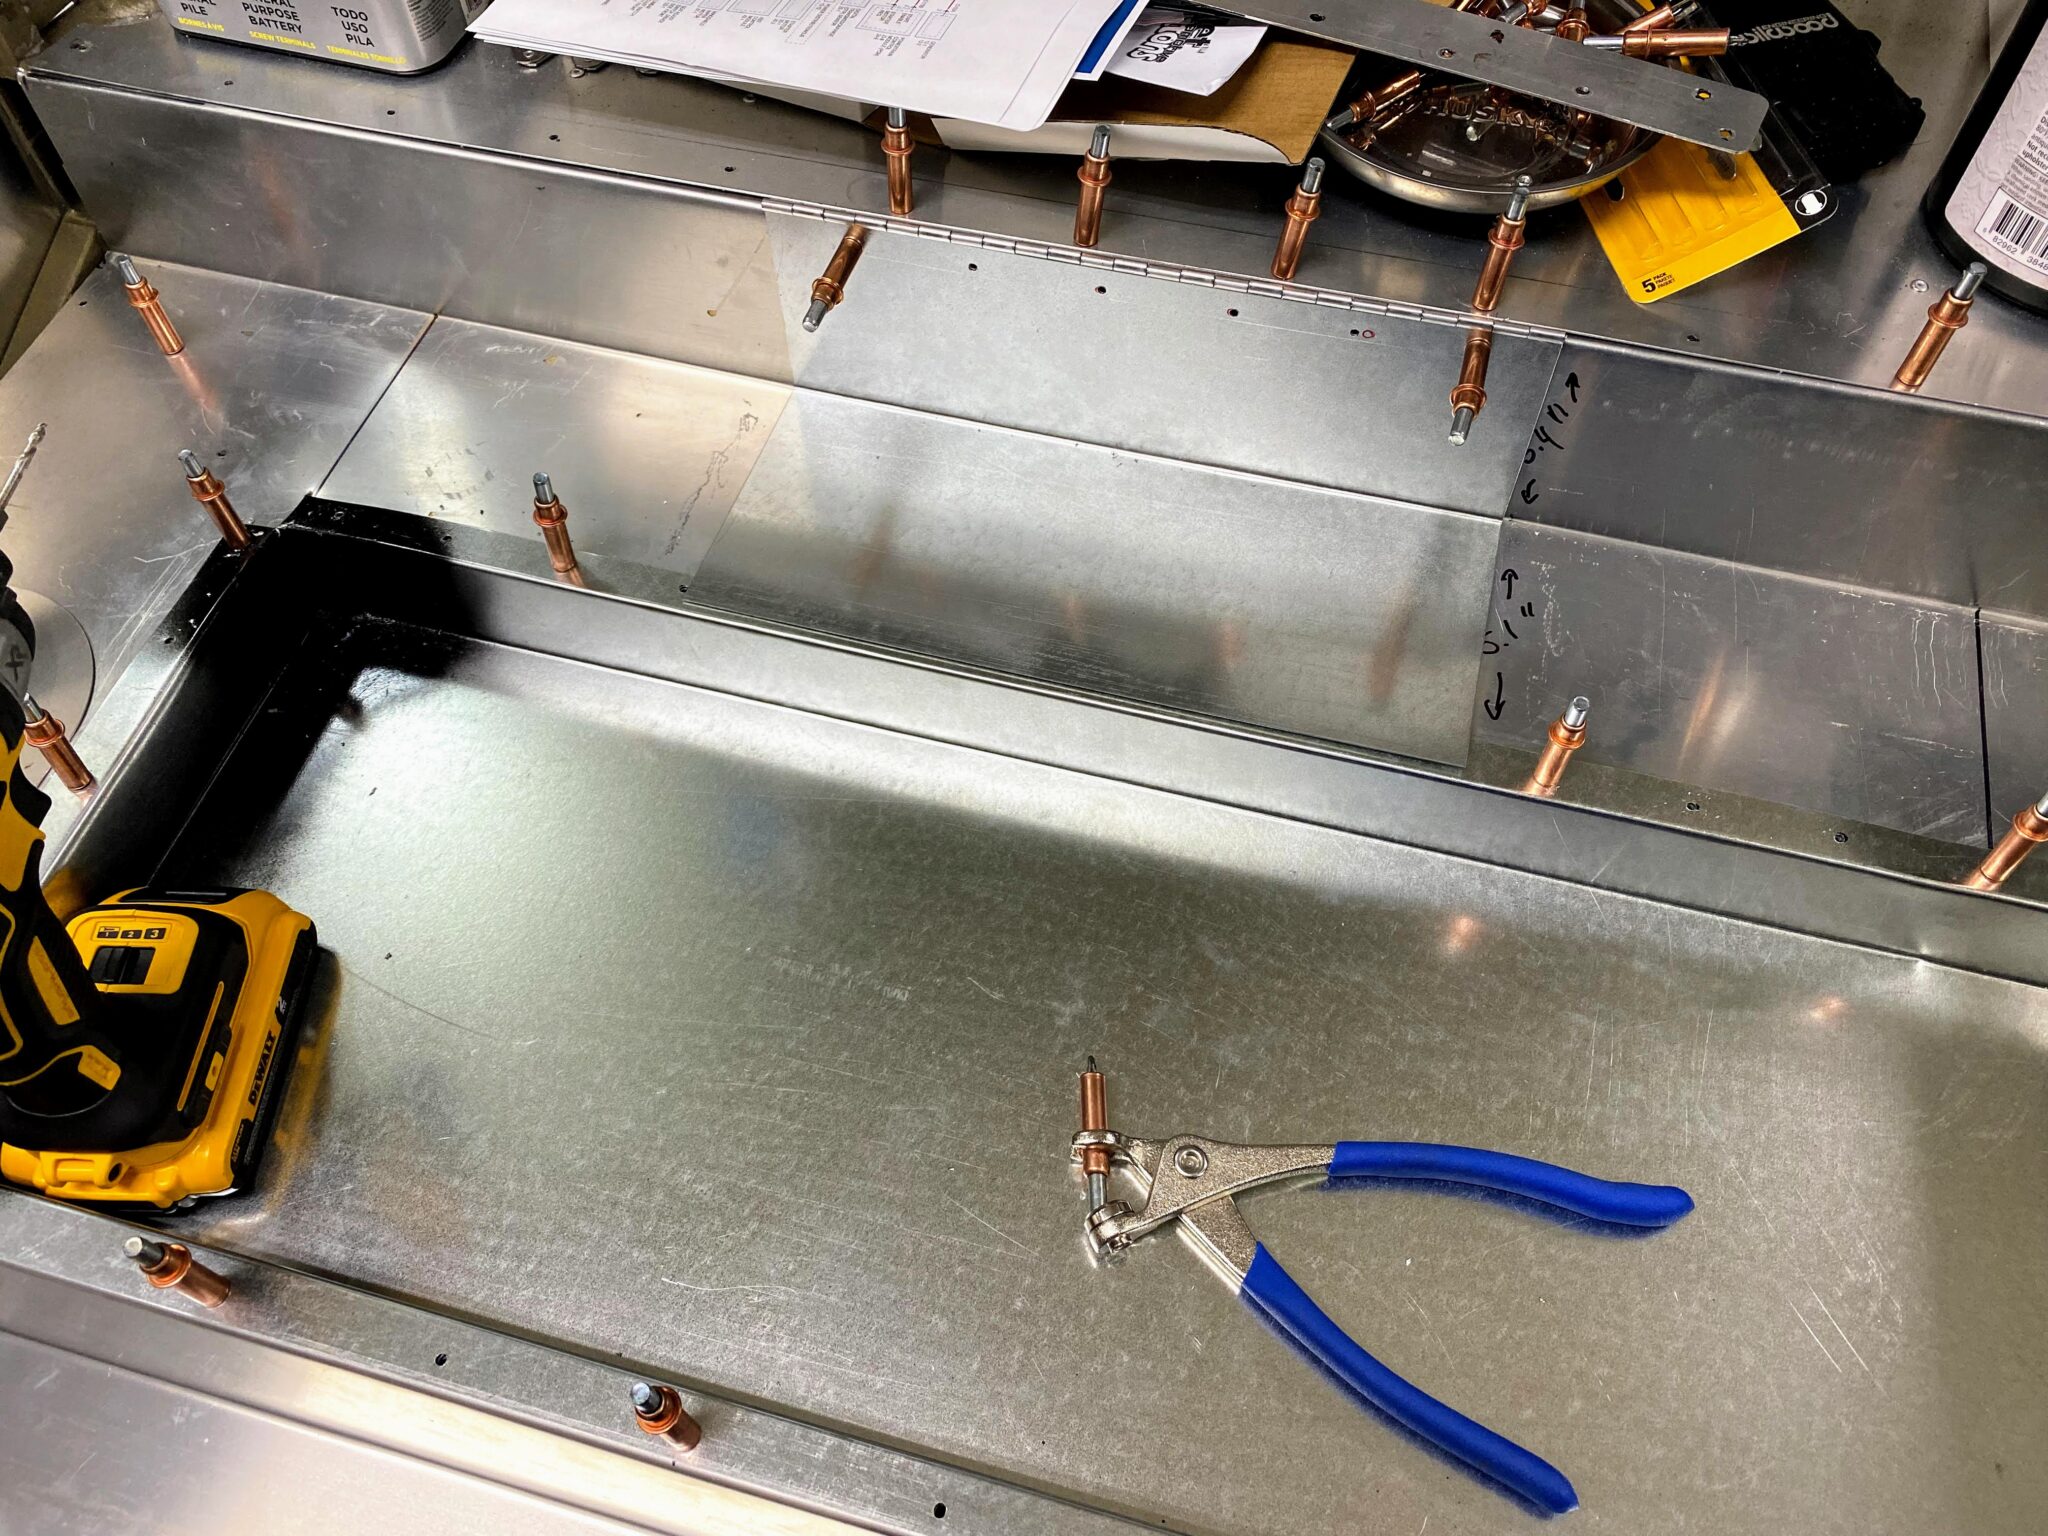
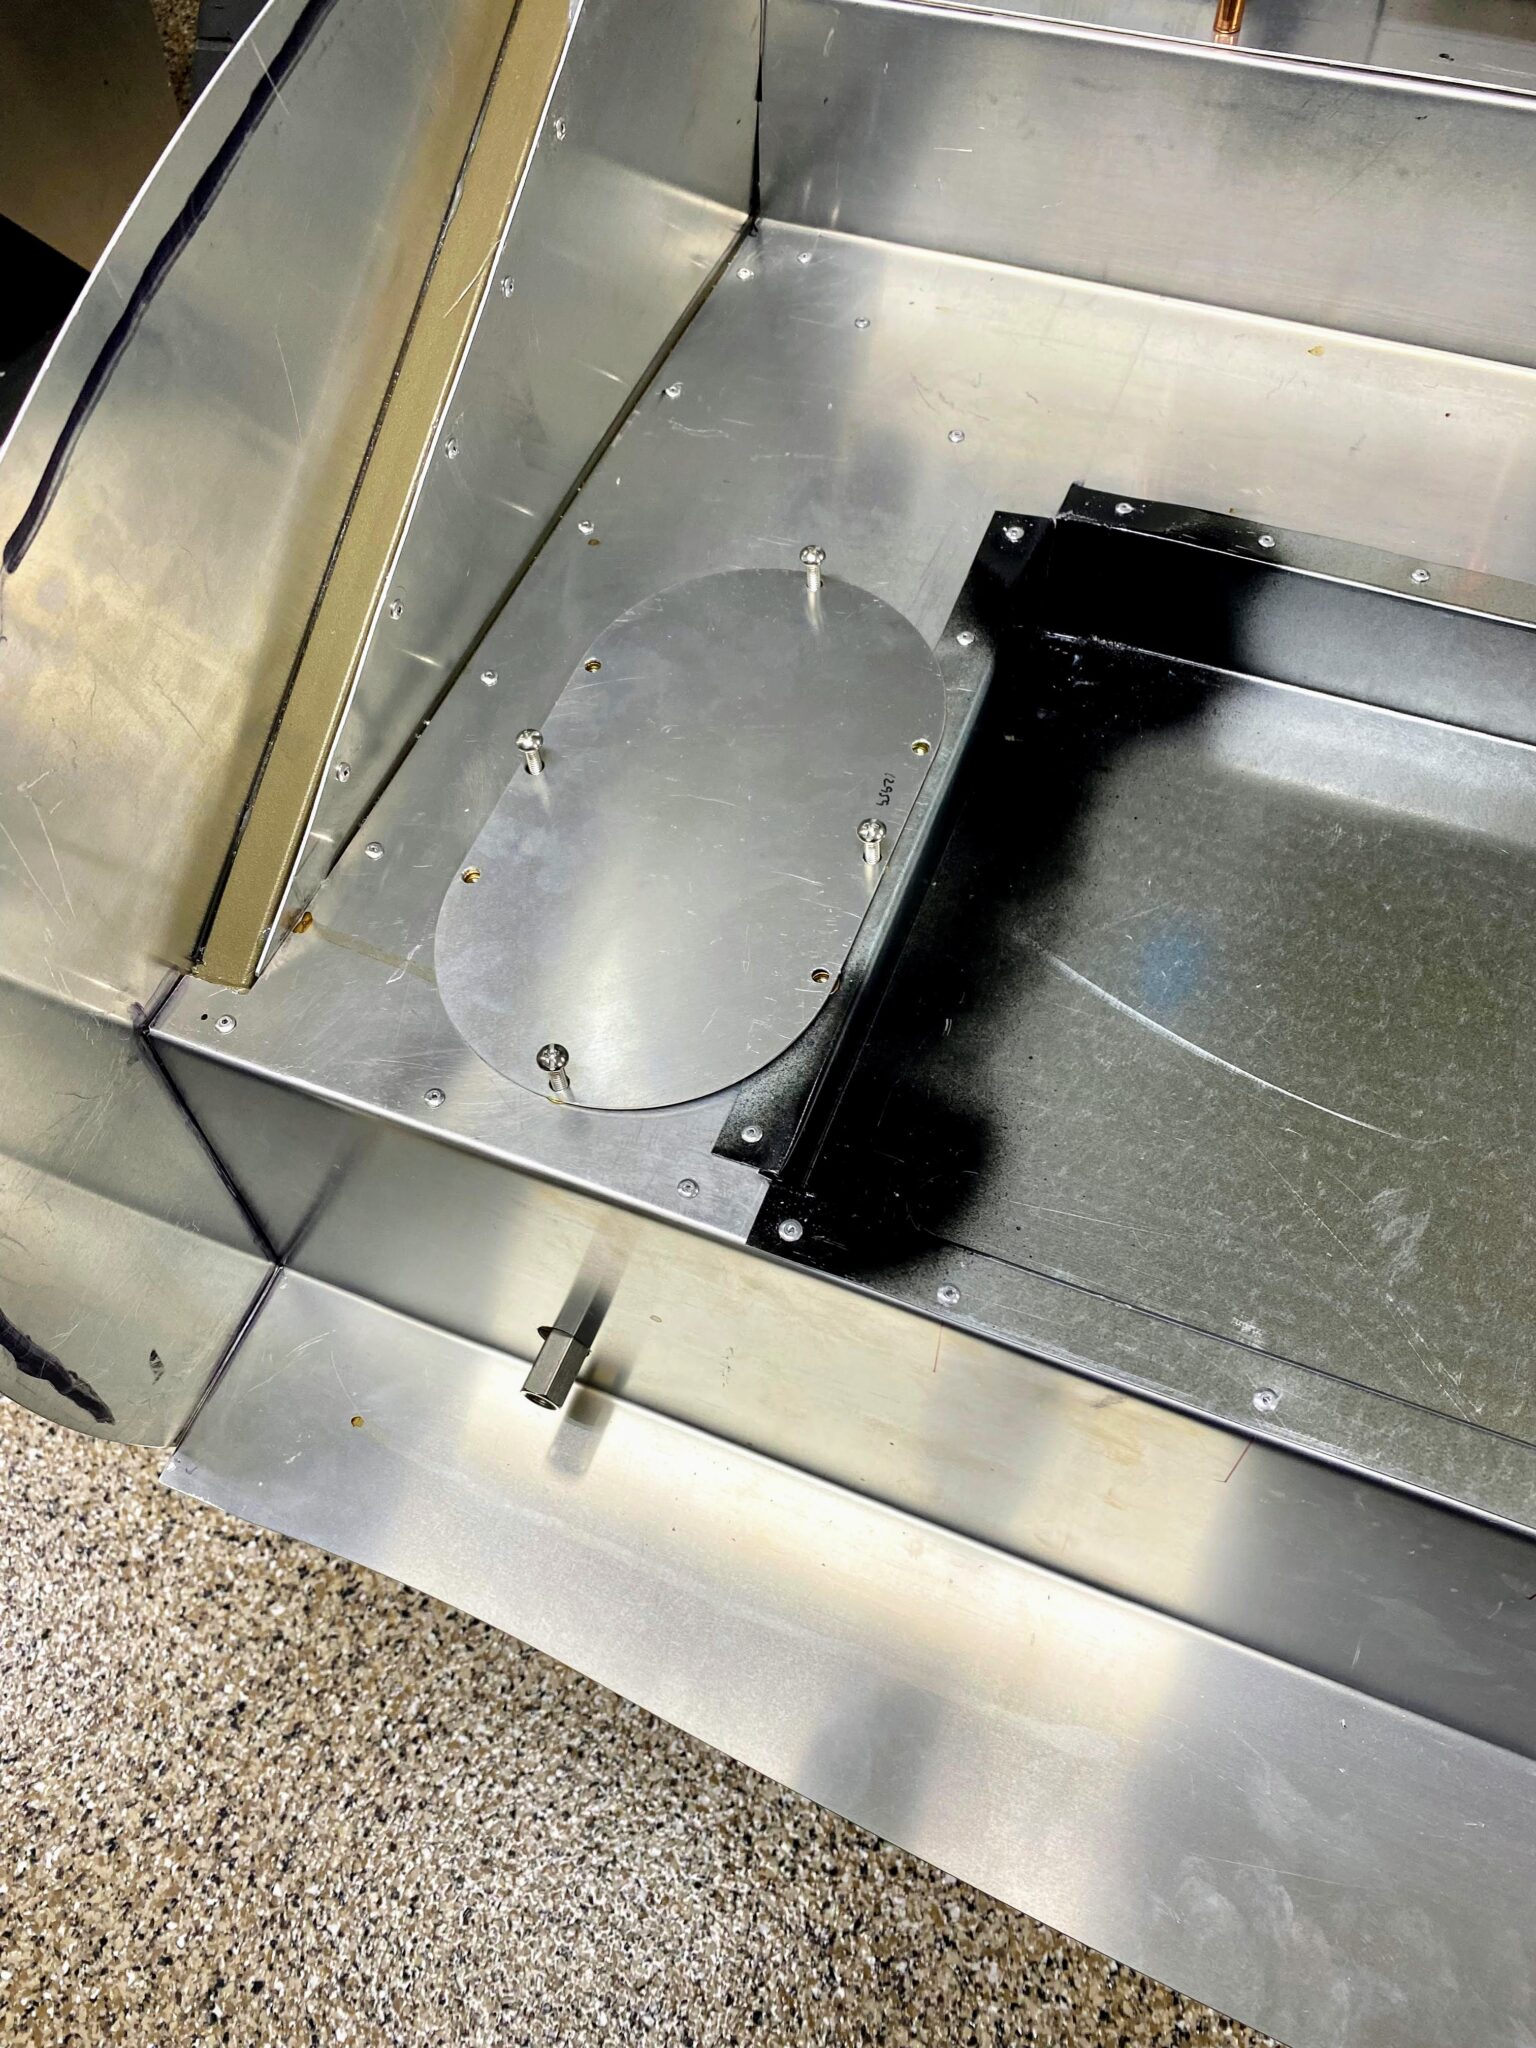
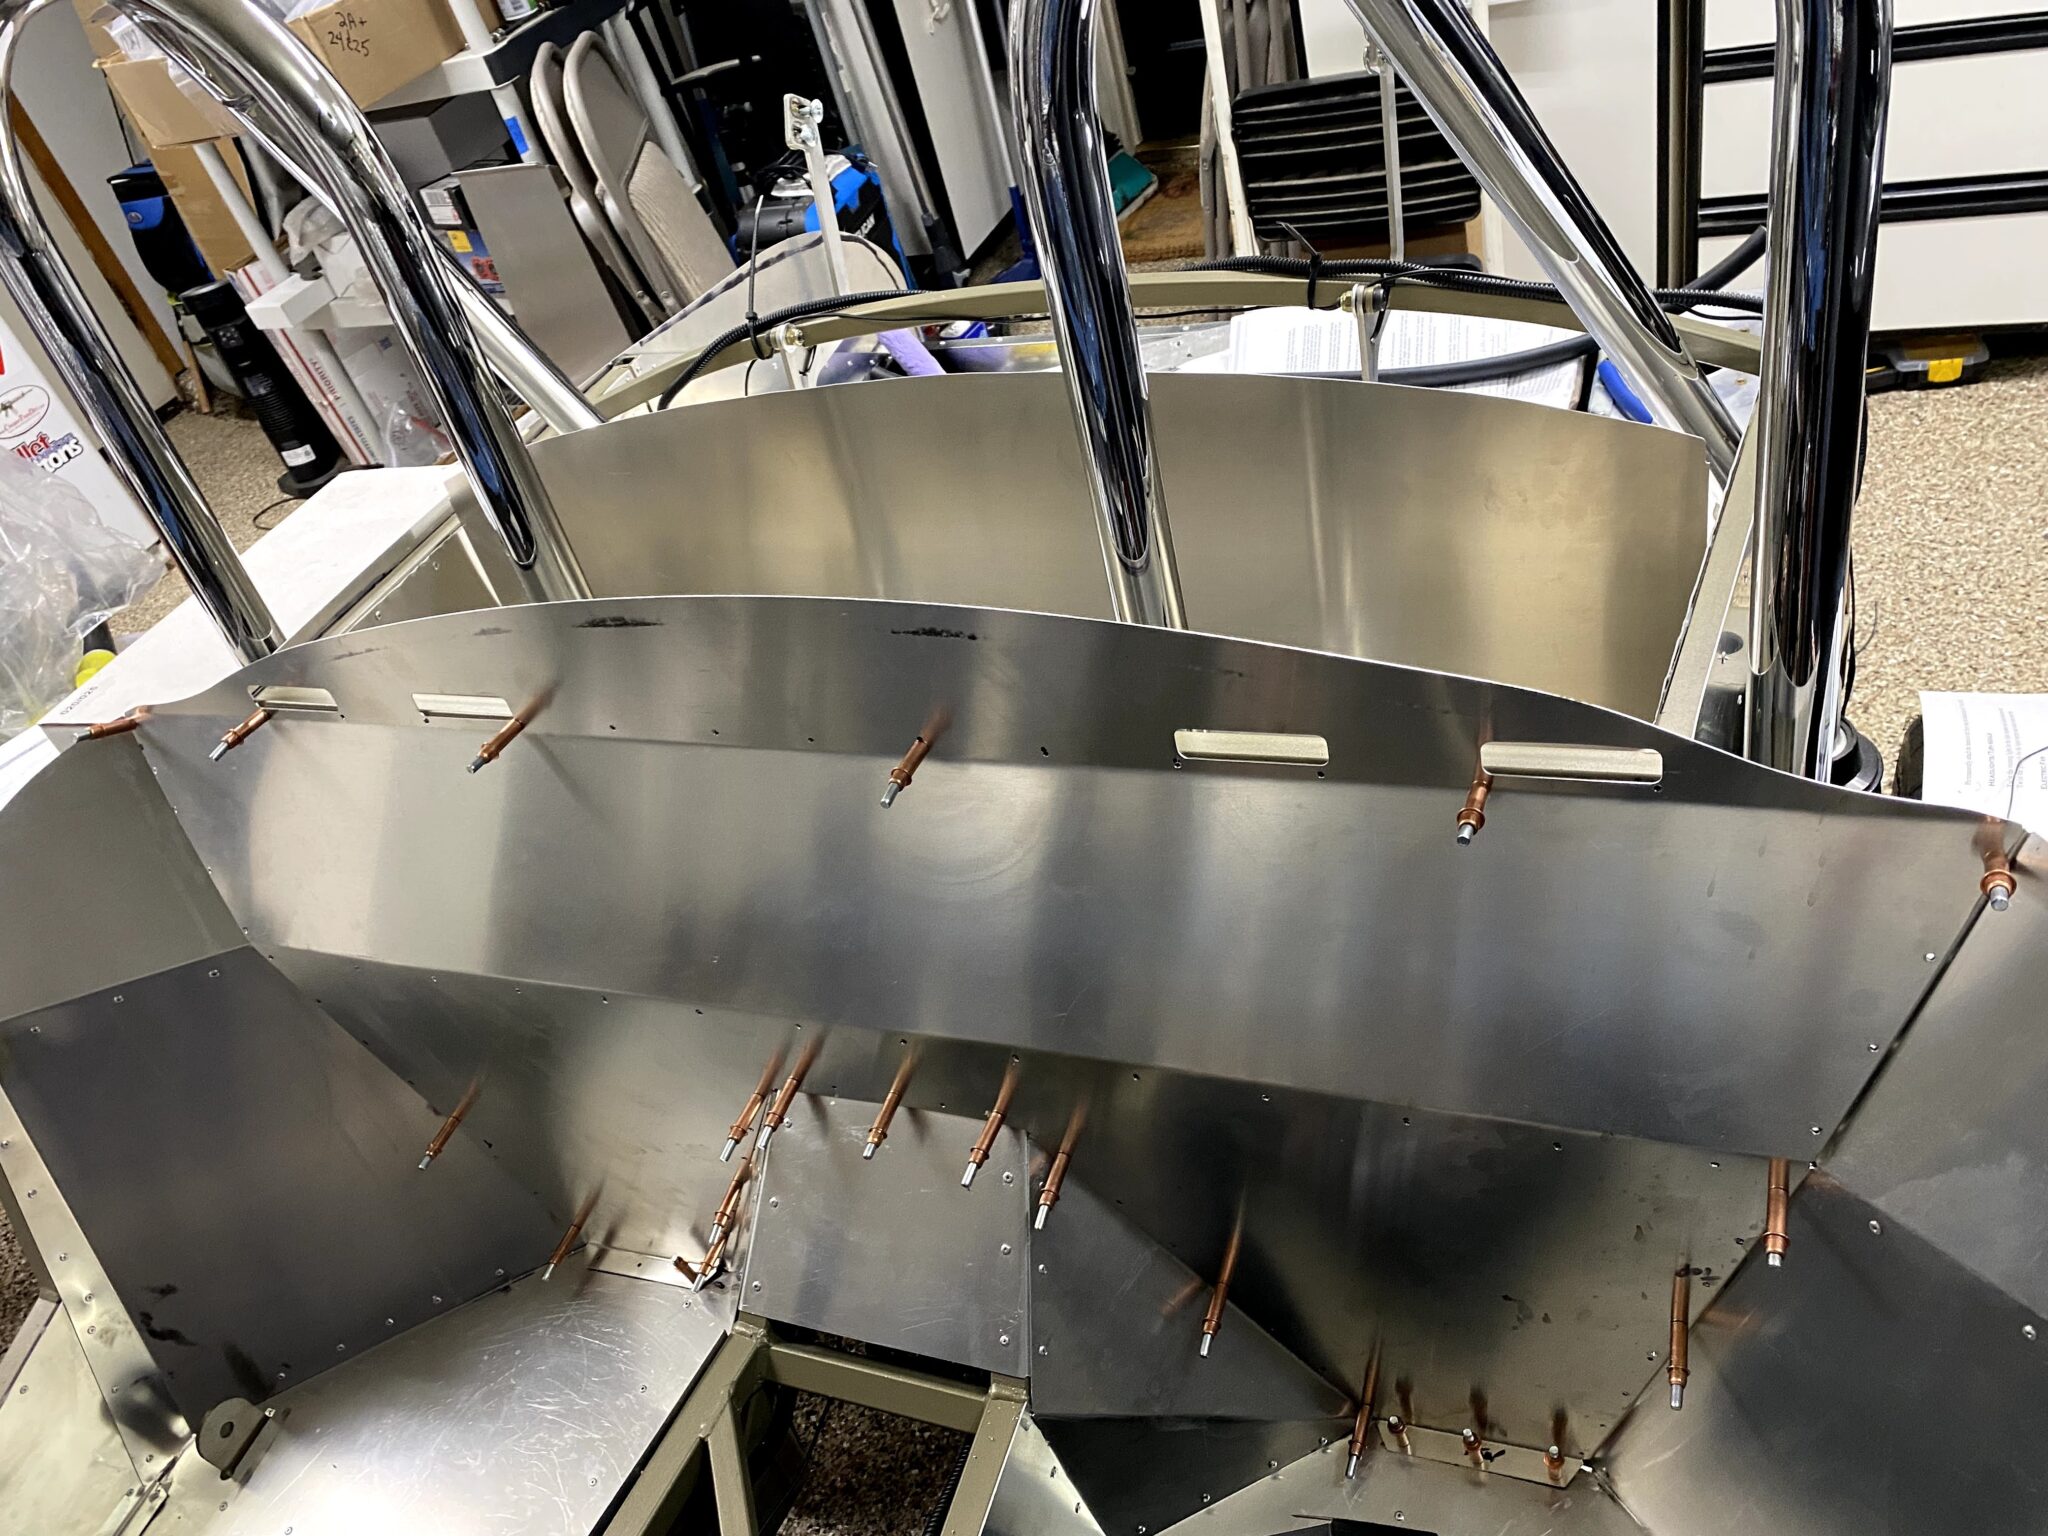
Also, here are a few pics of how I set up the rest of the trunk panels.
For example, I used a hinged door for Boyd Welding tank access.
Therefore, I can reach the fuel pump and fuel return line.
Besides that, I used rivnuts for a fuel-sender access panel.
As a result, I can service the sender later if needed.
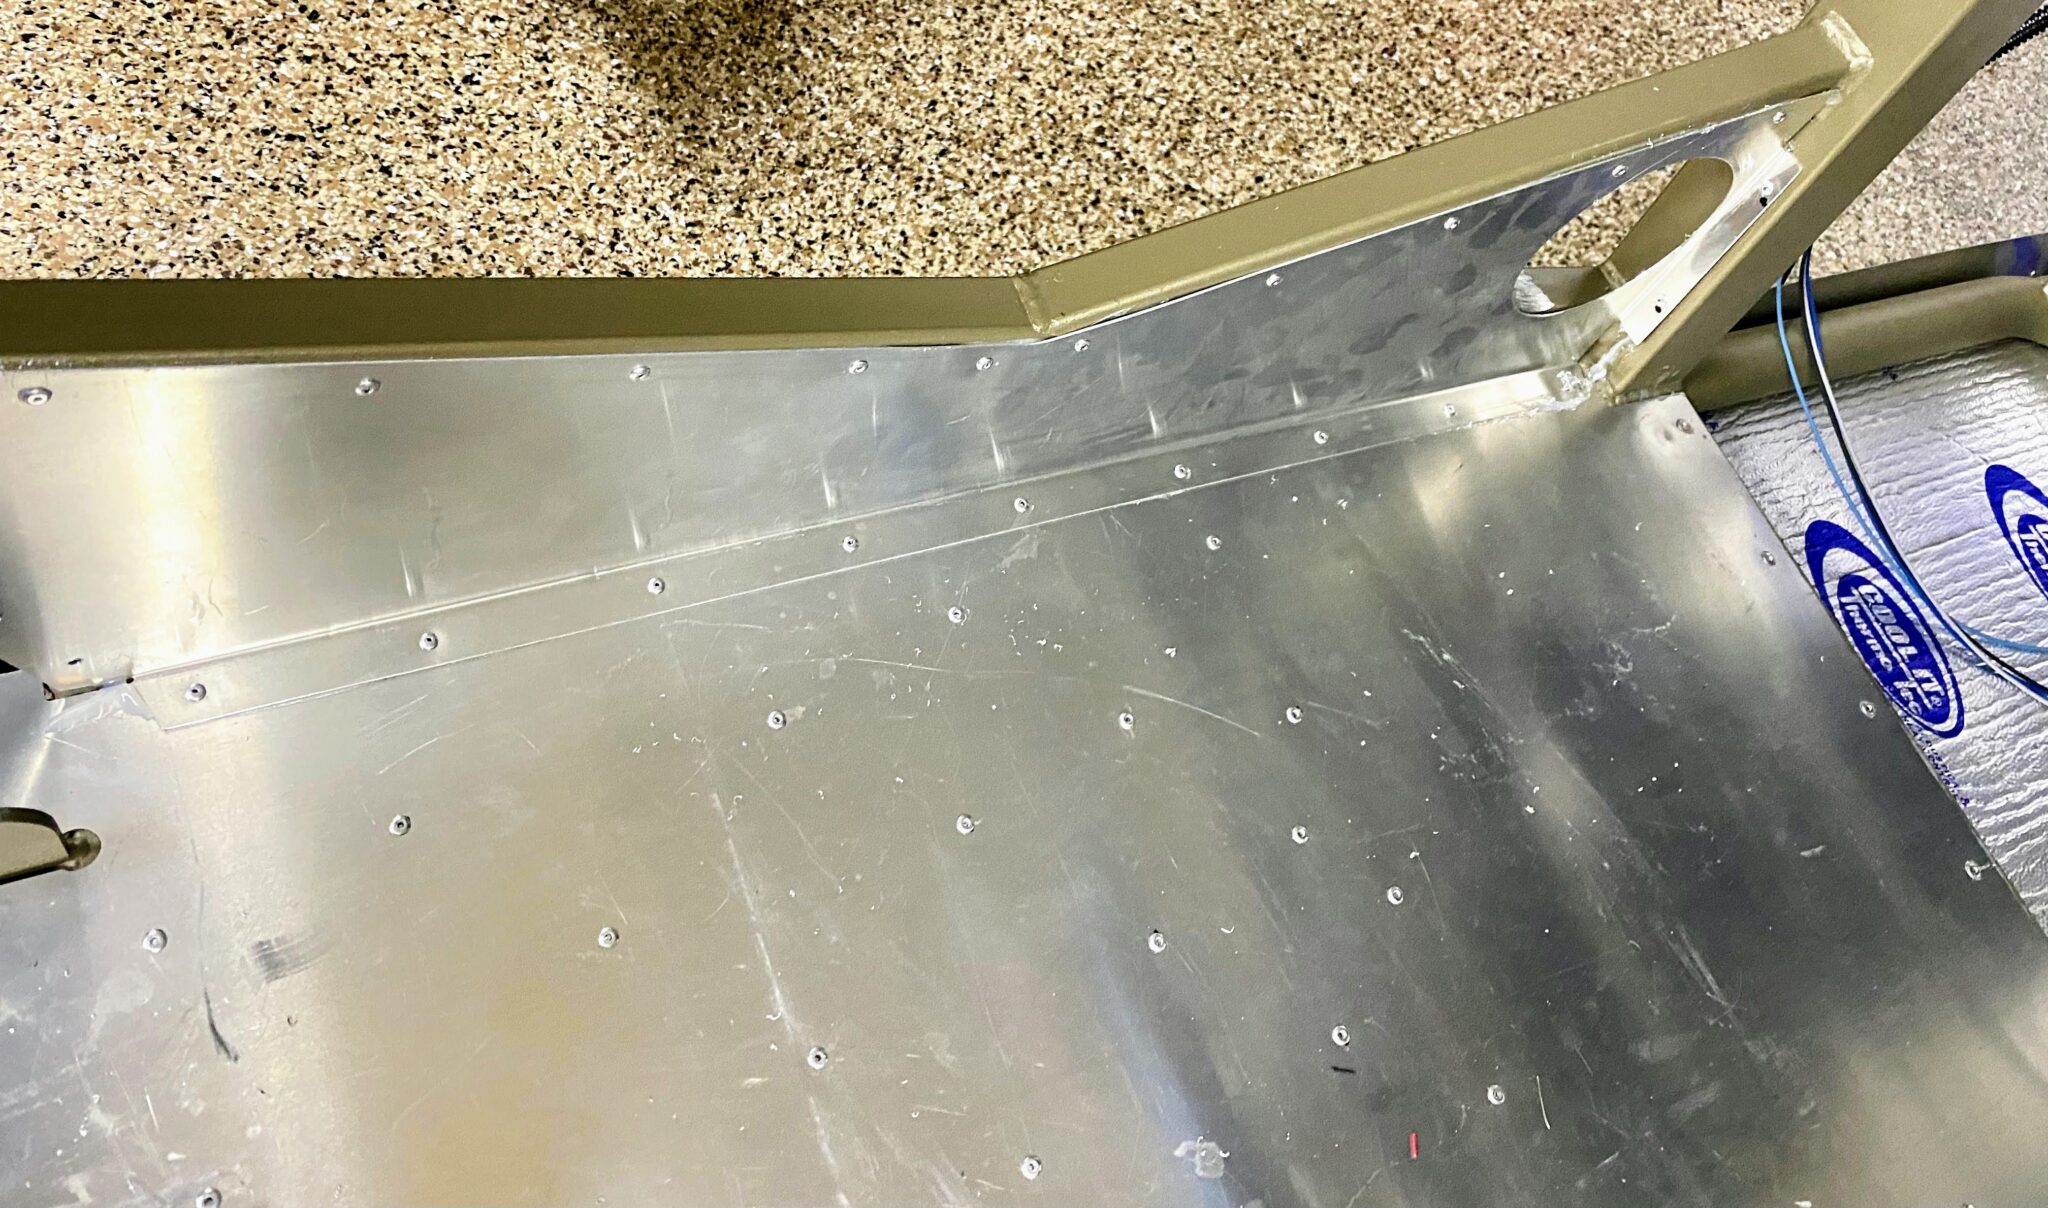
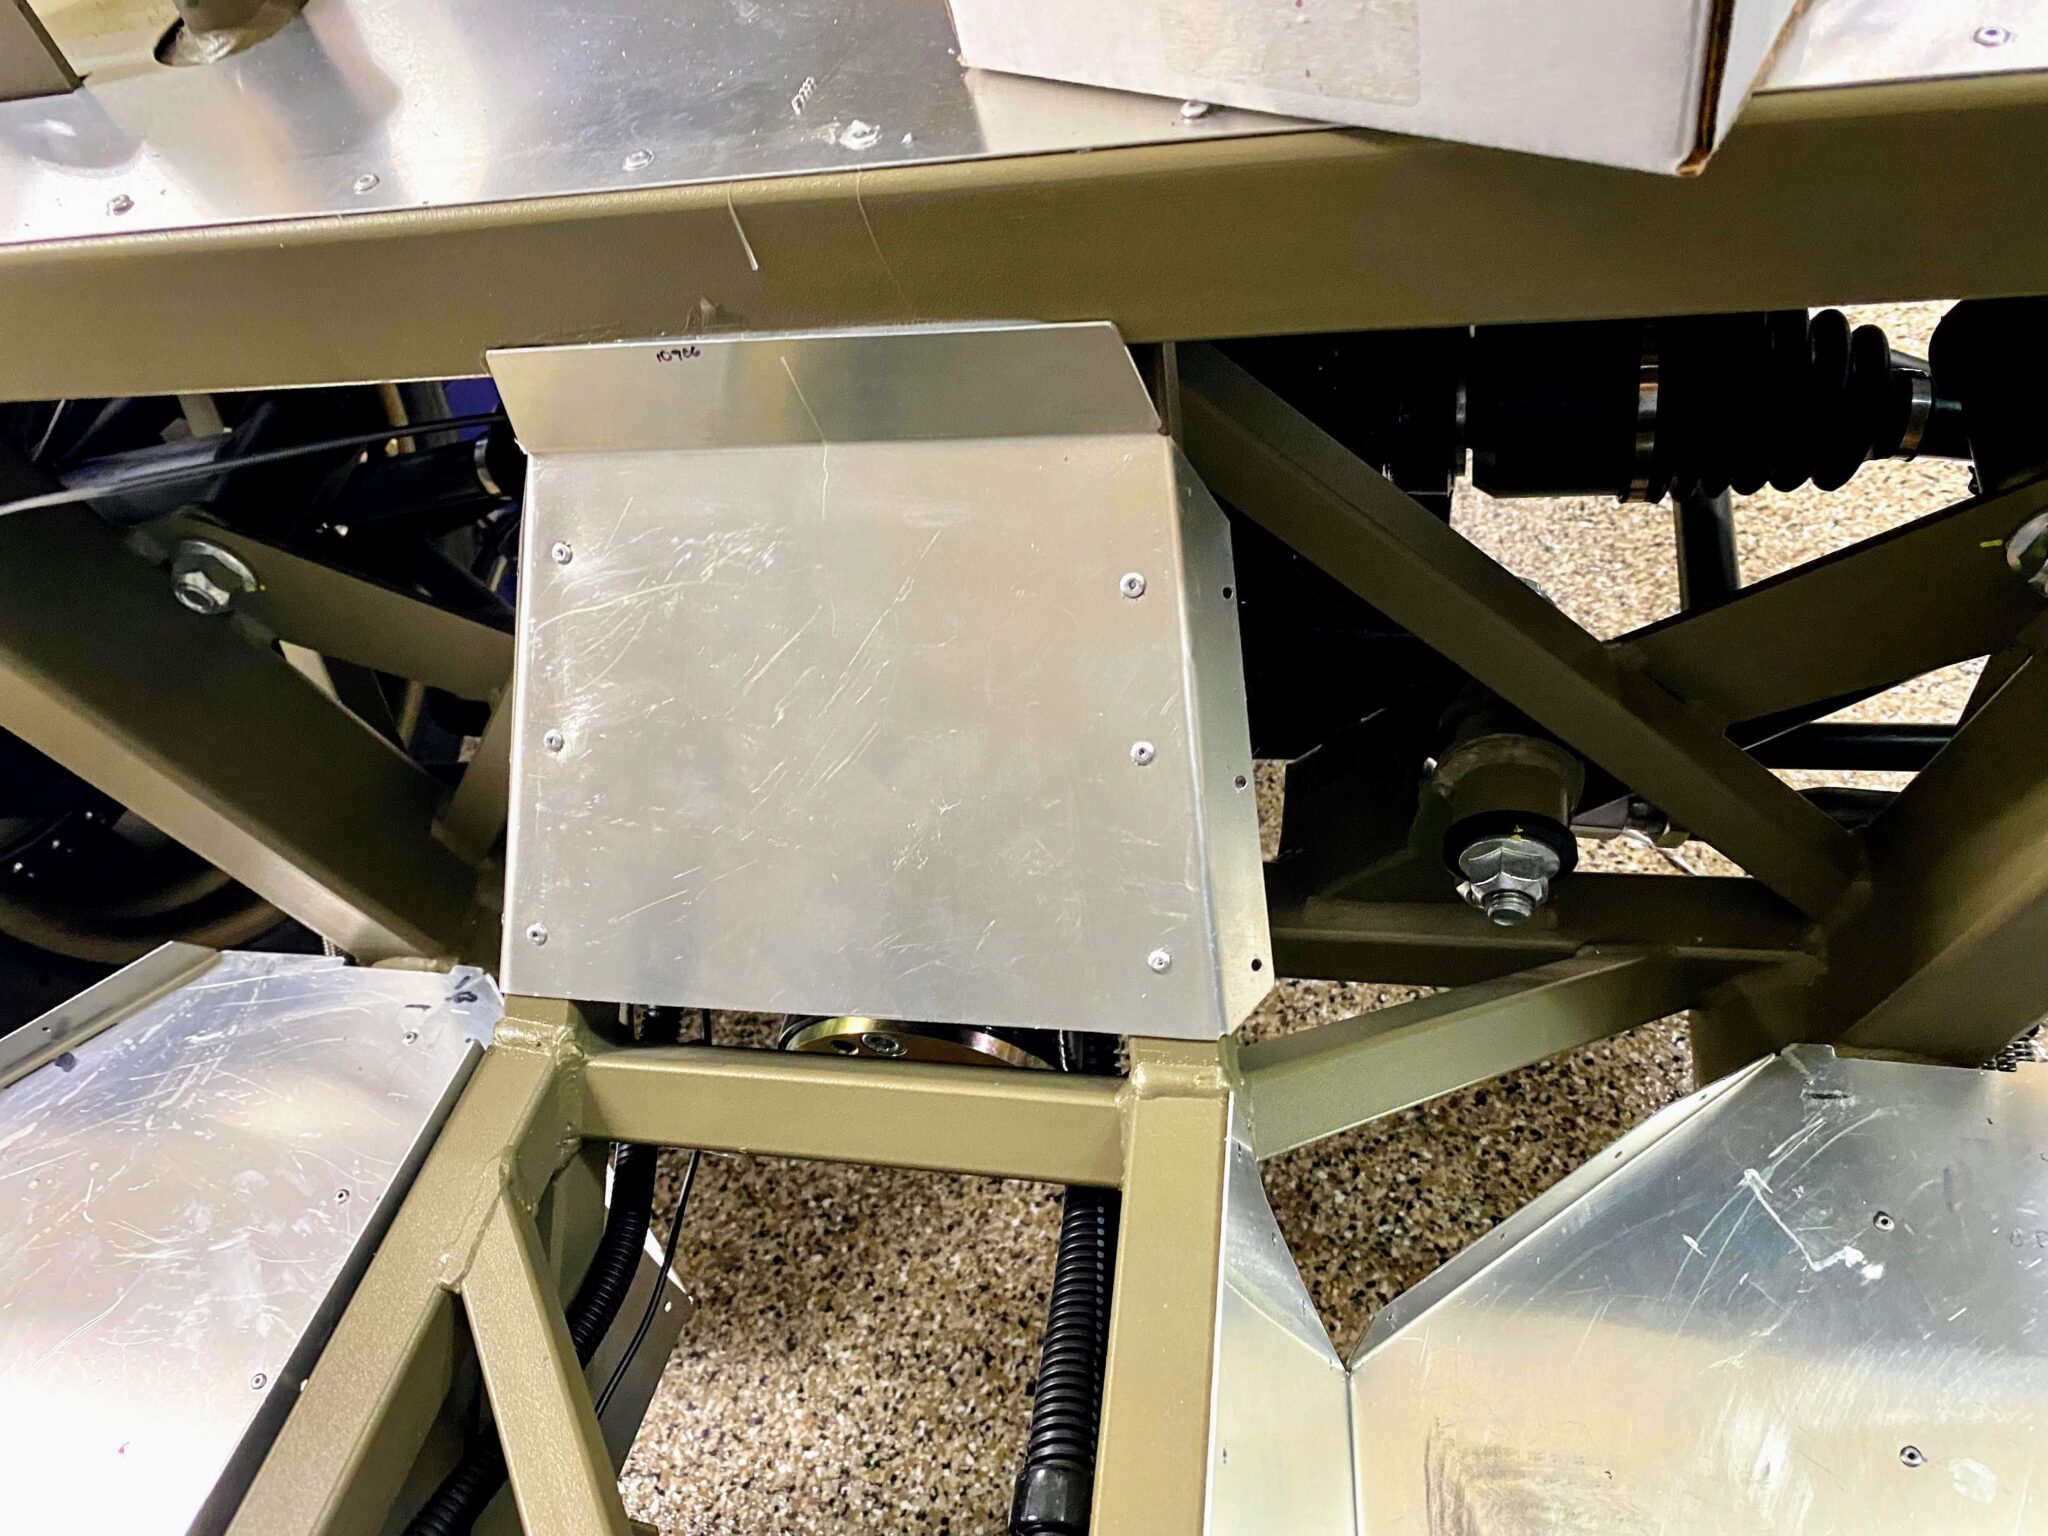
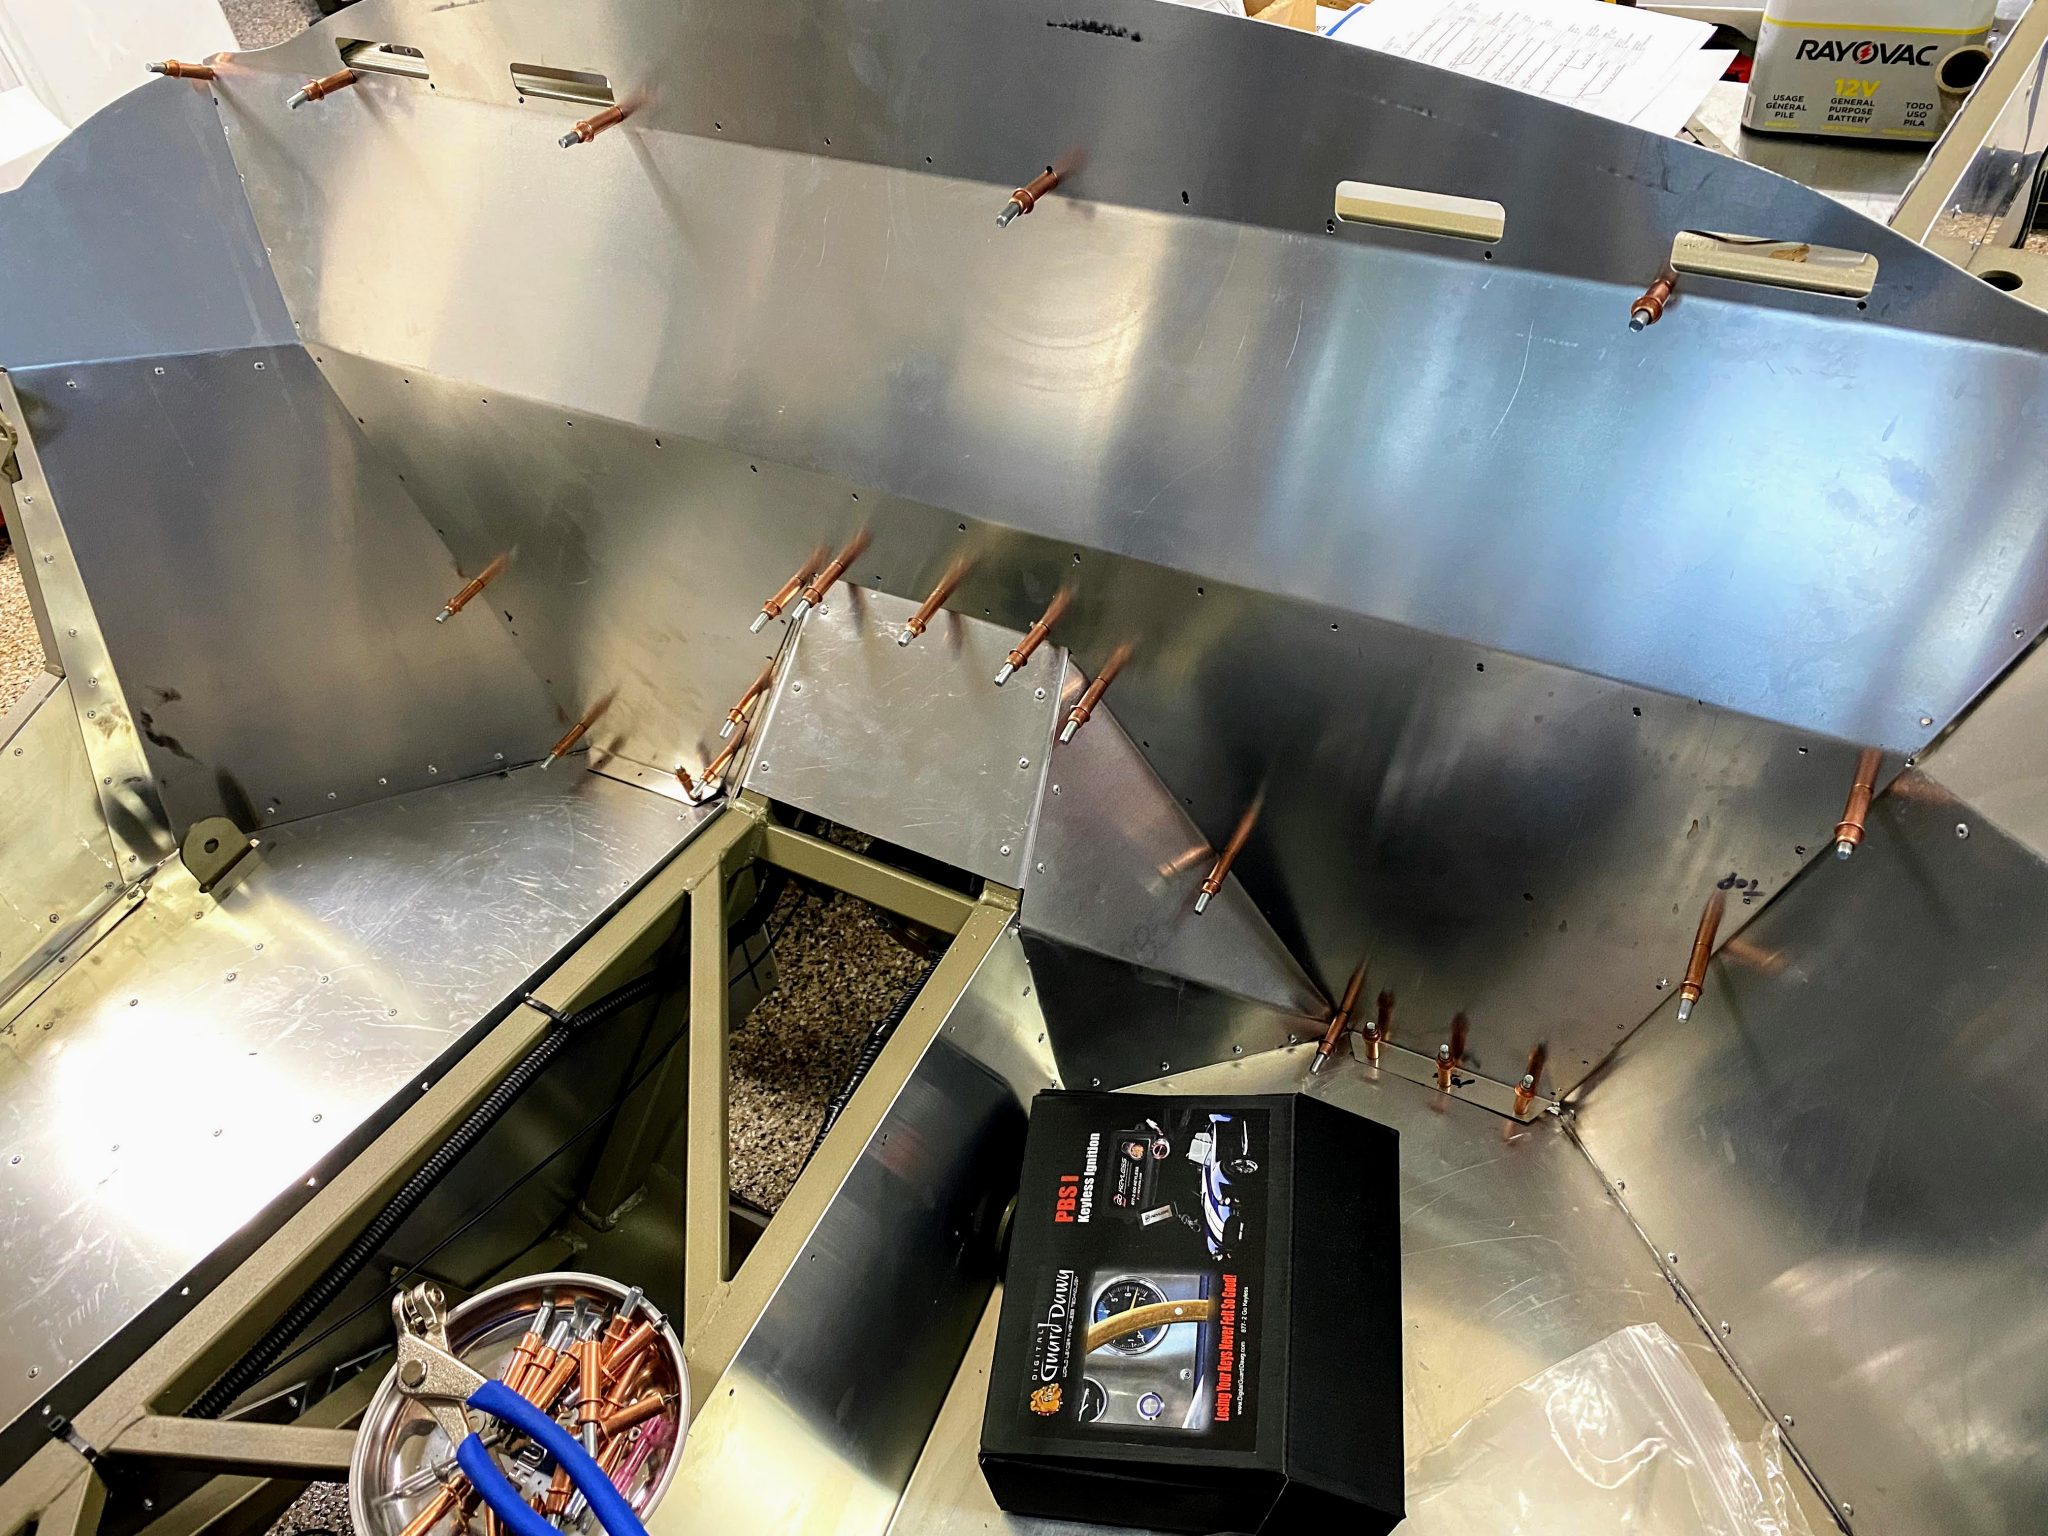
Rear cockpit wall fitment
However, dialing in the rear cockpit wall is a bit tedious.
Because one or two degrees on any panel can tweak fitment elsewhere.
Still, this all sits under the pad and carpet.
So as long as fitment is good, we are good to go!
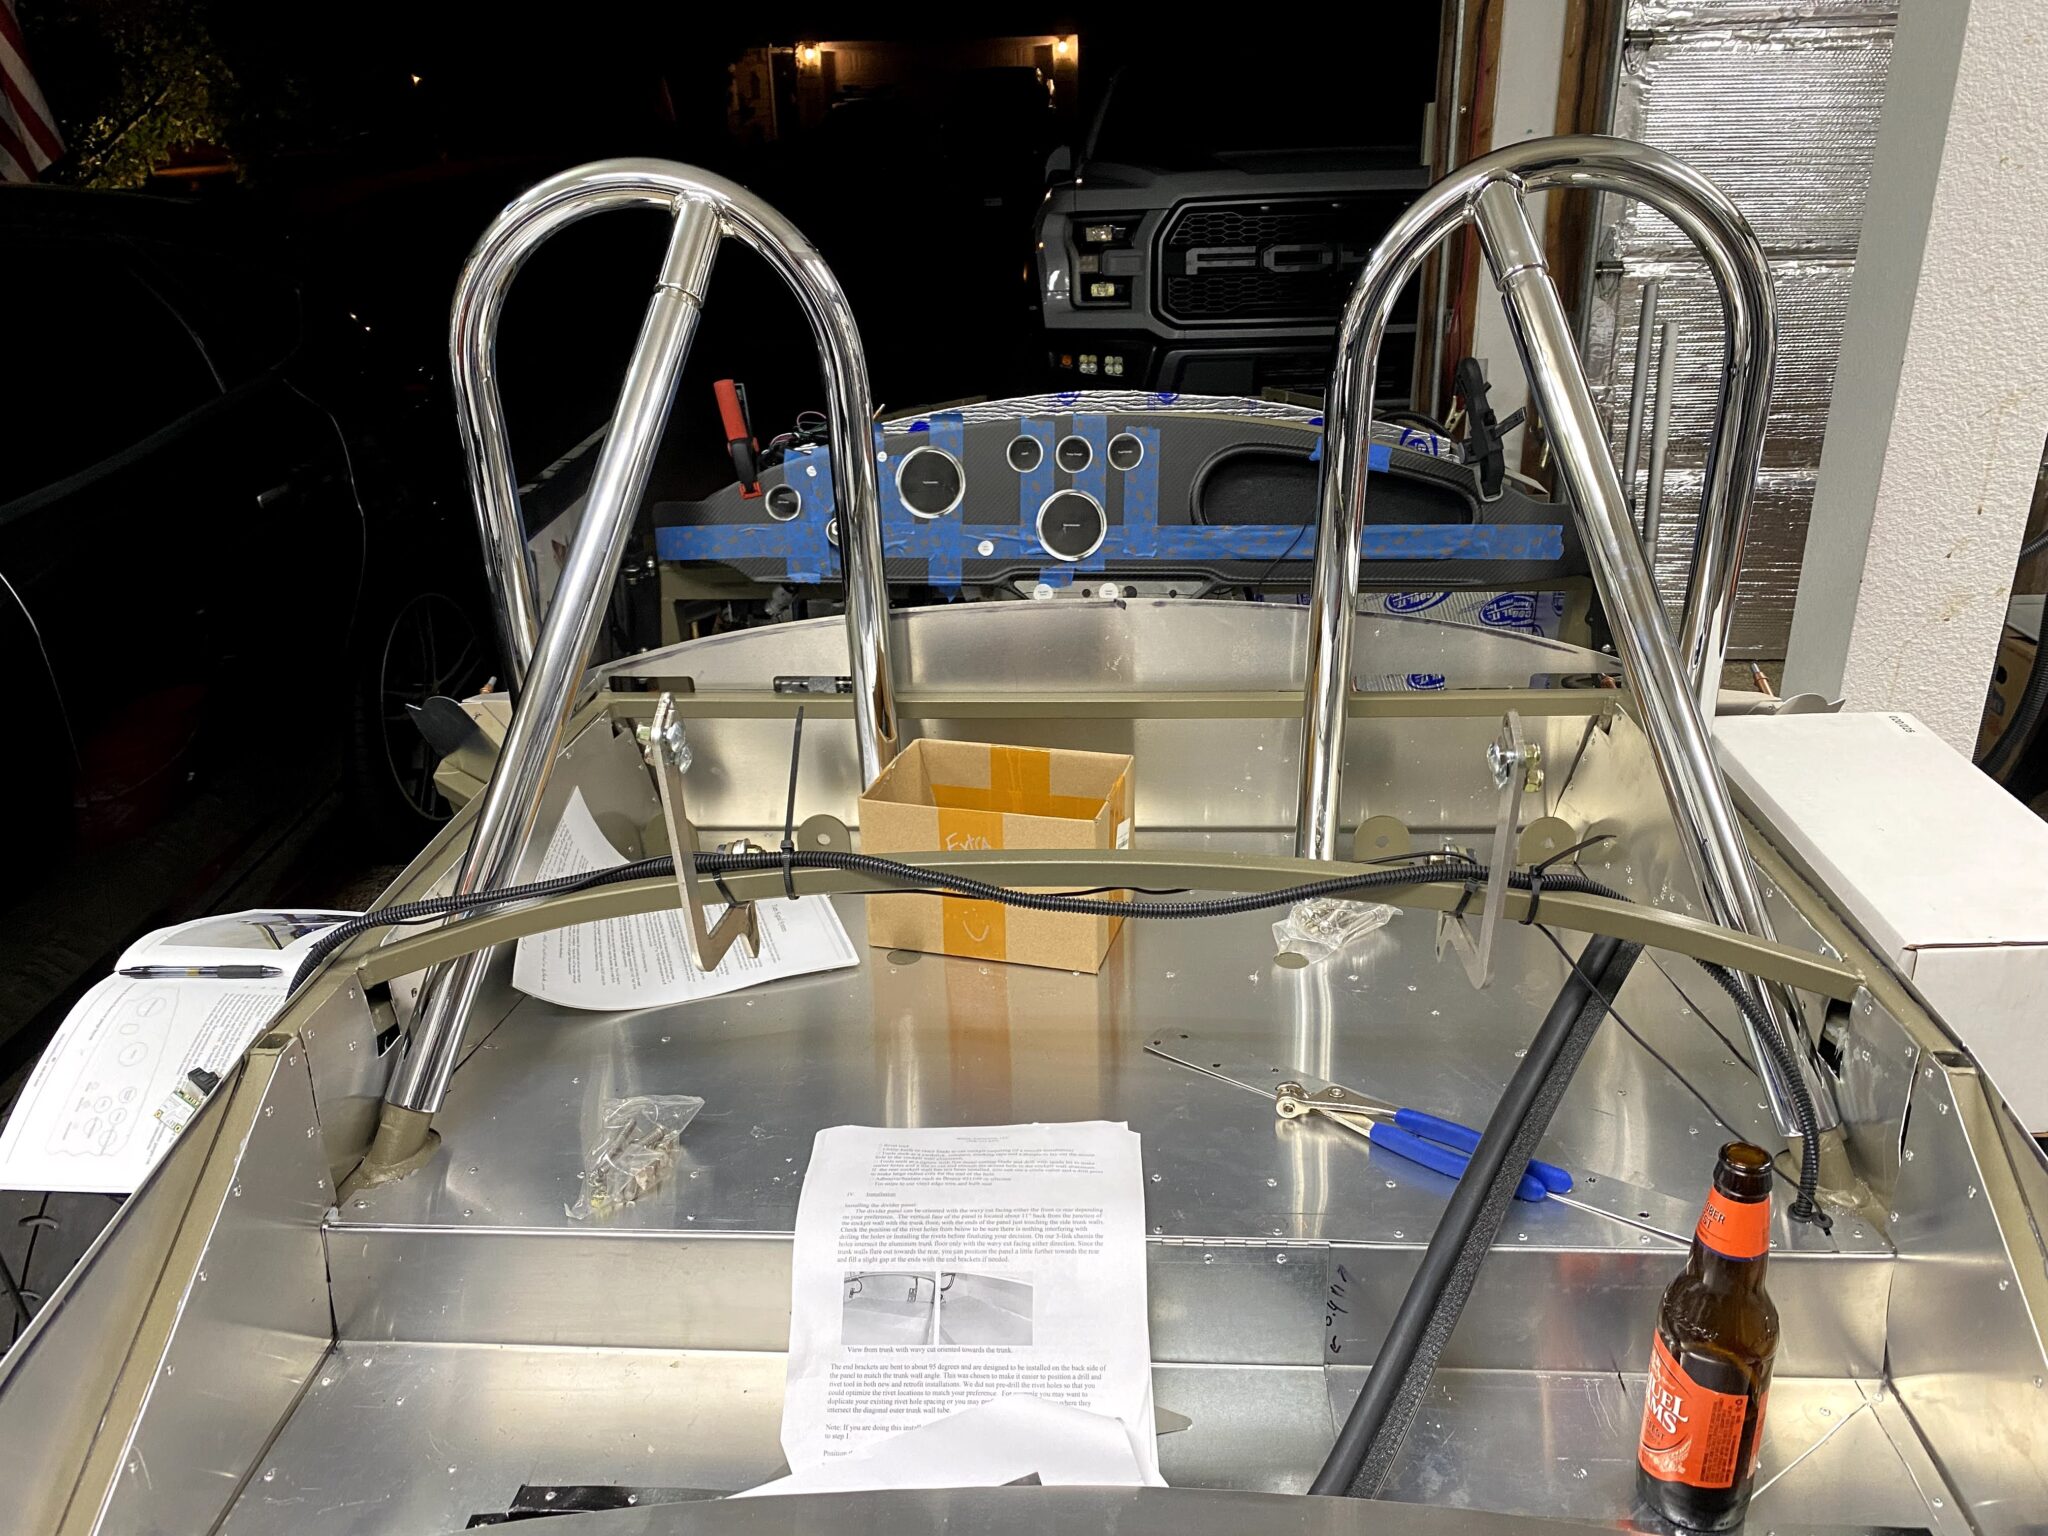
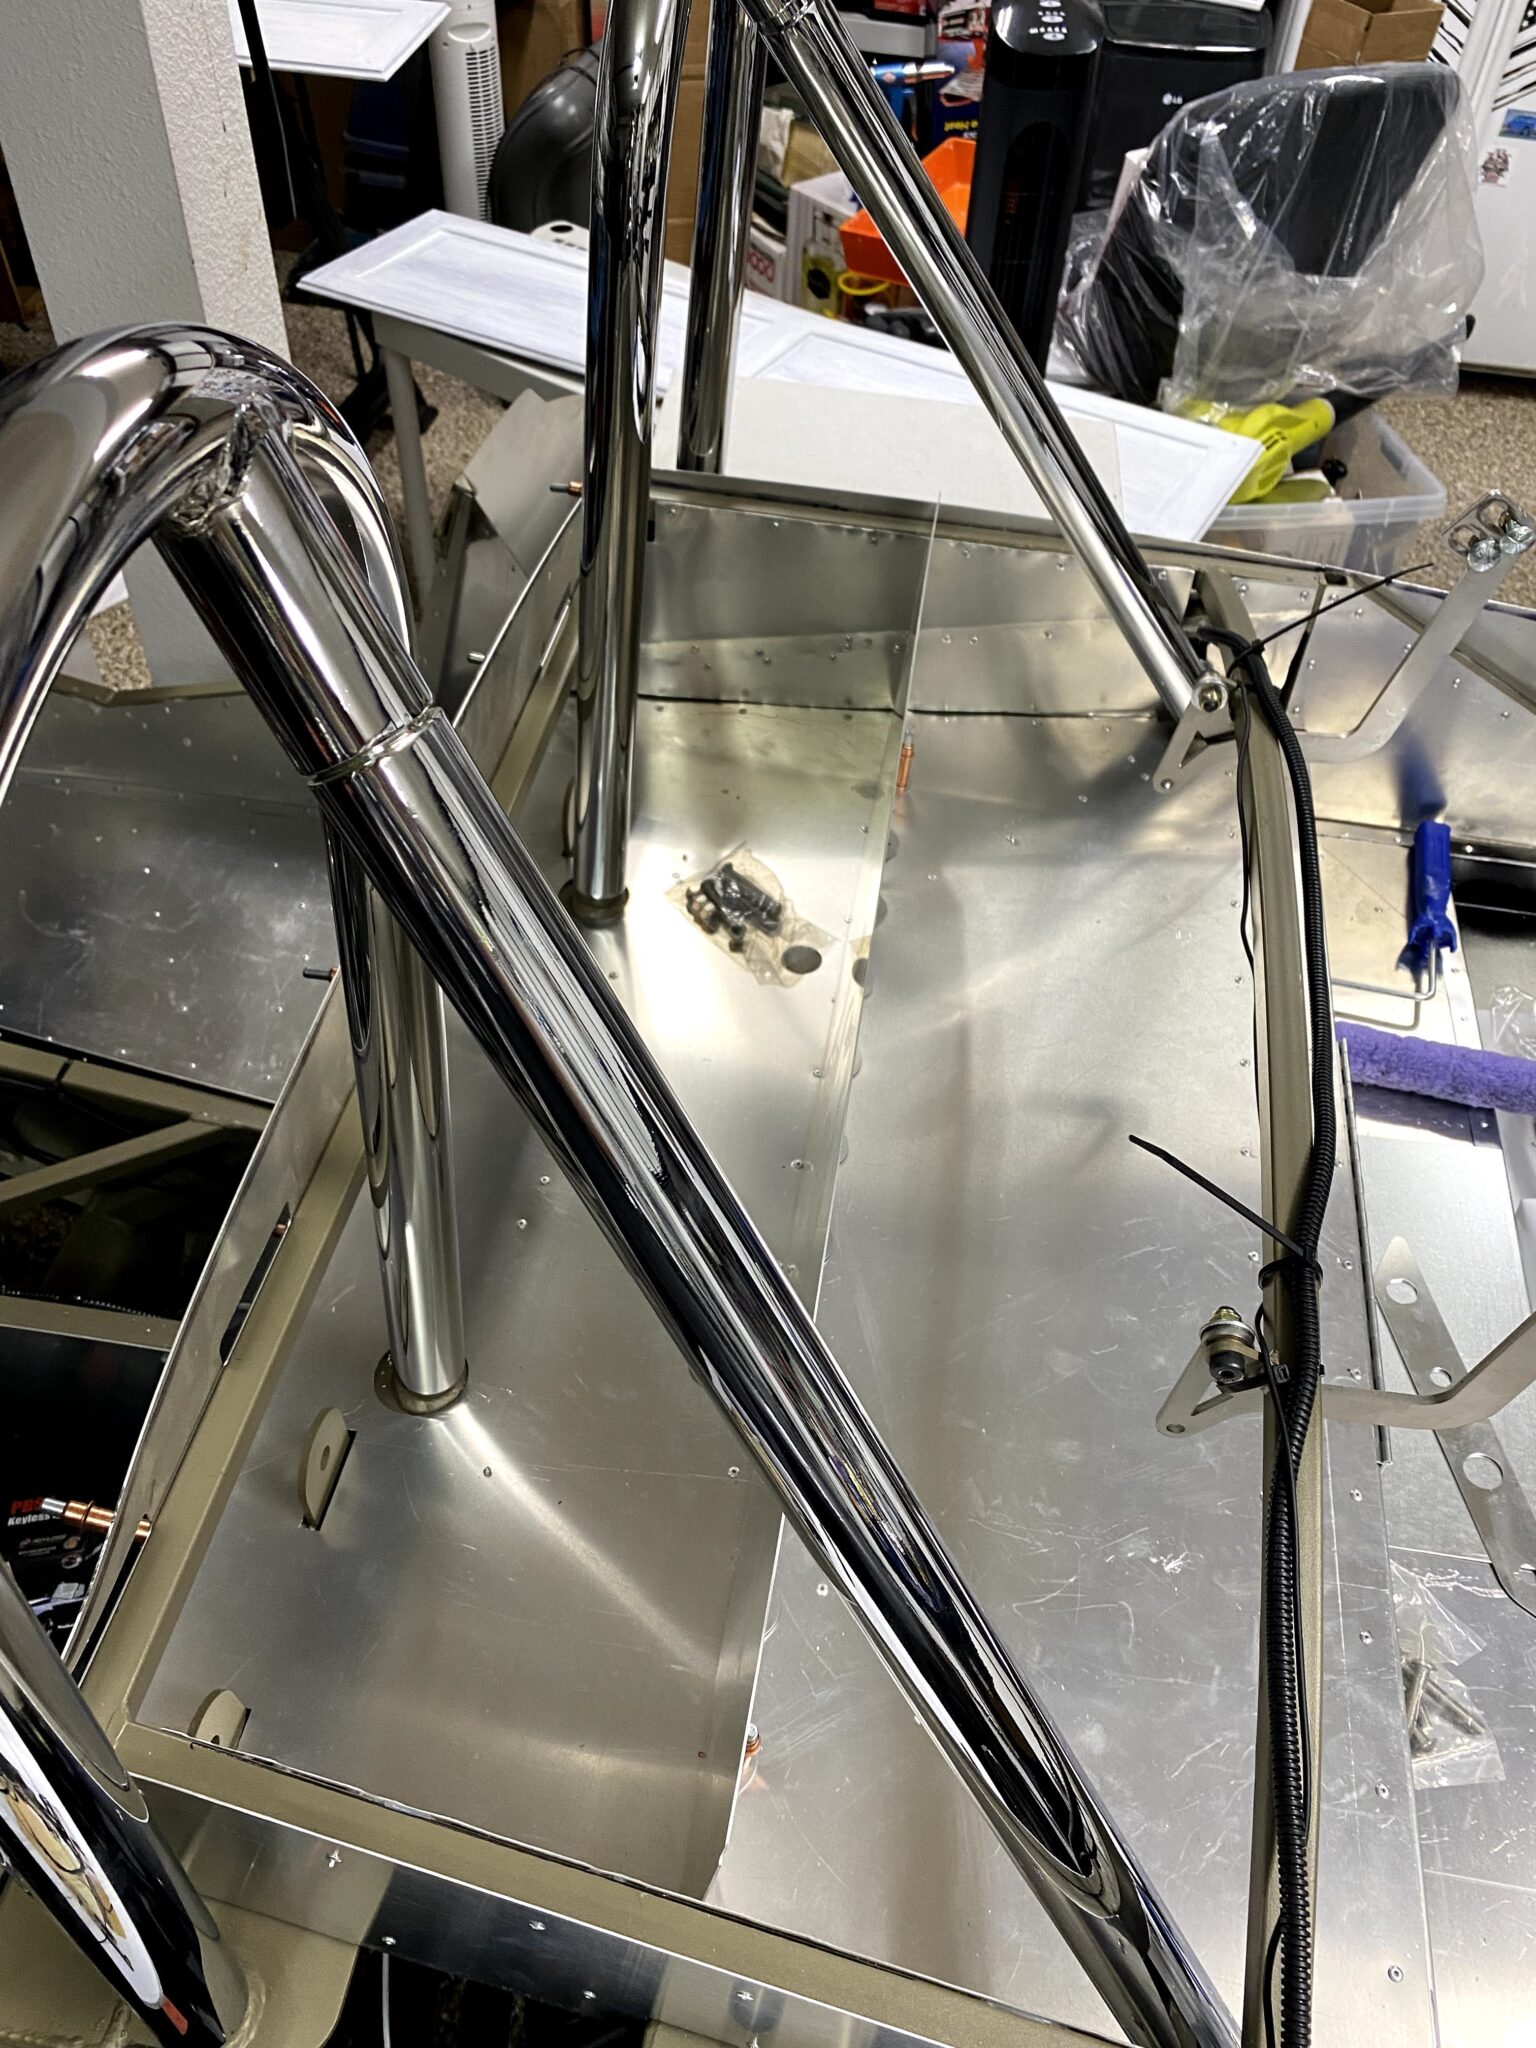
Next, fitting the rollbars was more challenging than expected.
First, you mount the rear leg.
Then you drop the hoop from above and align it to the rear leg.
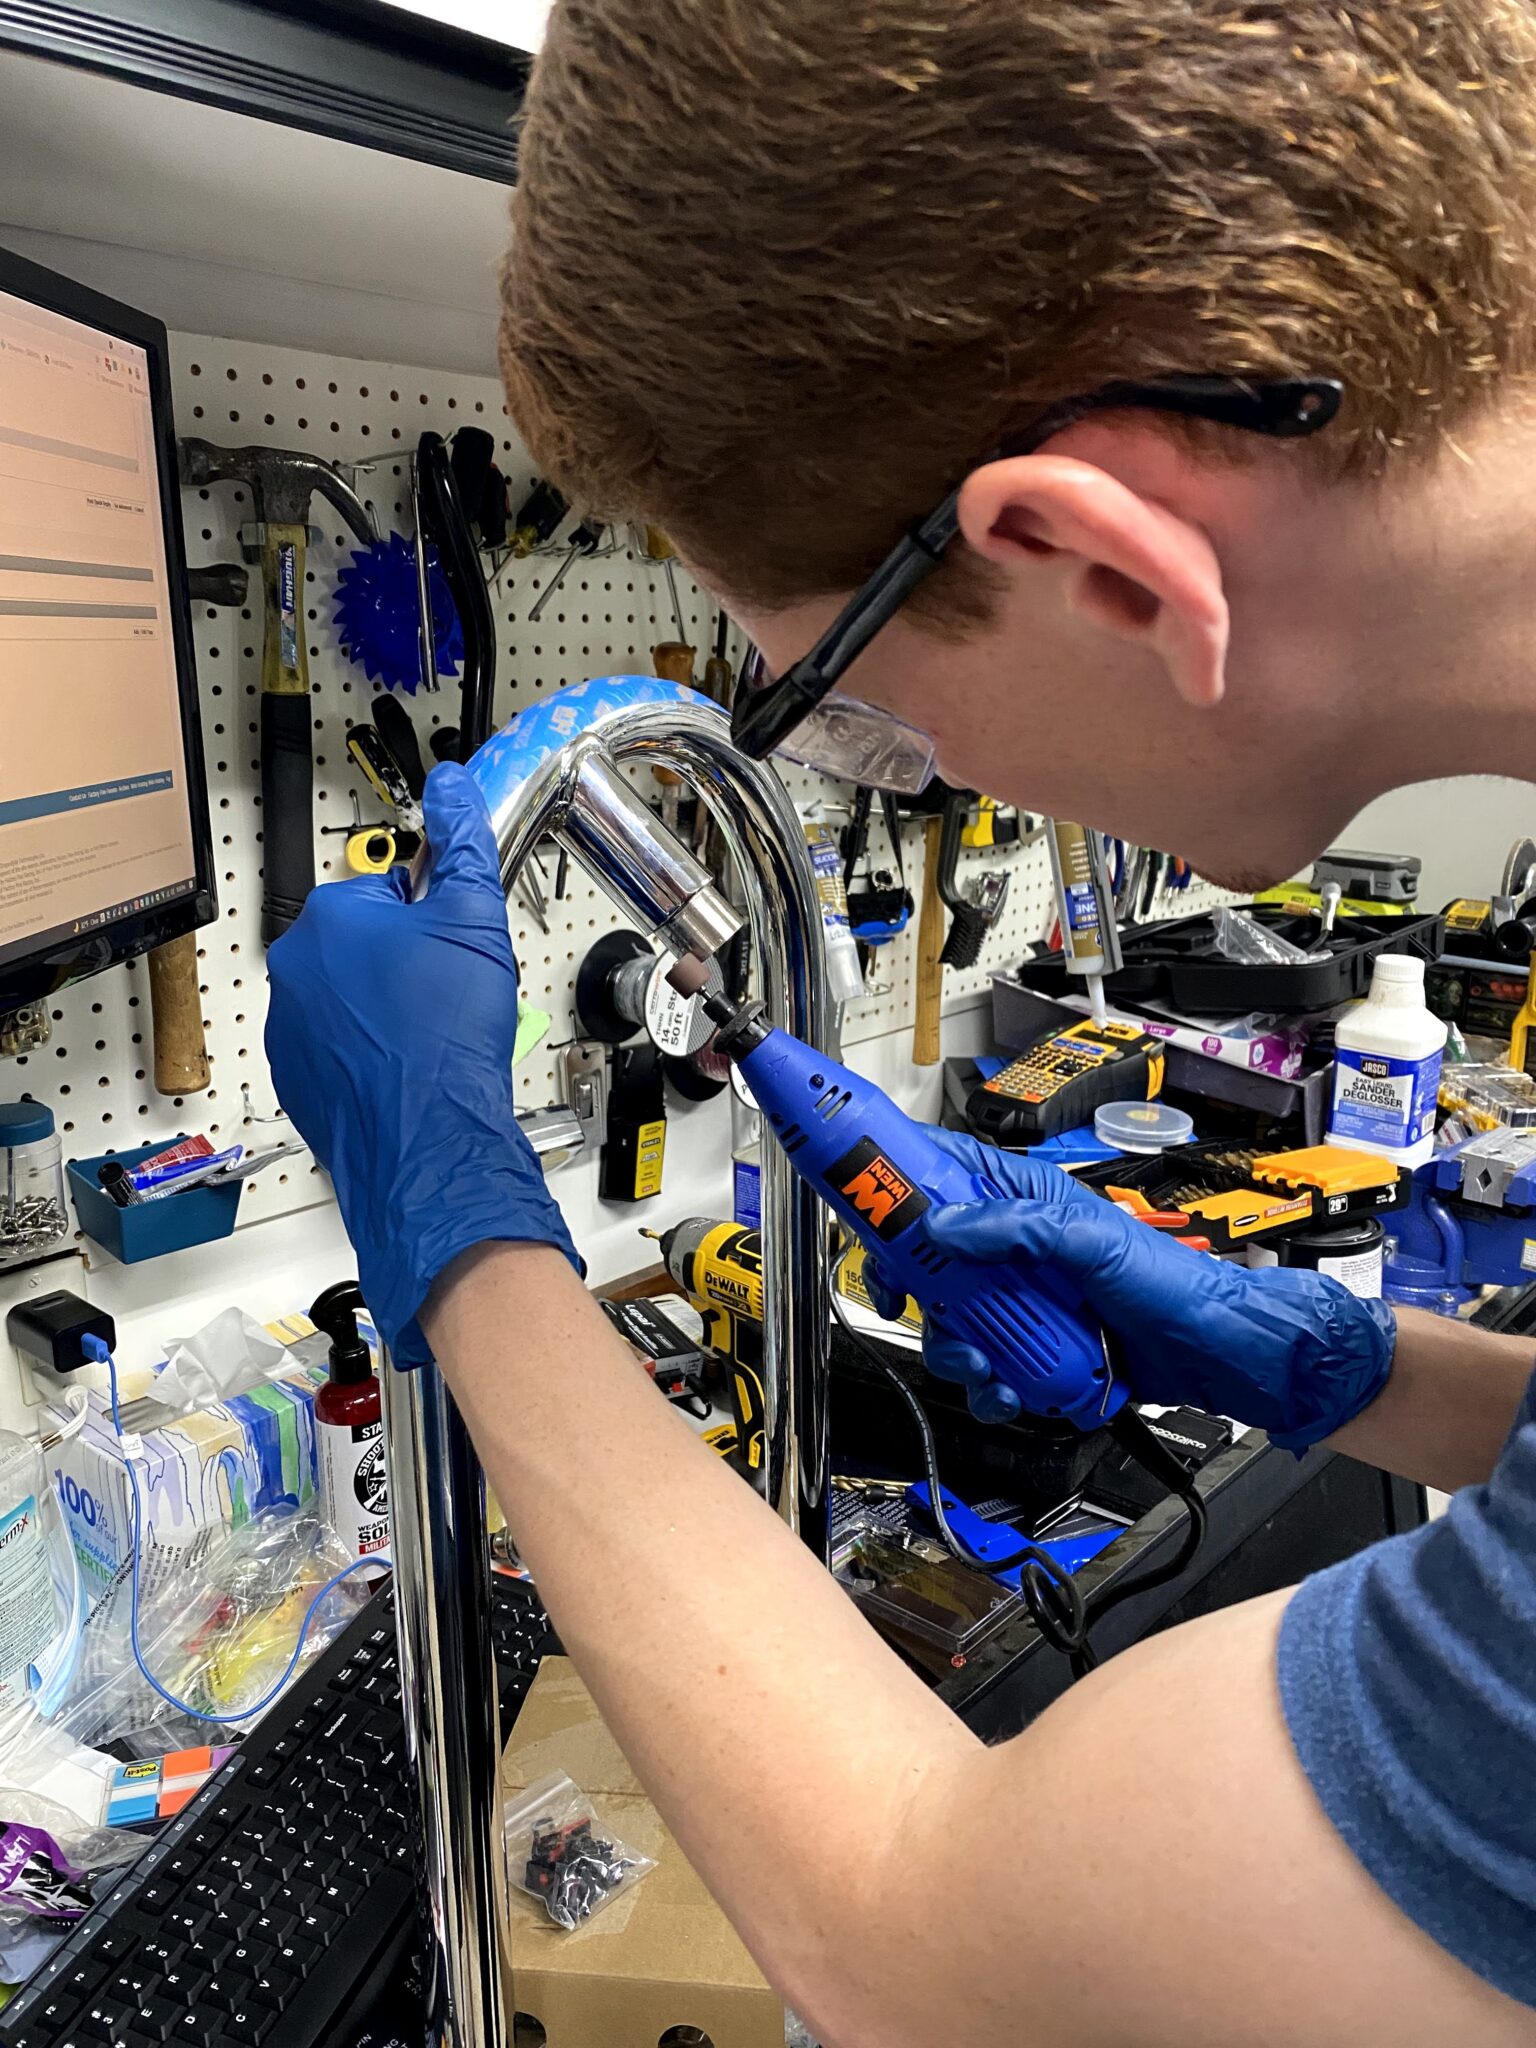
However, the tolerances are very tight.
So we had to dremel off some chrome on the male and female connect points.
Rollbar fitment
Grease, tape, and 520 Speedworks
Also, white lithium grease is highly recommended.
Once we place the bars, the drilling process begins.
Meanwhile, keep them snugged up and tape them together!
Likewise, I will use 520 Speedworks internal mounts.
Therefore, I thankfully skip drilling for the rear to hoop!
Drilling tips for hardened steel
Suggestions for this step:
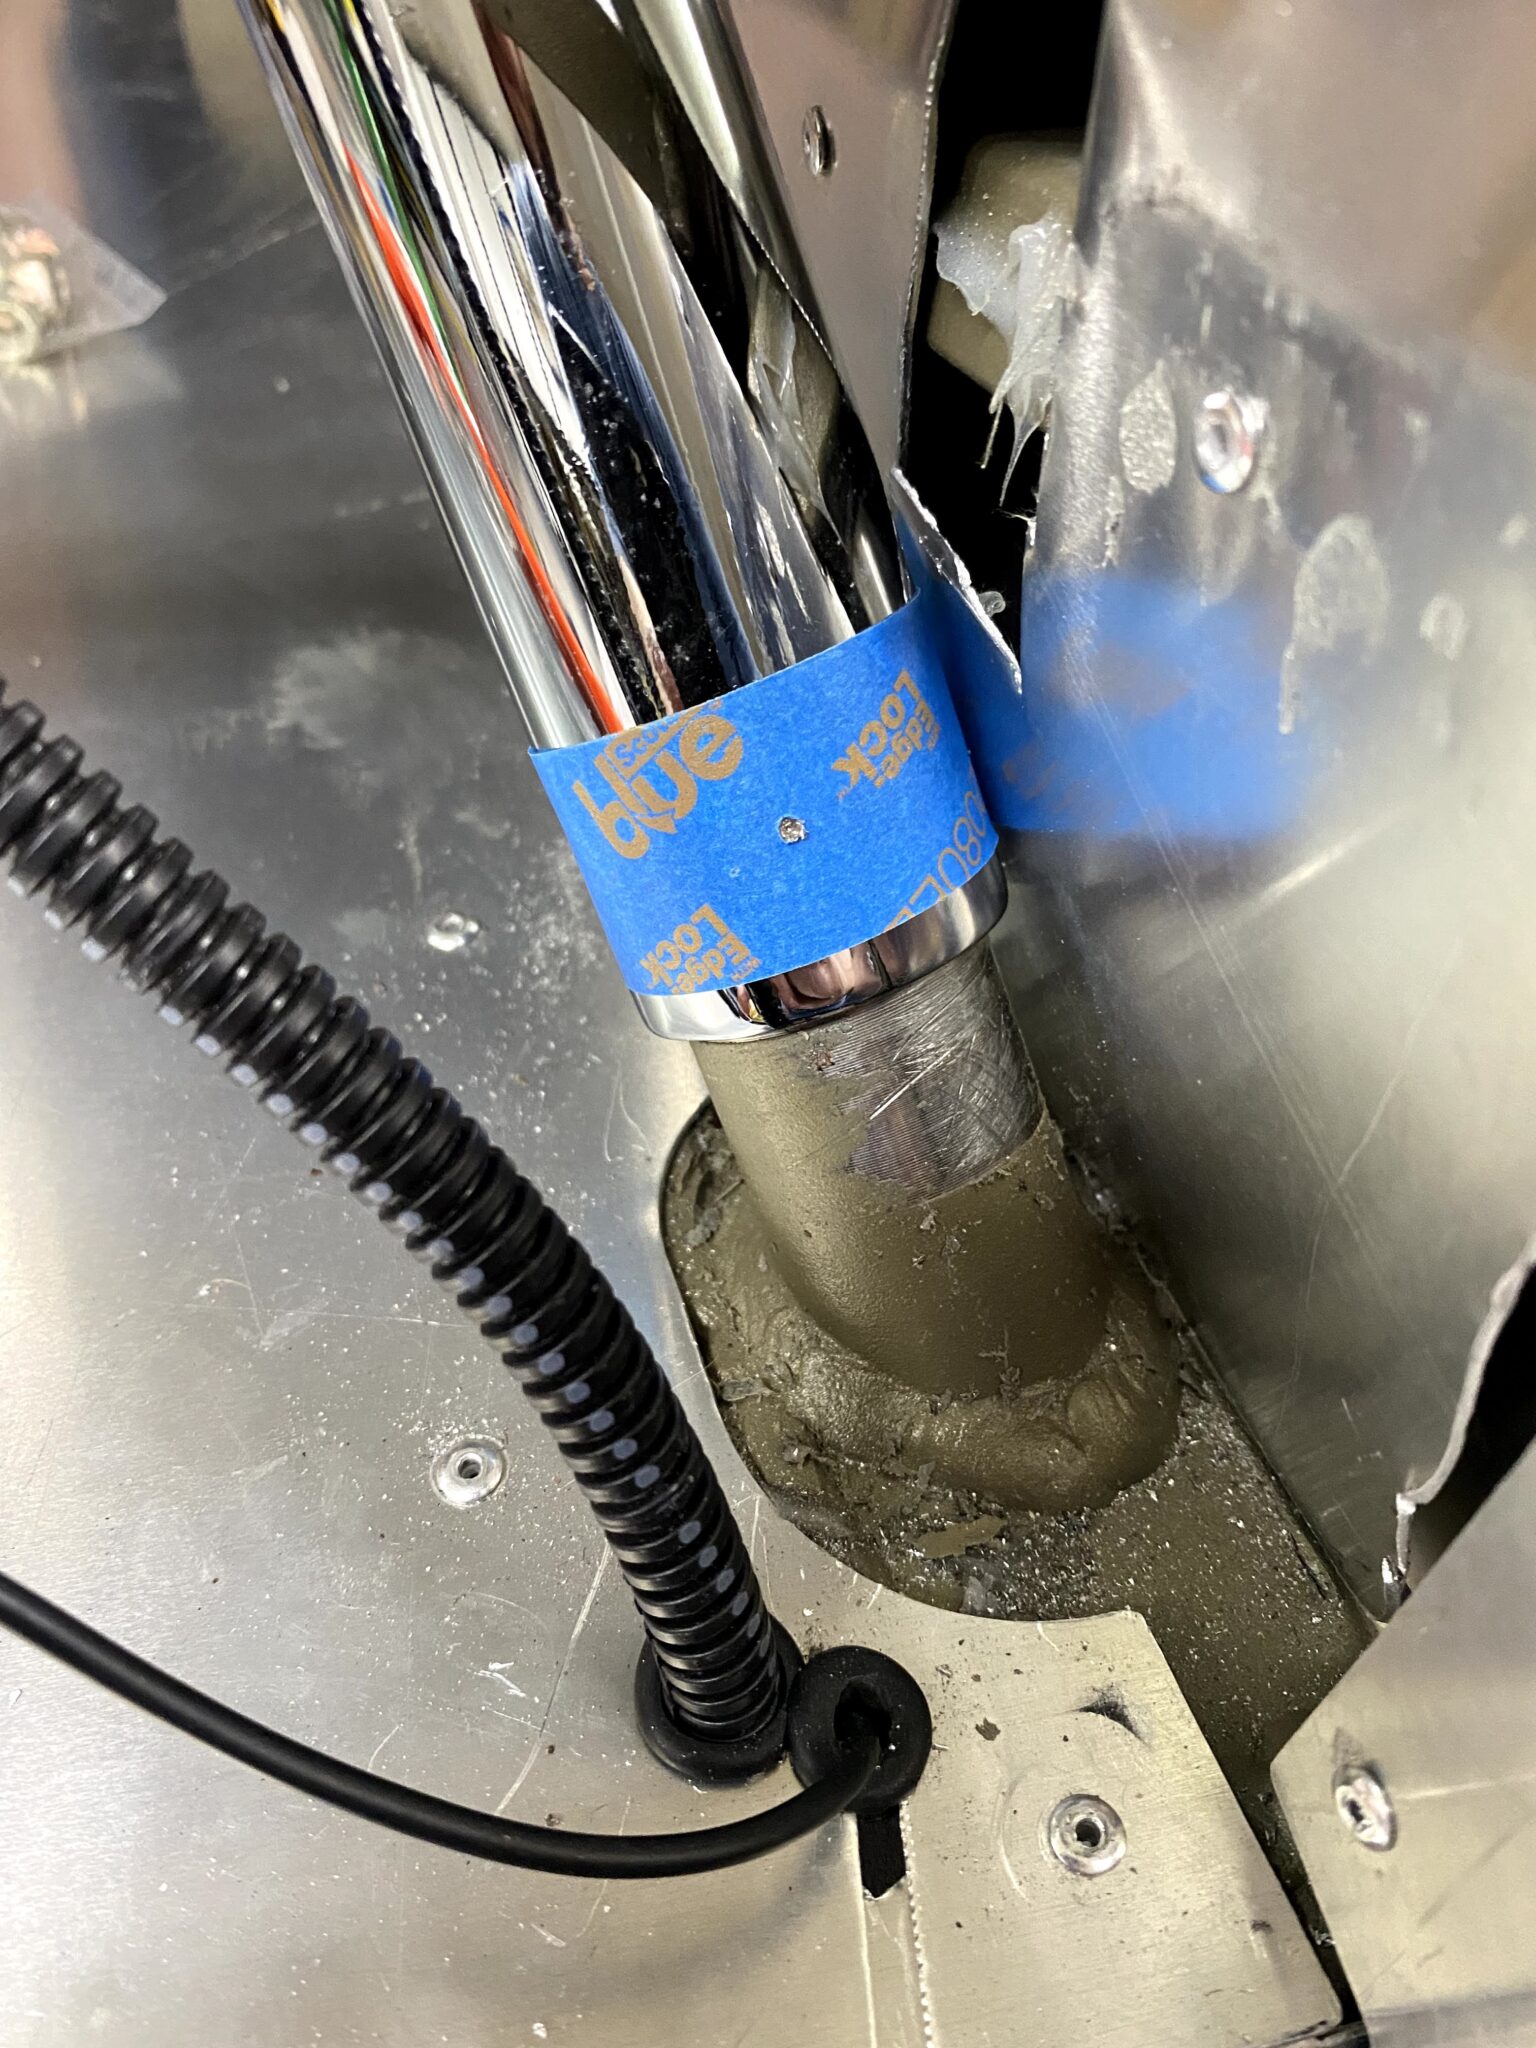
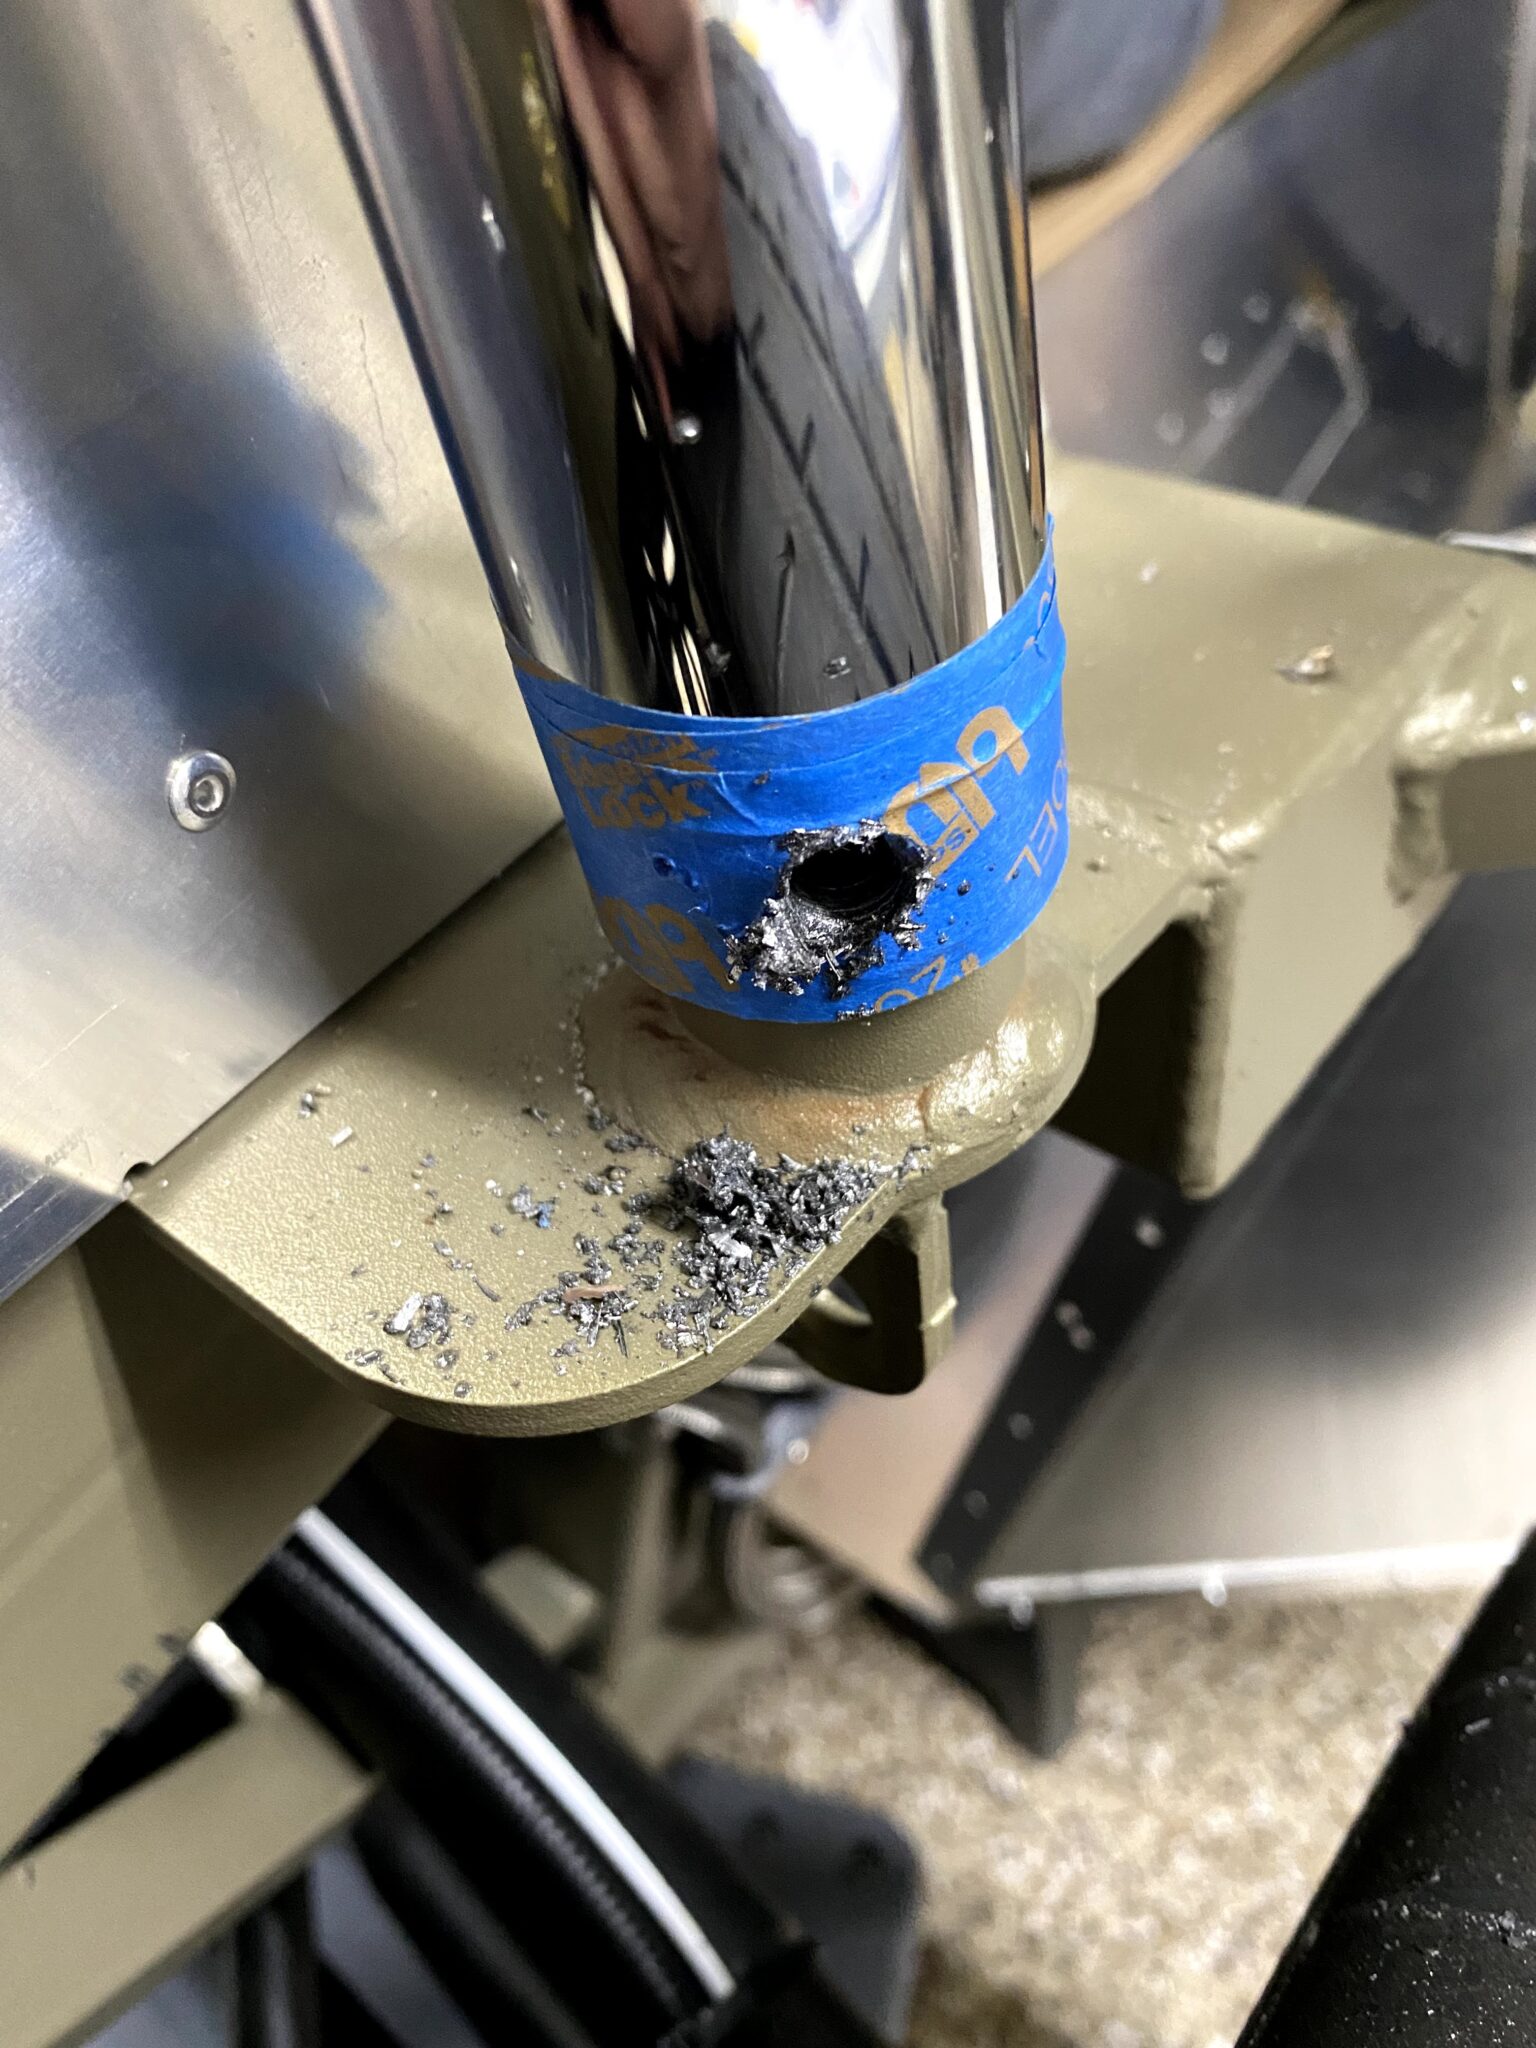
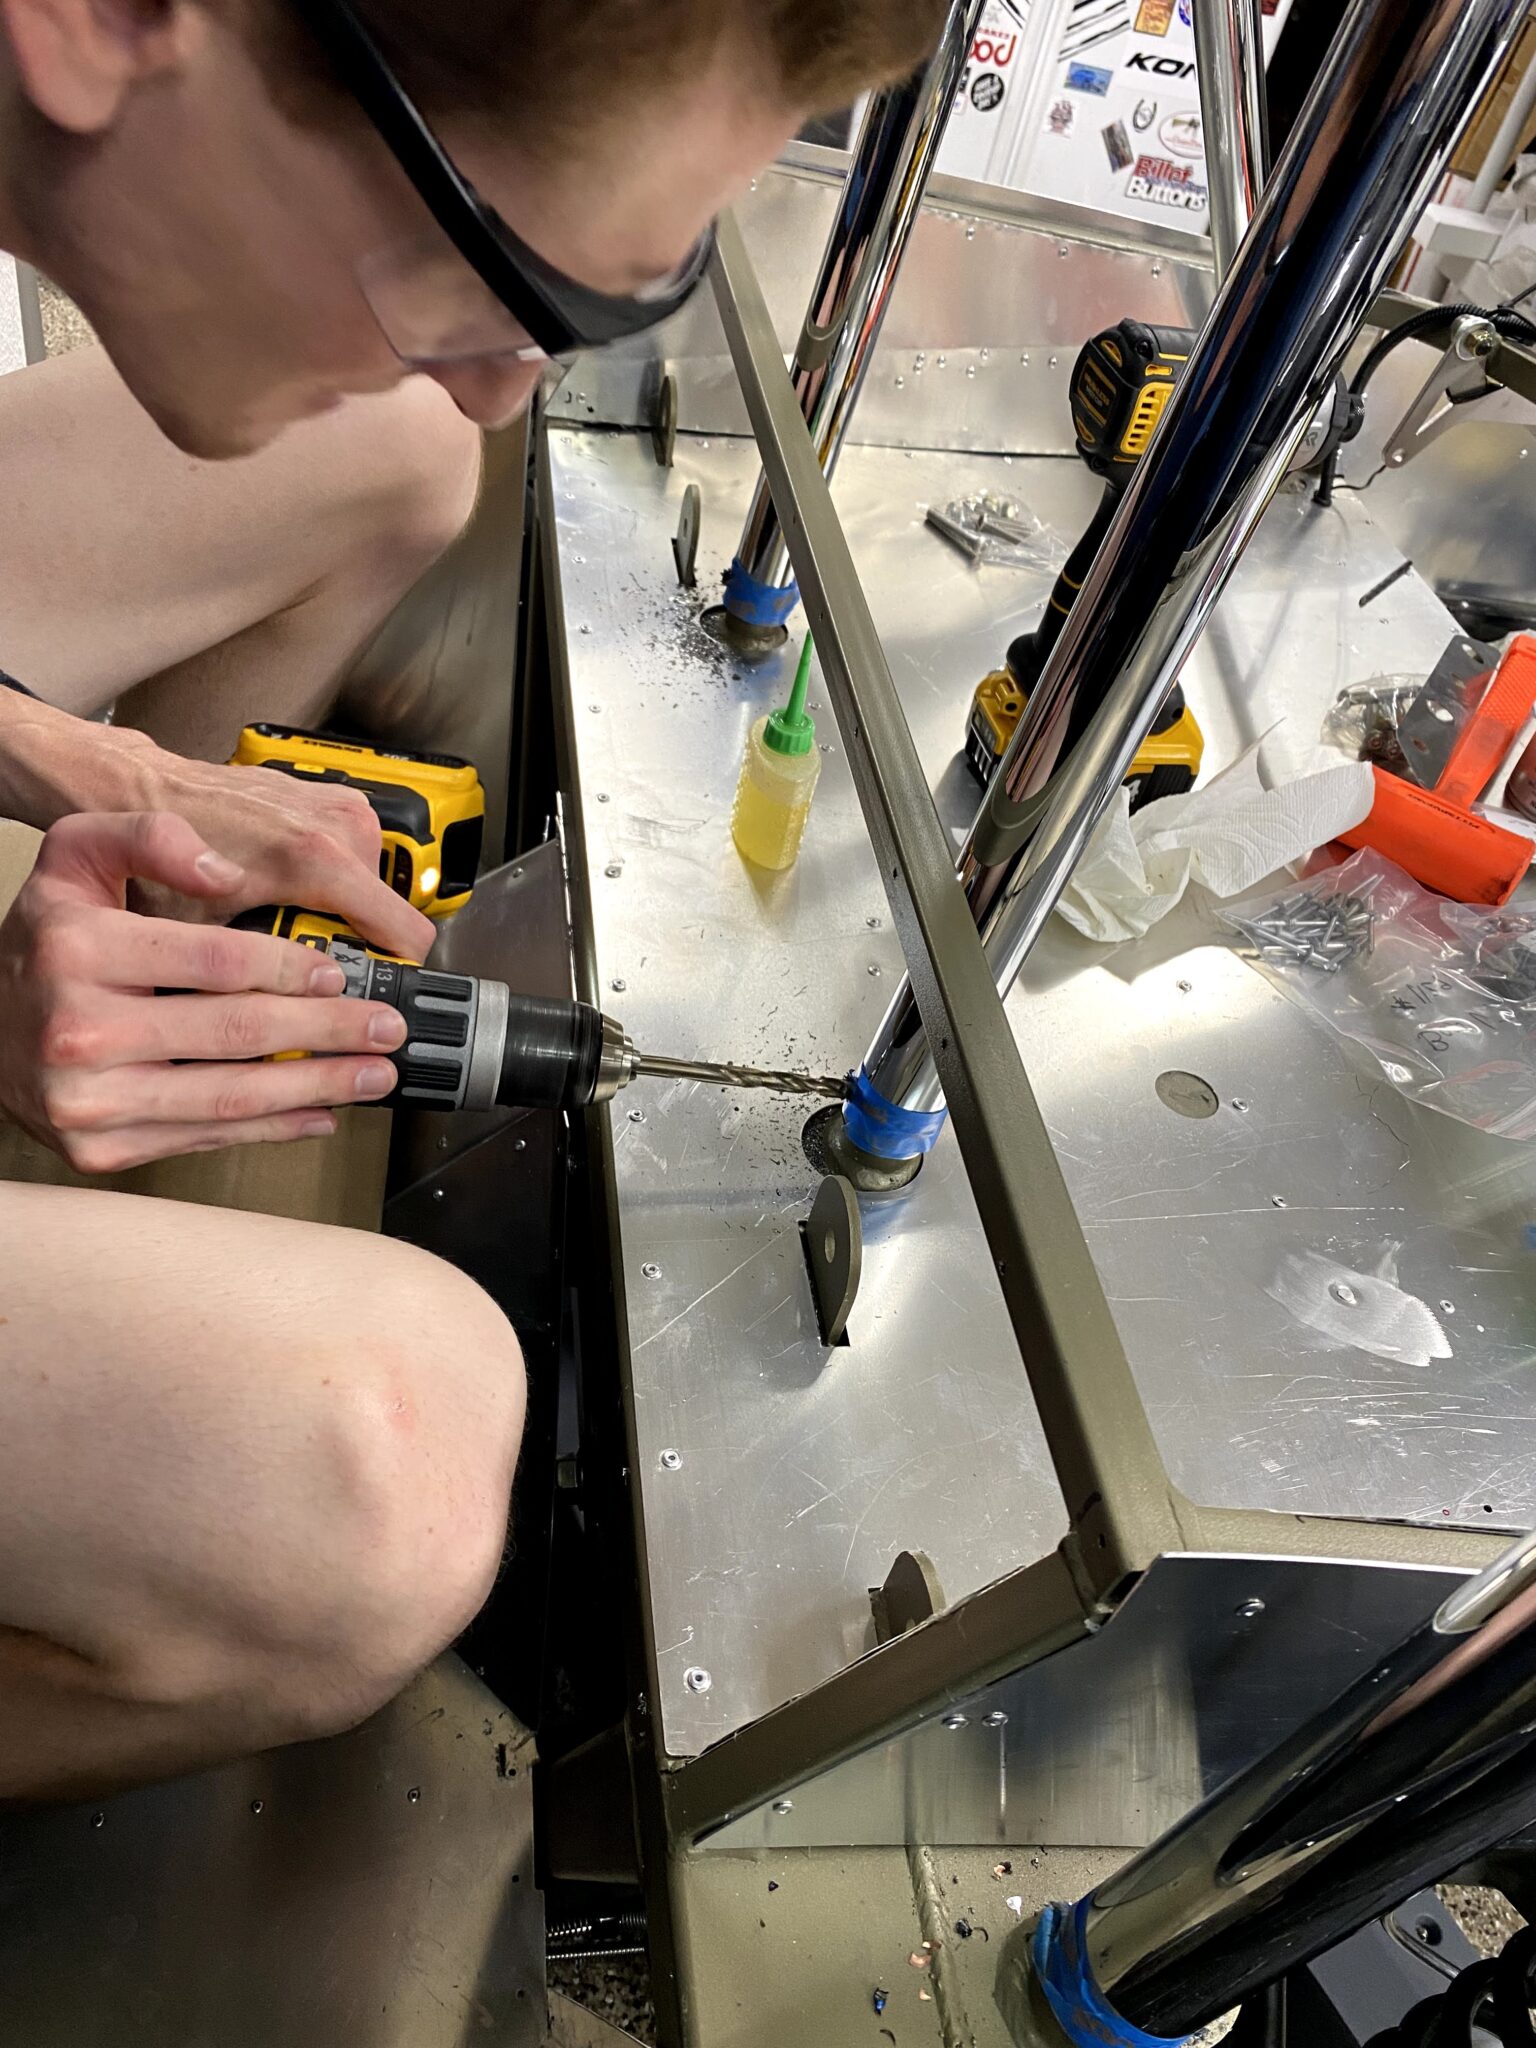
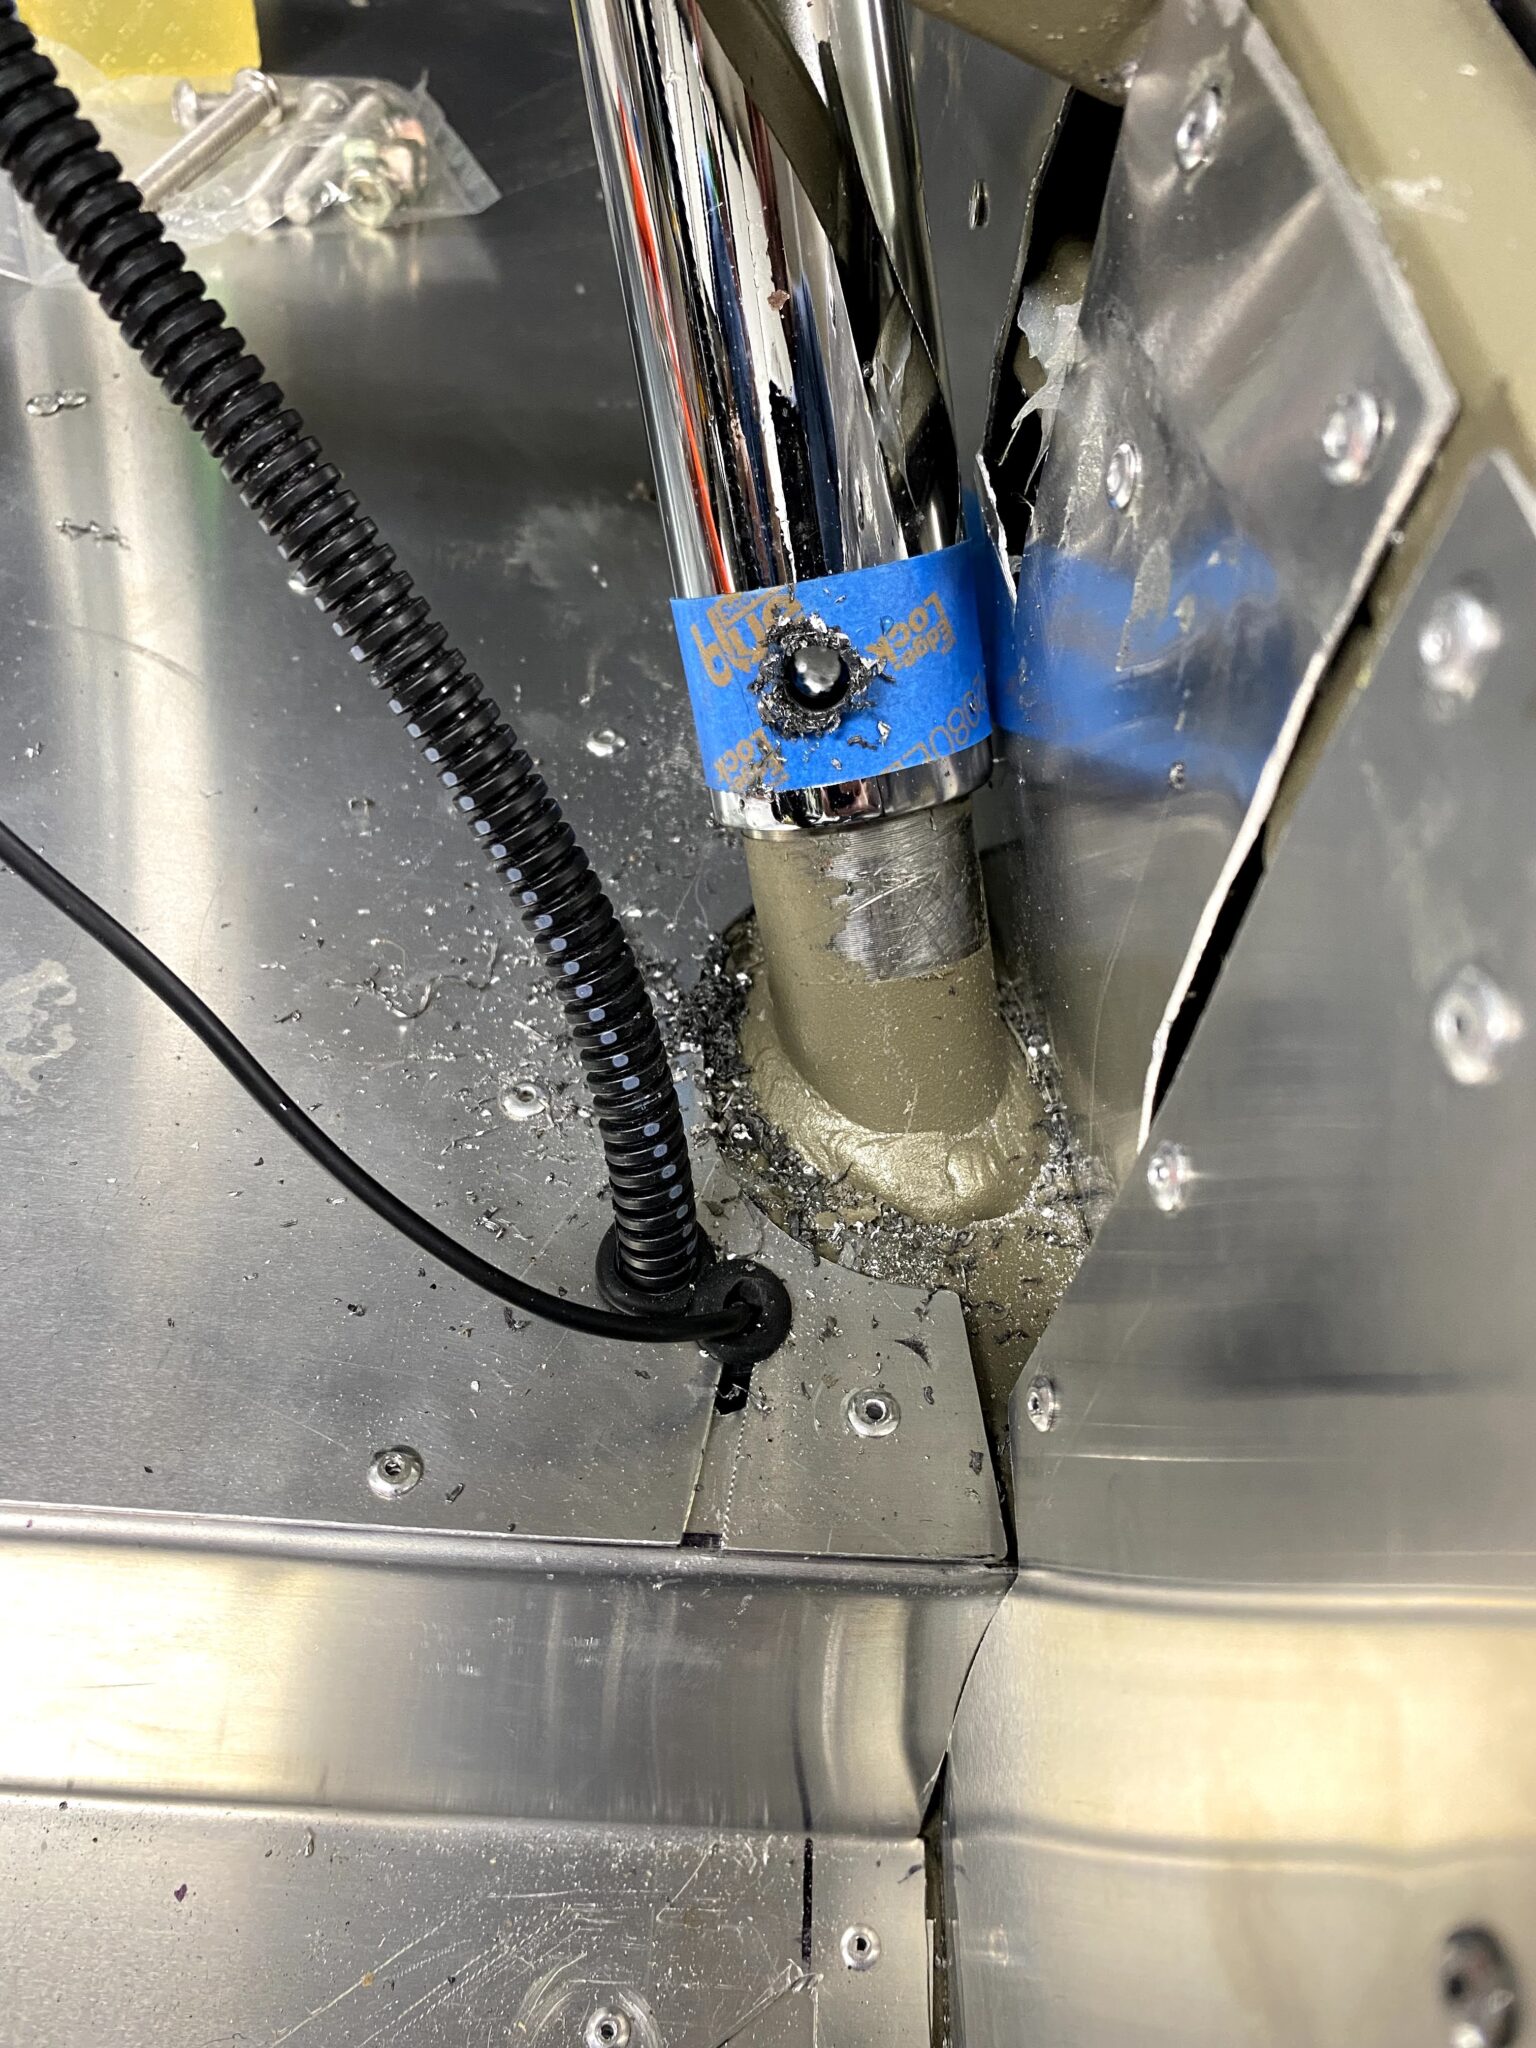
- Use painters tape to keep your finish unmarred
- use an automatic center punch to get a head start on where your drill will start, and not slip!
- use cobalt drill bits, I suggest a 3/16″ bit at first to break through the surface
- finish with the 5/16″ cobalt drill bit for the final size
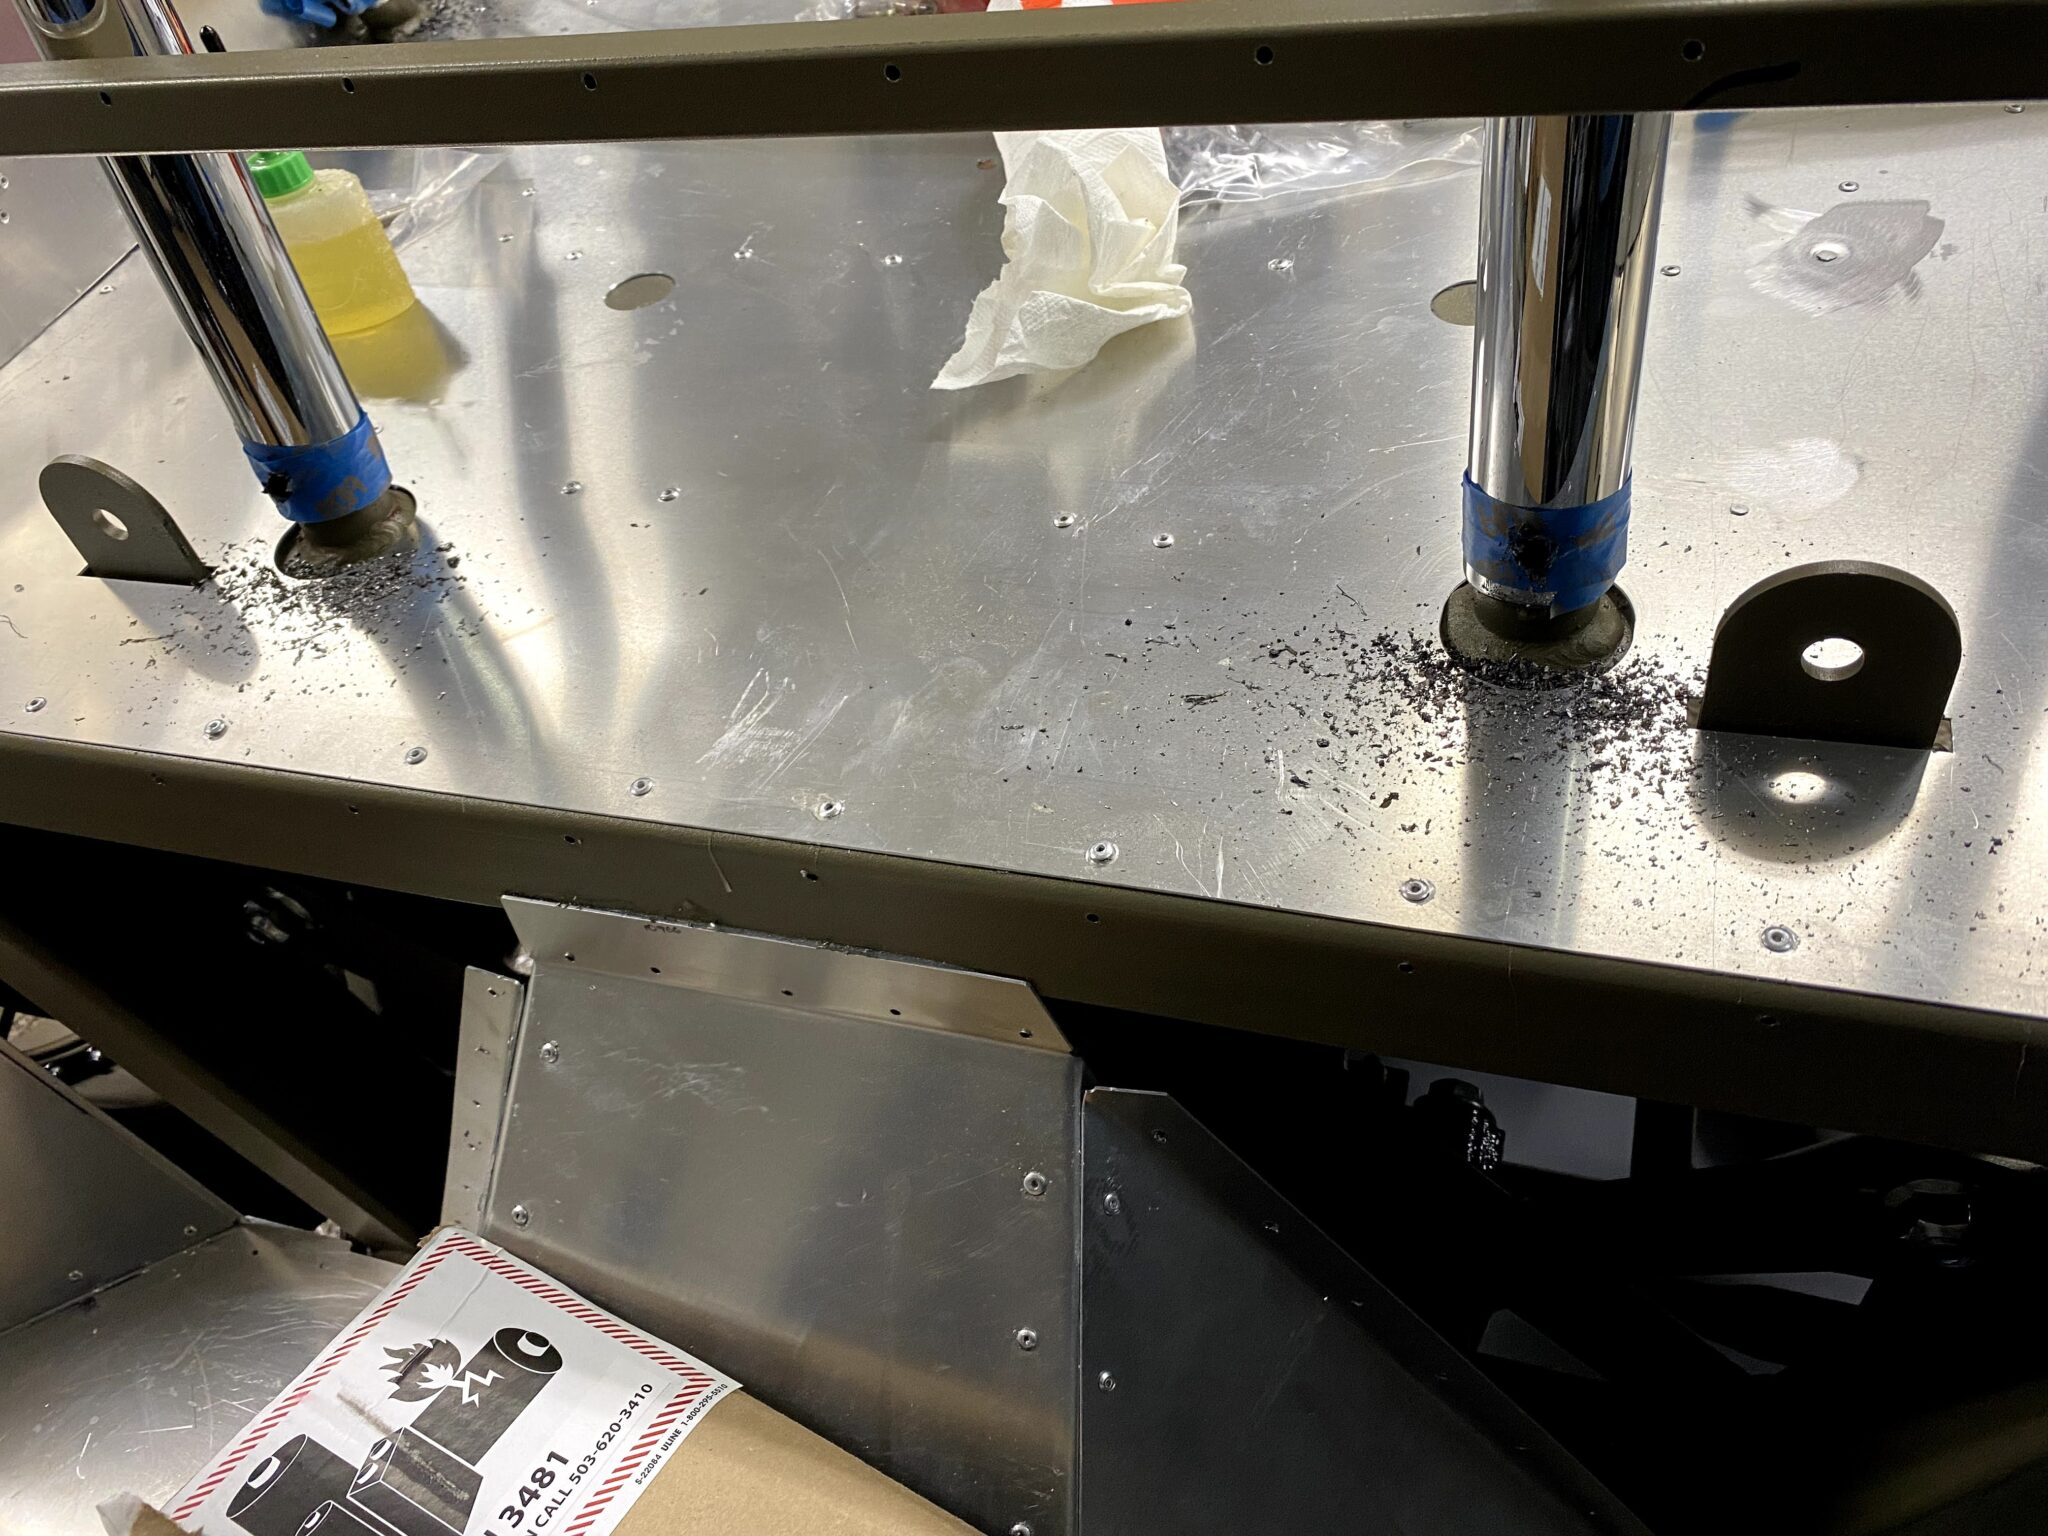
- take your time and use cutting oil, this is hardened steel so it’s TOUGH and takes a while
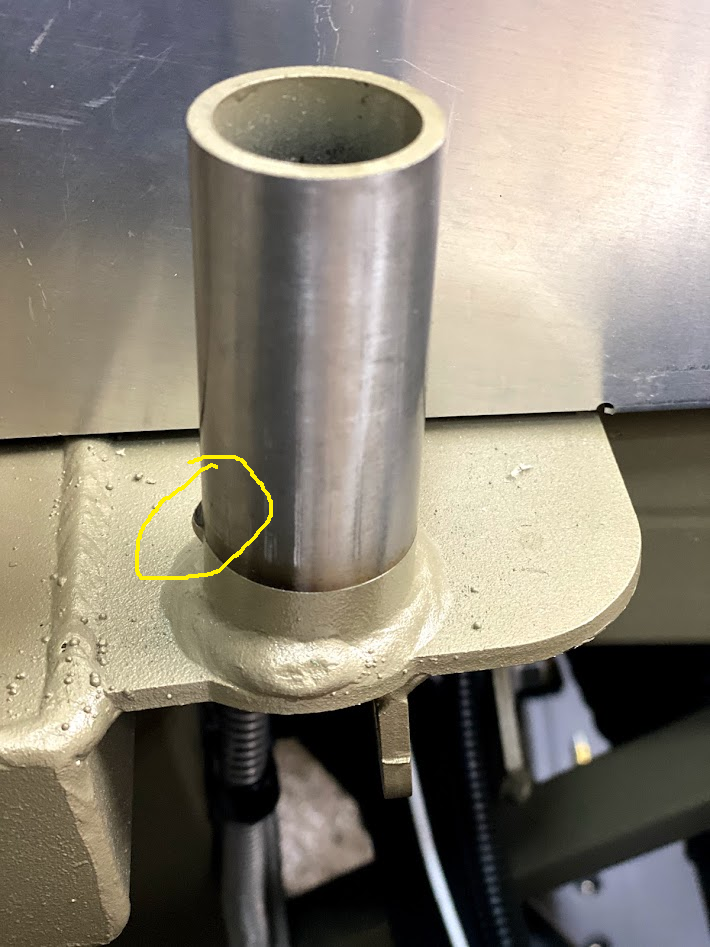
Also, note the little bung on each riser pipe in the first pic.
Because those help with tubing placement, do not remove them!
After about an hour of drilling six holes, here was the final setup.
Cubby and struts next
Now it is onto a bunch of steps to button up this upper area.
Meanwhile, I am using the Breeze cubby setup.
However, it will need mods to accept the trunk hydraulic struts.
Also, I still need to prep for the speaker setup.
Ultimately, lots of little things remain!