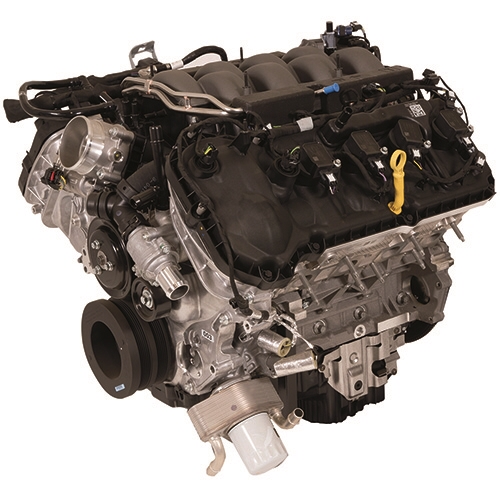
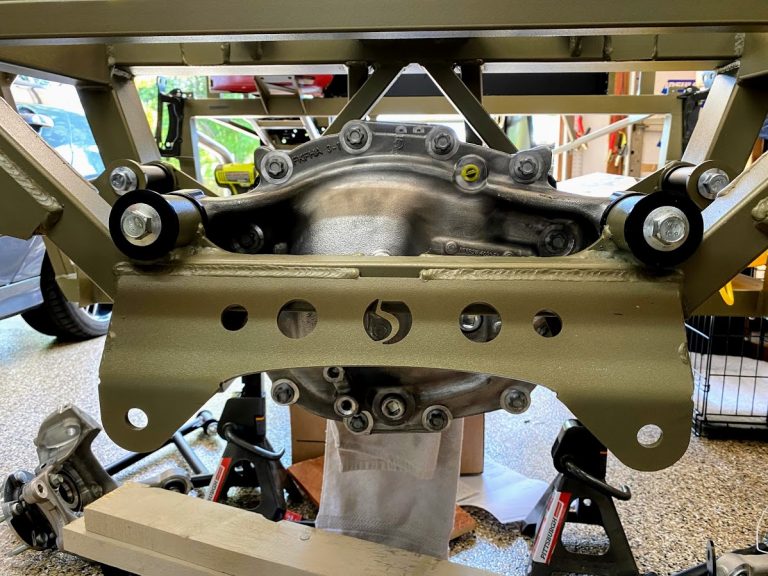
Finished installation of the rear suspension
This update covers rear suspension installation.
This update covers finished installation of the rear suspension.
Related notes live on the Factory Five Cobra build hub.
rear suspension installation: Toe adjusters and sway bar timing
First, I am so excited to finally get the IRS installed and torqued down! Also, the toe adjuster sleeves came in with the IRS sleeves.
Therefore it is great to see these parts so I could get the rear suspension completed!
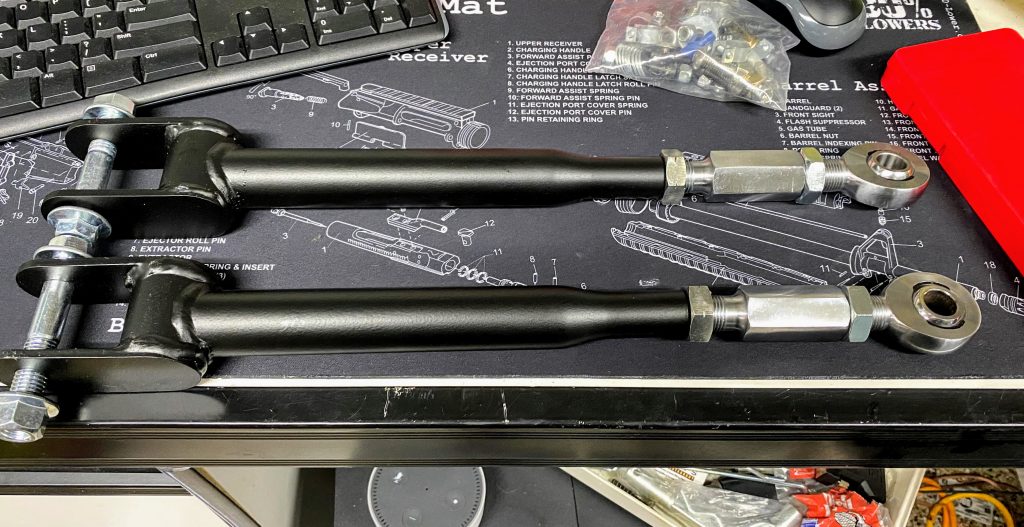
Just to note, if you have the IRS rear sway bar option, this is the time to remember to add it.
Otherwise you will be removing and re-doing your toe-arm bolts!
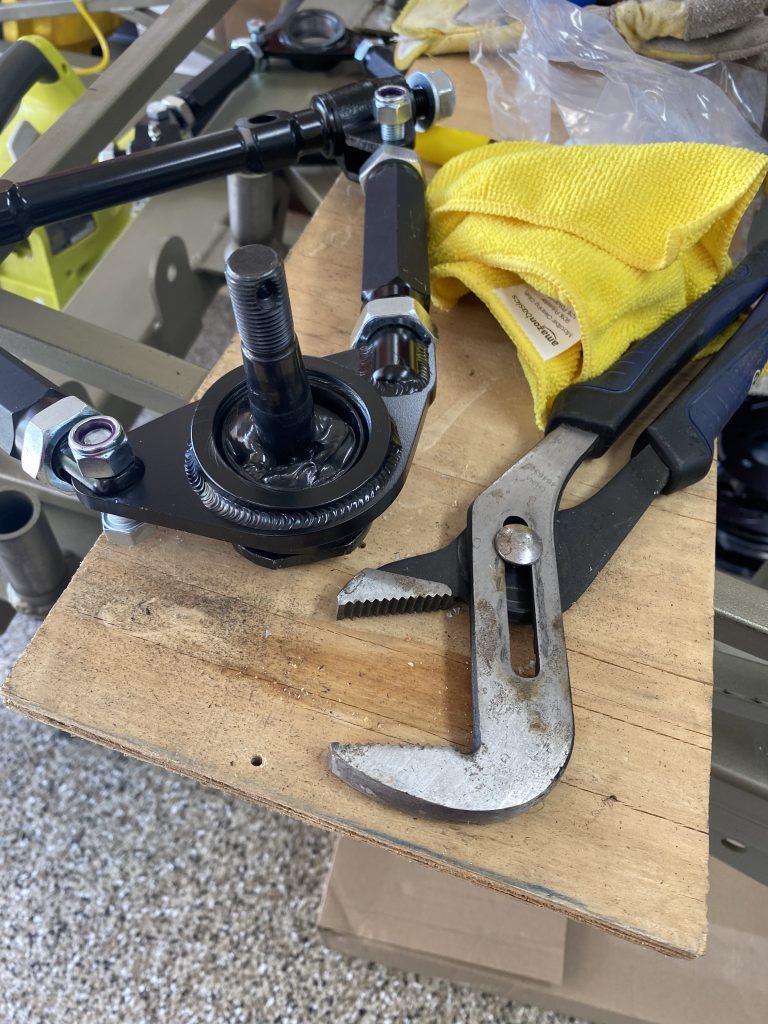
Connecting arms, axles, and spindle
Now that I had installed the center section, I could adjoin the extra parts and connect them to the spindles. Meanwhile, we already did the upper control arms back in March.
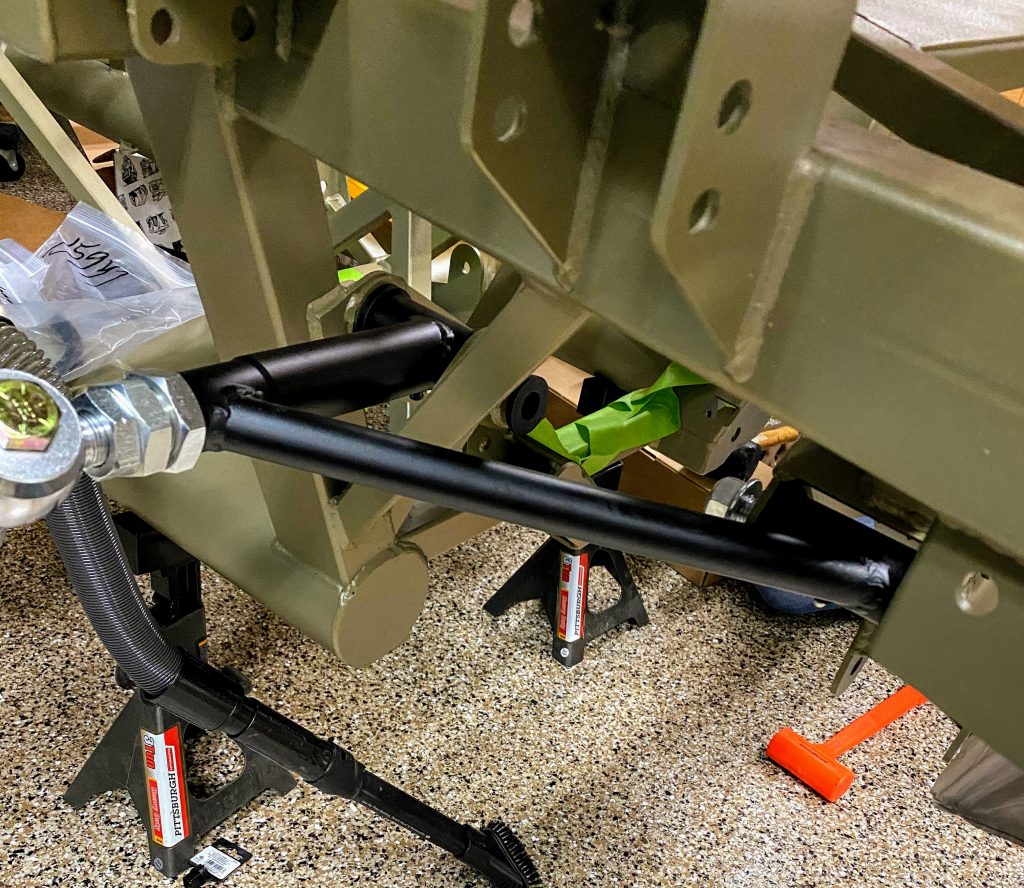
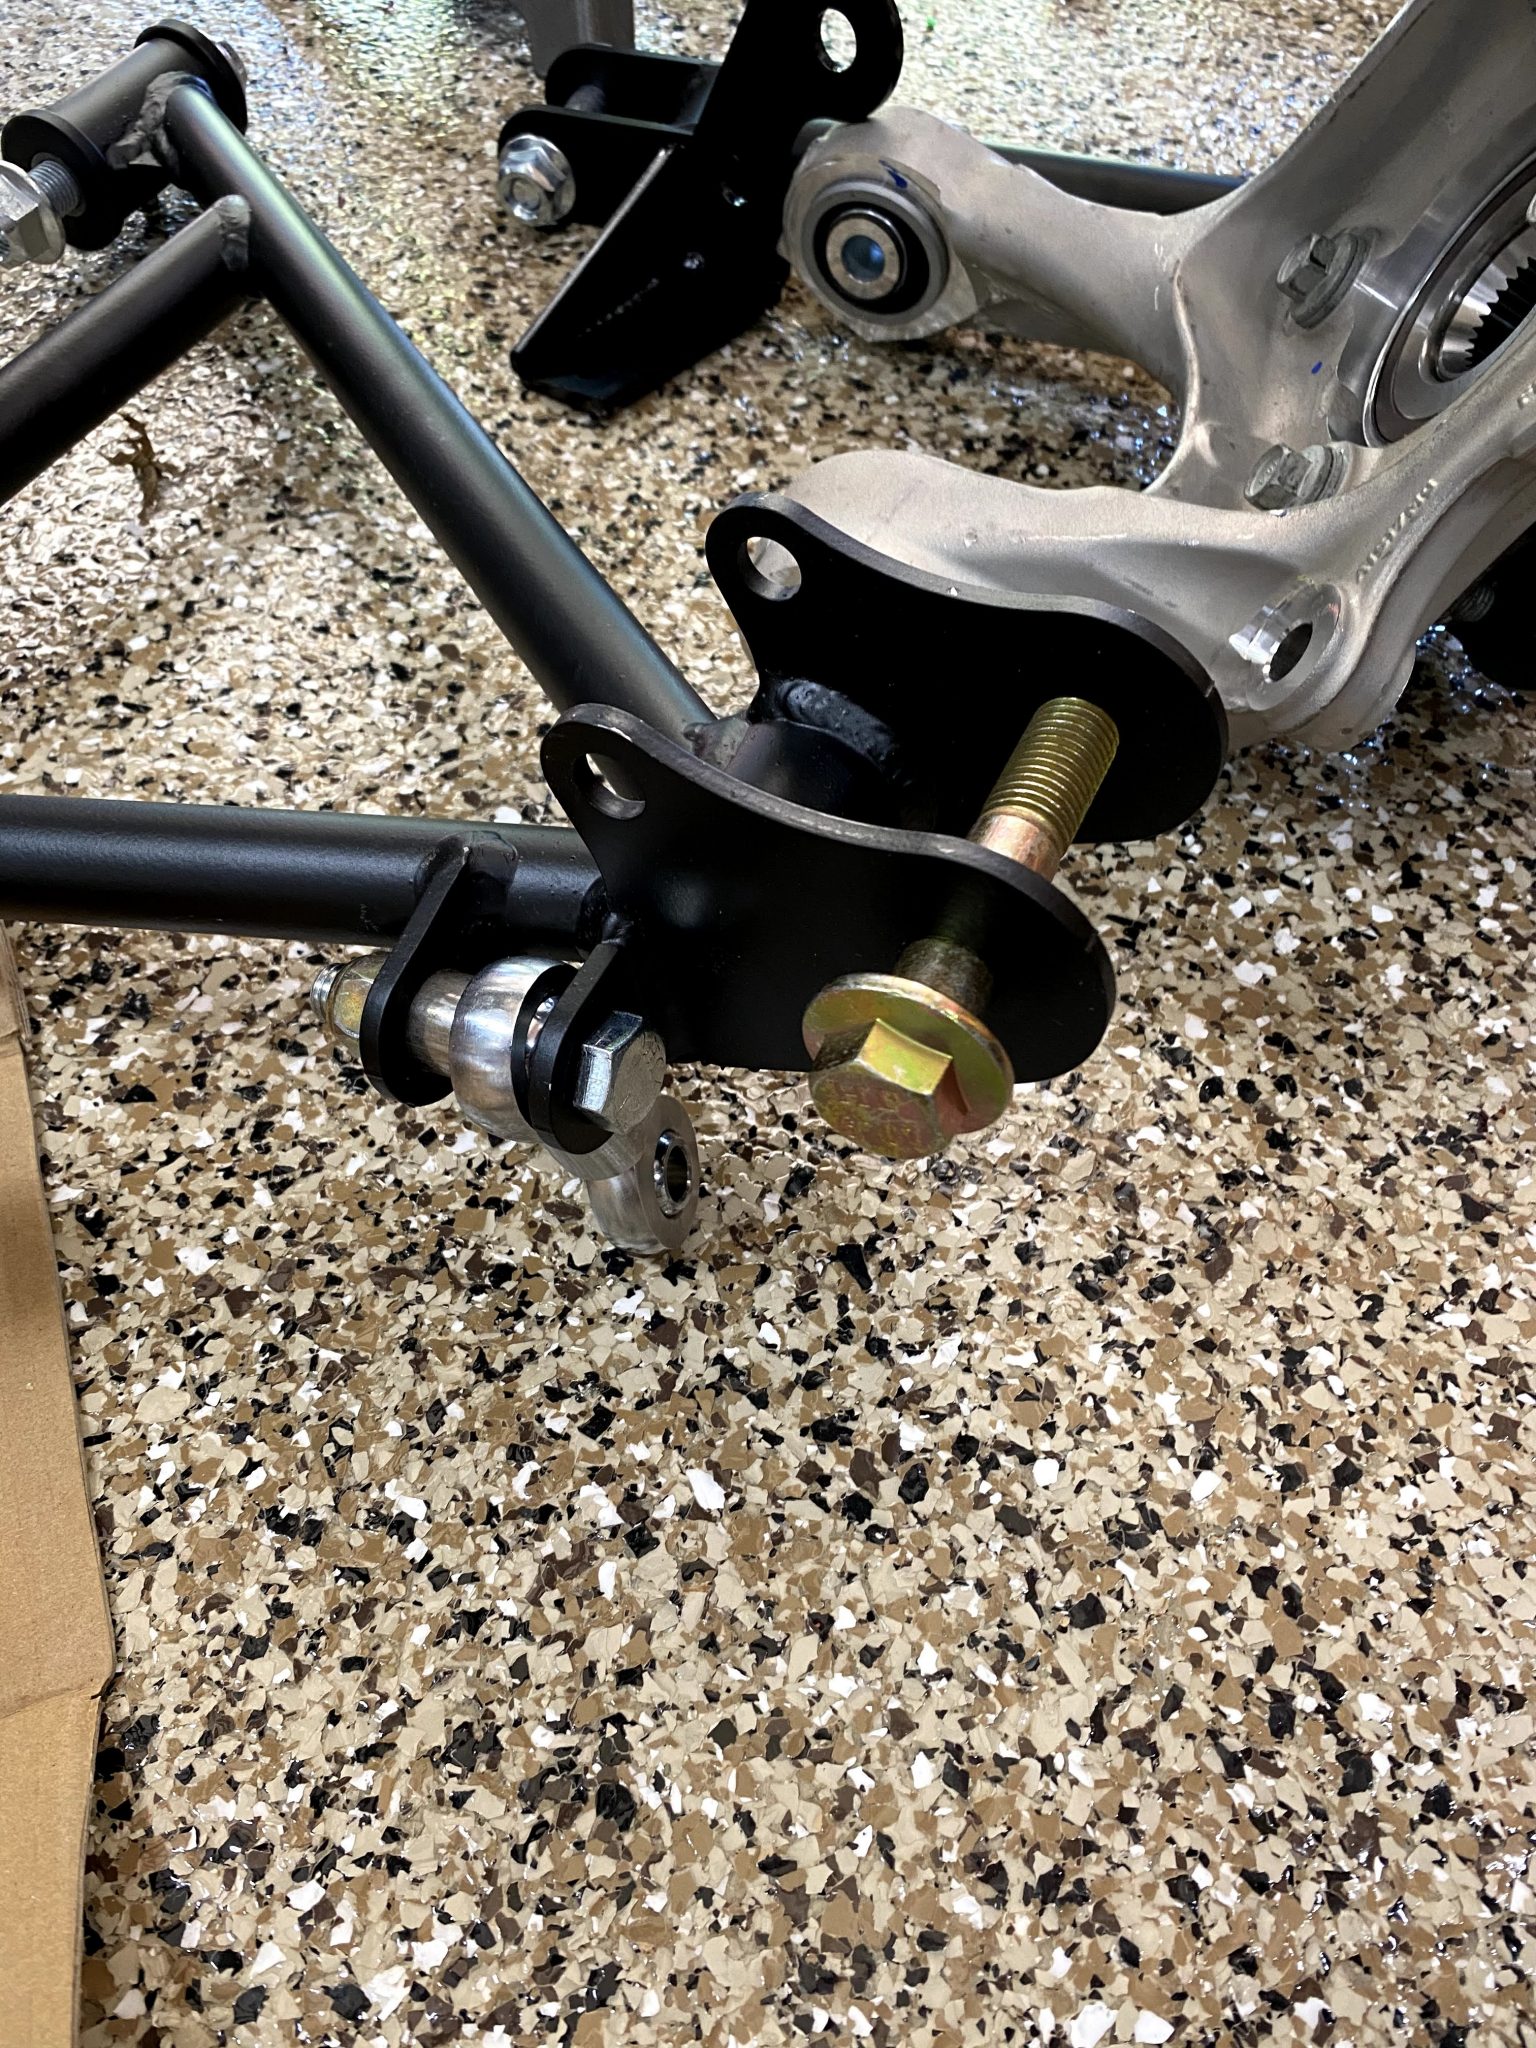
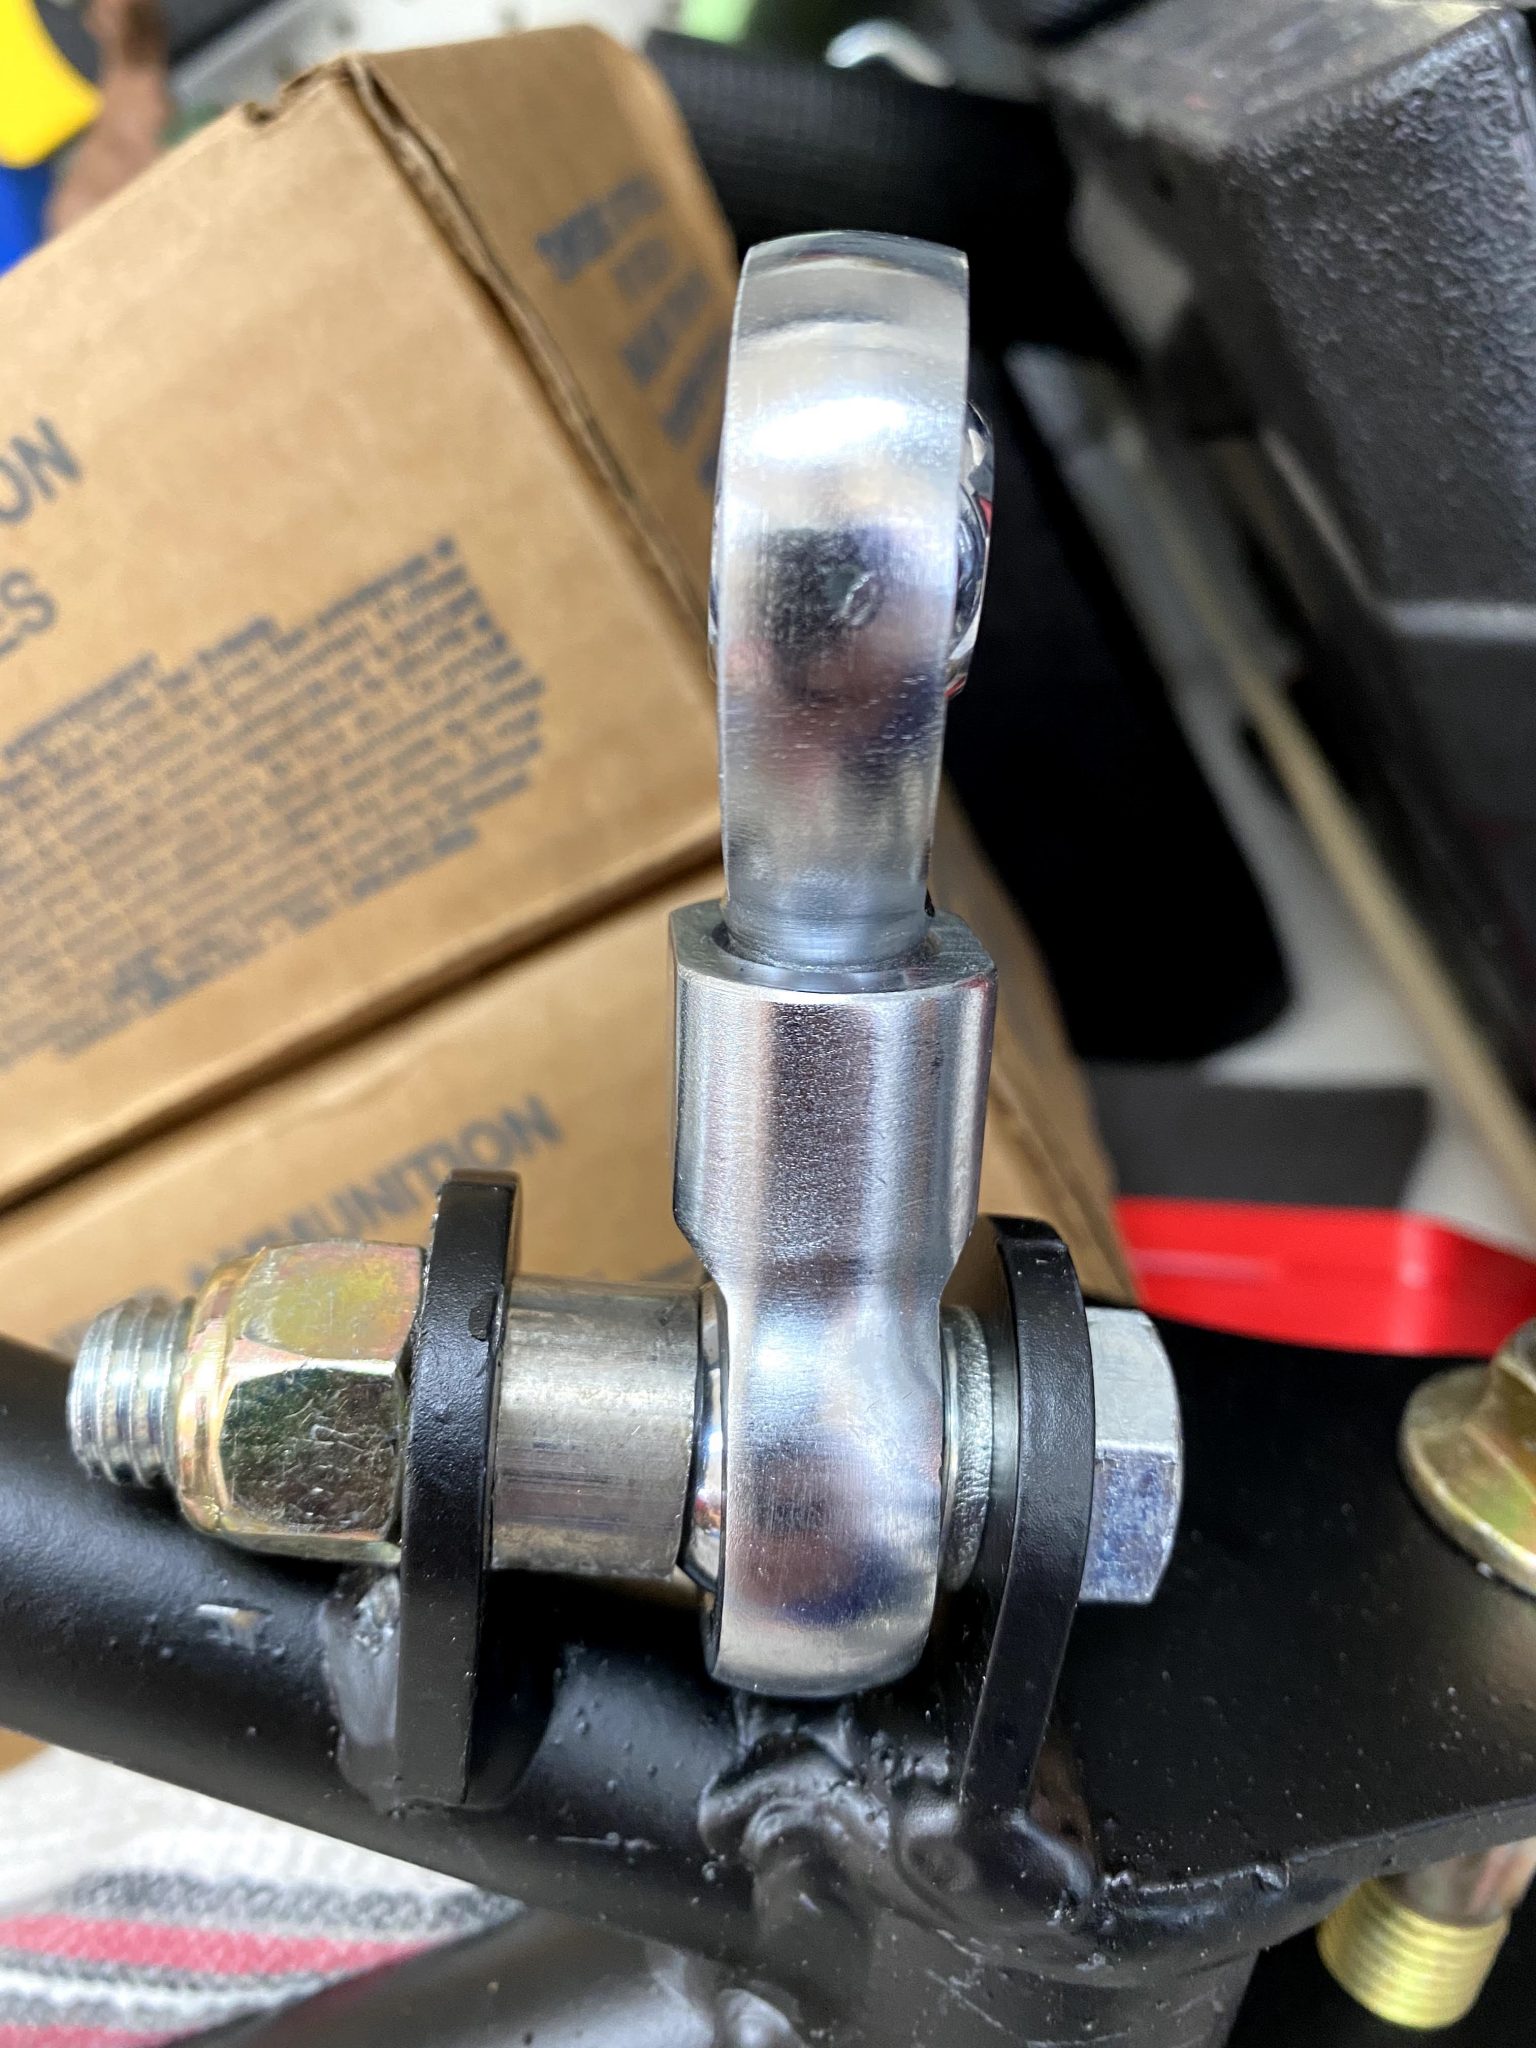
Lower control arm and toe-control arm
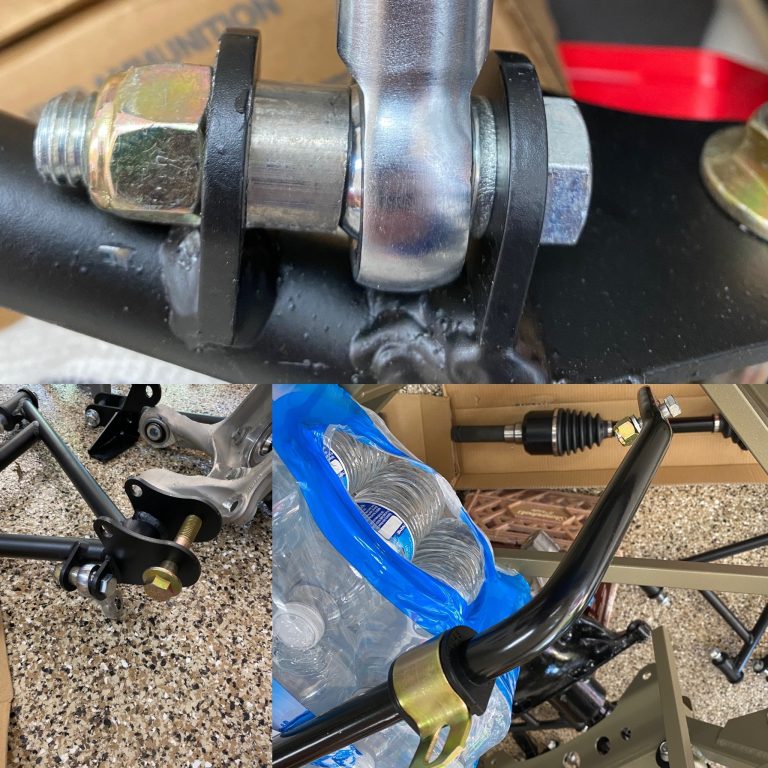
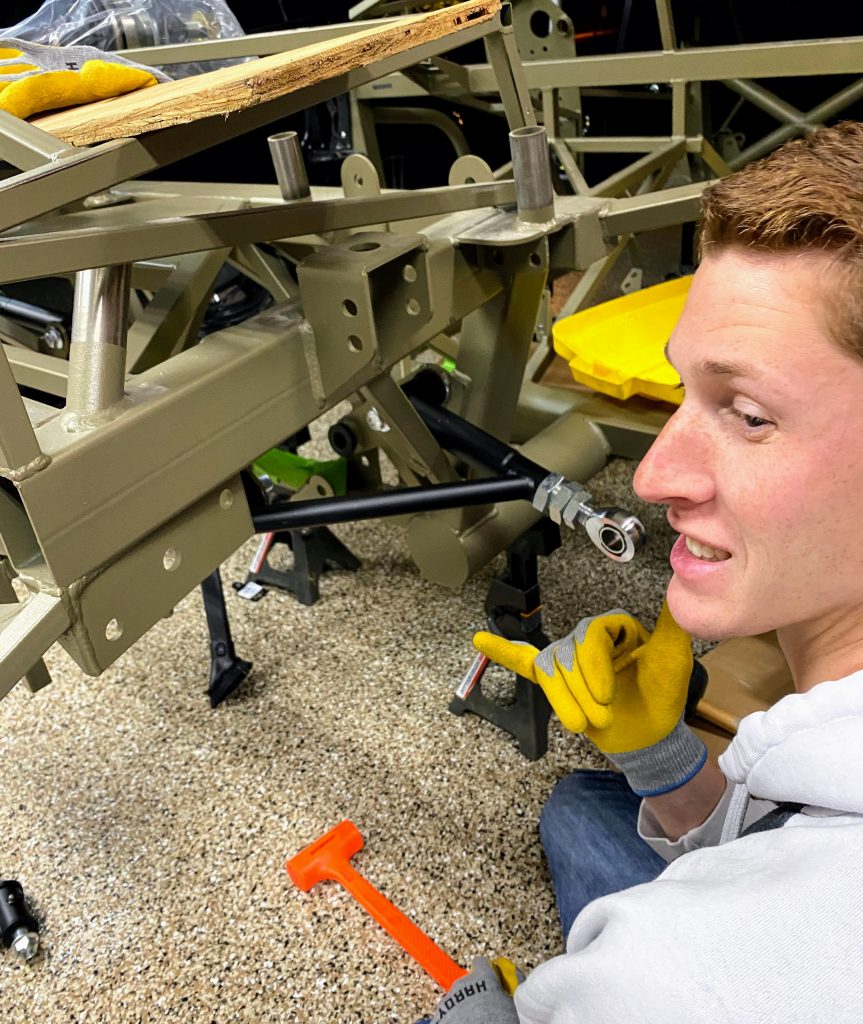
First step was to attach the lower control arm (LCA). However, the tabs were tight.
Still, a nice mallet helped coax them into place. Also, the installed sway-bar makes the LCA harder to wiggle into place.
In other words, it is not impossible. Meanwhile, it makes for less movement.
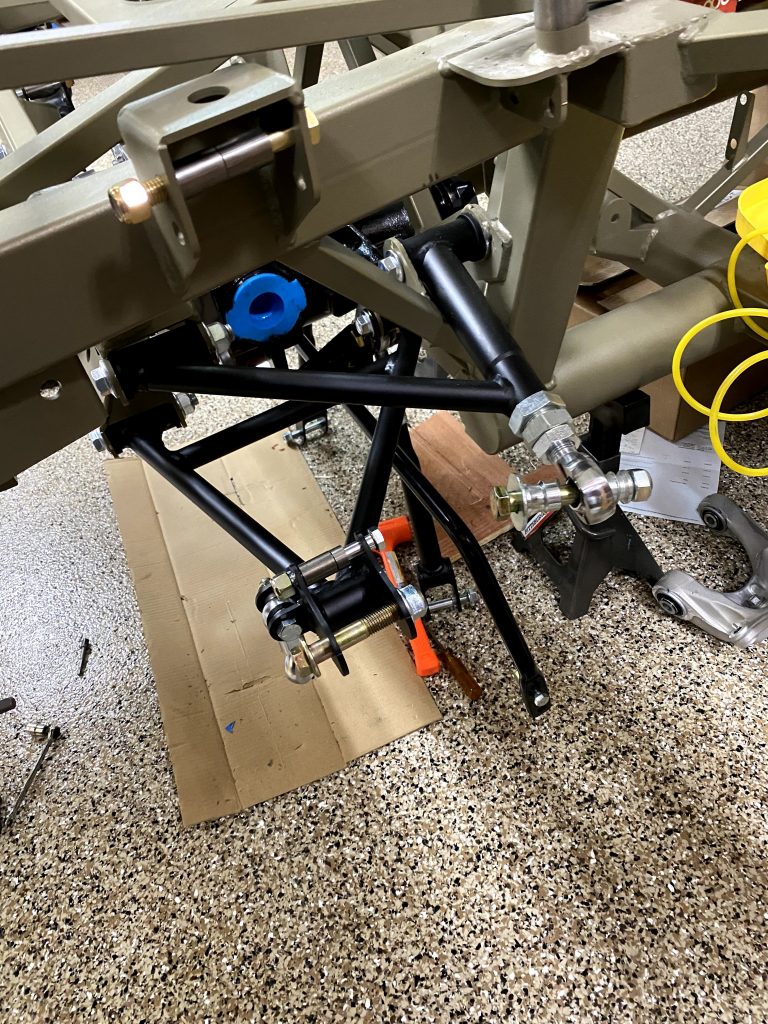
The toe-control arm is next. Likewise, it just took simple coaxing into the tabs.
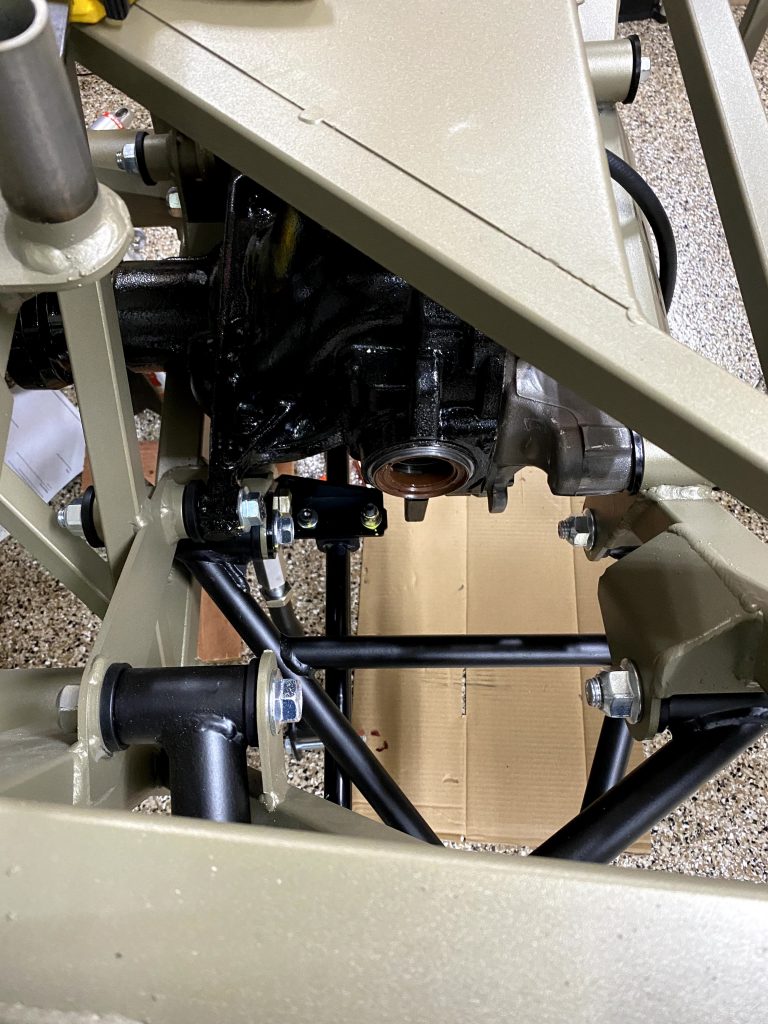
Once those are in place, next are the half-axles!
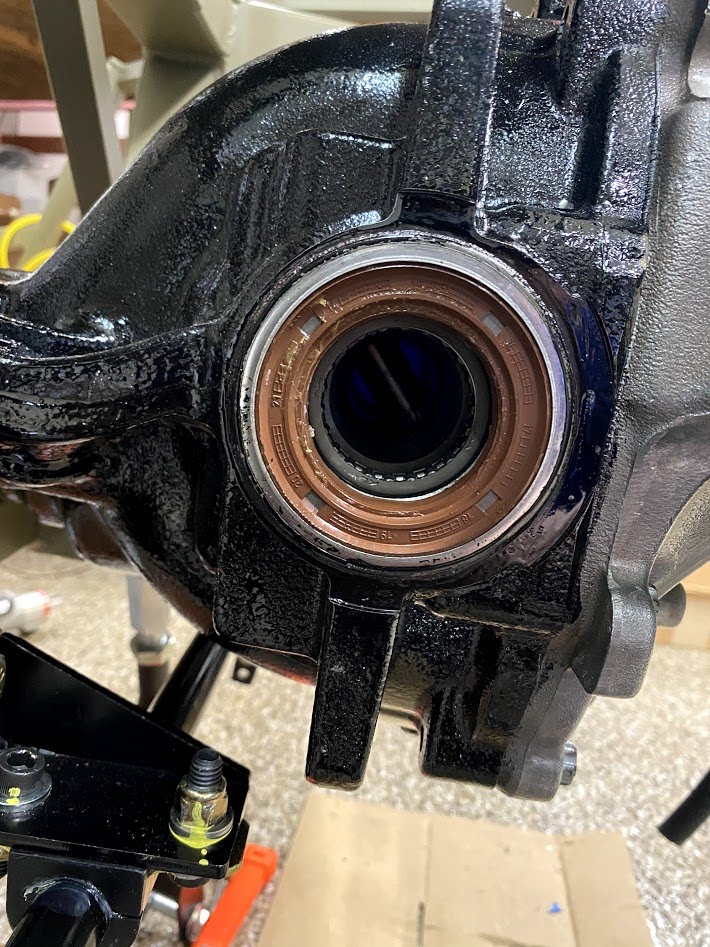
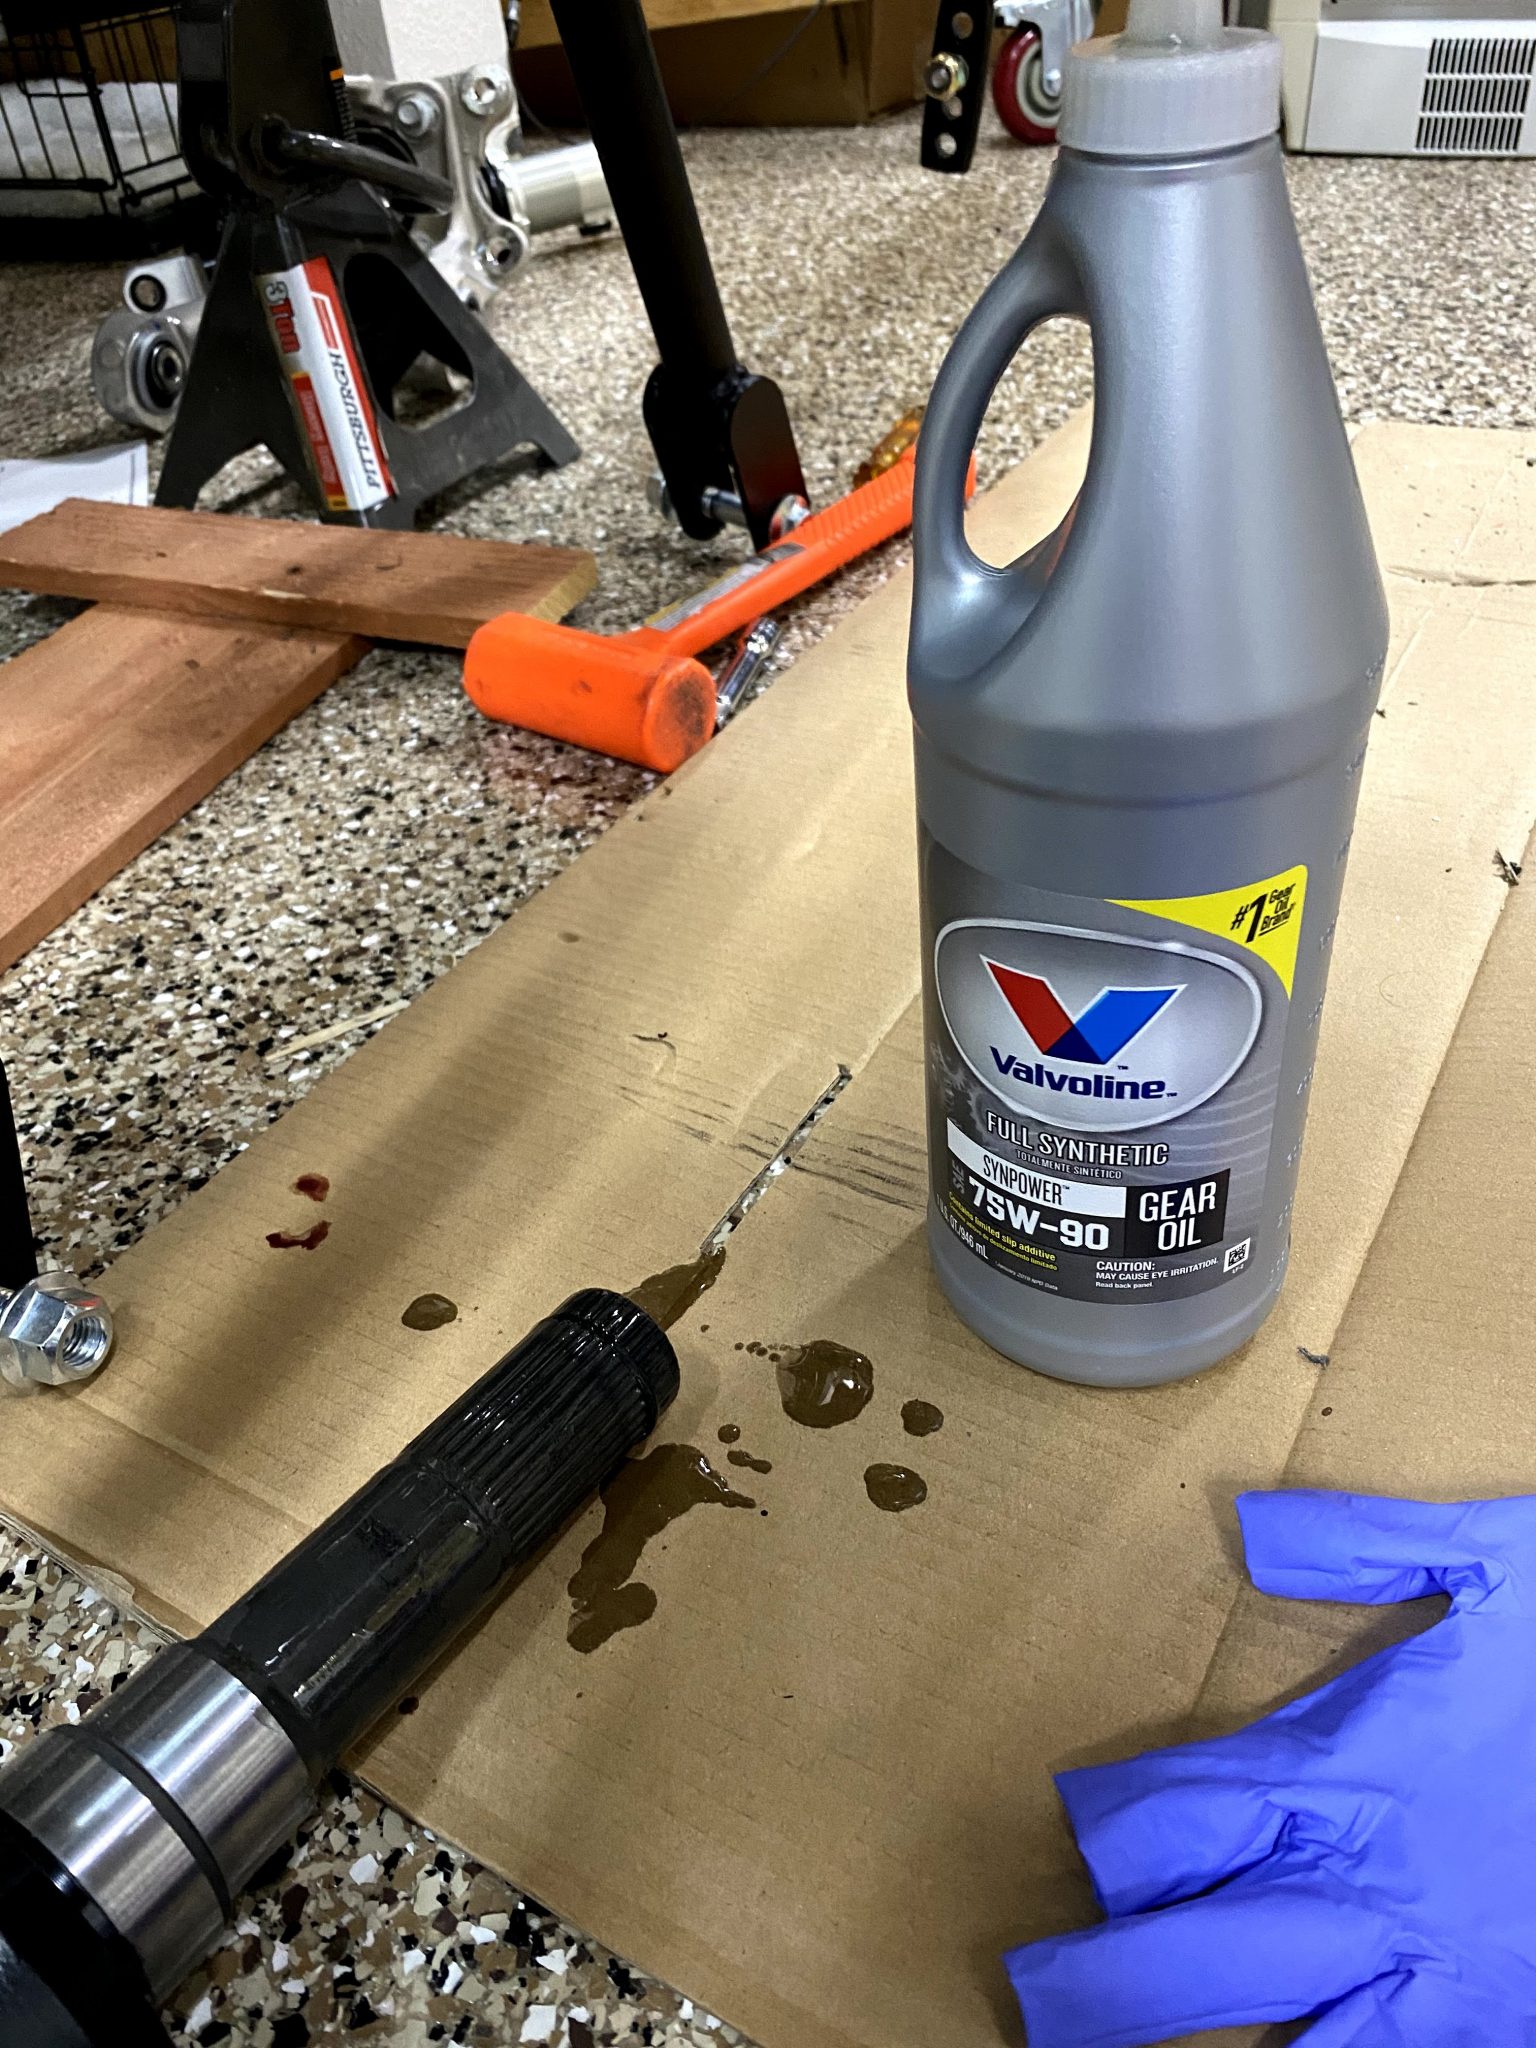
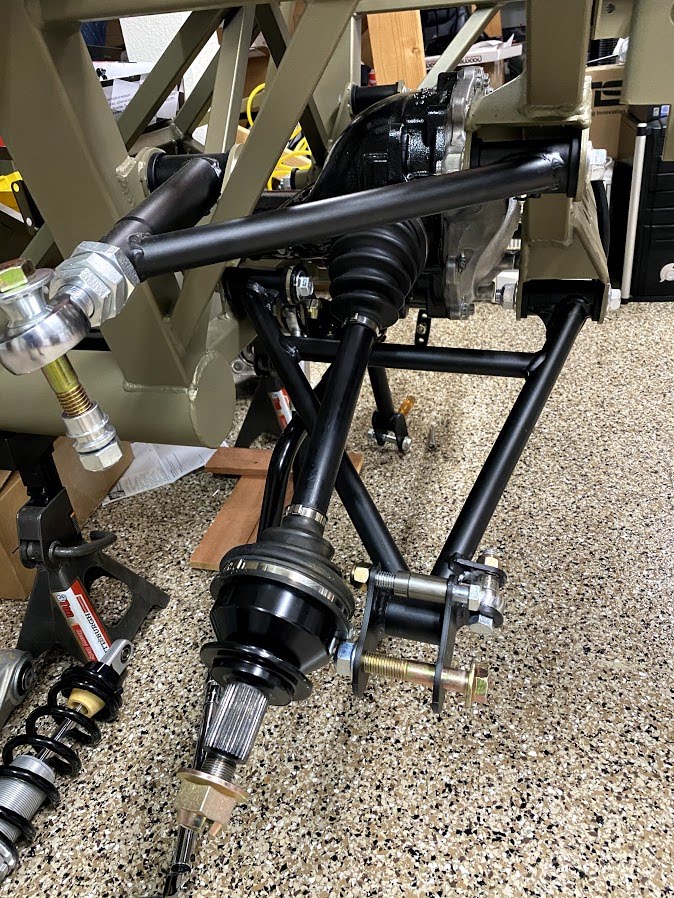
Spindles, shocks, and sway bar ends
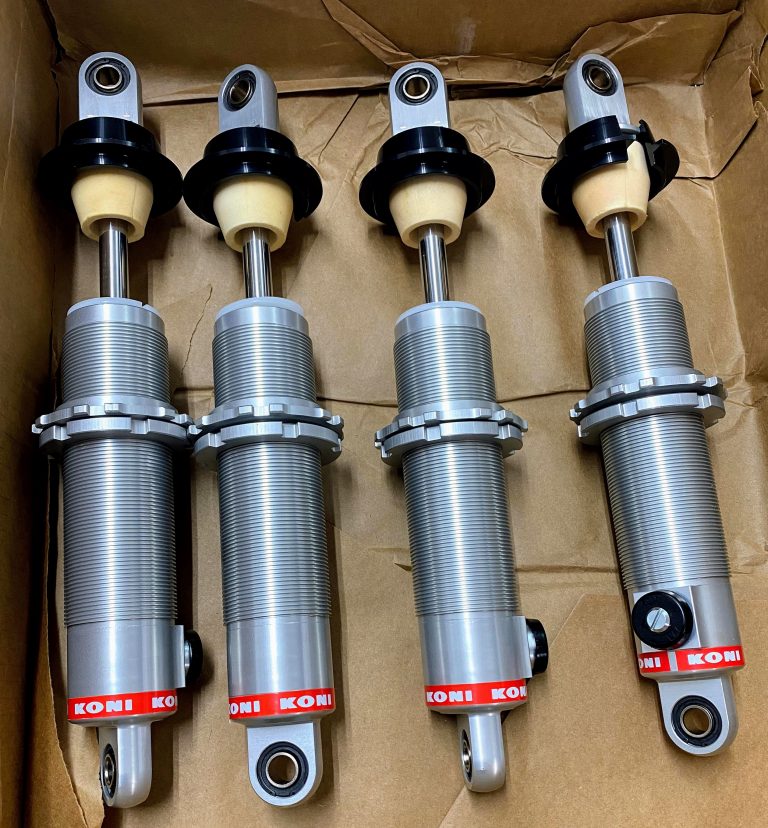
So I have connected all the main parts to the frame. Then it is time to set up the spindle and shocks!
The last part was to align and tighten up the sway bar ends. As a result, it is a rather tight fit, but all tidied up now!
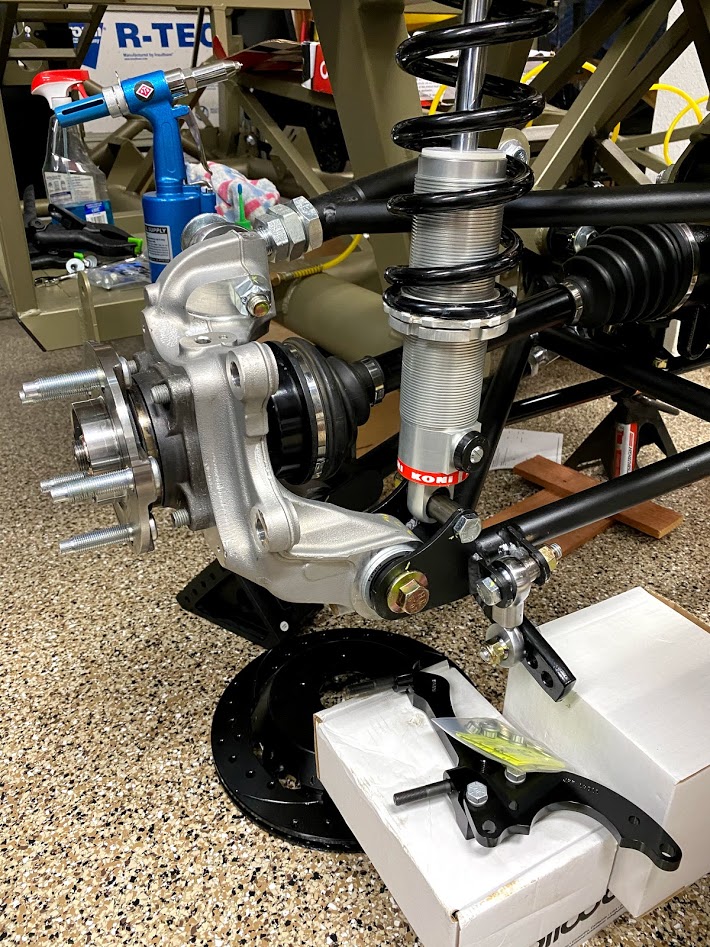
Overall, none of this felt hard. However, you have to be creative with angles.
Also, use the floor jack to relieve some suspension tension to get things aligned. Ultimately, rear brakes are next!